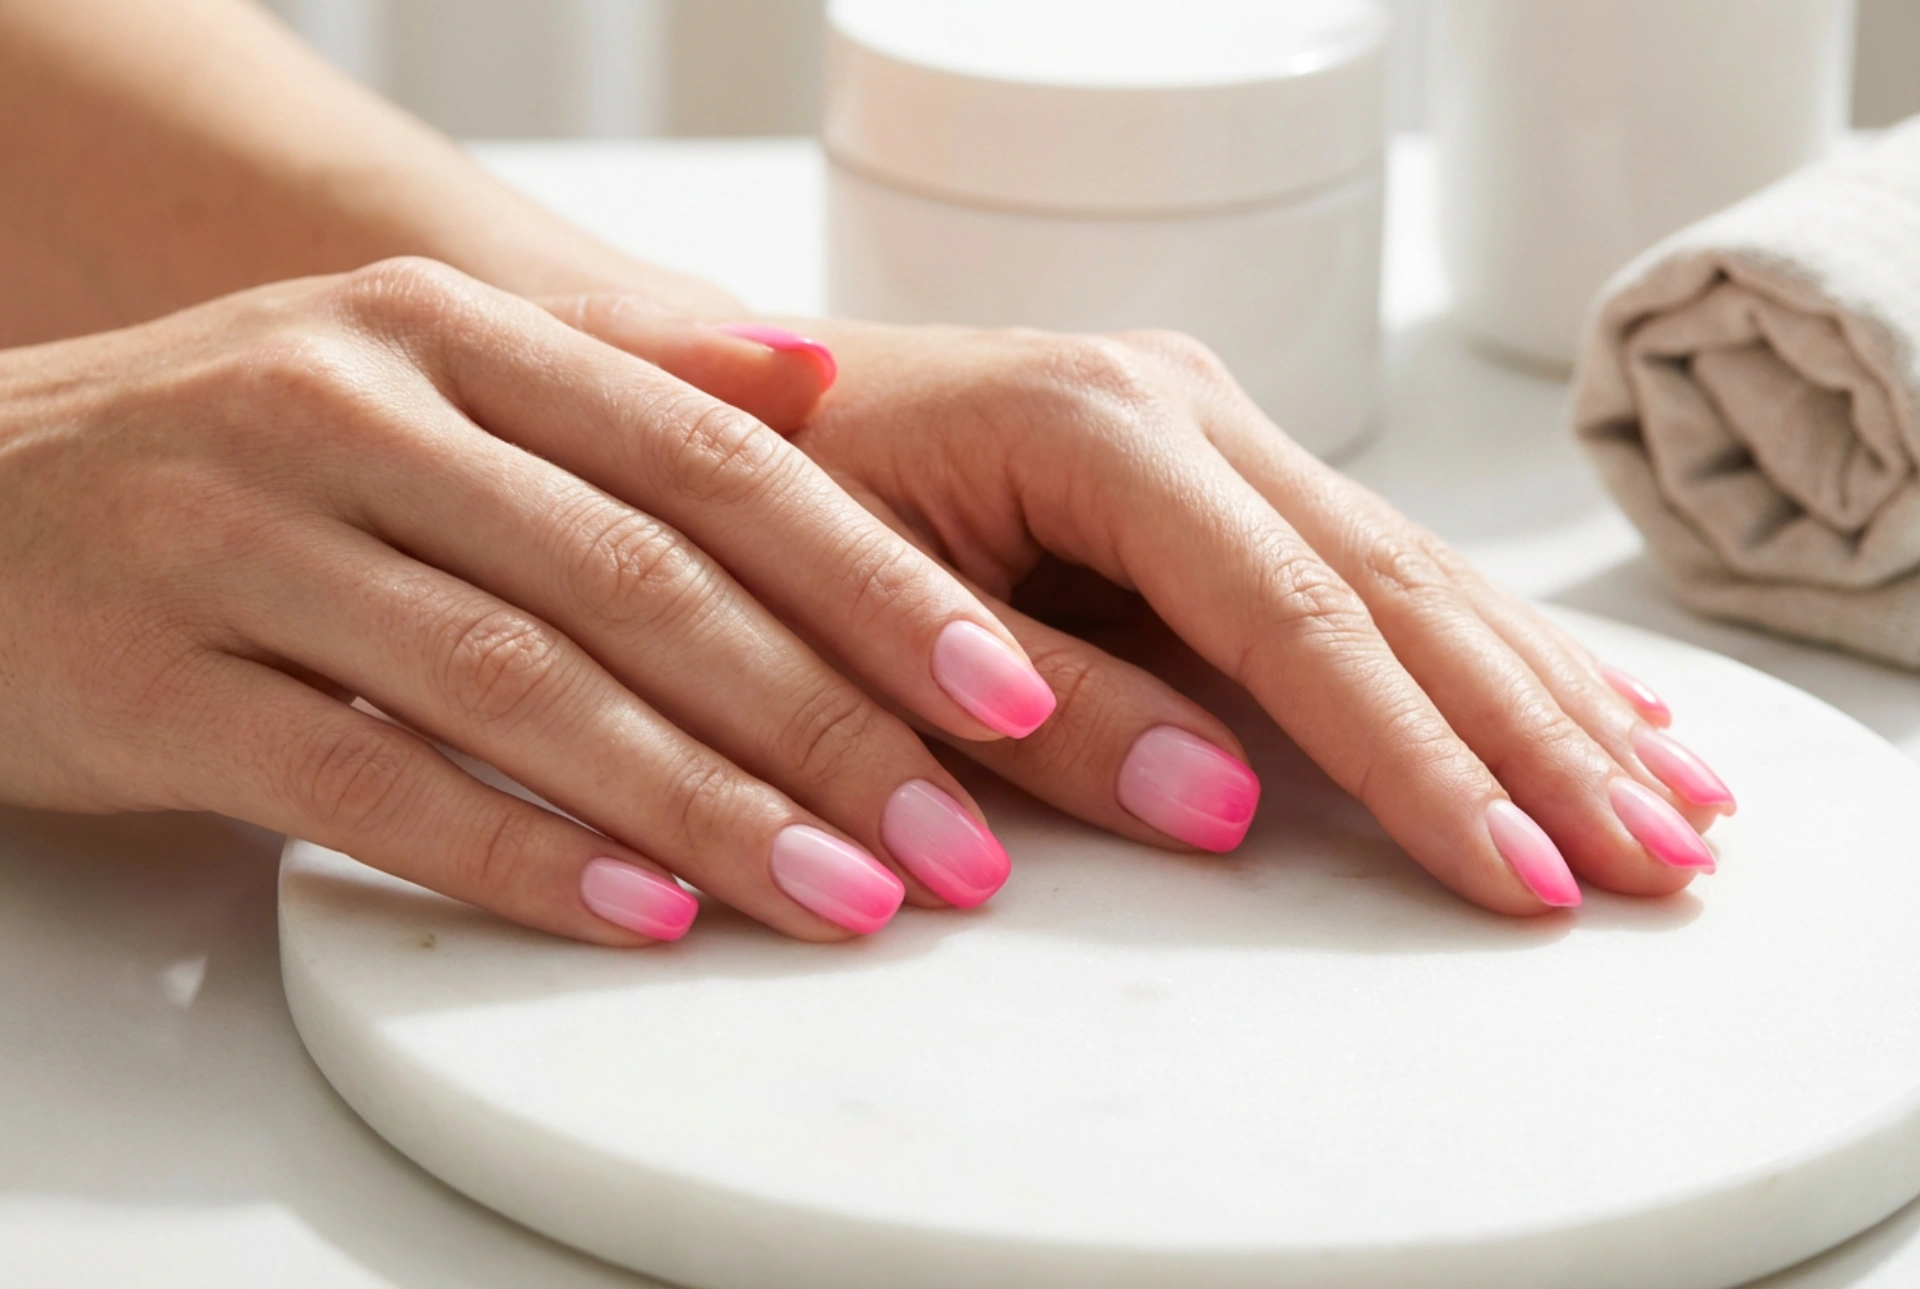


Elegant, manicured hands with a beautiful pink ombre gradient have become a timeless staple in modern nail styling. The seamless transition from a soft baby pink at the cuticle to a vibrant, eye-catching neon pink at the tips creates an incredibly polished and versatile look. Whether you prefer a subtle, classic design or a bold, modern statement, mastering the art of the pink gradient allows you to express your personal style through your manicure right from the comfort of home. This technique, while seemingly complex, can be easily achieved with patience, practice, and the right approach to blending shades.
Understanding the Pink Ombre Gradient
The ombre nail trend relies on a smooth, gradual transition between two or more shades. In the realm of pink manicures, this can range from a very soft, natural transition—frequently referred to as the baby boomer style—to a highly contrasting, energetic shift ending in a brilliant neon pink. The beauty of this design lies in its versatility. Soft pinks provide a neutral, clean backdrop that is suitable for professional environments, while the addition of neon or brighter pink hues adds a playful, modern twist that is perfect for warmer seasons or special occasions.
Achieving a seamless transition requires an understanding of how colours blend together. Because pink is a highly versatile colour family, it pairs beautifully with white, cream, peach, and deeper berry shades. The key to a successful gradient is choosing shades that share a similar undertone, whether cool or warm, to ensure the transition looks soft and deliberate rather than harsh and abrupt.
Tools and Materials Needed for the Perfect Blend
Before beginning your home manicure, it is essential to gather the correct tools. Having everything prepared beforehand ensures that the polish does not dry too quickly during the blending process, which can lead to texture issues or uneven transitions. Here are the core items you will need:
- Nail polishes: You will need at least two shades of pink. For a classic look, select a pale, pastel pink and a mid-tone pink. For a baby boomer effect, choose a milky white and a soft nude-pink. For a vibrant look, opt for a light pink and a bright neon pink.
- Base coat and top coat: A high-quality base coat protects the natural nail plate, while a glossy top coat is the secret weapon for smoothing out any texture created by the blending sponge.
- Blending sponge: A fine-pored cosmetic wedge or a dedicated nail art sponge is crucial. Coarser sponges can leave large air bubbles, whereas fine-pored sponges yield a smooth finish.
- Latex barrier or liquid tape: Applying this around the skin surrounding your nails makes cleanup quick and effortless. Alternatively, you can use a small brush dipped in nail polish remover.
Step-by-Step Guide to Creating the Gradient
Follow these steps carefully to achieve a salon-quality gradient finish at home. Taking your time during each stage will yield the best results.
Step 1: Preparation and Base Coat
Start by preparing your nails. Shape them with a fine nail file, push back your cuticles gently, and cleanse the nail plate to remove any natural oils or dust. Apply a thin layer of protective base coat and let it dry completely. Once dry, apply one to two layers of your lightest chosen pink shade. This serves as the background colour and ensures that the gradient shades applied on top appear vibrant and opaque.
Step 2: Protecting the Surrounding Skin
Because the sponge technique involves dabbing polish beyond the nail plate, protect the skin around your nails. Apply a liquid barrier or tape around the cuticle and side walls of the nail, allowing it to dry. This step saves significant cleanup time later.
Step 3: Preparing the Sponge and Applying Colour
Take your clean cosmetic sponge. Lightly moisten it with water and squeeze out any excess. A slightly damp sponge prevents the polish from absorbing too deeply into the foam, keeping more product on the surface for a better transfer. Paint two parallel horizontal lines of your chosen polishes directly onto the edge of the sponge, ensuring the colours slightly overlap where they meet. This overlap is where the natural blend will occur.
Step 4: Dabbing and Layering
Gently press the sponge onto the nail, moving it slightly up and down to blend the line where the colours meet. Do not press too hard, as this can lift the polish off the nail. Apply a thin layer, then let it dry for a couple of minutes. Repeat this process two to three times, building up the intensity and opacity of the gradient. It is normal for the design to look slightly textured at this stage.
Step 5: Securing and Smoothing the Design
While the final layer of your gradient is still slightly wet, apply a generous layer of glossy top coat. The top coat acts as a blending agent, melting the boundaries between the colours and smoothing out any texture left by the sponge. Once the top coat is applied, carefully peel off the protective barrier around your cuticles and use a small brush with remover to tidy up any stray polish.
Exploring Styles: From Subtle Baby Boomer to Vibrant Neon
The pink ombre technique can be adapted to suit any mood or occasion. Two of the most popular variations offer completely different aesthetics while using the exact same application principles.
The Soft Sophistication of Baby Boomer
The baby boomer style, often referred to as the French ombre, is a modern variation of the classic French manicure. Instead of a sharp white tip, the white fades softly into a delicate, semi-sheer pink base. To achieve this, use a milky white polish at the tip of the nail and a soft nude-pink near the cuticle. The result is an incredibly elegant, clean, and professional look that elongates the fingers and flatters all nail shapes, particularly almond and oval cuts.
The Bold Statement of Neon Pink Ombre
For those who prefer a vibrant, energetic manicure, the neon pink ombre is an excellent choice. This style looks particularly striking during the summer months or for holidays. By transitioning from a soft, pastel pink at the base to an electric, glowing neon pink at the free edge, you create a striking contrast. To make neon shades pop even more, you can apply a solid white base coat before starting the gradient process on the sponge.
Essential Maintenance and Care for Your Manicure
To keep your pink ombre manicure looking fresh and glossy for as long as possible, regular maintenance is recommended. Apply a fresh layer of top coat every few days to protect the tips from chipping and to maintain that smooth, glass-like finish. Hydration is also key; apply cuticle oil daily to keep the skin around your nails soft and healthy, which beautifully frames your expertly blended ombre design.




