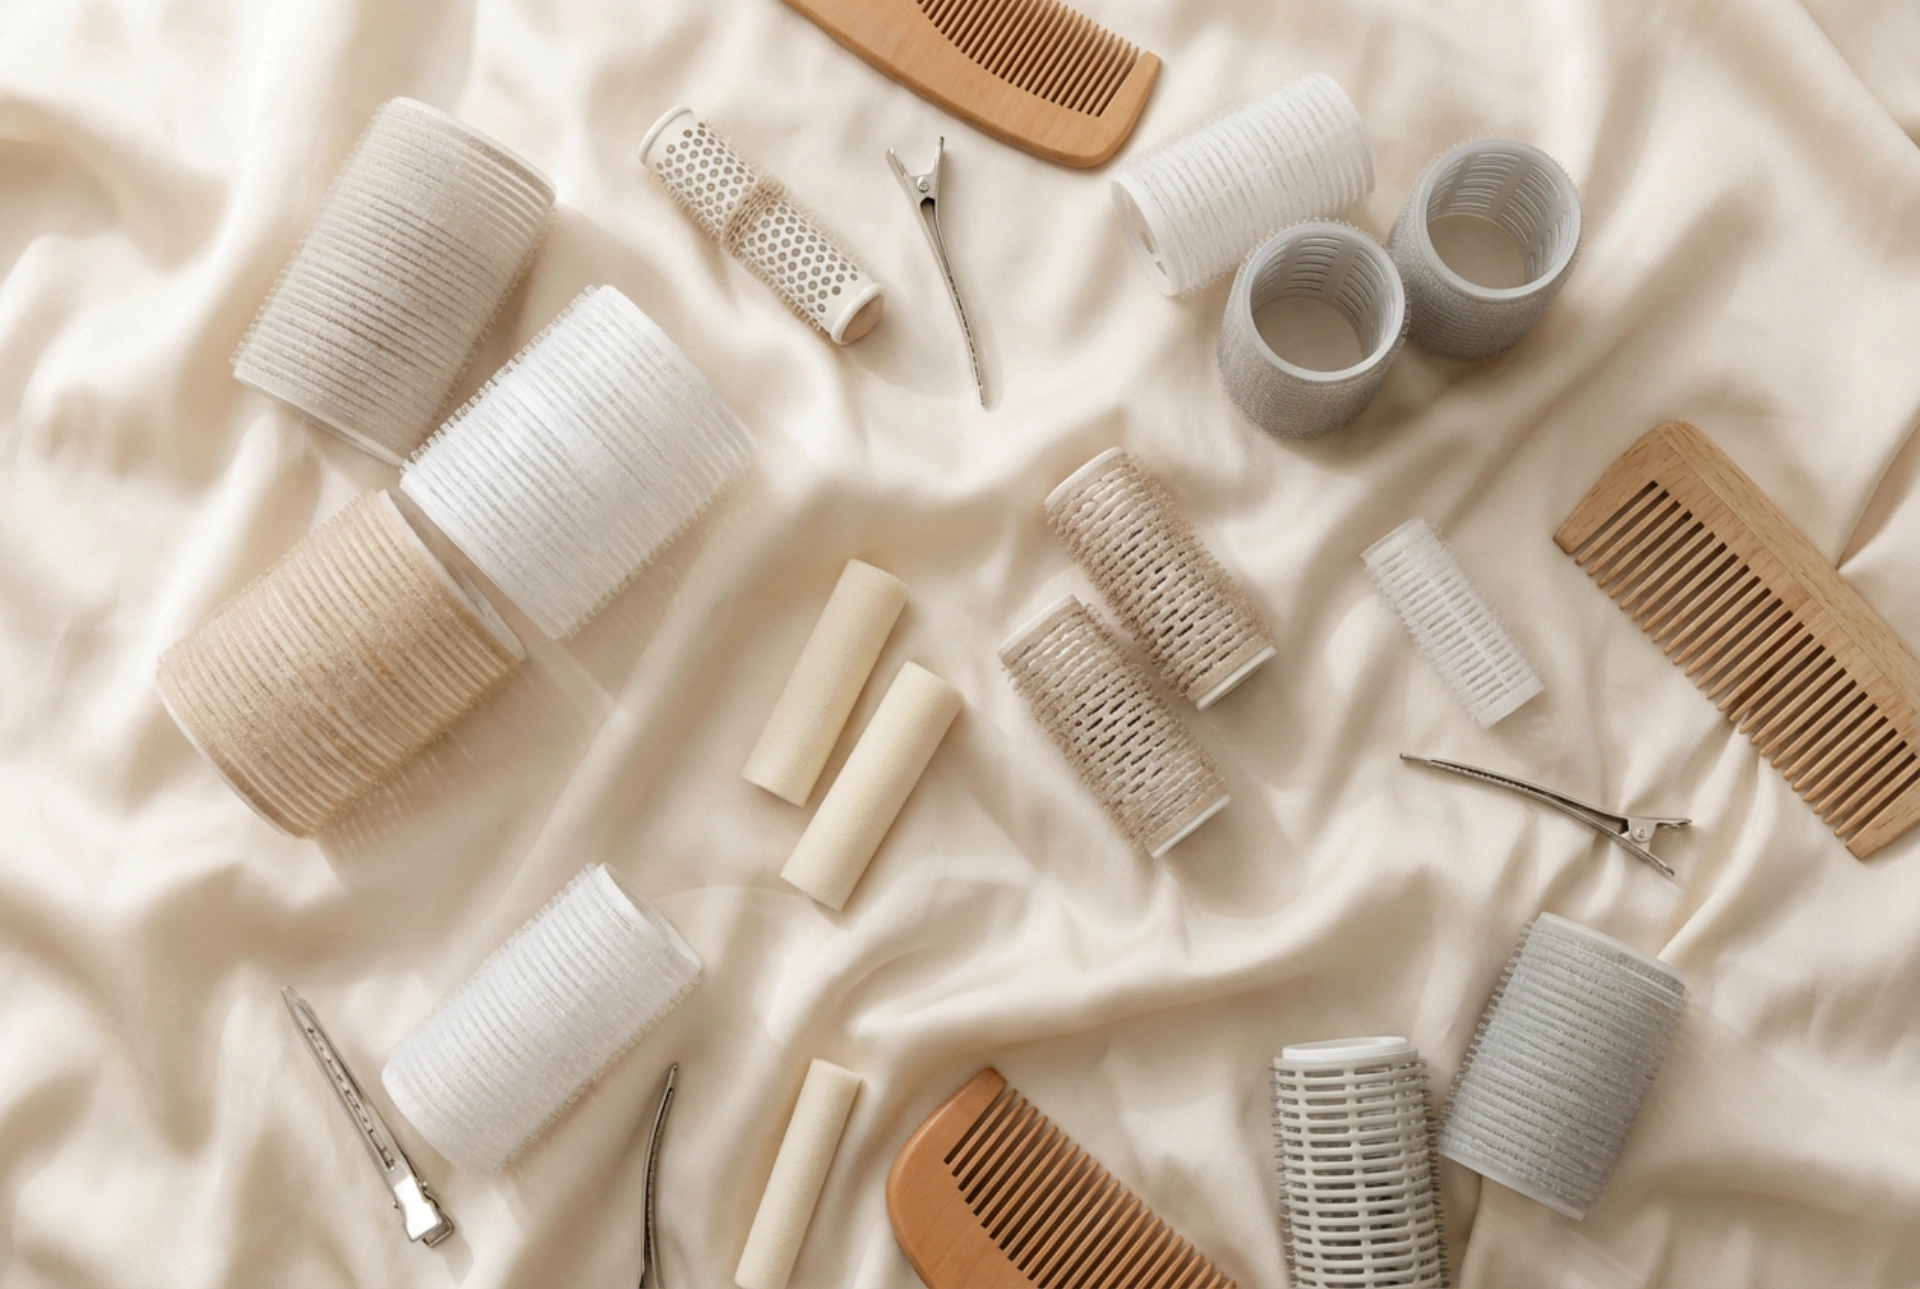


Creating salon-worthy volume and beautifully defined curls at home often begins with selecting the right tools. When observing a collection of professional hair rollers arranged on a soft, creamy fabric, it is easy to appreciate how their diverse sizes and unique textures can transform any styling routine. From soft foam options to classic Velcro cylinders, the variety available allows for endless creativity in achieving texture, lift, and movement. Understanding how these tools differ and mastering their application is the key to elevating your home hair care and styling rituals.
Understanding the Different Types of Hair Rollers
Before selecting a set of rollers, it is essential to understand the materials and designs available. Each type of roller serves a distinct purpose and is suited to different hair types and styling goals.
Velcro Rollers
Velcro rollers are perhaps the most versatile and popular option for dry styling. They feature a textured surface that grips the hair without the need for additional clips or pins. They are exceptional for adding volume at the roots and creating a soft, bouncy blowout effect. However, they must be used with care on fine or easily tangled hair to prevent snagging.
Heated Rollers
Designed for quick styling, heated rollers use thermal energy to set curls rapidly. They are excellent for creating long-lasting waves and defined curls. Because they utilise gentle heat, they are generally less damaging than traditional curling irons, provided a heat protection spray is applied beforehand.
Foam and Flexi Rods
Foam rollers and flexible rods are ideal for heat-free styling. Often used overnight, these soft rollers are comfortable to sleep in and are perfect for creating tight, bouncy curls or spiral waves. Because they do not rely on heat, they are highly gentle on delicate or dry hair strands.
Selecting the Ideal Roller Size for Your Desired Finish
The diameter of the roller directly dictates the type of curl or wave you will achieve. Choosing the correct size is crucial for meeting your styling expectations.
- Large and Extra-Large Rollers: Best for creating maximum volume at the crown and smooth, rounded ends. They do not produce distinct curls but rather a polished, voluminous blowout appearance.
- Medium Rollers: Perfect for creating loose, romantic waves and bouncy body. They work exceptionally well on medium to long hair lengths.
- Small Rollers: Designed for tight, defined curls and corkscrew spirals. They are also highly effective for styling shorter hair lengths that require extra texture and structure.
How to Prepare Your Hair for Roller Styling
The longevity and appearance of your styled hair depend heavily on the preparation process. Skipping these foundational steps can lead to limp curls or unwanted frizz.
Start by washing your hair with a gentle shampoo and a lightweight conditioner. Avoid heavy masks that might weigh down the roots. Gently towel-dry your hair, ensuring you do not rub the strands roughly, as this can cause cuticle damage. Apply a lightweight styling mousse or setting lotion evenly through the damp strands. This provides the necessary hold to keep the curls in place once the rollers are removed. If using heated rollers, ensure the hair is completely dry and treated with a heat protection product before application.
Step-by-Step Application Technique
Achieving a symmetrical and polished look requires a structured approach to sectioning and winding the hair.
Step 1: Sectioning the Hair
Divide your hair into clean, manageable sections using a tail comb. A standard approach is to create a central Mohawk section from the forehead to the nape of the neck, followed by two side sections. The width of each section should match the width of the roller you are using.
Step 2: Winding the Strands
Take a section of hair, comb through it to ensure it is completely smooth, and hold it at a ninety-degree angle from your scalp. Place the roller at the ends of the hair and wind it smoothly down towards the roots. Ensure the hair is wound tautly but comfortably to avoid pulling on the scalp. Secure the roller with a clip if necessary.
Step 3: Setting the Style
If you are using damp rollers, allow the hair to dry completely naturally or use a hair dryer with a diffuser on a cool setting. For heated rollers, leave them in the hair until they have cooled down entirely, which usually takes about twenty to thirty minutes. This cooling phase is critical as it sets the hair's structure into the shape of the roller.
Gentle Removal and Final Touches
Removing the rollers incorrectly can ruin your hard work by creating tangles and frizz. Take your time during this final step to preserve the definition and shine of your curls.
Unwind each roller carefully, starting from the bottom sections and working your way up to the crown. Never pull or yank the rollers out, especially Velcro ones. Once all the rollers are removed, resist the temptation to brush through the curls immediately. Allow the hair to rest for a couple of minutes to cool down completely. Gently shake out the curls using your fingers, or use a wide-tooth comb for a softer, more integrated wave pattern. Finish with a light mist of flexible-hold hairspray to ensure your beautiful, bouncy style lasts throughout the day.