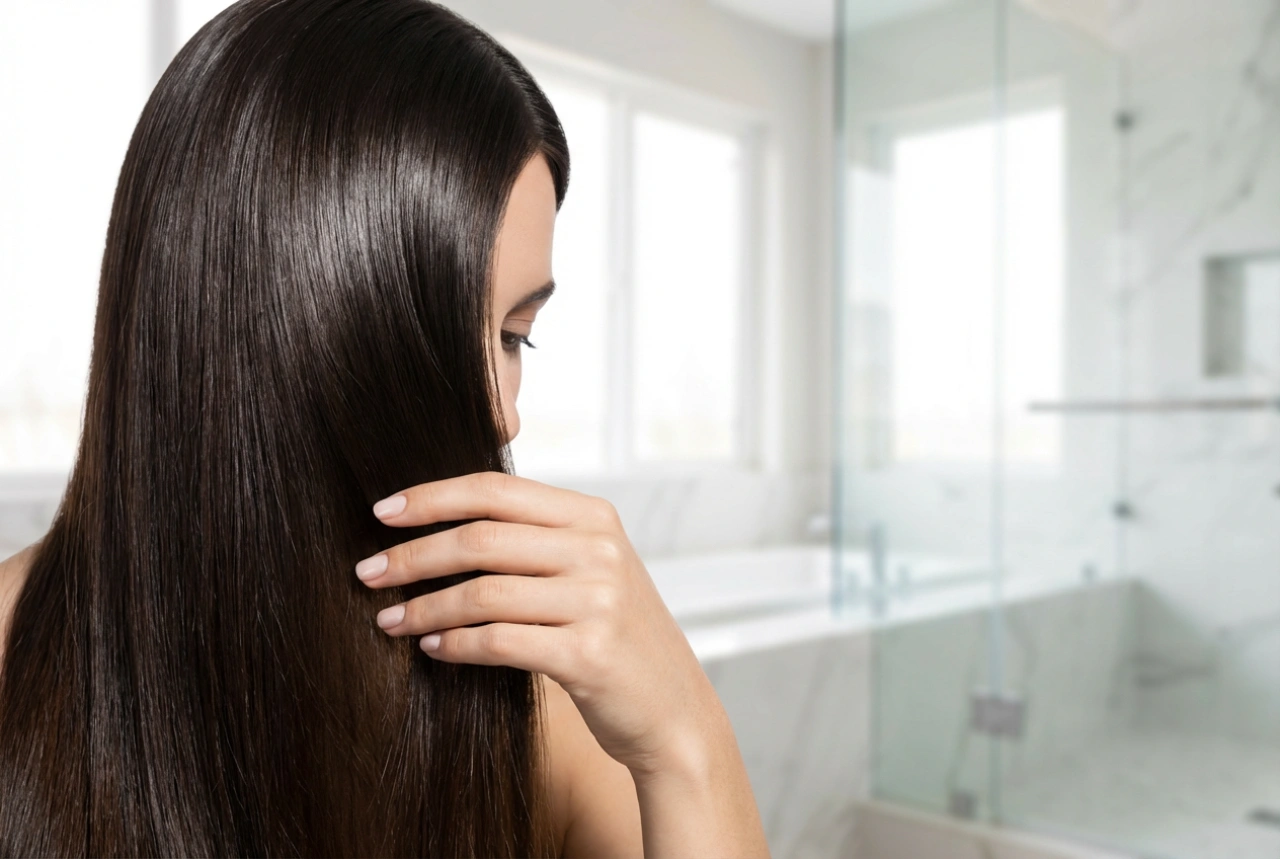


Achieving a salon-quality, sleek finish at home is a desire for many who appreciate the elegant beauty of perfectly styled hair. There is a distinct, satisfying feeling in gliding a professional-grade styling tool through smooth, dark strands, watching them transform into a glossy, light-reflective canvas. While professional hair straighteners are highly effective, achieving that flawless, healthy-looking finish requires more than just high heat. It demands a refined technique, proper hair preparation, and an understanding of how to protect the hair structure during heat styling.
Understanding the Essentials of Professional Straightening Tools
Professional straighteners differ significantly from basic models, primarily in their heat distribution, plate materials, and temperature control. High-quality plates, often made of ceramic, titanium, or tourmaline, ensure that heat is distributed evenly across the entire surface. This prevents hot spots that can cause localized damage or uneven styling. When styling at home, utilizing a tool with adjustable temperature settings is crucial. Different hair textures require specific heat levels; fine or chemically treated hair should never be subjected to the same temperature as thick, coarse locks.
Preparing Your Hair for Heat Styling
The foundation of any successful heat styling routine begins long before the straightener is plugged in. To achieve a smooth, long-lasting finish while preserving the natural strength of your hair, a structured preparation routine is essential. First and foremost, never use a straightener on damp or wet hair. When water is trapped within the hair shaft and suddenly exposed to high temperatures, it turns to steam, expanding rapidly and causing structural damage known as bubble hair. Always ensure your hair is completely dry, either by air-drying or using a blow dryer on a moderate setting. Investing time in a thorough wash and conditioning routine beforehand also pays off, as clean hair with closed cuticles responds far better to thermal styling and retains its straightness for longer without frizzing.
The Role of Heat Protection
Before applying any heat, it is vital to coat the strands with a high-quality heat protectant. These products create a lightweight, invisible barrier that slows down heat conduction, distributing the thermal energy more evenly. Spray or apply the protectant thoroughly through damp hair before drying, or lightly mist dry hair before styling, ensuring every section is covered from roots to ends. This step is non-negotiable for maintaining moisture, elasticity, and a healthy shine.
Step-by-Step Guide to Perfect Home Styling
To replicate the precise results of a professional stylist, patience and sectioning are your best tools. Rushing through large chunks of hair often leads to uneven results and repetitive passes, which unnecessarily increases heat exposure.
Sectioning the Hair
Divide your dry, detangled hair into manageable sections. Start by parting your hair horizontally from ear to ear, securing the top half with a clip. Work with small sections, about two to three centimetres wide. If you can see through the section of hair you are holding, it is the perfect thickness. Working systematically from the bottom layers to the top ensures that no strand is missed and that the heat is applied uniformly.
The Glide Technique
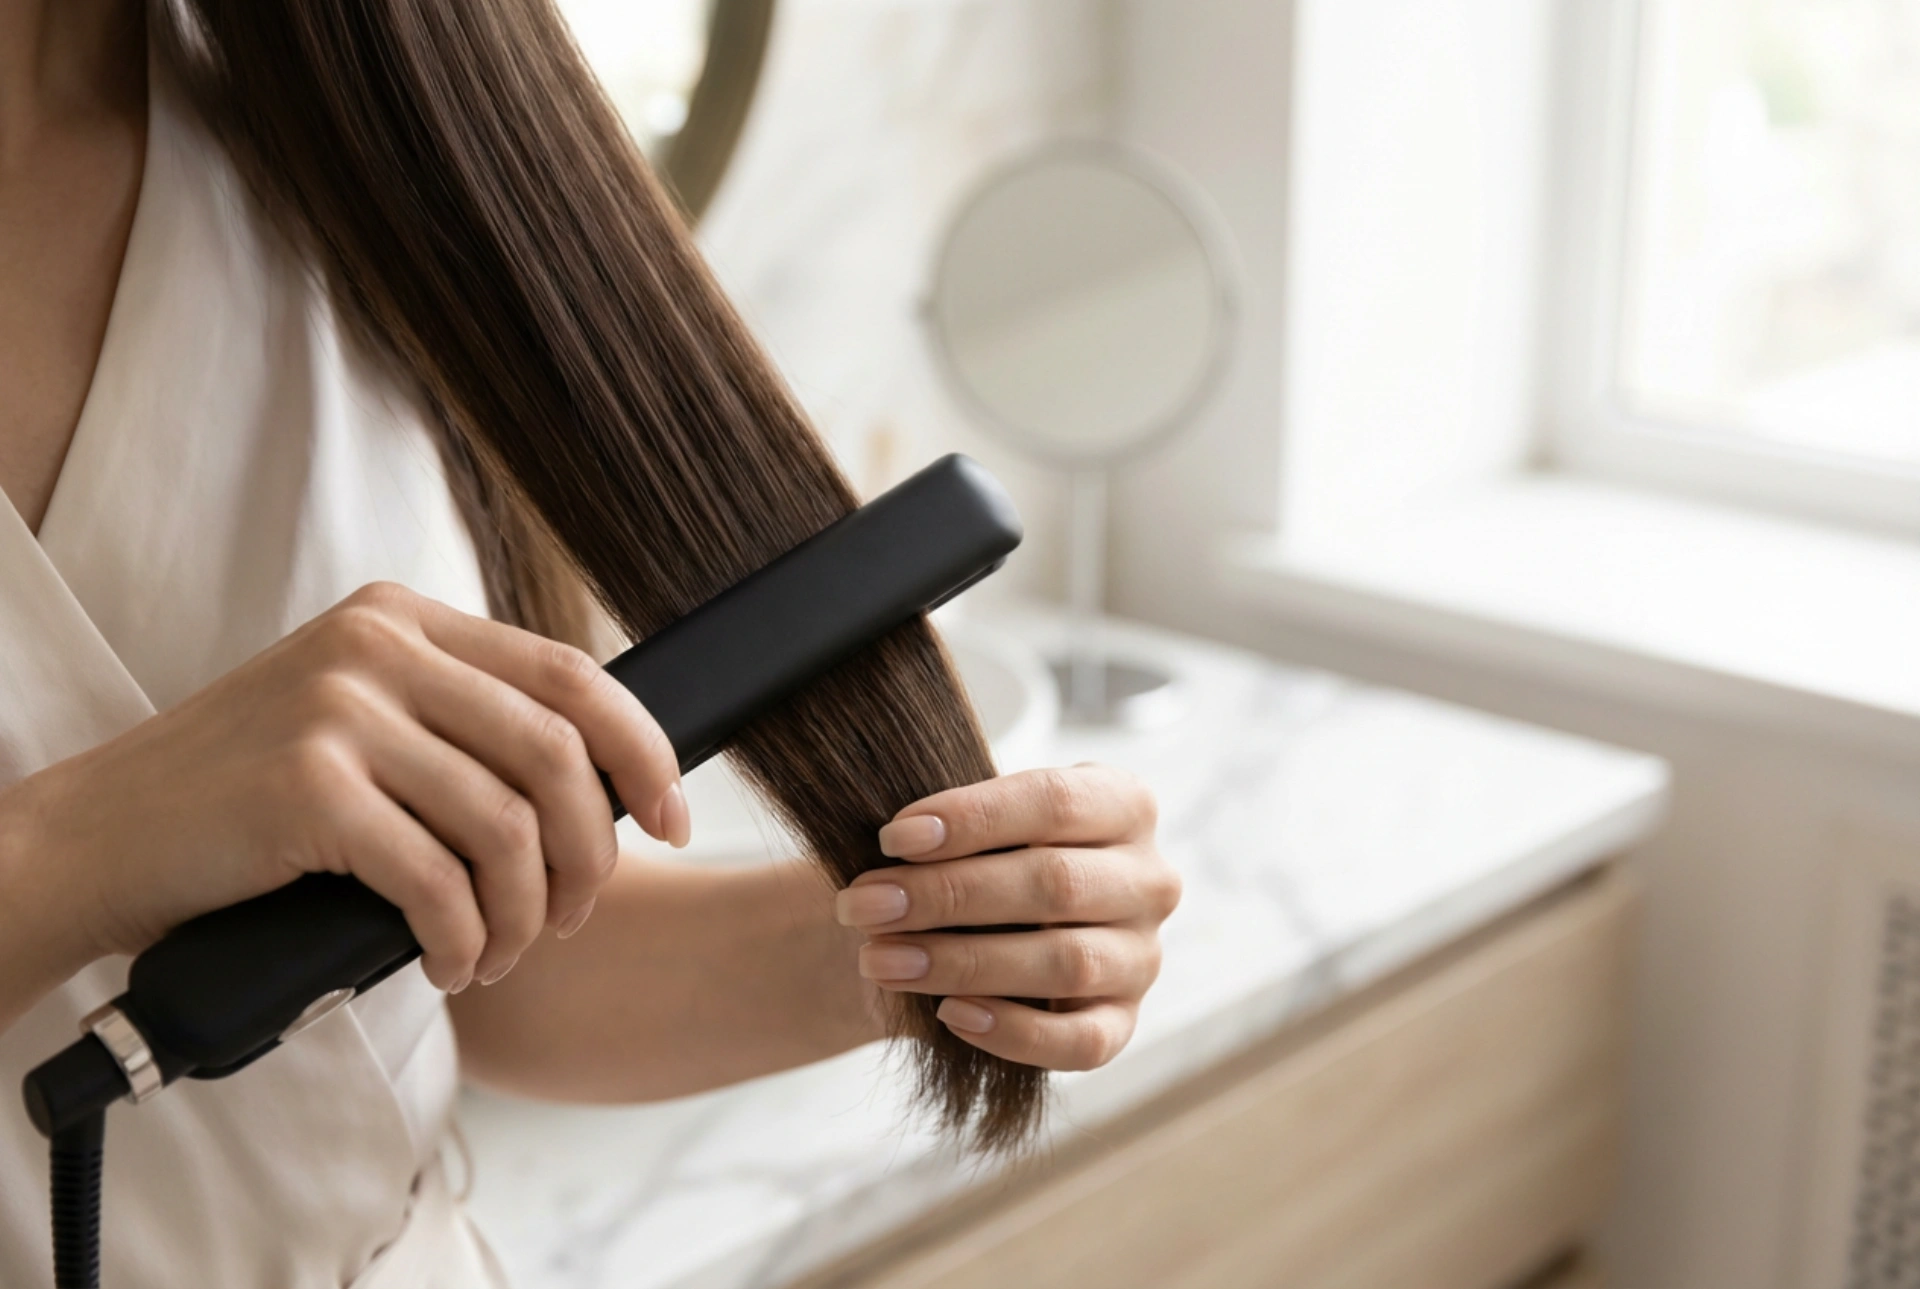
Hold a section of hair firmly at the ends to create gentle tension. Place the straightener near the roots, being careful not to touch the scalp. Smoothly and slowly, glide the tool down the hair shaft in one continuous motion. Avoid stopping or pausing along the strand, as this can create unsightly creases and heat damage. For a natural look, bevel the straightener slightly inward as you reach the ends of the hair. One or two slow, controlled passes per section are far better than multiple quick, frantic strokes. Additionally, using a fine-tooth comb just ahead of the straightener—a method often called the comb chase technique—can help align the hair fibres perfectly before the plates pass over them, yielding an incredibly smooth result.
Creating Soft Waves with a Straightener
Modern professional straighteners are versatile tools capable of more than just creating pin-straight locks. With a simple twist of the wrist, they can be used to create soft, elegant waves that add volume and movement to your style. To achieve this, take a vertical section of hair, clamp the straightener near the mid-lengths, and rotate the tool 180 degrees away from your face. Maintaining a gentle grip, slide the straightener down to the ends of the hair. Once released, allow the curl to cool completely before gently running your fingers through it to soften the wave into a natural, bouncy finish.
Post-Styling Care and Tool Maintenance
Once you have finished styling, let your hair cool down completely before applying any finishing products. A tiny drop of lightweight hair oil or serum smoothed over the mid-lengths and ends can seal the cuticle, lock out humidity, and add a beautiful, radiant gloss. Additionally, caring for your styling tool is essential for its longevity and performance. Styling products can leave a sticky residue on the plates over time, which can drag on the hair and cause uneven heating. Once the straightener is completely cool and unplugged, wipe the plates down with a soft, damp microfibre cloth to keep them clean and smooth.