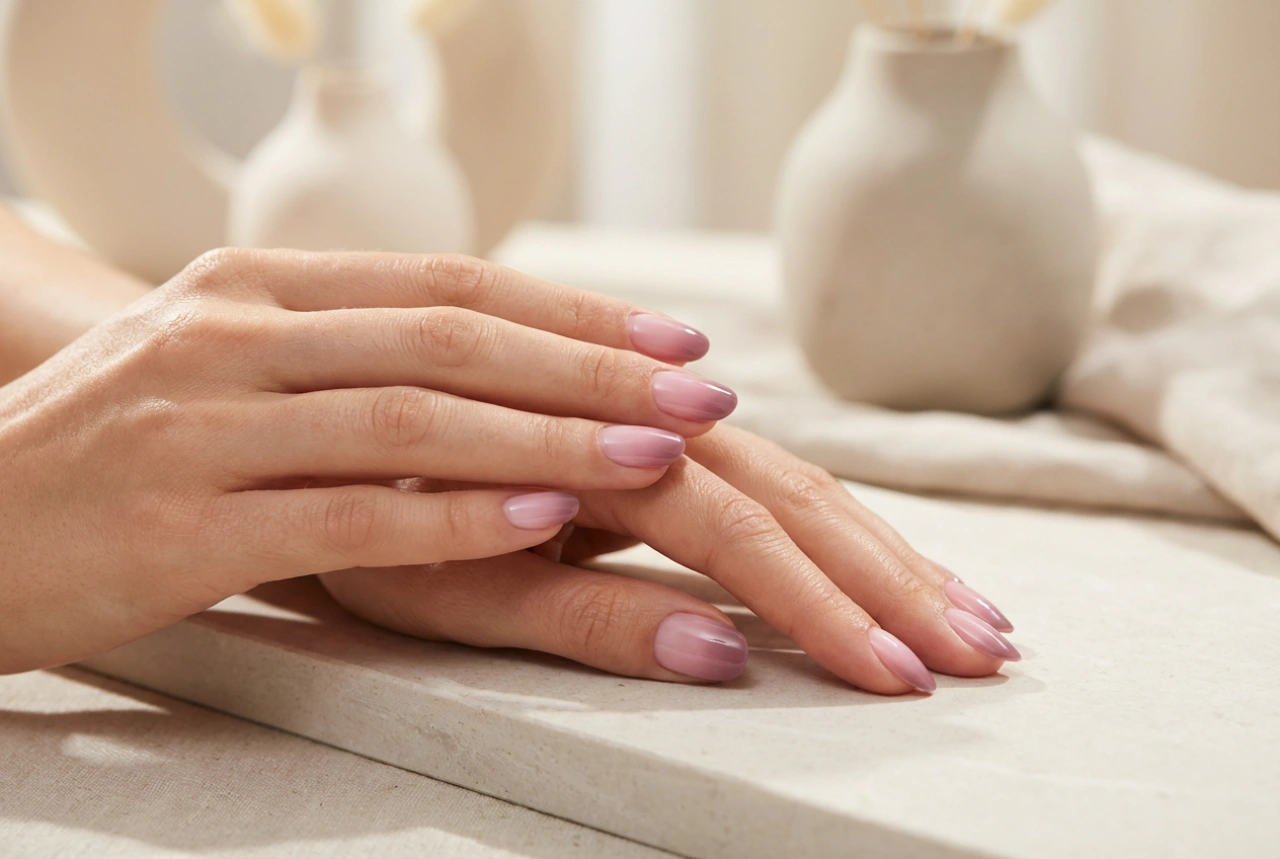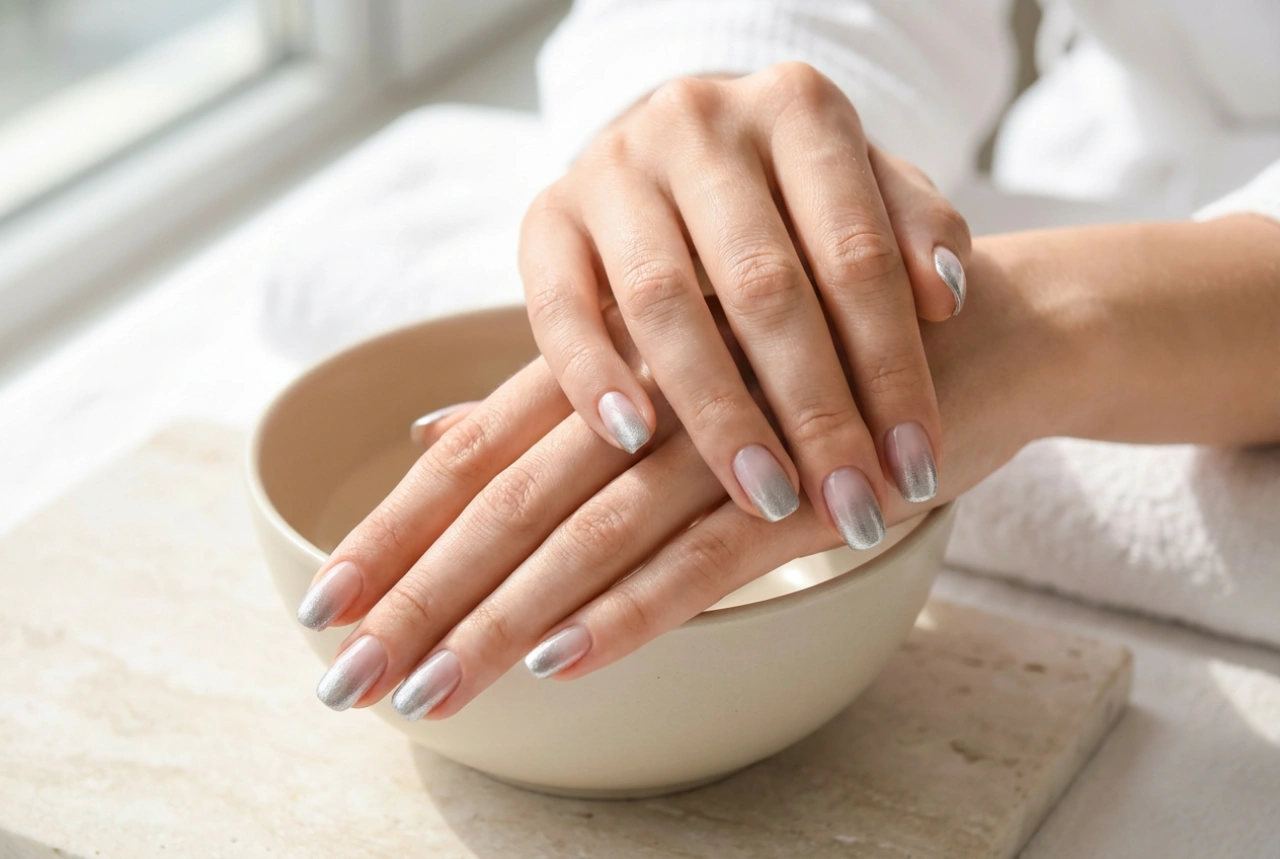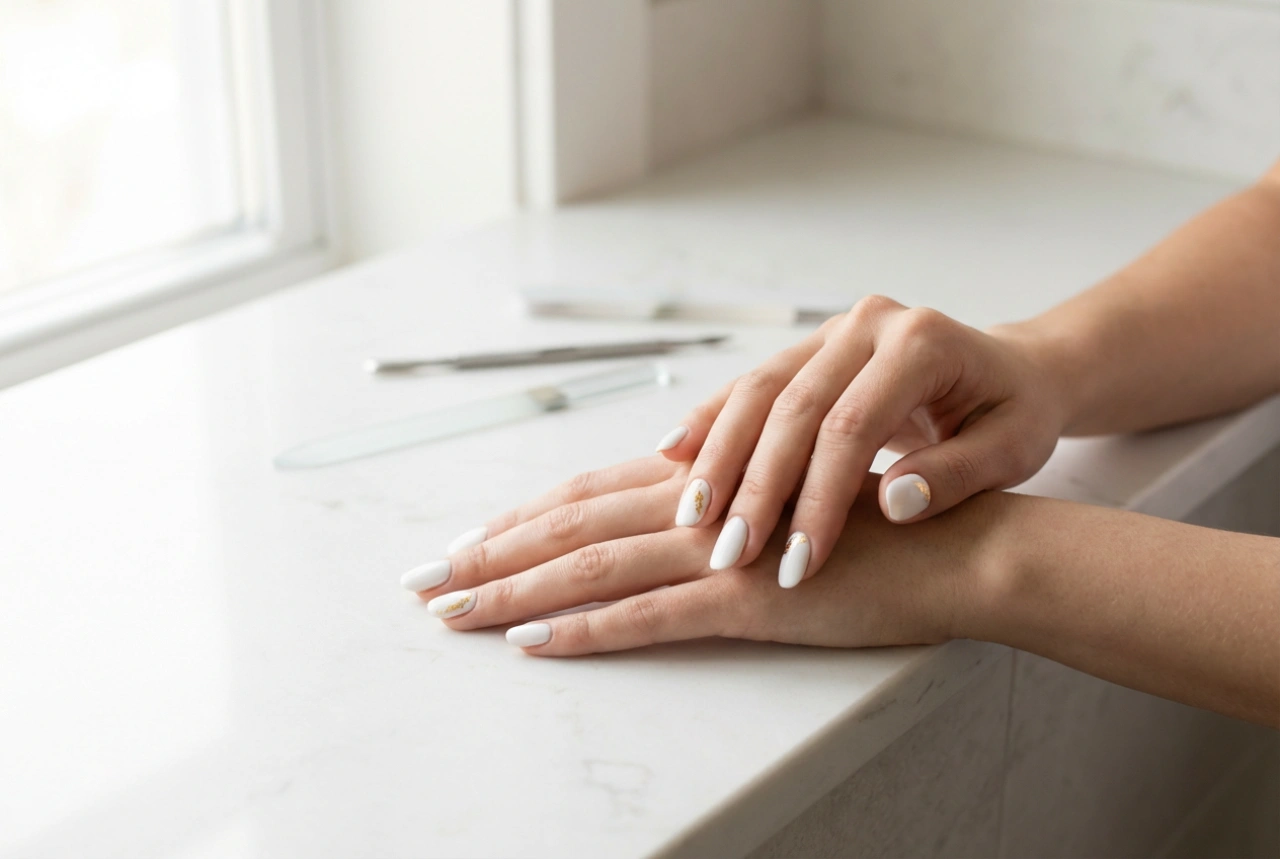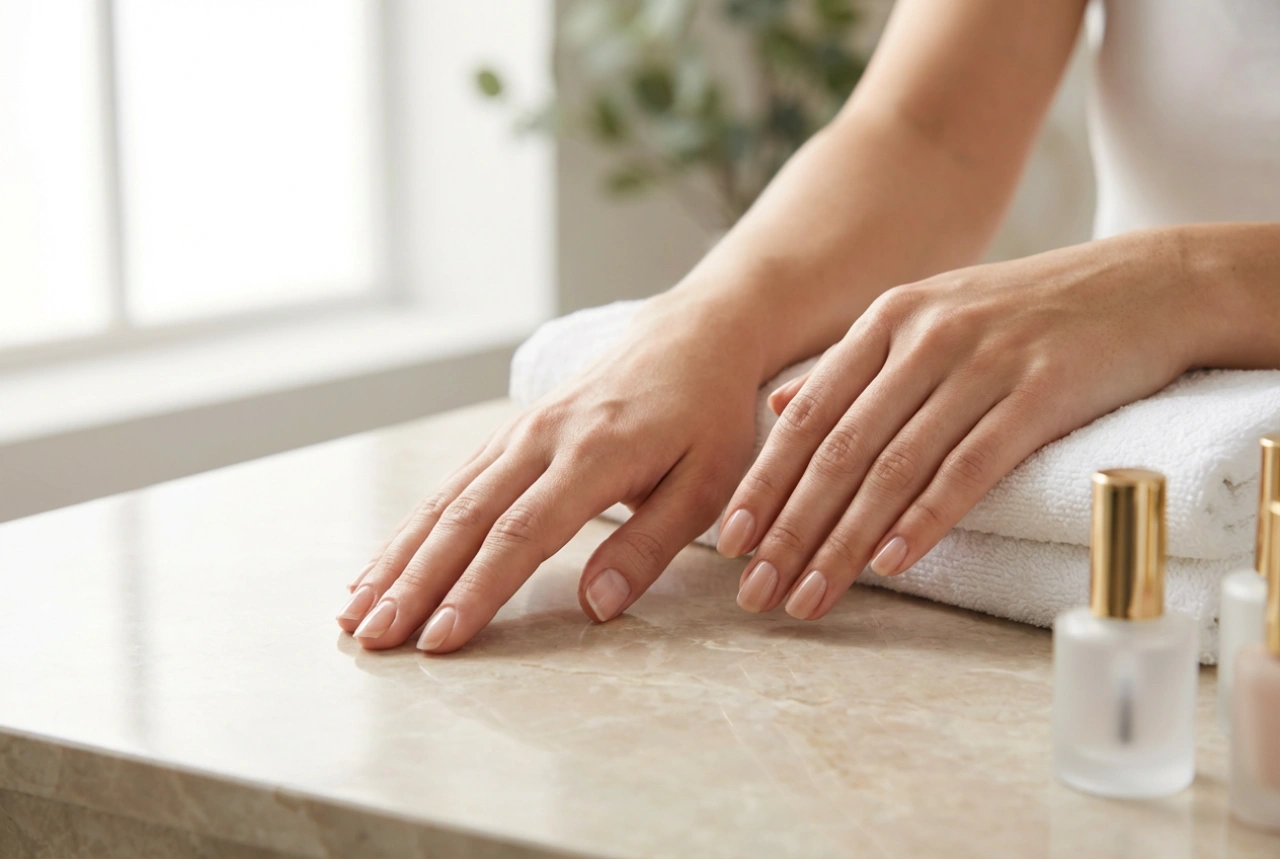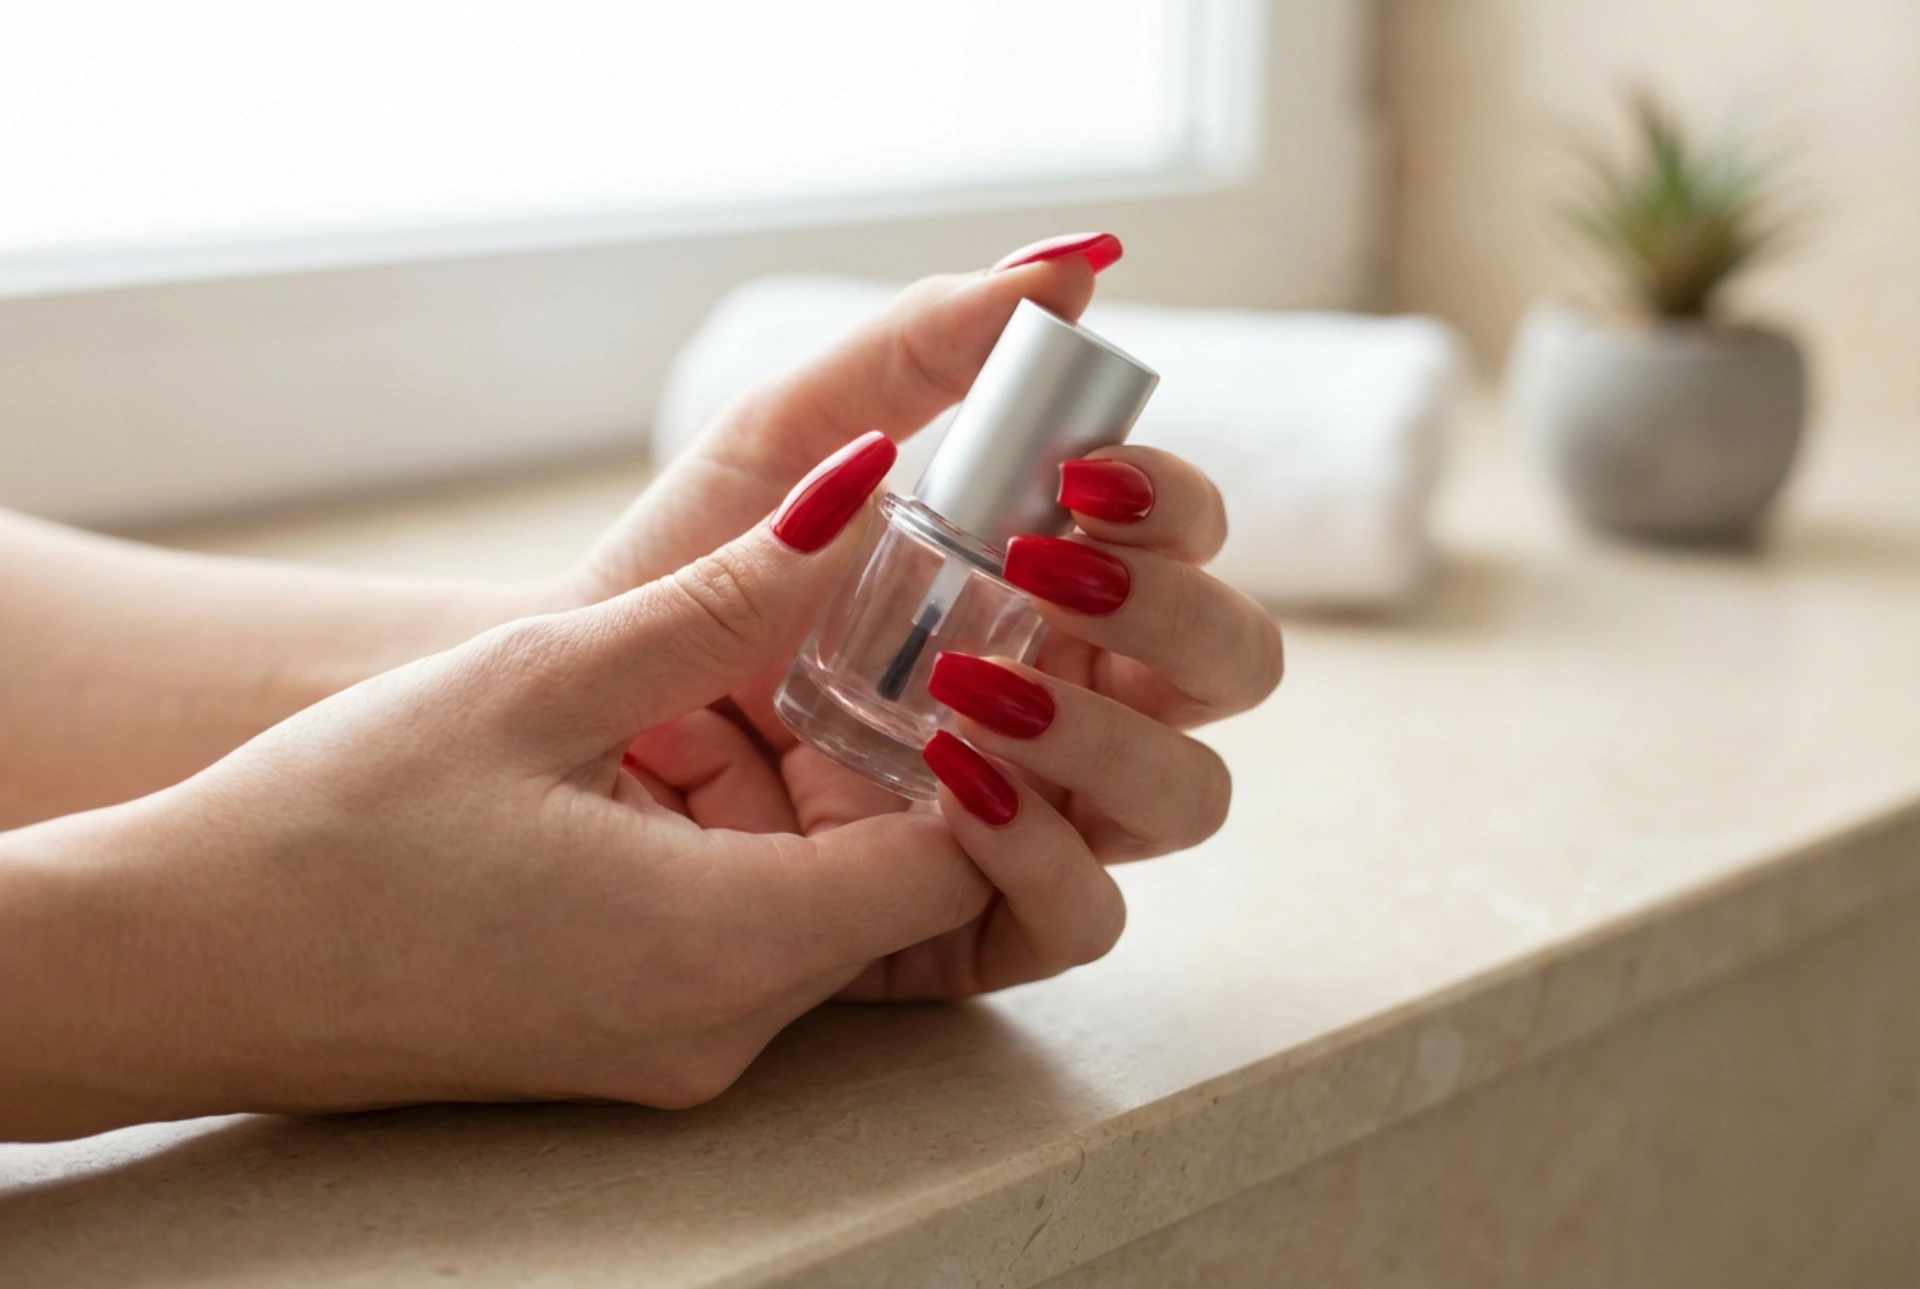


Elegant, long red nails have always been a symbol of classic beauty and sophistication. Seeing graceful hands showcasing beautifully shaped, vibrant red nails with a flawless, glossy finish evokes a sense of timeless style. Whether held against a minimalist backdrop or catching the soft, diffused rays of natural light, a perfect red manicure looks striking and polished. Achieving this pristine look at home requires patience, the right technique, and an understanding of how to shape and paint your nails evenly.
Choosing and Crafting the Perfect Shape
Before reaching for the polish bottle, the foundation of a stunning manicure lies in the shape of the nails. Long nails offer a versatile canvas, but they also require strategic shaping to ensure they remain strong and elegant.
The Classic Almond and Oval
Almond and oval shapes are incredibly popular for long nails as they elongate the fingers and provide a natural, soft appearance. To achieve a perfect almond shape, find the centre point of your nail tip and gently file both sides inward at an angle, rounding off the peak to prevent sharp edges. Oval nails follow a similar technique but maintain a wider, more rounded tip. These shapes are highly resilient as they lack sharp corners that are prone to catching and chipping.
The Modern Square and Coffin
If you prefer a bolder, contemporary look, square or coffin shapes are excellent choices. A square shape is achieved by filing straight across the top and keeping the sides perfectly parallel. For a coffin shape, file the sides inward slightly to taper them, and then file the tip completely flat. While these styles are eye-catching, they require careful maintenance to keep the edges smooth and prevent breakage.
Preparing the Nail Plate for Seamless Application
A flawless red manicure relies heavily on the preparation of the nail surface. Red pigment is notorious for highlighting every single imperfection, bump, or ridge on the nail plate. Taking the time to prepare your nails ensures a smooth base and prolongs the life of your polish.
- Gently Buffing: Use a high-quality buffer to smooth out any ridges on the surface of the nail. Be careful not to over-buff, as this can thin out and weaken the nail plate.
- Cleansing the Surface: Wipe each nail thoroughly with a lint-free pad soaked in a gentle dehydrator or rubbing alcohol. This removes natural oils, dust, and moisture, allowing the base coat to adhere perfectly.
- Cuticle Care: Soften and gently push back the cuticles using a wooden stick. Avoid cutting them excessively; instead, focus on clearing the dead skin from the nail plate so the polish can be applied right up to the base without flooding the cuticle area.
The Masterclass in Even Red Polish Application
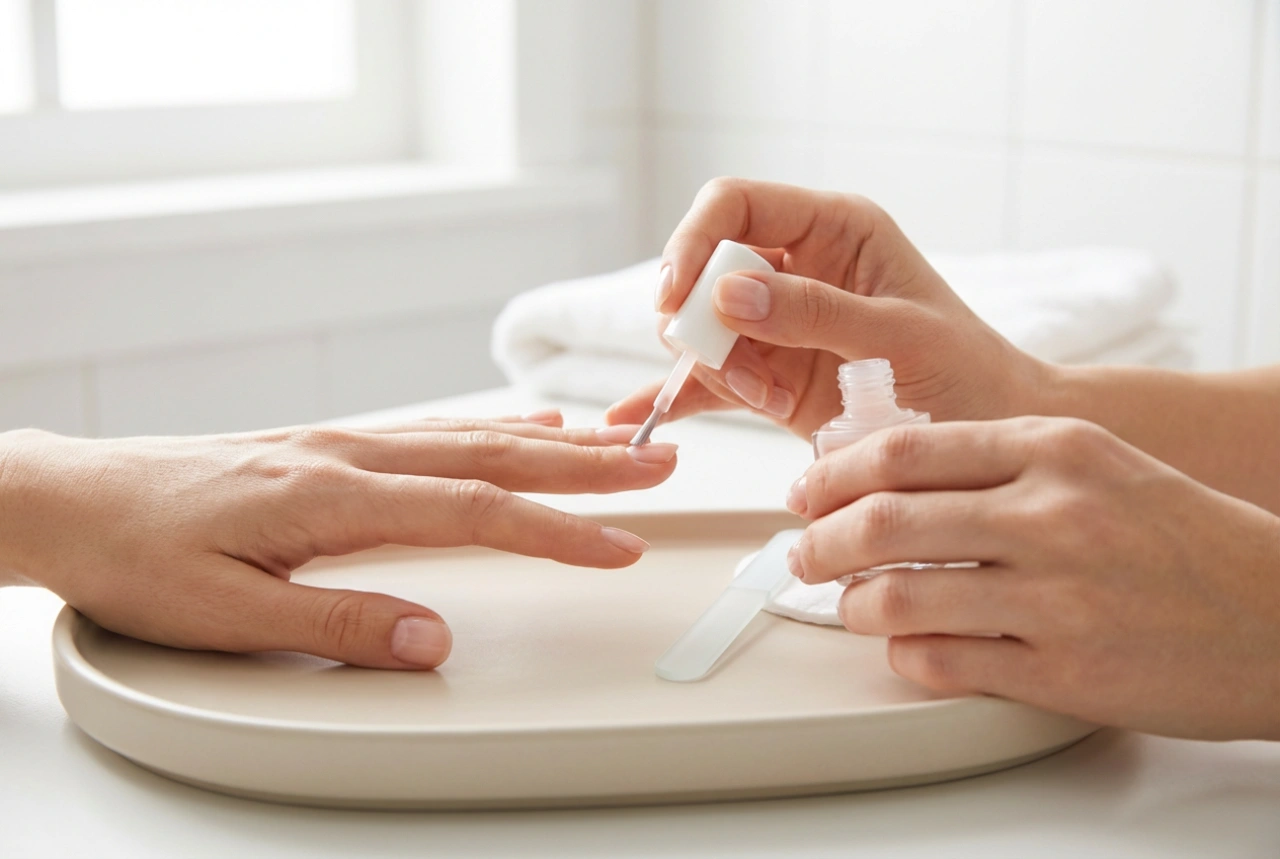
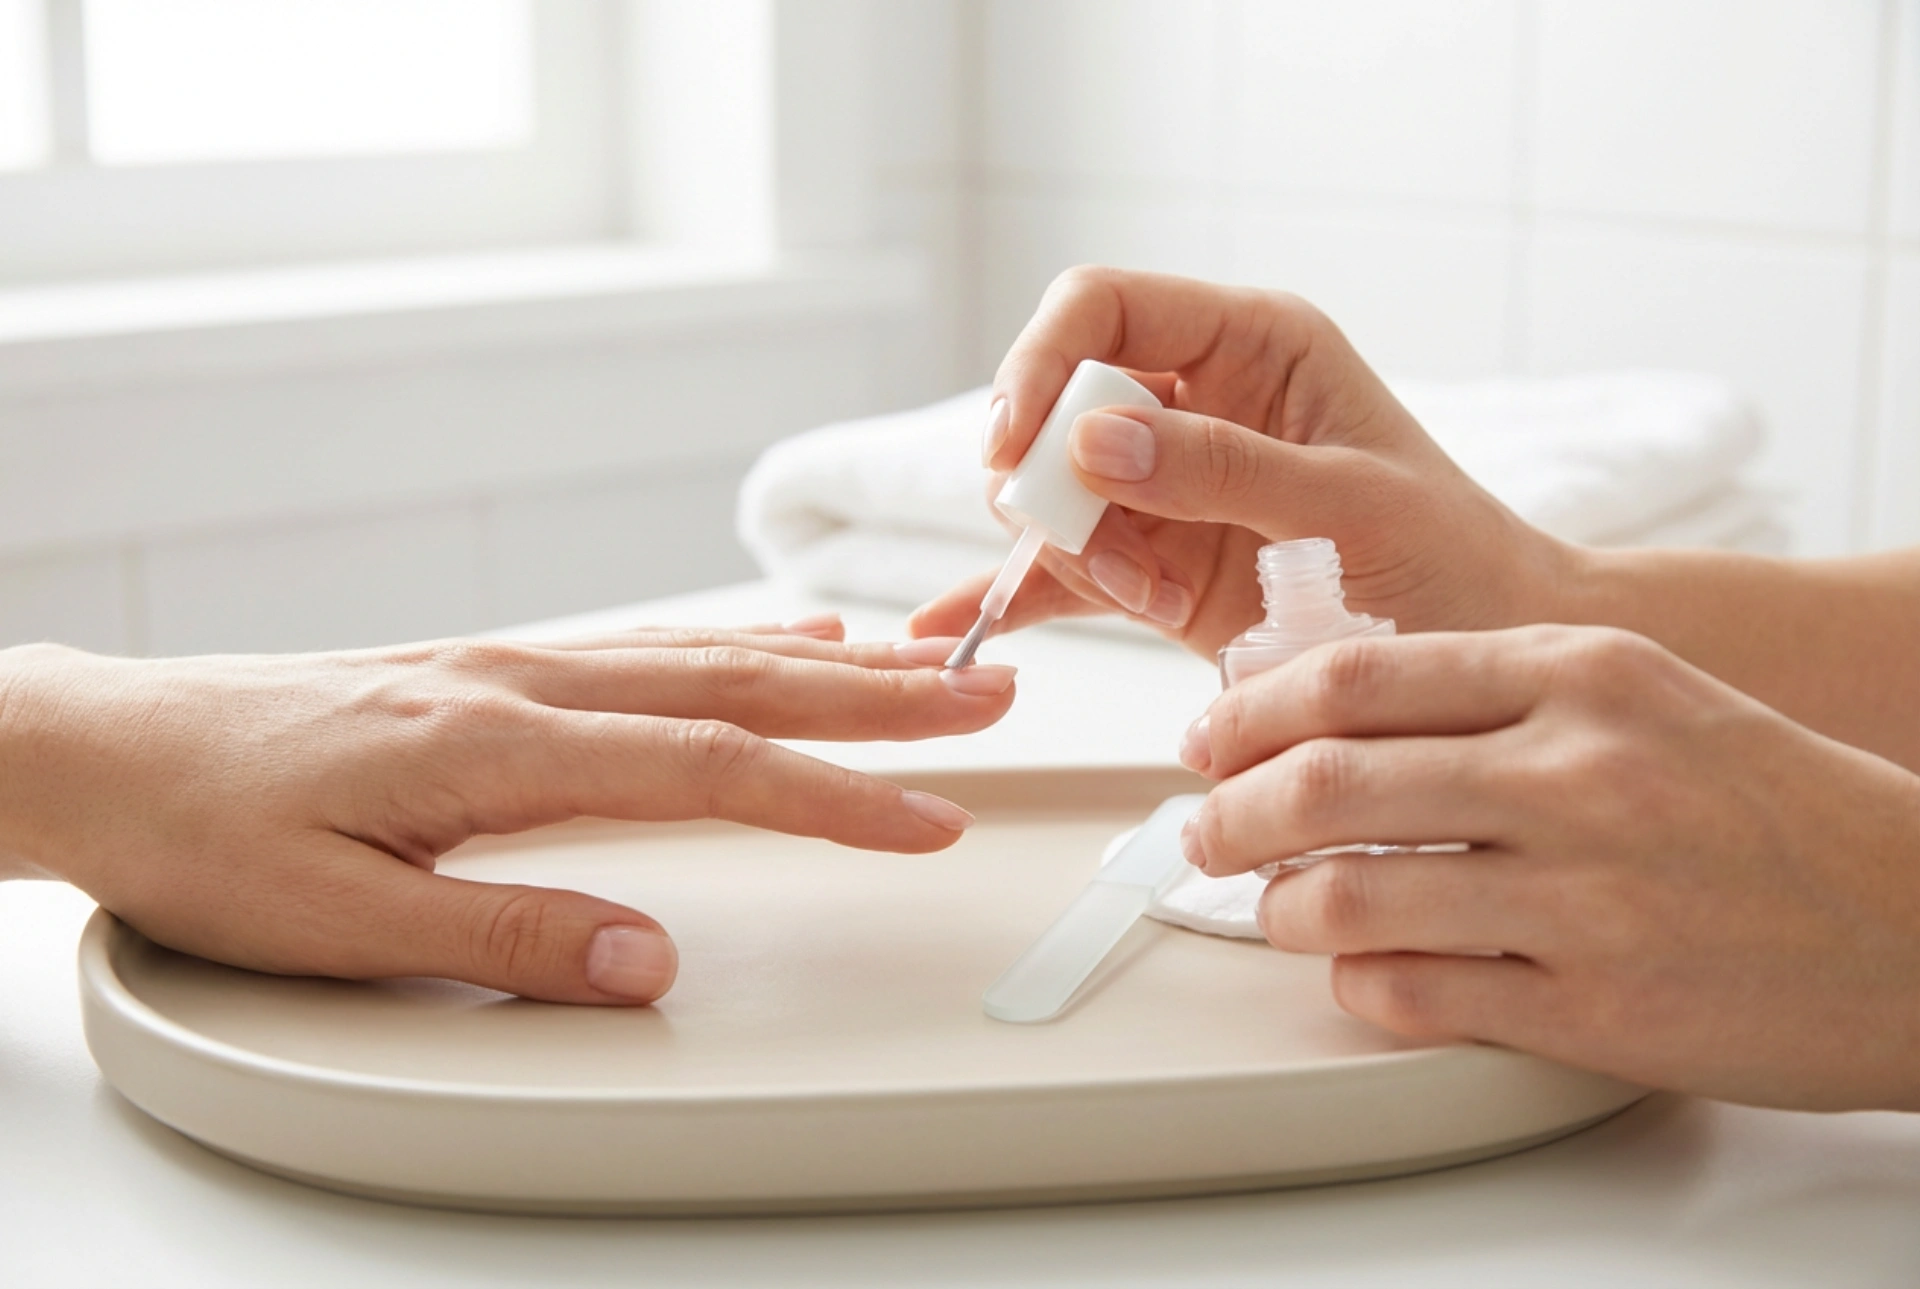
Applying vibrant red polish can be intimidating, but breaking it down into structured steps ensures a clean, professional finish. The key is to work with thin, controlled layers rather than trying to achieve full opacity in one thick coat.
The Importance of a Base Coat
Never skip the base coat, especially when working with rich pigments like red. A high-quality base coat protects your natural nails from staining, fills in micro-ridges, and acts as a double-sided tape that holds the coloured polish securely in place.
The Three-Stroke Technique
To paint your nails evenly, use the classic three-stroke method. Wipe the excess polish off one side of the brush against the bottle neck, leaving a small bead of polish on the other side. Place the brush a fraction of a millimetre away from the cuticle in the centre of the nail, press down slightly so the bristles fan out, and swipe up to the tip. Next, repeat this motion on the left side, and then the right side. This technique ensures even distribution and prevents thick pooling at the edges.
The Essential Second Coat
The first coat of red polish might look slightly streaky or uneven, which is completely normal. Allow it to dry for a couple of minutes before applying a second thin coat using the same three-stroke technique. The second layer will build full, rich depth of colour and cover any remaining translucent patches.
Sealing the Colour and Achieving a Glossy Finish
To truly elevate your long red nails to a professional standard, the finishing steps are just as crucial as the painting process. A high-gloss finish not only looks luxurious but also protects your hard work from daily wear and tear.
Capping the Free Edge
One of the most important secrets of a long-lasting manicure is capping the free edge. When applying both your colour coats and your top coat, run the brush gently along the very edge of the nail tip. This seals the polish over the top, significantly reducing the chances of tip-wear and chipping.
The Mirror-Like Top Coat
Apply a generous layer of quick-drying, high-shine top coat to lock in the vibrant red shade. A good top coat smooths out any minor brush strokes and gives the manicure that enviable glass-like finish. Keep your hands still for several minutes to allow the layers to set properly, and apply a drop of nourishing cuticle oil to the surrounding skin once the nails are completely dry to touch.