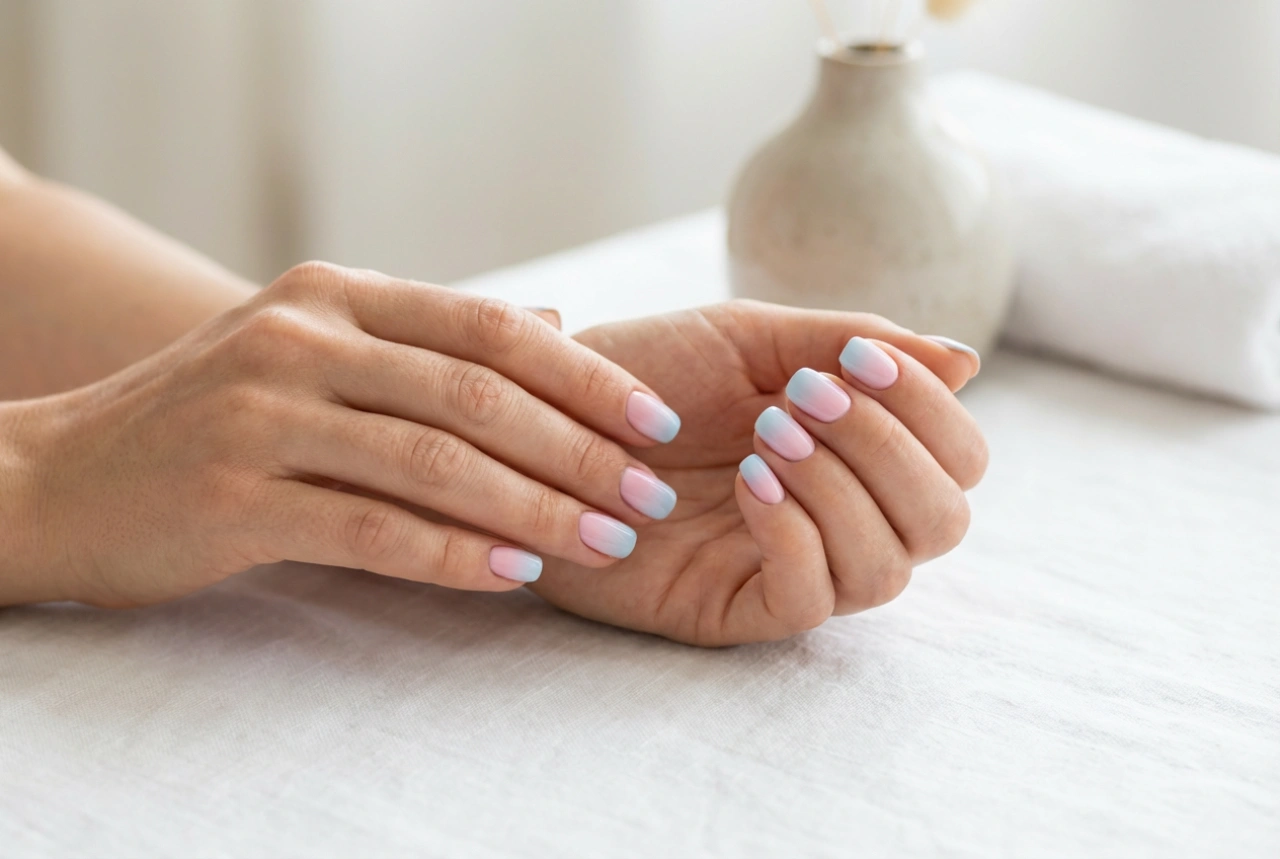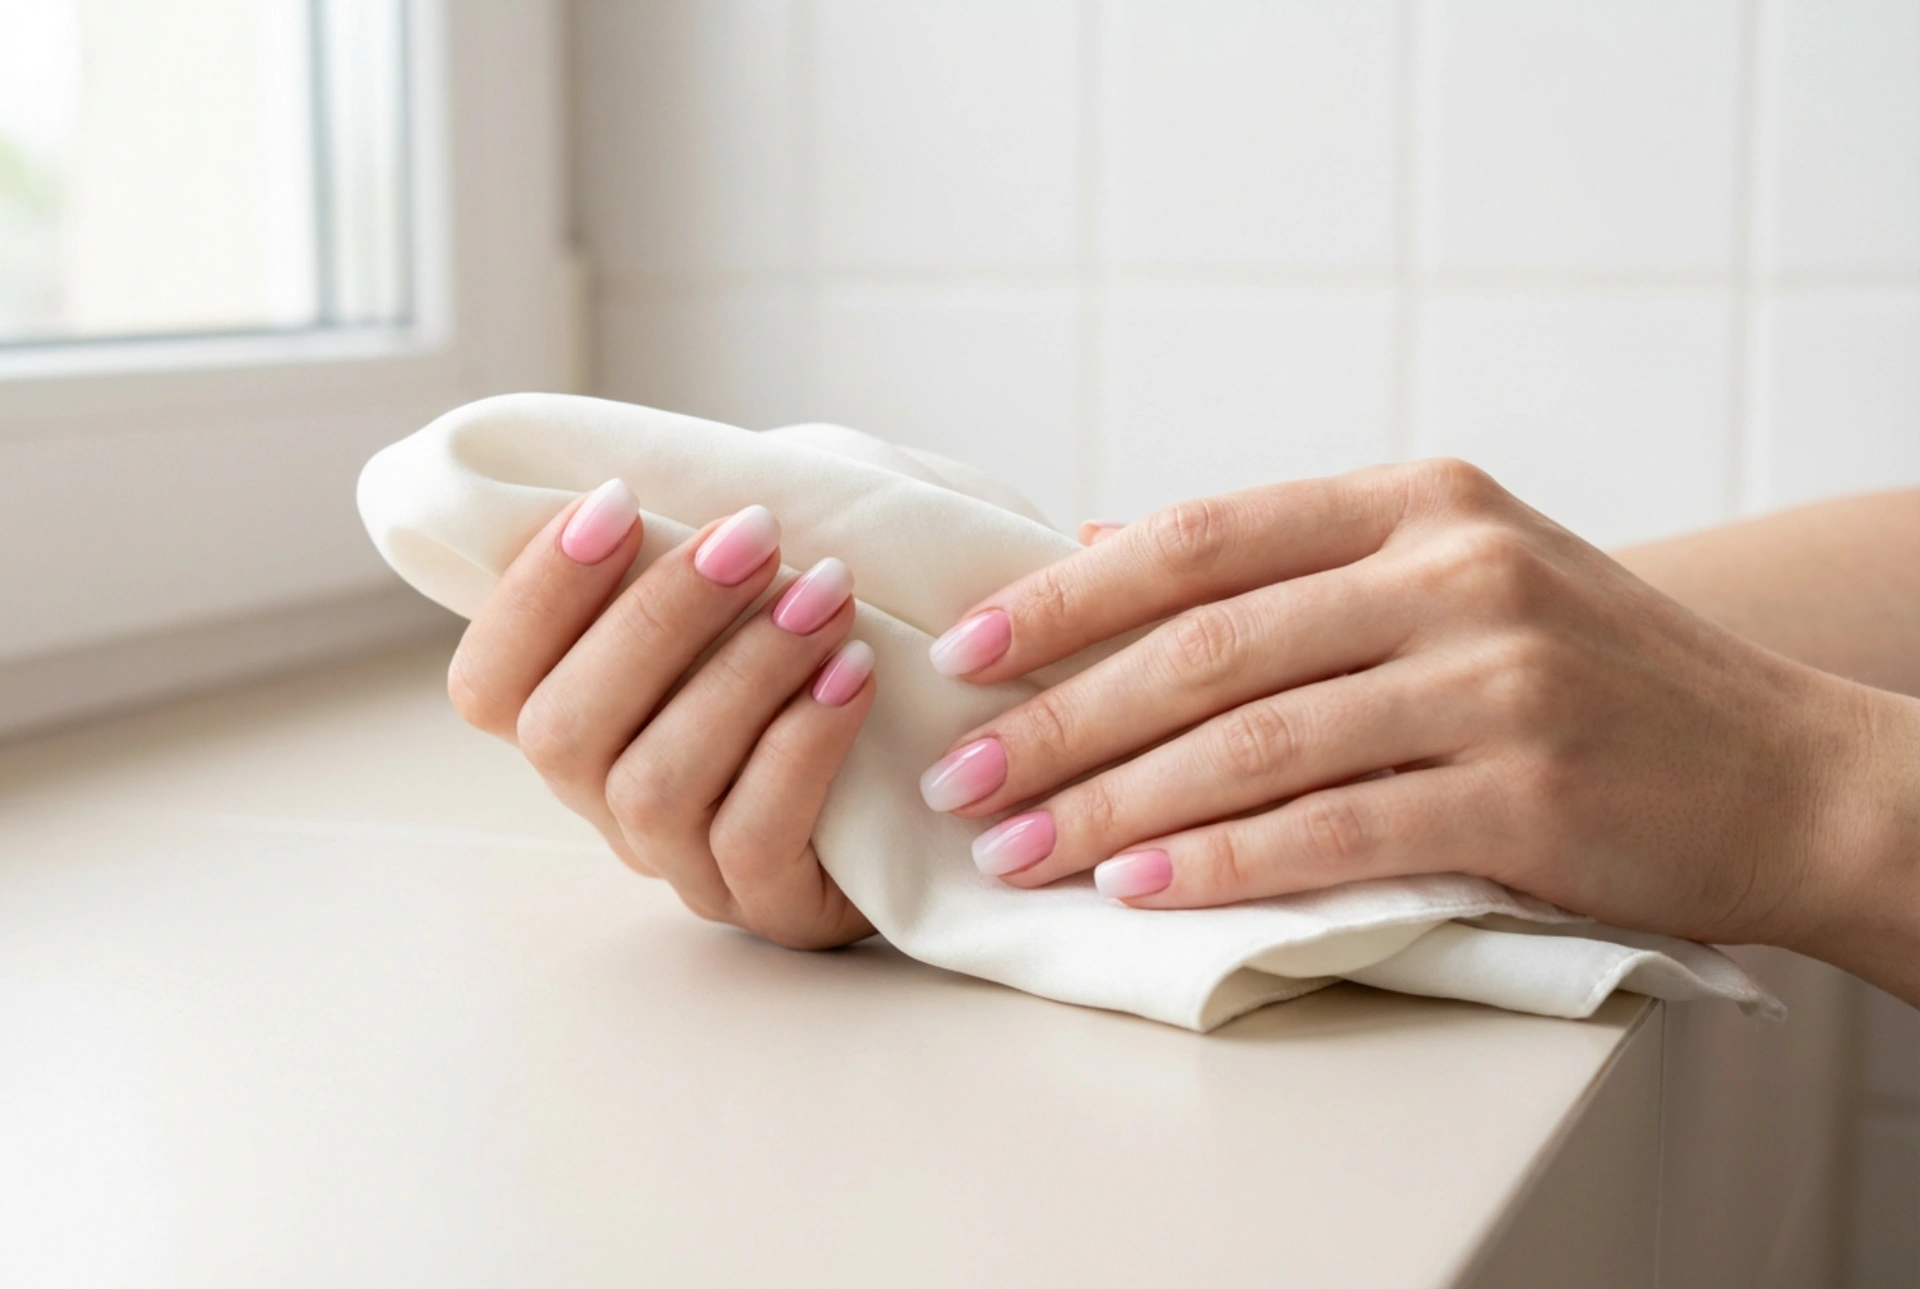


Elegant, well-groomed hands always draw attention, especially when adorned with a manicure that speaks of subtle sophistication. Among the most popular nail art techniques, the pink and white ombre design—often referred to as the baby boomer manicure—stands out as a timeless classic. It beautifully combines the natural, clean look of a French manicure with a modern, smooth gradient. The delicate transition from a soft pastel pink at the cuticle to a crisp white at the tip creates an illusion of longer, slender fingers and exudes a quiet, minimalist elegance. Achieving this seamless transition without visible patches or harsh lines is an art form in itself, but with the right approach and a few practical tips, it can easily be mastered at home.
Preparing the Perfect Canvas
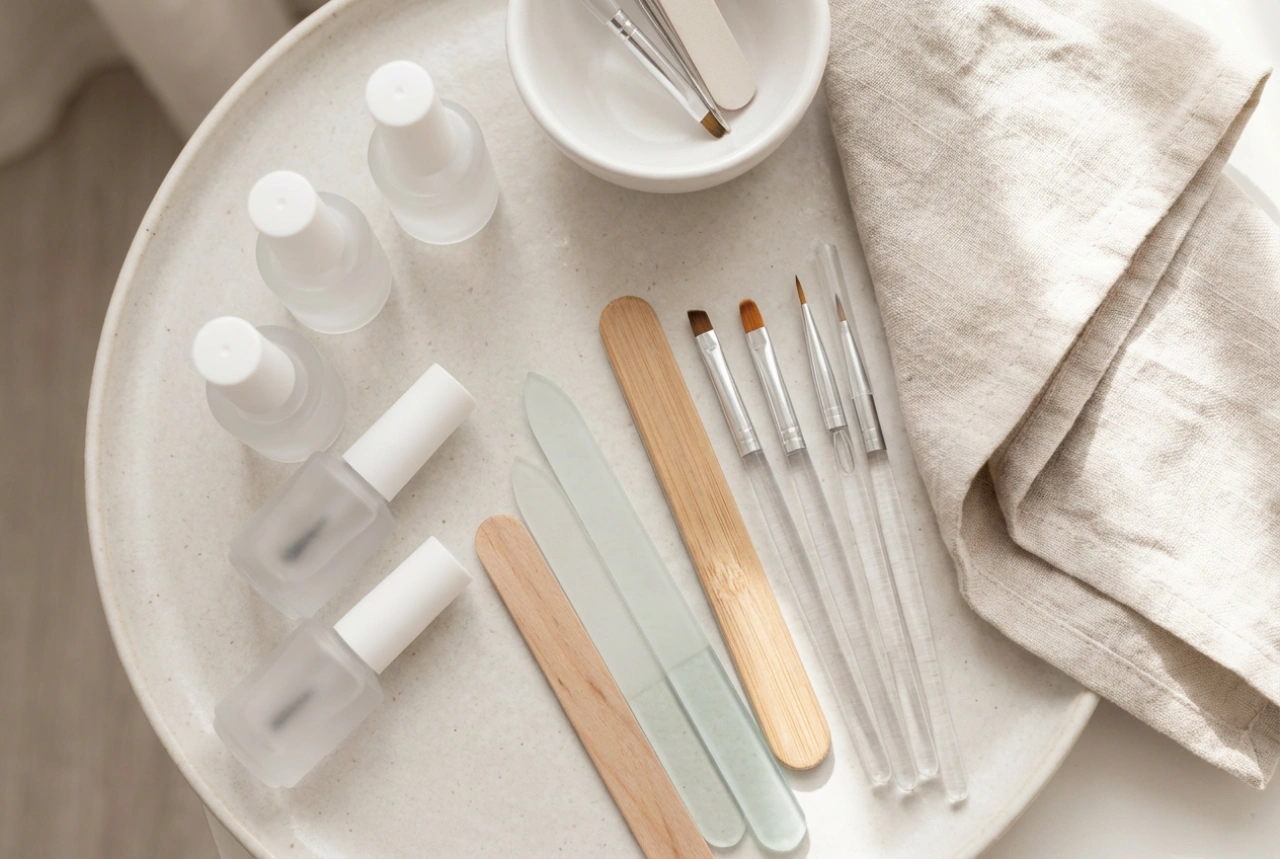
Before you even think about applying colour, it is essential to prepare your nail plates thoroughly. The key to a smooth gradient lies in a perfectly even and healthy foundation. Start by gently shaping your nails with a fine-grit file, keeping the edges neat and symmetrical. Next, pay close attention to your cuticles. Gently push them back using a wooden stick or a dedicated tool, ensuring there is no excess skin clinging to the nail plate, as this can disrupt the smooth application of the base and colour. Lightly buff the surface of each nail with a buffer block to remove any natural shine and create a slightly textured surface that helps the polish adhere better. Once buffed, cleanse the nails thoroughly with a dehydrating solution to remove any dust, oils, or residue. Applying a high-quality base coat is the final, crucial step in preparation. The base coat not only protects the natural nail but also fills in any micro-ridges, providing a perfectly flat surface for the ombre layers to glide over.
Choosing the Right Tools and Textures
To achieve a flawless, patch-free gradient, the tools you use play a massive role. The most common and effective method for creating a pink and white ombre at home involves using a makeup sponge or a specialized nail art sponge.
Sponge Selection
The texture of the sponge is critical. A standard kitchen sponge is far too porous and will leave large air bubbles and uneven patches of polish on your nails. Instead, opt for a dense, fine-pored cosmetic wedge or a latex-free makeup sponge. These dense structures hold the polish on the surface rather than absorbing it completely, allowing for a much smoother transfer of colour.
Polish Formula and Consistency
The consistency of your nail polishes is equally important. For a seamless pink and white transition, you need polishes with good pigmentation but a fluid, workable texture. Avoid polishes that are too thick or semi-dry, as they will clump on the sponge and create unwanted texture on the nail. A soft, semi-sheer milky pink or a delicate nude acts as the perfect base colour, while a highly pigmented, cream-finish white is ideal for the tips.
The Step-by-Step Ombre Technique
Creating a smooth gradient requires patience and a light hand. Follow these steps to achieve a professional-looking finish:
- Apply the Base Colour: Start by applying one or two thin layers of your chosen pink or nude polish over the entire nail. Allow this base to dry completely before proceeding to the ombre step. This ensures that the sponge technique does not pull or smudge the underlying colour.
- Prepare the Sponge: Moisten the cosmetic sponge slightly with water and squeeze out any excess. A slightly damp sponge prevents the polish from drying too quickly and absorbing deep into the material.
- Apply Polish to the Sponge: Paint a horizontal stripe of the white polish and a horizontal stripe of the pink polish directly onto the edge of the sponge, ensuring they overlap slightly in the middle. This overlap is where the magic of the gradient happens.
- Stamping the Gradient: Gently dab the sponge onto a piece of paper first to remove any excess polish and blend the transition line. Then, gently press the sponge onto your nail, moving it slightly up and down to blur the boundary between the pink and white. Do not press too hard, as this can create air bubbles.
- Repeat in Thin Layers: One layer of sponged polish is rarely enough. To build a rich, seamless gradient, allow the first layer to dry slightly, then repeat the sponging process. Two to three thin layers are usually ideal for a flawless transition without build-up.
Common Mistakes and How to Avoid Patches
One of the most frequent challenges when attempting a pink and white gradient is the appearance of patchy, uneven spots or tiny bubbles. Understanding why these happen is the best way to prevent them. Patches often occur when the polish dries too quickly on the sponge before it is applied to the nail. To combat this, work quickly and make sure your sponge is damp. Another common error is applying too much pressure when dabbing. Heavy-handed tapping pushes the sponge too deep into the wet polish, lifting it off the nail rather than depositing it. Always use light, feather-like tapping motions. Lastly, rushing between layers can ruin the smooth finish. Each thin layer of the gradient must dry for a brief moment before the next is applied to avoid dragging the wet product and creating texture.
Blending and Protecting with a Top Coat
The real secret to a professional ombre manicure lies in the final step. When you finish sponging, the surface of your nails may look slightly textured or matte. This is completely normal. A generous layer of a high-quality top coat will instantly smooth out the texture, dissolve any tiny imperfections, and beautifully merge the pink and white shades into a truly seamless gradient. For a modern, soft look, you can use a milky or slightly tinted pink top coat, which further softens the transition line. Alternatively, a glossy clear top coat provides a classic, glass-like finish that enhances the elegant look of your hands and protects your hard work from chipping, ensuring your beautiful ombre manicure remains pristine for days.