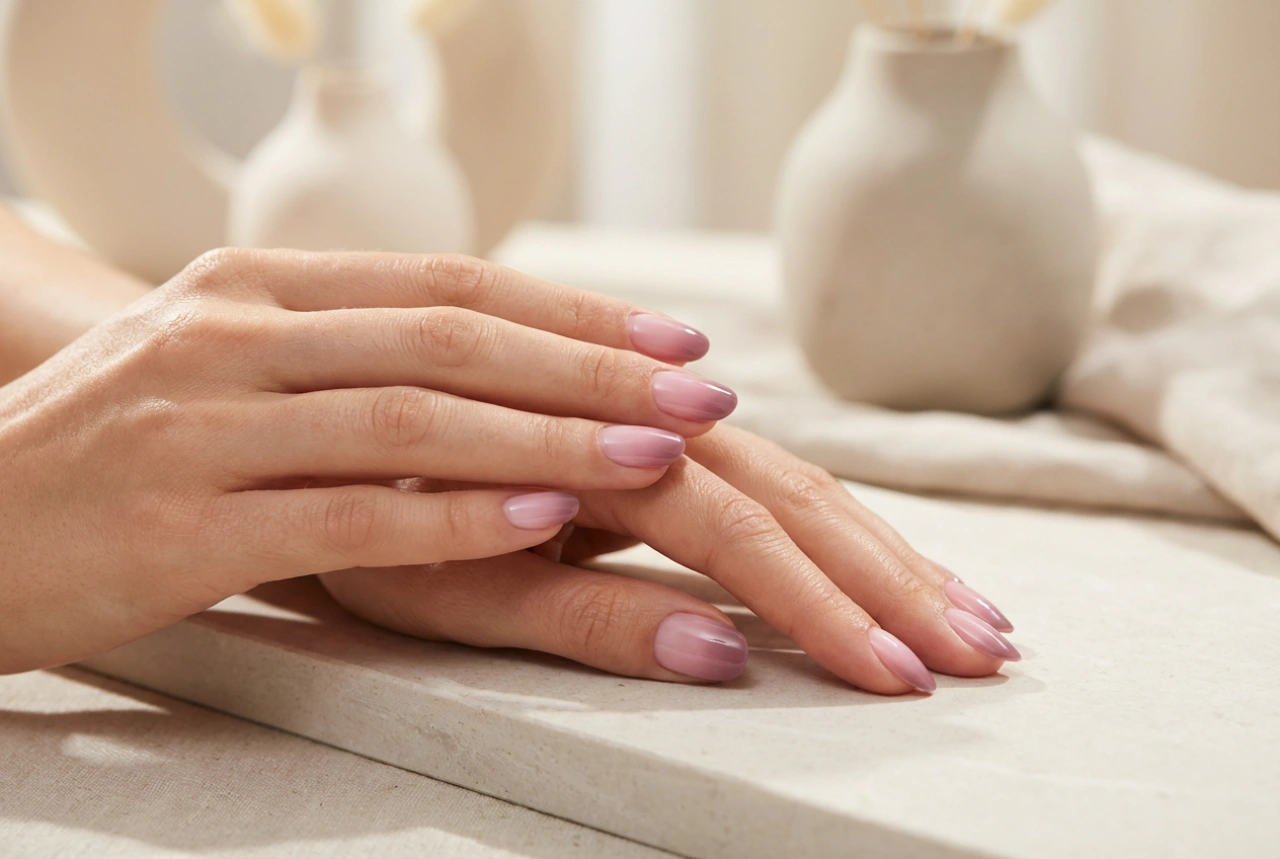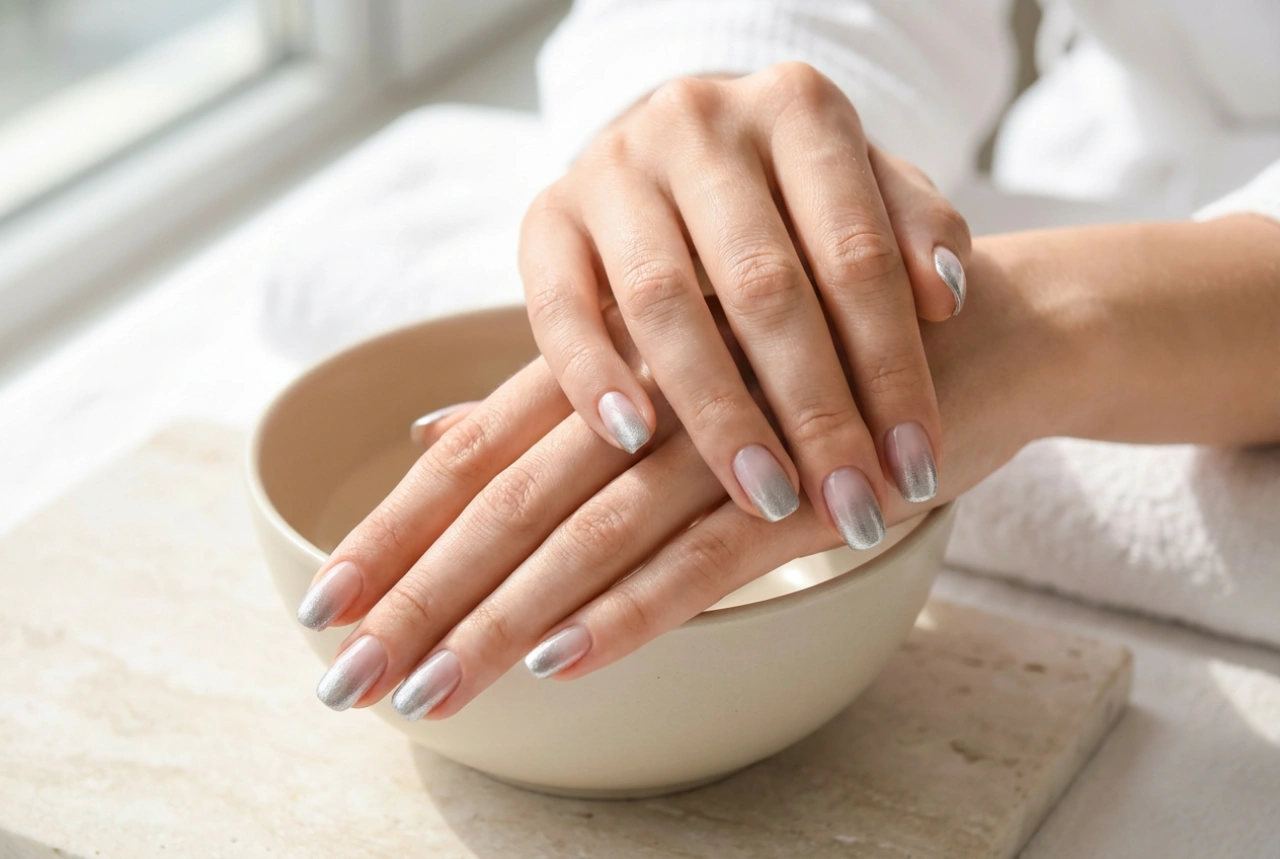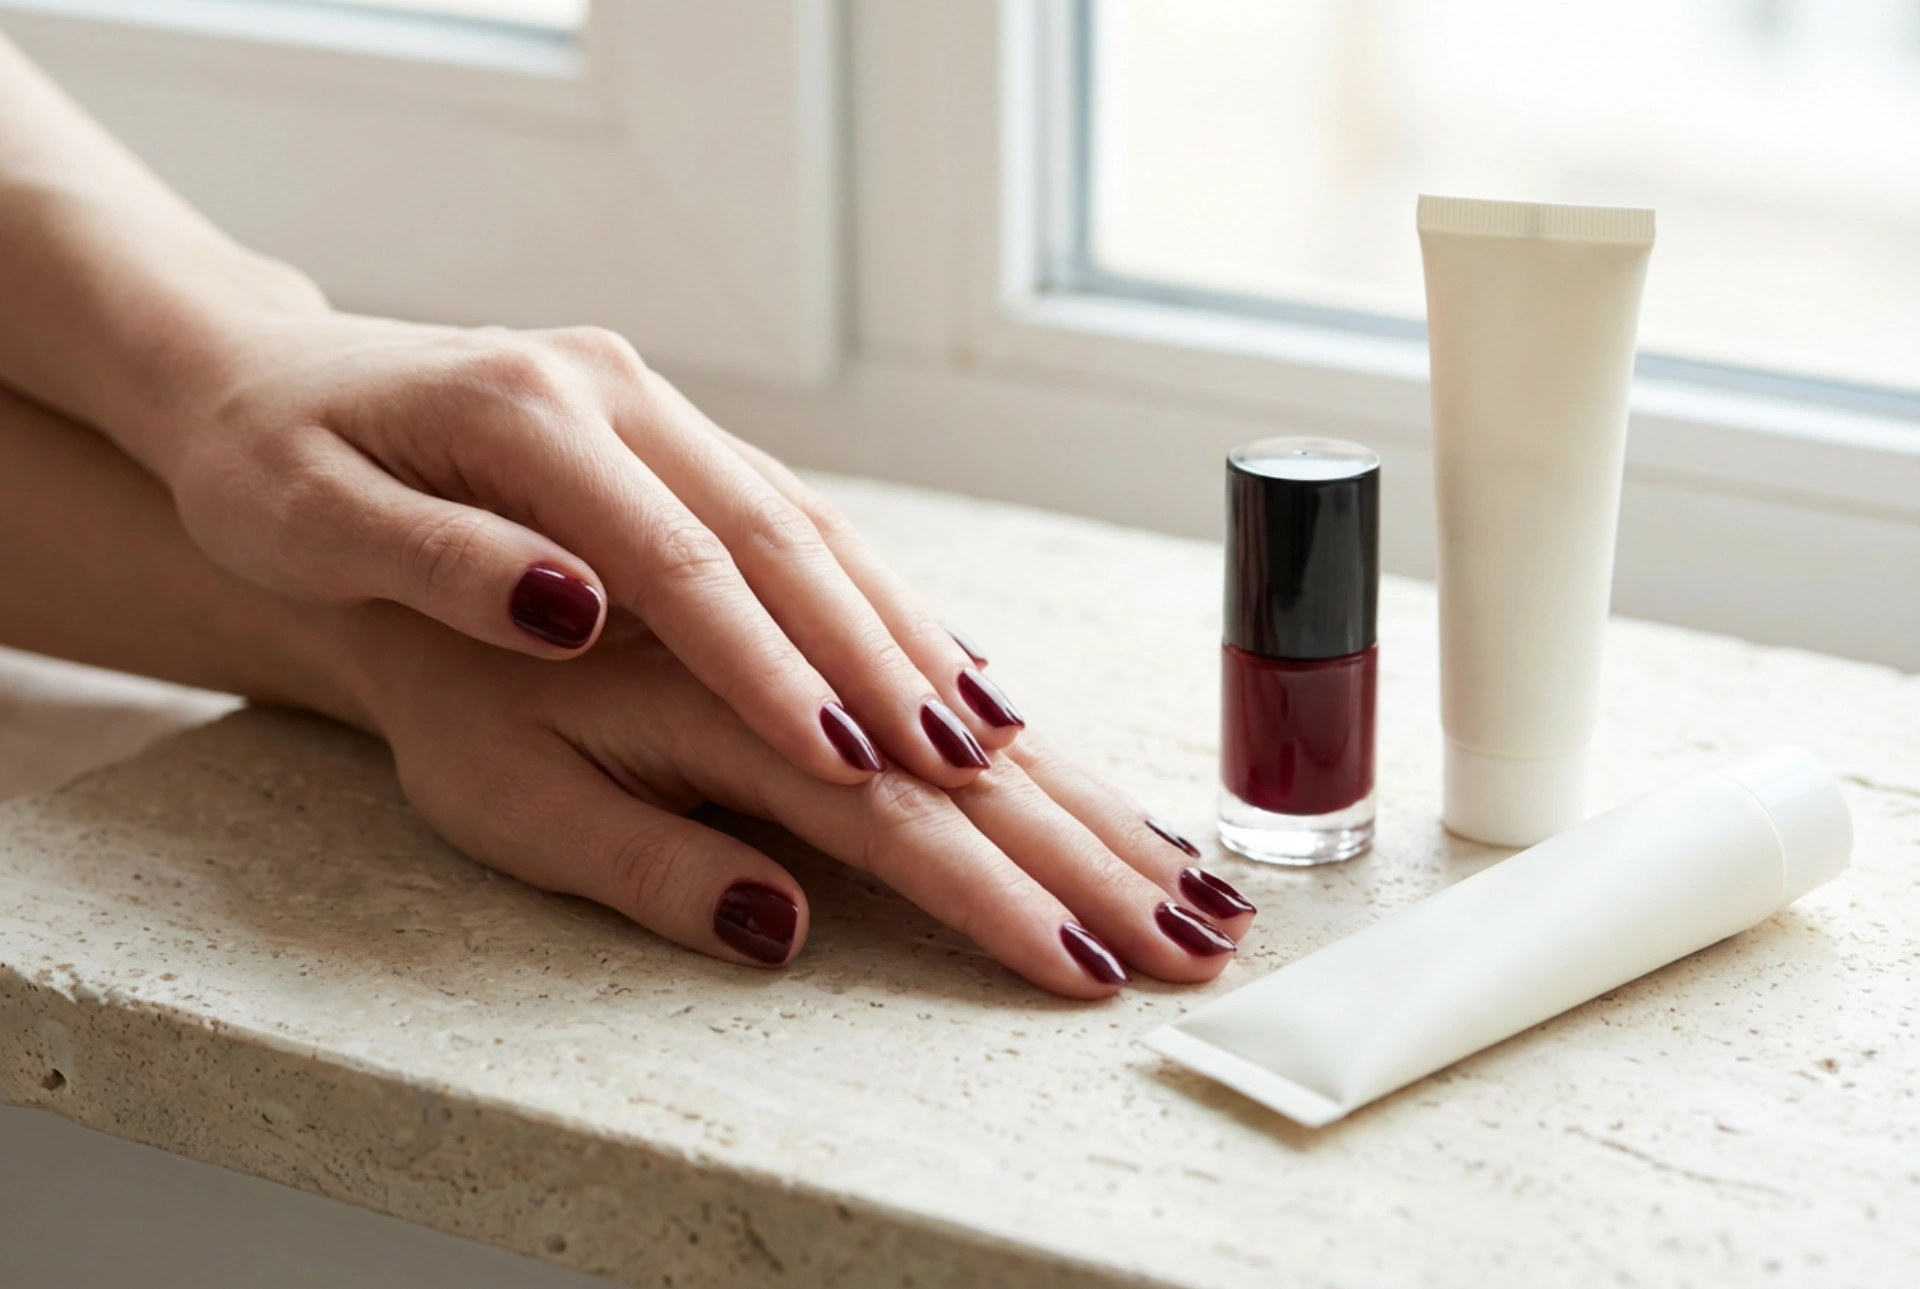


An elegant burgundy manicure is a timeless classic that exudes sophistication, confidence, and effortless style. When beautifully captured under natural light, the deep, rich tones of wine and dark cherry reflect a brilliant gloss that elevates any look. Achieving this level of perfection requires a careful balance of precise application techniques and dedicated hand care. From prep work to the final nourishing touch of cream, creating a flawless burgundy finish at home is a rewarding ritual that celebrates both beauty and self-care.
Selecting the Perfect Burgundy Undertone
Burgundy is not a single colour; it spans a wonderful spectrum of shades, from deep berry and raspberry-infused tones to warm, brownish-reds and dramatic, almost-black plums. Choosing the right undertone can harmonise beautifully with your skin tone, enhancing the overall elegance of your hands.
If you have cool skin undertones (often characterised by veins that appear blue or purple), berry-toned burgundies and deep claret shades will look particularly striking on your hands. For those with warm undertones (where veins look greenish), burgundies with hints of brown, brick-red, or terracotta will complement the skin beautifully. Neutral undertones have the luxury of carrying almost any variation of this classic colour with ease. Taking a moment to observe how the shade interacts with natural light before application can help you achieve the most flattering and sophisticated result.
Preparing the Nail Plate for Rich Pigment
Darker nail polishes, particularly deep shades of burgundy, are beautiful but highly unforgiving when it comes to uneven surfaces or poorly prepped cuticles. Any ridges, peeling, or rough edges will be magnified once the rich colour is applied. Therefore, the foundation of a stunning manicure always begins with meticulous preparation.
Start by gently shaping the nails with a fine-grit file, moving in one direction to prevent splitting. Burgundy looks exceptionally sophisticated on short, squaval shapes as well as elegant, longer almonds. Once the shape is achieved, pay close attention to the cuticles. Instead of aggressive cutting, apply a gentle cuticle remover and use a wooden stick to softly push them back. This creates a clean, rounded frame for the polish.
- Dehydrating the plate: Use a gentle prep solution or a lint-free wipe soaked in regular nail cleanser to remove natural oils and dust. This ensures the base coat adheres perfectly.
- Buffing: If your nails have natural ridges, use a soft buffer block to smooth the surface lightly. Do not over-buff, as this can weaken the nail.
The Secret to Streak-Free, Flawless Coverage
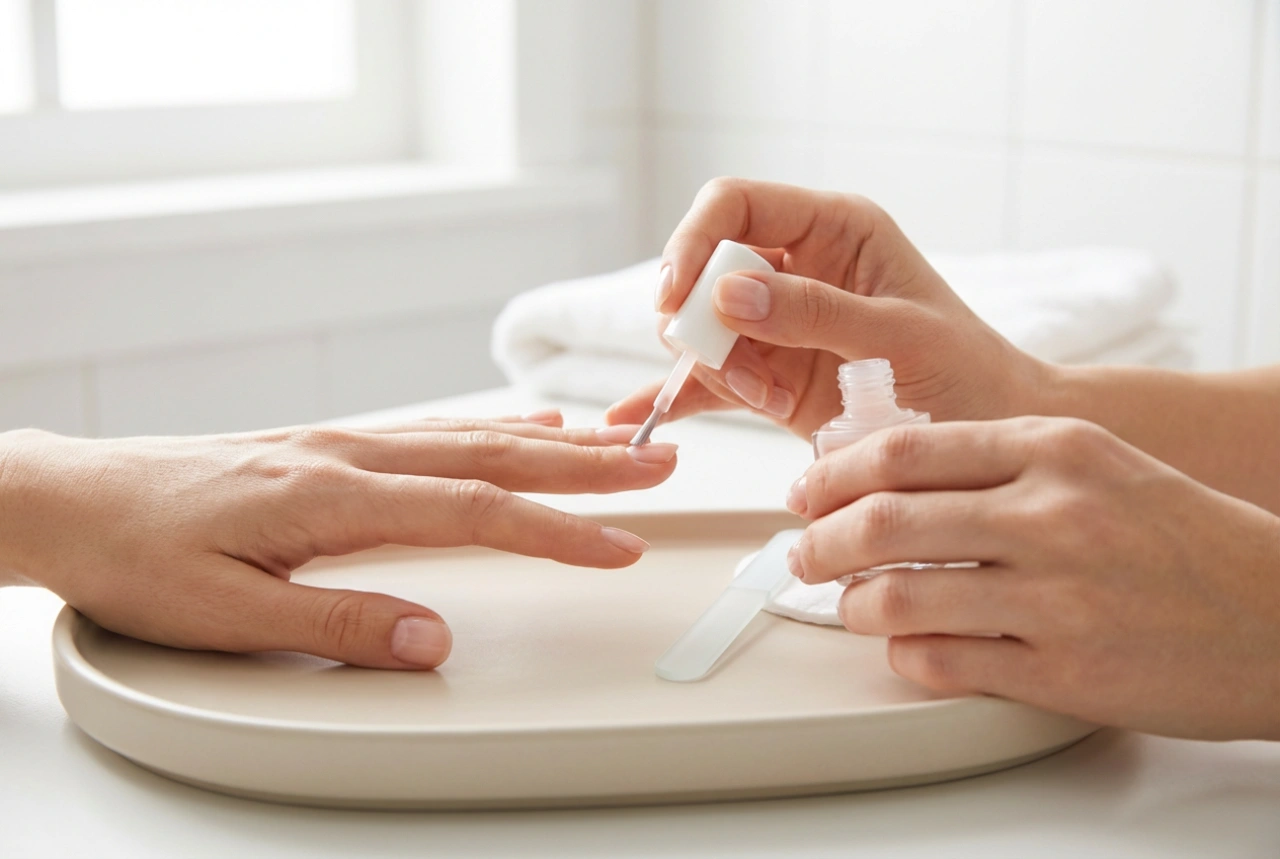
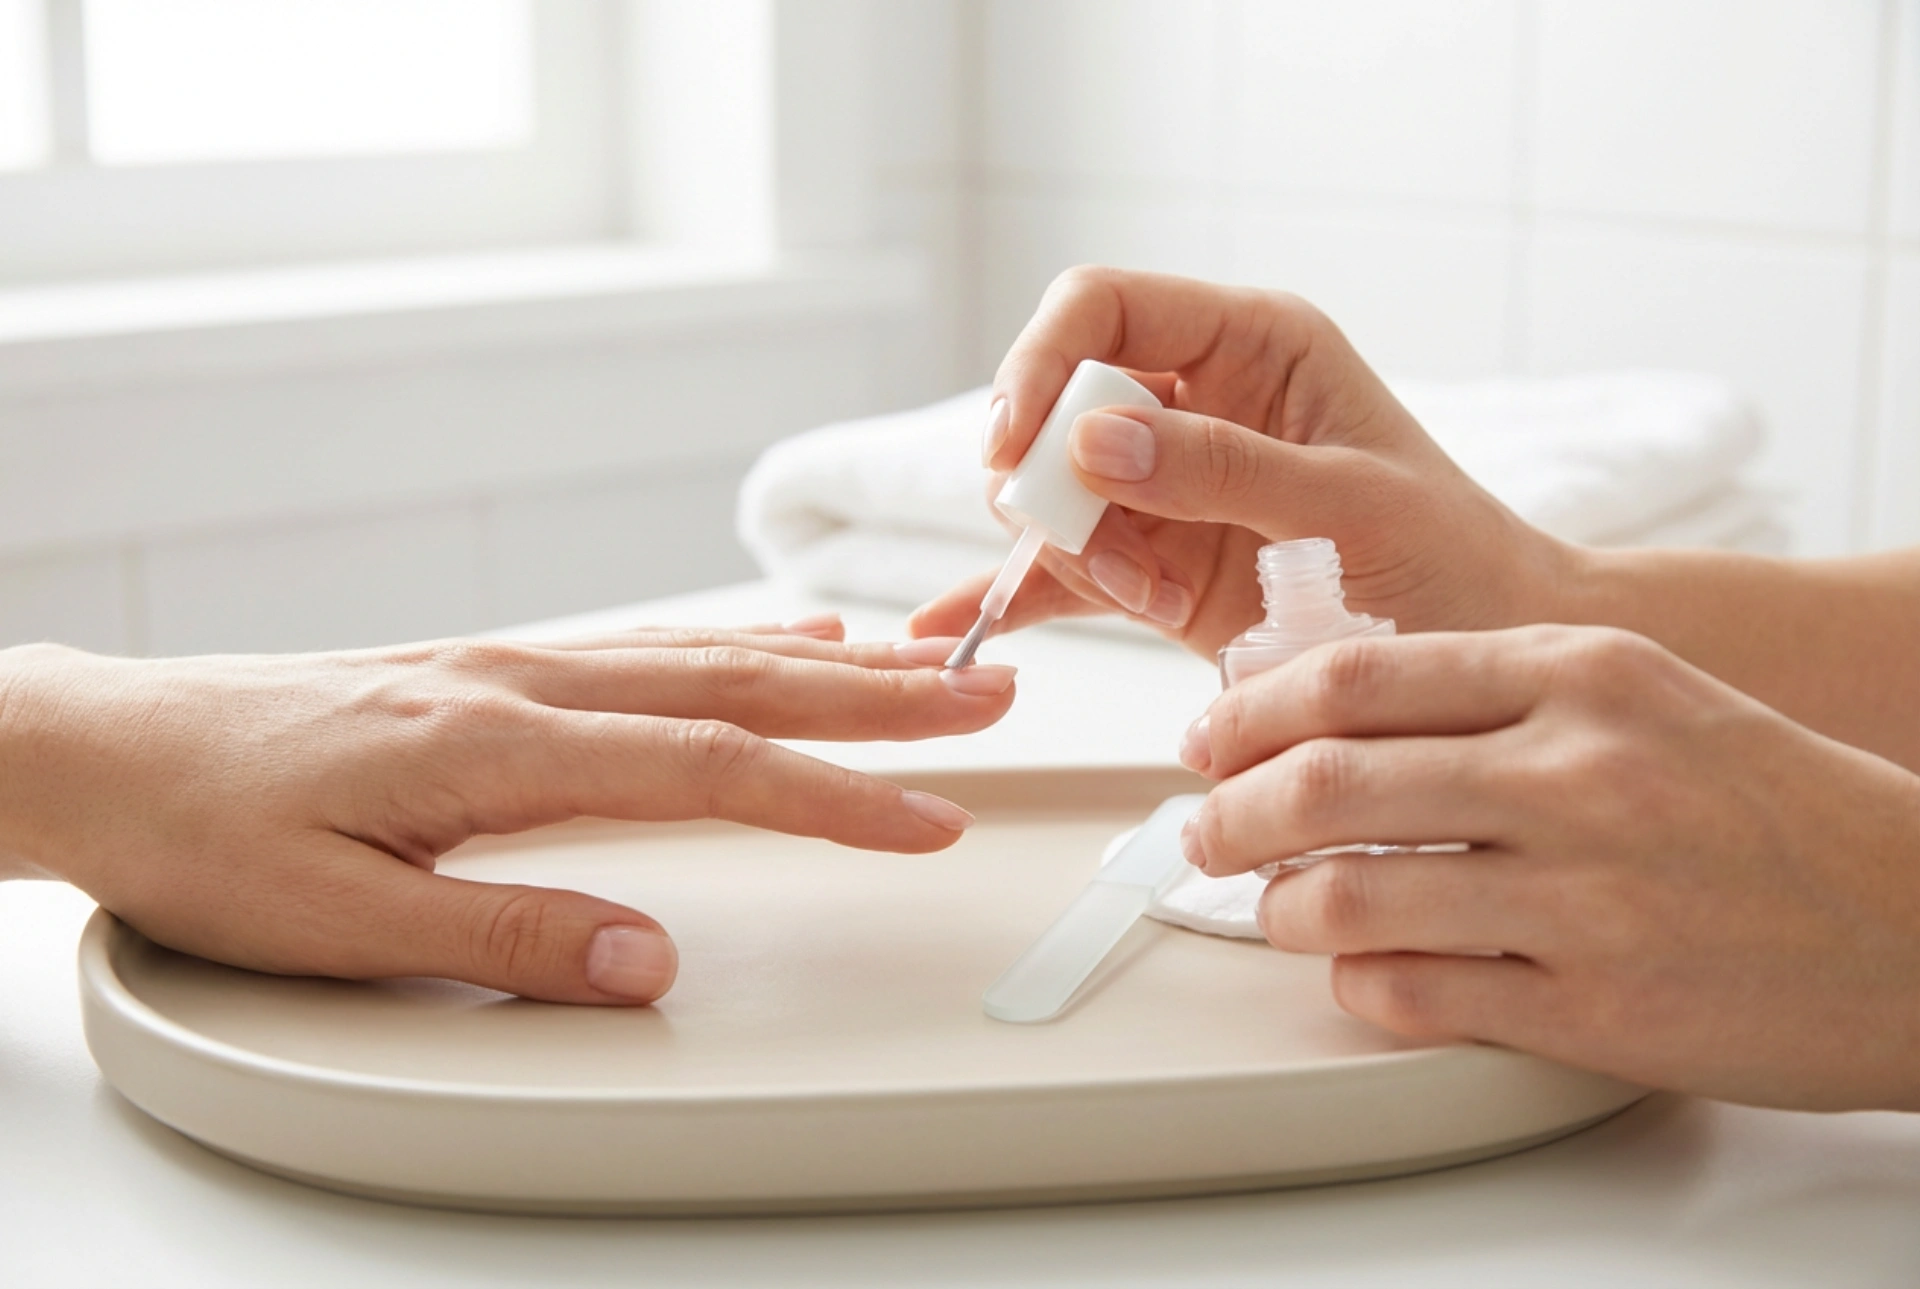
Applying deep red and burgundy shades requires patience and a steady hand. The key to professional-looking coverage is working in thin, even layers rather than trying to achieve full opacity in a single stroke. Thick layers of dark polish are prone to bubbling, uneven drying, and premature chipping.
Always begin with a high-quality base coat. Not only does this protect your natural nails from the strong pigments of burgundy polish, which can cause yellowing, but it also creates a smooth, grippy surface for the colour to cling to. When applying the colour, use the classic three-stroke method: one down the centre, and one on each side, leaving a tiny gap near the cuticle line for a clean, sharp boundary.
Allow the first thin layer to dry completely before applying the second. The second layer is where the true depth of the burgundy shade reveals itself, turning from a translucent berry into a rich, opaque wine tone. Remember to cap the free edge of the nail with each layer of polish to seal the colour and prevent tip wear.
Unlocking the Ultimate Glass-Like Shine
What elevates a burgundy manicure from simple to luxurious is its glossy finish. A high-shine surface acts like a mirror, catching the natural light and highlighting the richness of the undertones. To achieve this, a protective top coat is indispensable.
Choose a plumping or quick-drying top coat that mimics the dimensional shine of professional finishes. Apply it generously but carefully, ensuring you seal the entire coloured area. This layer not only locks in the brilliance but also acts as a shield against daily wear, scratches, and fading. For an extra touch of longevity, you can reapply a thin layer of top coat every two to three days to revive the gloss and keep the manicure looking fresh.
Nourishing the Hands and Cuticles
Even the most perfectly painted nails can lose their appeal if the surrounding skin is dry or neglected. An elegant manicure is only complete when paired with soft, well-hydrated hands. Deep rich colours look best when contrasted with healthy, glowing skin.
Incorporate a rich, absorbing hand cream into your daily beauty routine. Look for formulas containing natural plant butters, such as shea or cocoa butter, and hydrating agents like glycerin. Massaging a small amount of cream into your hands, focusing on the knuckles and palms, improves circulation and maintains skin elasticity. Additionally, apply a drop of nourishing cuticle oil containing sweet almond or jojoba oil to the base of each nail daily. This simple habit keeps the cuticle area moisturised, prevents hangnails, and preserves that freshly manicured look for longer.