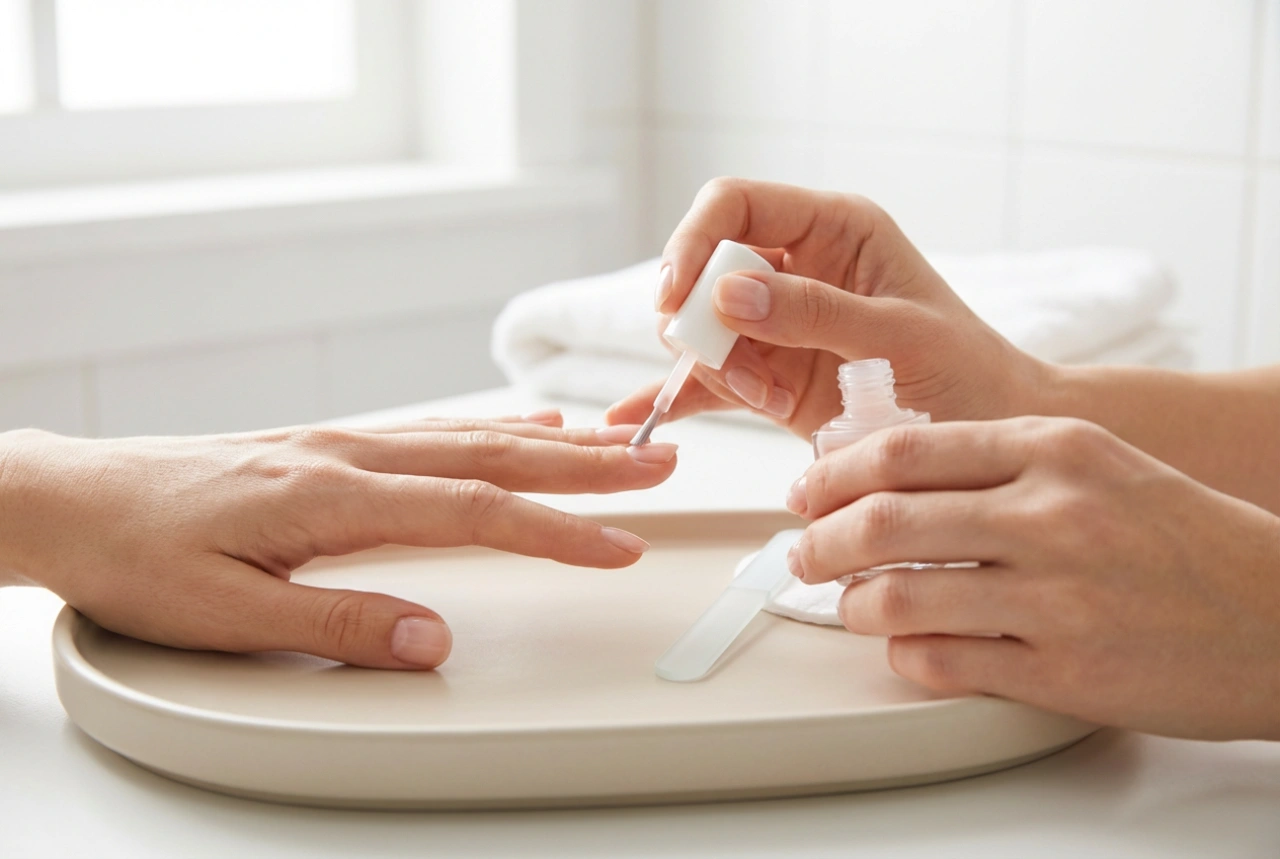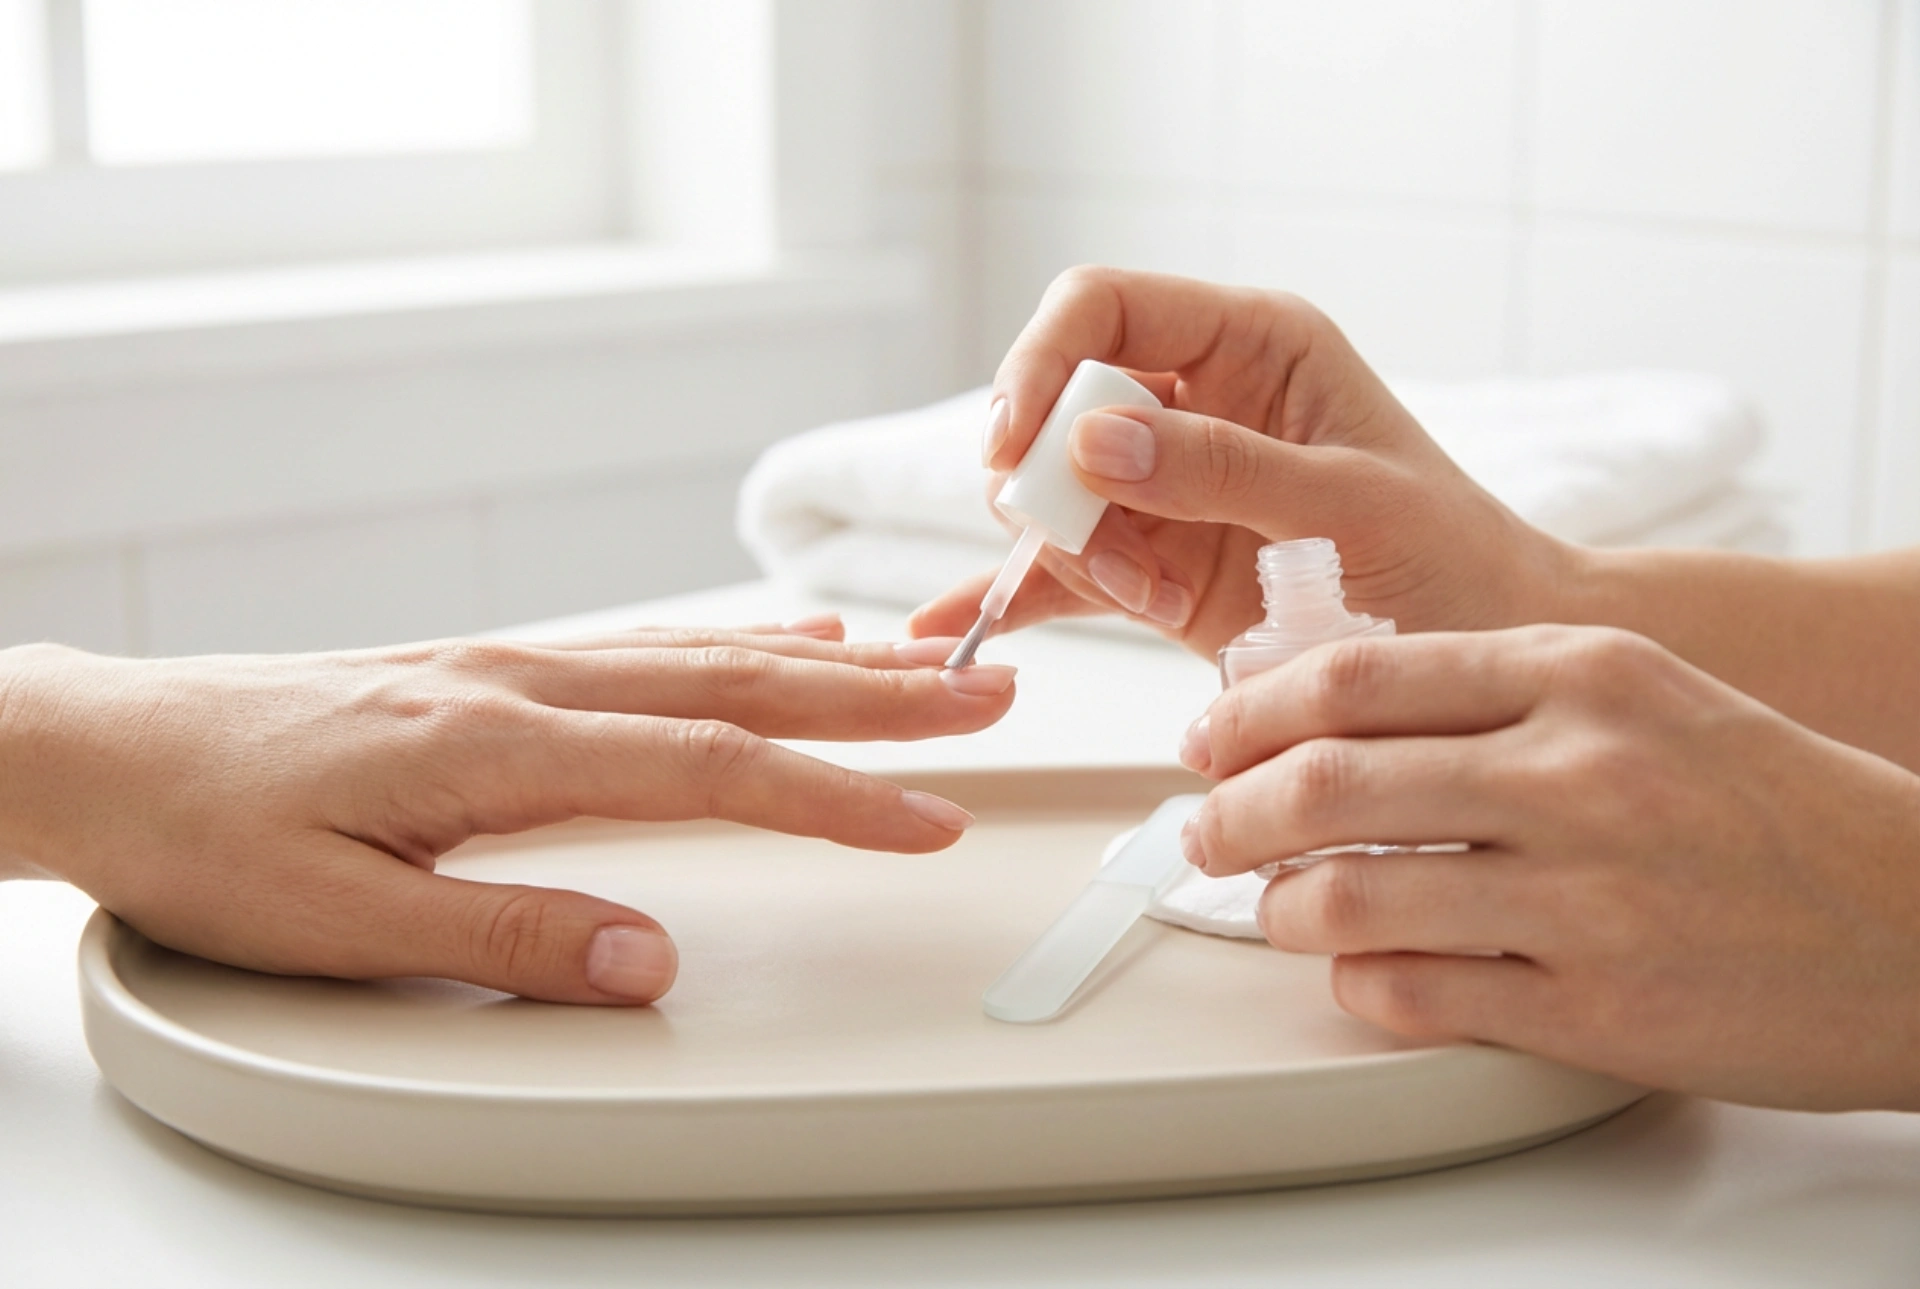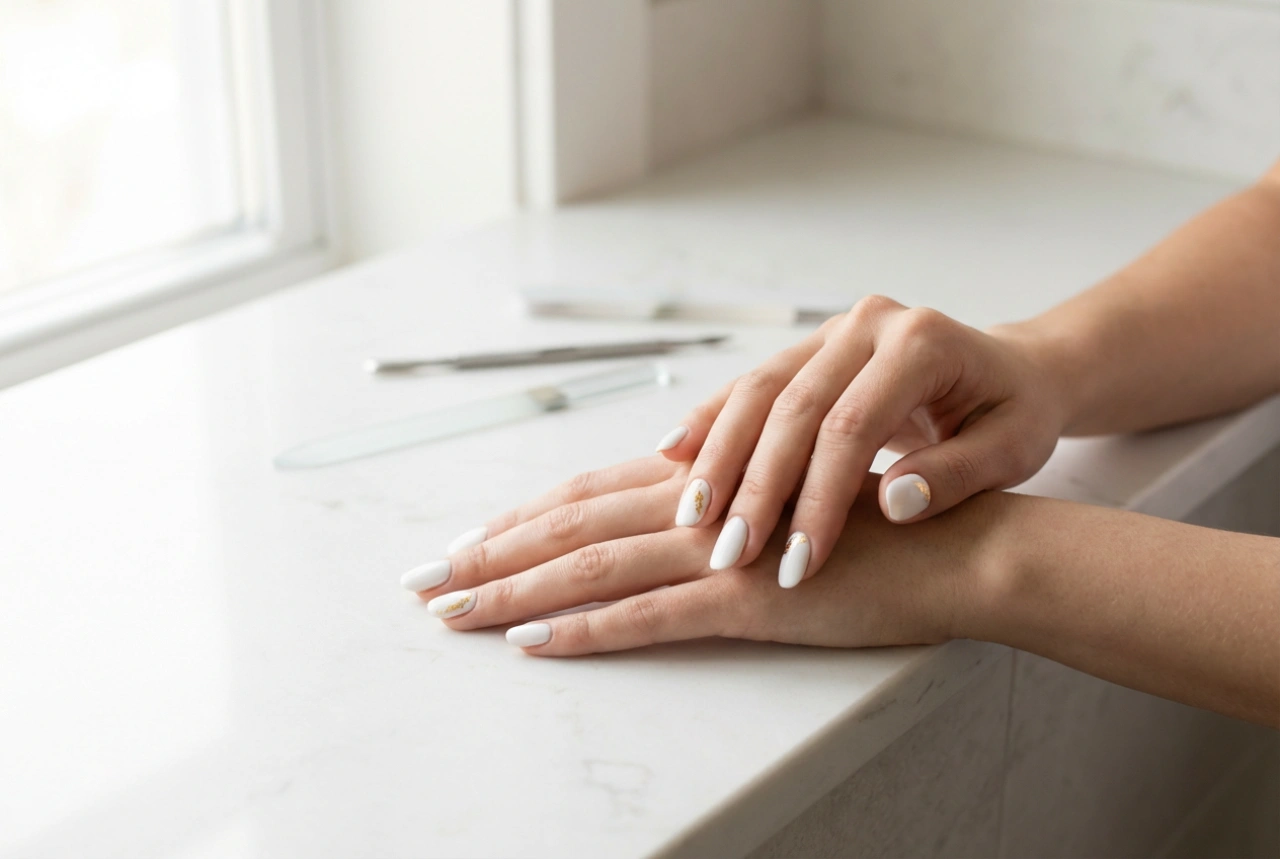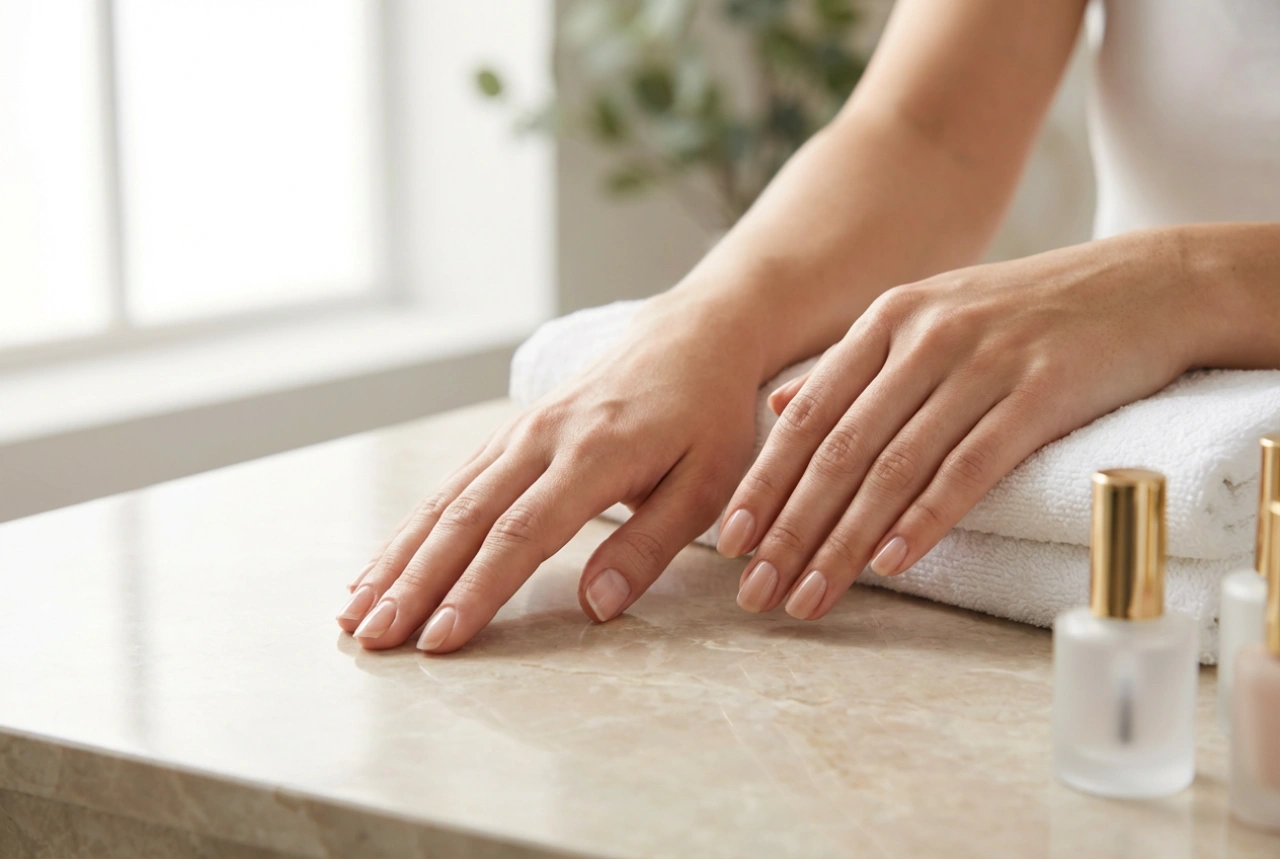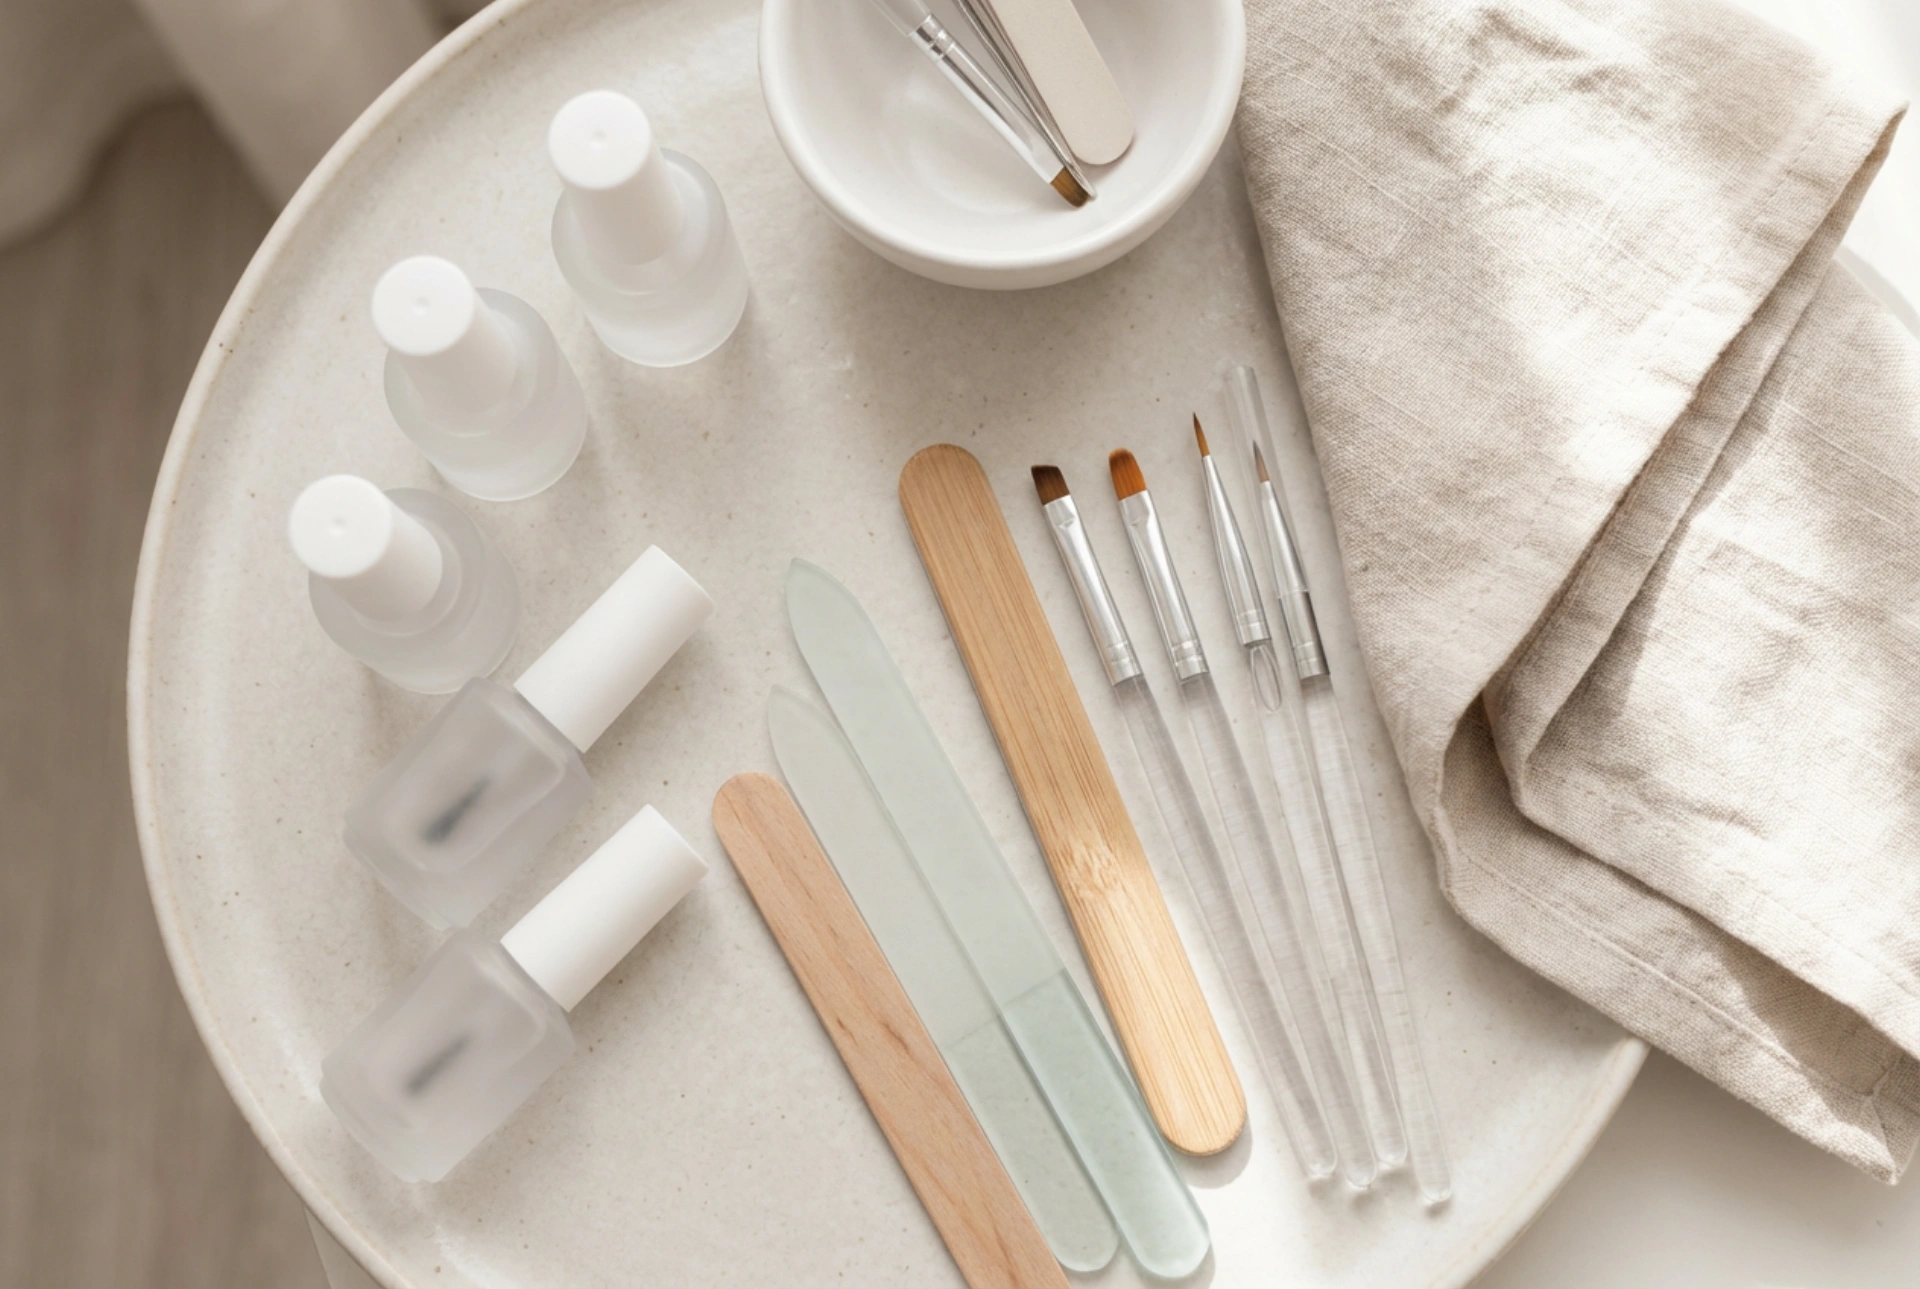


Imagine sitting down at a beautifully arranged, minimalist workstation illuminated by soft, natural light, where every manicure tool is in its rightful place. A pristine set of clear gel bottles, precision brushes, and various nail files neatly laid out on a light-coloured surface not only looks aesthetically pleasing but also sets the perfect stage for a successful DIY manicure. Performing nail extensions at home has become an incredibly popular way to achieve salon-quality results, allowing you to customise the length, shape, and strength of your nails. To embark on this creative beauty journey, having a well-equipped nail extension kit is absolutely essential.
The Essential Components of an At-Home Nail Extension Kit
To achieve professional and durable results, you must gather the correct tools. A standard, high-quality nail extension kit should contain a variety of products designed to prepare, build, and finish the nails. Having these items organised and clean before you begin ensures a smooth application process.
- Nail Dehydrator and Acid-Free Primer: These prep solutions are crucial for removing moisture and natural oils from the nail plate, ensuring maximum adhesion of the extension material.
- Base Coat and Top Coat: A reliable base coat protects the natural nail and creates a strong bond, while a glossy or matte top coat seals the extension and protects it from scratches and chipping.
- Builder Gel or Polygel: This is the main sculpting material. Builder gel is ideal for self-levelling, while polygel offers a thicker, putty-like consistency that is easy to manipulate for beginners.
- Nail Tips or Dual Forms: Tips are glued to the free edge of the nail, whereas dual forms are filled with gel, pressed onto the nail, cured, and then popped off, leaving a perfectly smooth surface.
- Nail Files and Buffers: You will need a variety of grits, such as a 100/180 grit file for shaping the extension and a soft buffer to smooth out any unevenness.
- Application Brushes and Spatulas: A high-quality synthetic brush is necessary to pat and guide the gel into place, especially when working with thicker builder gels.
- UV/LED Lamp: A reliable curing light is indispensable, as gel products will not harden without exposure to specific light wavelengths.
Step 1: Preparing the Natural Nail Plate
The longevity of your nail extensions depends almost entirely on the preparation stage. Neglecting this step can lead to premature lifting and moisture getting trapped beneath the gel. Begin by washing and thoroughly drying your hands to remove any surface impurities.
Gently push back your cuticles using a wooden stick or a metal cuticle pusher. Be careful not to apply too much pressure to the delicate nail matrix. Next, use a fine-grit nail file to shape the free edge of your natural nails into a short, rounded shape. Take a gentle buffer and lightly remove the natural shine from the surface of the nail plate. You are not trying to thin the nail, but rather create a slightly textured surface that the gel can grip onto. Finally, wipe away all dust with a lint-free wipe soaked in a dehydrating solution, then apply a thin layer of acid-free primer and let it air dry.
Step 2: Applying the Base and Selecting Forms
Once the nails are fully prepped, apply a thin, even layer of base coat, making sure to avoid the cuticle area and the side walls. Cure this layer under your UV/LED lamp for the recommended time, usually between thirty and sixty seconds. This cured base coat acts as a double-sided tape between your natural nail and the extension material.
Now, choose your extension method. If you are using dual forms, select a size for each nail that matches the width perfectly from side wall to side wall. It is always better to choose a form that is slightly too large rather than one that is too small, as you can easily file down the excess later. If you prefer paper sculpting forms, fit them snugly under the free edge of your natural nail, ensuring there are no gaps where the gel could seep through.
Step 3: Sculpting and Curing the Extension
With your forms selected, it is time to build the nail. If you are using dual forms, squeeze a small bead of builder gel or polygel into the inner side of the form. Dip your brush lightly into a slip solution or rubbing alcohol to prevent sticking, and gently pat the gel to distribute it evenly. Make the layer thinner near the cuticle and slightly thicker in the middle where the stress point of the nail will be.
Carefully press the filled form onto your natural nail at a forty-five-degree angle, starting near the cuticle and pressing gently down toward the tip to avoid air bubbles. Clean away any excess gel that squeezes out of the sides with a clean brush before placing your hand under the UV/LED lamp. Cure for the full duration specified by the product, typically sixty to ninety seconds. Once cured, gently wiggle and pop off the dual form to reveal a shiny, pre-shaped extension.
Step 4: Refining the Shape and Sealing
Even with dual forms, some filing is usually required to achieve a flawless finish. Wipe away any sticky residue left on the nail surface with a cleanser. Use your file to refine the free edge, creating your desired shape, whether it is a classic oval, a modern coffin, or a soft square. File the cuticle area gently to ensure a smooth, seamless transition between the natural nail and the gel.
After filing, wipe away the dust once more. Finish your manicure by applying a generous layer of top coat, making sure to cap the free edge to prevent lifting. Cure this final layer under the lamp. To complete the process and restore hydration to your hands, massage a drop of nourishing cuticle oil around the nail walls and apply a rich hand cream.