


Perfectly shaped eyebrows can frame the face and complete a polished look, but achieving that ideal shape can be daunting, especially for beginners. If you find freehand shaping a challenge, eyebrow stencils can be an incredibly useful tool. They act as a guide, helping you create symmetry and definition with confidence. Rather than being a restrictive template, a good stencil works with your natural features to enhance what you already have, making the process of filling in your brows simpler and more consistent.
How to Choose the Right Eyebrow Stencil
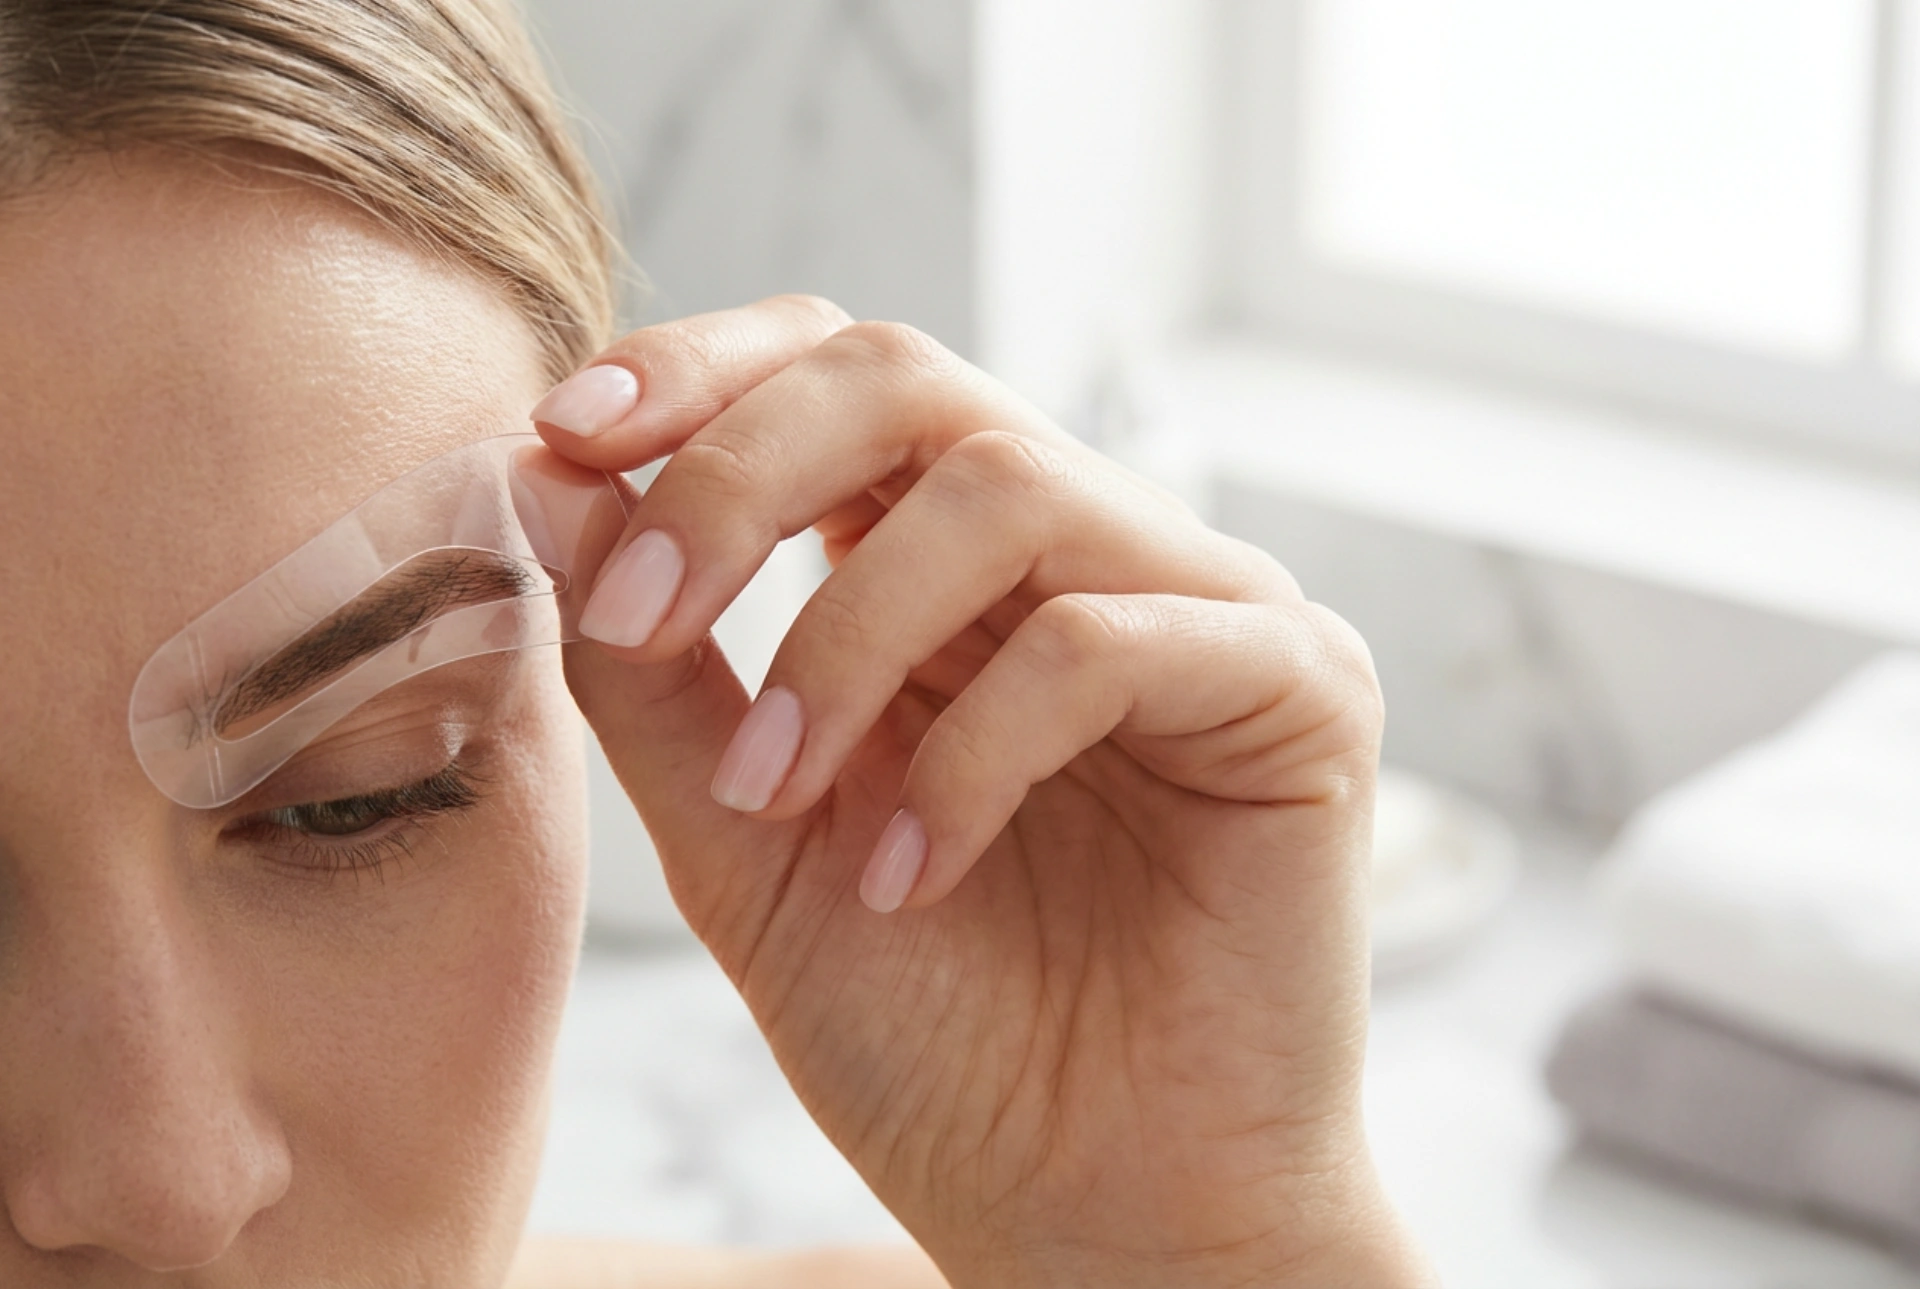
The key to success with stencils is choosing one that complements your unique face and brow structure. A stencil is not a one-size-fits-all solution, and the goal is to find a shape that aligns with your natural brow line, not to force a completely new one. When browsing options, hold the stencil up to your brow to see how it fits.
A well-fitting stencil should comfortably contain most of your natural brow hair. Look for a shape where the arch of the stencil aligns with the natural high point of your own brow. A good way to assess this is by using classic brow mapping principles:
- The Start: The inner edge of the stencil should line up with the bridge of your nose. You can check this by holding a pencil or makeup brush vertically against your nostril.
- The Arch: The highest point of the stencil's arch should be located about two-thirds of the way along your brow, typically aligning with a line drawn from your nostril through the centre of your iris.
- The End: The tail of the stencil should taper towards a point that aligns with a line drawn from your nostril to the outer corner of your eye.
Avoid stencils that are dramatically thinner, thicker, or more arched than your natural brows. The best choice will feel like a slightly more defined and perfected version of your own shape, providing a guideline for filling in sparse areas rather than creating an entirely artificial look.
A Step-by-Step Guide to Flawless Application
Once you have selected your ideal stencil, applying it correctly is straightforward. With a little practice, it can become a quick part of your daily makeup routine. Follow these steps for a natural and defined result.
1. Prepare Your Brows
Start with clean, dry skin. Use a clean spoolie brush to comb your brow hairs upwards and outwards, following their natural growth direction. This helps you see the true shape and ensures the product will apply smoothly.
2. Position the Stencil
Take your stencil and place it over one brow, aligning it with the start, arch, and end points as determined earlier. Hold it firmly against your skin with two fingers (usually your index and middle finger) to prevent it from slipping. Ensure it lies flat against the skin to create a crisp outline.
3. Fill It In
Using an eyebrow powder or pomade and an angled brush, begin to fill in the cutout area of the stencil. It is crucial to use a light hand. Start with a small amount of product on your brush and build up the intensity gradually. Use short, light, upward strokes to mimic the appearance of natural hair. Concentrate the colour more on the arch and tail, leaving the front part of the brow softer and more diffused for a natural gradient effect.
4. Remove and Repeat
Once you are happy with the fullness, carefully lift the stencil straight off your brow. If your stencil is designed to be used on both sides, simply flip it over. Carefully align it on your second brow, taking extra care to ensure it is at the same height and angle as the first for perfect symmetry. Repeat the filling process.
Common Mistakes and How to Avoid Them
While stencils simplify brow shaping, a few common pitfalls can lead to an unnatural finish. Being aware of them will help you achieve the best possible results.
Mistake 1: Using a Harsh Colour or Too Much Product
One of the most frequent errors is creating a solid, blocky brow that looks 'stamped on'. To avoid this, choose a brow product that is one shade lighter than your hair colour for a softer look. Always start with less product and build up slowly. The goal is to create shadow and dimension, not to draw a solid shape.
Mistake 2: Incorrect Stencil Placement
Placing the stencils unevenly is the quickest way to end up with asymmetrical brows. Always take a moment to step back and look at your full face in the mirror after positioning the stencil on each side to check for balance before you start filling it in.
Mistake 3: Forgetting to Blend
The stencil will create a defined outline, which can sometimes look too sharp. After you have filled in both brows, take your clean spoolie brush and gently comb through the hairs one more time. This softens any harsh lines, blends the product seamlessly with your natural hairs, and creates a more polished, integrated look.
Mistake 4: Relying on the Stencil Exclusively
Think of the stencil as a guide, not a final command. After removing it, you may need to make minor touch-ups. You can use a cotton bud with a tiny amount of makeup remover or a concealer on a fine brush to sharpen the edges or clean up any smudges. The stencil provides the core shape, but these finishing touches are what make your brows look truly perfect.


