


Achieving perfectly defined eyebrows and eyelashes can frame the face and enhance your natural beauty. One popular method for adding colour and depth is using henna, a plant-based dye that has been used for centuries. Unlike traditional tints, henna can stain both the hair and the skin beneath, creating a fuller, more pronounced look. This guide will walk you through the entire process, from preparation to aftercare, ensuring you can achieve a beautiful and lasting result safely at home.
Understanding Henna for Cosmetic Use
When we talk about henna for brows and lashes, it's important to distinguish it from traditional body art henna. Cosmetic henna is specially formulated for the delicate eye area. It's often derived from the same plant, Lawsonia inermis, but is processed to be finer and is frequently mixed with other natural pigments and ingredients to create a range of shades beyond the typical reddish-brown. This allows for a much better match with various hair colours and skin tones, from light blonde to deep black. The primary benefit is its ability to tint the skin, which helps to fill in sparse areas in the brows for a 'powdered' effect that can last for up to two weeks on the skin and up to six weeks on the hair itself.
Essential Preparation Steps
Proper preparation is the key to a successful and safe henna application. Rushing this stage can lead to uneven results or skin irritation, so dedicate enough time to get it right.
Performing a Patch Test
This is the most critical step and should never be skipped. Even if you have used henna before, formulations can change, and sensitivities can develop. To perform a patch test, mix a tiny amount of the henna paste and apply it to a discreet area of skin, such as behind your ear or on the inner elbow. Leave it on for the recommended processing time, then wipe it off. Wait for at least 48 hours to check for any signs of redness, itching, swelling, or irritation. If any reaction occurs, do not proceed with the application.
Preparing the Area
Once your patch test is clear, you can prepare your brows and lashes. Start by thoroughly cleansing your face to remove all makeup, oils, and skincare products. The area must be completely clean and dry for the henna to adhere properly. Gently exfoliate the skin around your eyebrows a day before the application to remove dead skin cells, which helps the henna stain the skin more evenly. Just before applying, protect the skin where you don't want the dye to go. Apply a thin layer of a barrier cream, like petroleum jelly, around the desired shape of your eyebrows and on the skin around your eyelashes. Be careful not to get any on the hairs you intend to tint.
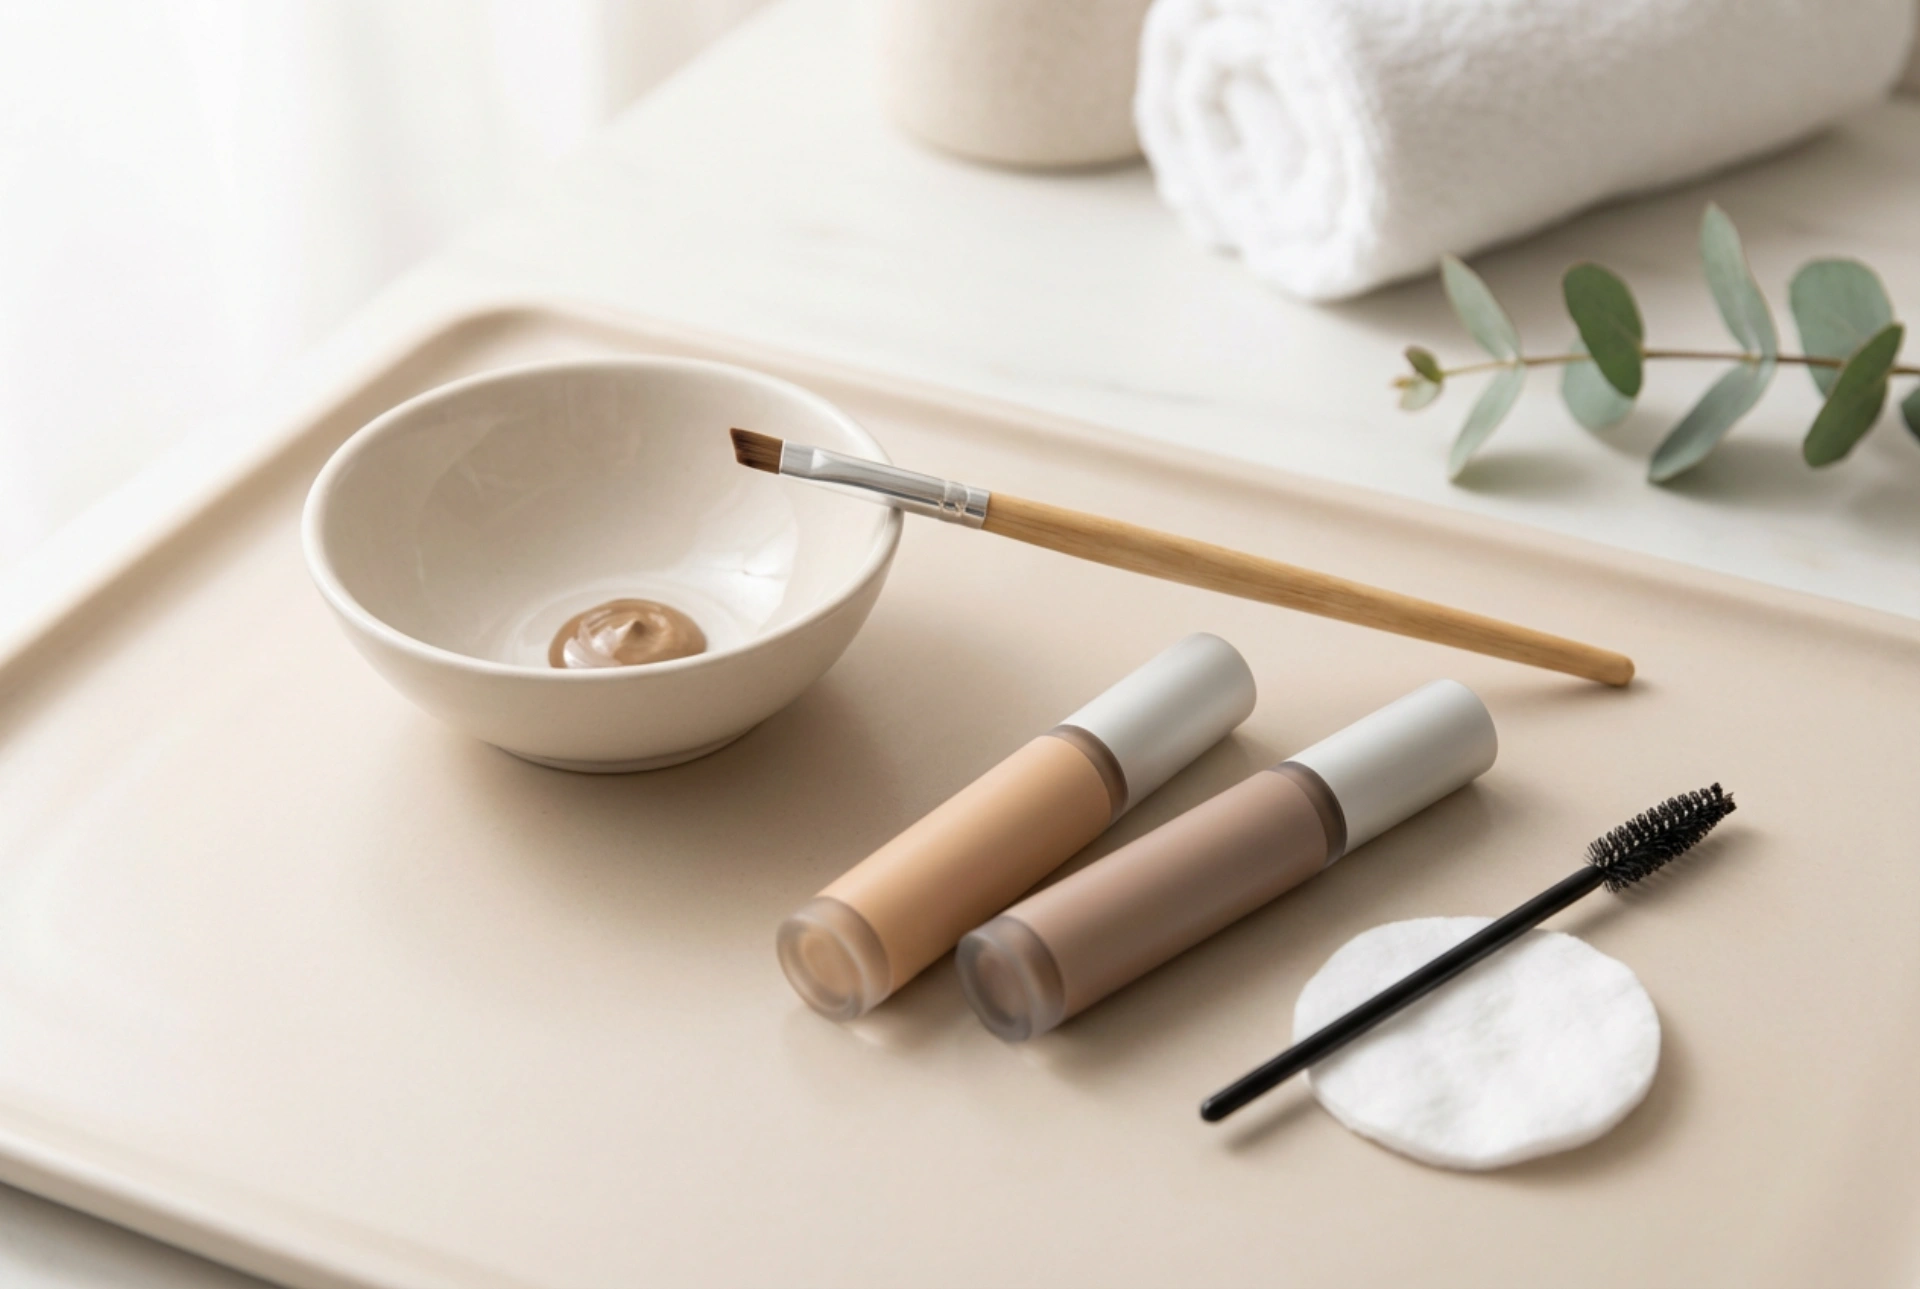
The Application Process
With your skin prepped, you are ready to apply the henna. Work in a well-lit area and have all your tools ready: the mixed henna paste, an application brush, cotton buds for clean-ups, and damp cotton pads for removal.
Mixing and Application
Follow the manufacturer's instructions to mix the henna powder or paste to the correct consistency, which is typically similar to a smooth, thick cream. Using a fine-angled brush, apply the henna to your eyebrows, carefully following your desired shape. Start from the tail of the brow and work your way to the front for a more natural, gradient effect. Be precise and apply a thick, even layer, ensuring all hairs are covered. For eyelashes, the process requires extreme caution. It is often easier and safer to have someone assist you. Keep your eyes closed and apply the henna carefully to the lashes, avoiding contact with the eye itself. Protective pads should be placed under the lower lashes to shield the skin.
Processing and Removal
The processing time will vary depending on the product and the desired intensity, usually ranging from 10 to 20 minutes. The longer you leave it on, the darker the result will be. Once the time is up, gently remove the paste. For eyebrows, use a damp cotton pad and wipe in the direction of hair growth. For eyelashes, keep the eye closed and have someone carefully wipe the henna away from the lash line. Avoid rubbing or scrubbing the area.
Aftercare for a Long-Lasting Effect
The first 24-48 hours after application are crucial for maximising the longevity of your henna tint. To help the colour set and last as long as possible, follow these simple aftercare rules:
- Avoid getting the tinted area wet for at least 24 hours. This includes washing your face, showering, and swimming.
- Steer clear of saunas, steam rooms, and intense workouts that cause excessive sweating for the first 48 hours.
- Do not use oil-based makeup removers, cleansers, or creams on or around the tinted area, as oil can break down the henna pigment faster.
- When cleansing your face, be gentle around your brows and lashes. Pat them dry instead of rubbing.
- Limit exposure to direct sunlight and chlorinated water, as both can cause the colour to fade more quickly.
- Avoid exfoliating products or peels on the brow area for the duration of the tint.
By following these steps, you can enjoy beautifully tinted, fuller-looking brows and defined lashes for several weeks, simplifying your daily beauty routine.


