


Achieving a glossy, chip-free manicure that lasts for weeks is no longer exclusive to salon visits. With the right tools and a little practice, you can create a beautiful gel manicure in the comfort of your own home. The key to a flawless and long-lasting result lies in meticulous preparation and a precise application technique. This guide will walk you through every stage, from preparing your nail plate to the final cure, ensuring a professional-quality finish that you can be proud of.
Preparing Your Nails: The Crucial First Step
Proper preparation is the foundation of a durable gel manicure. Skipping these steps can lead to lifting and peeling. Before you even think about opening a bottle of polish, dedicate time to getting your nails ready.
Shape and Tidy
Start by removing any old polish. Gently file your nails to your desired shape using a fine-grit nail file. Move the file in one direction rather than sawing back and forth to prevent splitting. Next, address your cuticles. Apply a cuticle remover and gently push them back with an orangewood stick or a cuticle pusher. It is important to only work on the dead skin on the nail plate and avoid cutting the live tissue, which protects your nails from external factors.
Create the Perfect Surface
Once your nails are shaped and your cuticles are tidied, you need to prepare the nail surface itself. The goal is to remove any natural oils and shine, which helps the gel product adhere better. Take a gentle buffing block and lightly buff the entire surface of each nail. The aim is to remove the shine, not to thin the nail, so be very gentle. After buffing, there will be dust. Use a soft brush or a lint-free wipe to clean it all away. Finally, use a nail dehydrator or a lint-free wipe soaked in a special nail cleansing solution to wipe over each nail. This removes any remaining oils and moisture, creating the ideal canvas for your base coat.
Applying the Coats: A Layer-by-Layer Technique
The application of gel polish is a methodical process. Each layer has a specific purpose and must be applied thinly and cured correctly before moving on to the next. Rushing this stage or applying thick coats is a common mistake that leads to an uneven finish and improper curing.
The Essential Base Coat
The base coat acts as a crucial barrier between your natural nail and the coloured polish. It also provides the sticky surface that the gel colour adheres to. Apply a very thin, even layer of the gel base coat to the entire nail, from the cuticle to the tip. Be extremely careful not to get any product on your skin or cuticles, as this can cause lifting. If you do get any on your skin, clean it off with an orangewood stick before curing. 'Cap' the free edge of your nail by running the brush lightly along the tip. This helps to seal the polish and prevent chipping.
Building the Colour
After curing the base coat, you can apply your chosen colour. Just like the base coat, the key is to apply thin coats. A thick coat of colour will not cure properly and may wrinkle or bubble. Apply your first thin coat of colour and cure it according to the lamp's instructions. The first coat may look a little streaky or sheer, which is completely normal. The second coat will provide full opacity and a smooth finish. Apply the second thin coat, again capping the free edge, and cure it as well.
The Protective Top Coat
The final layer is the top coat. This seals in the colour, provides a high-gloss shine, and protects your manicure from scratches and chips. Apply a slightly more generous (but still not thick) layer of the top coat over the entire nail, making sure to cap the free edge once more. This final seal is vital for longevity. Ensure the coverage is smooth and even before the final cure.
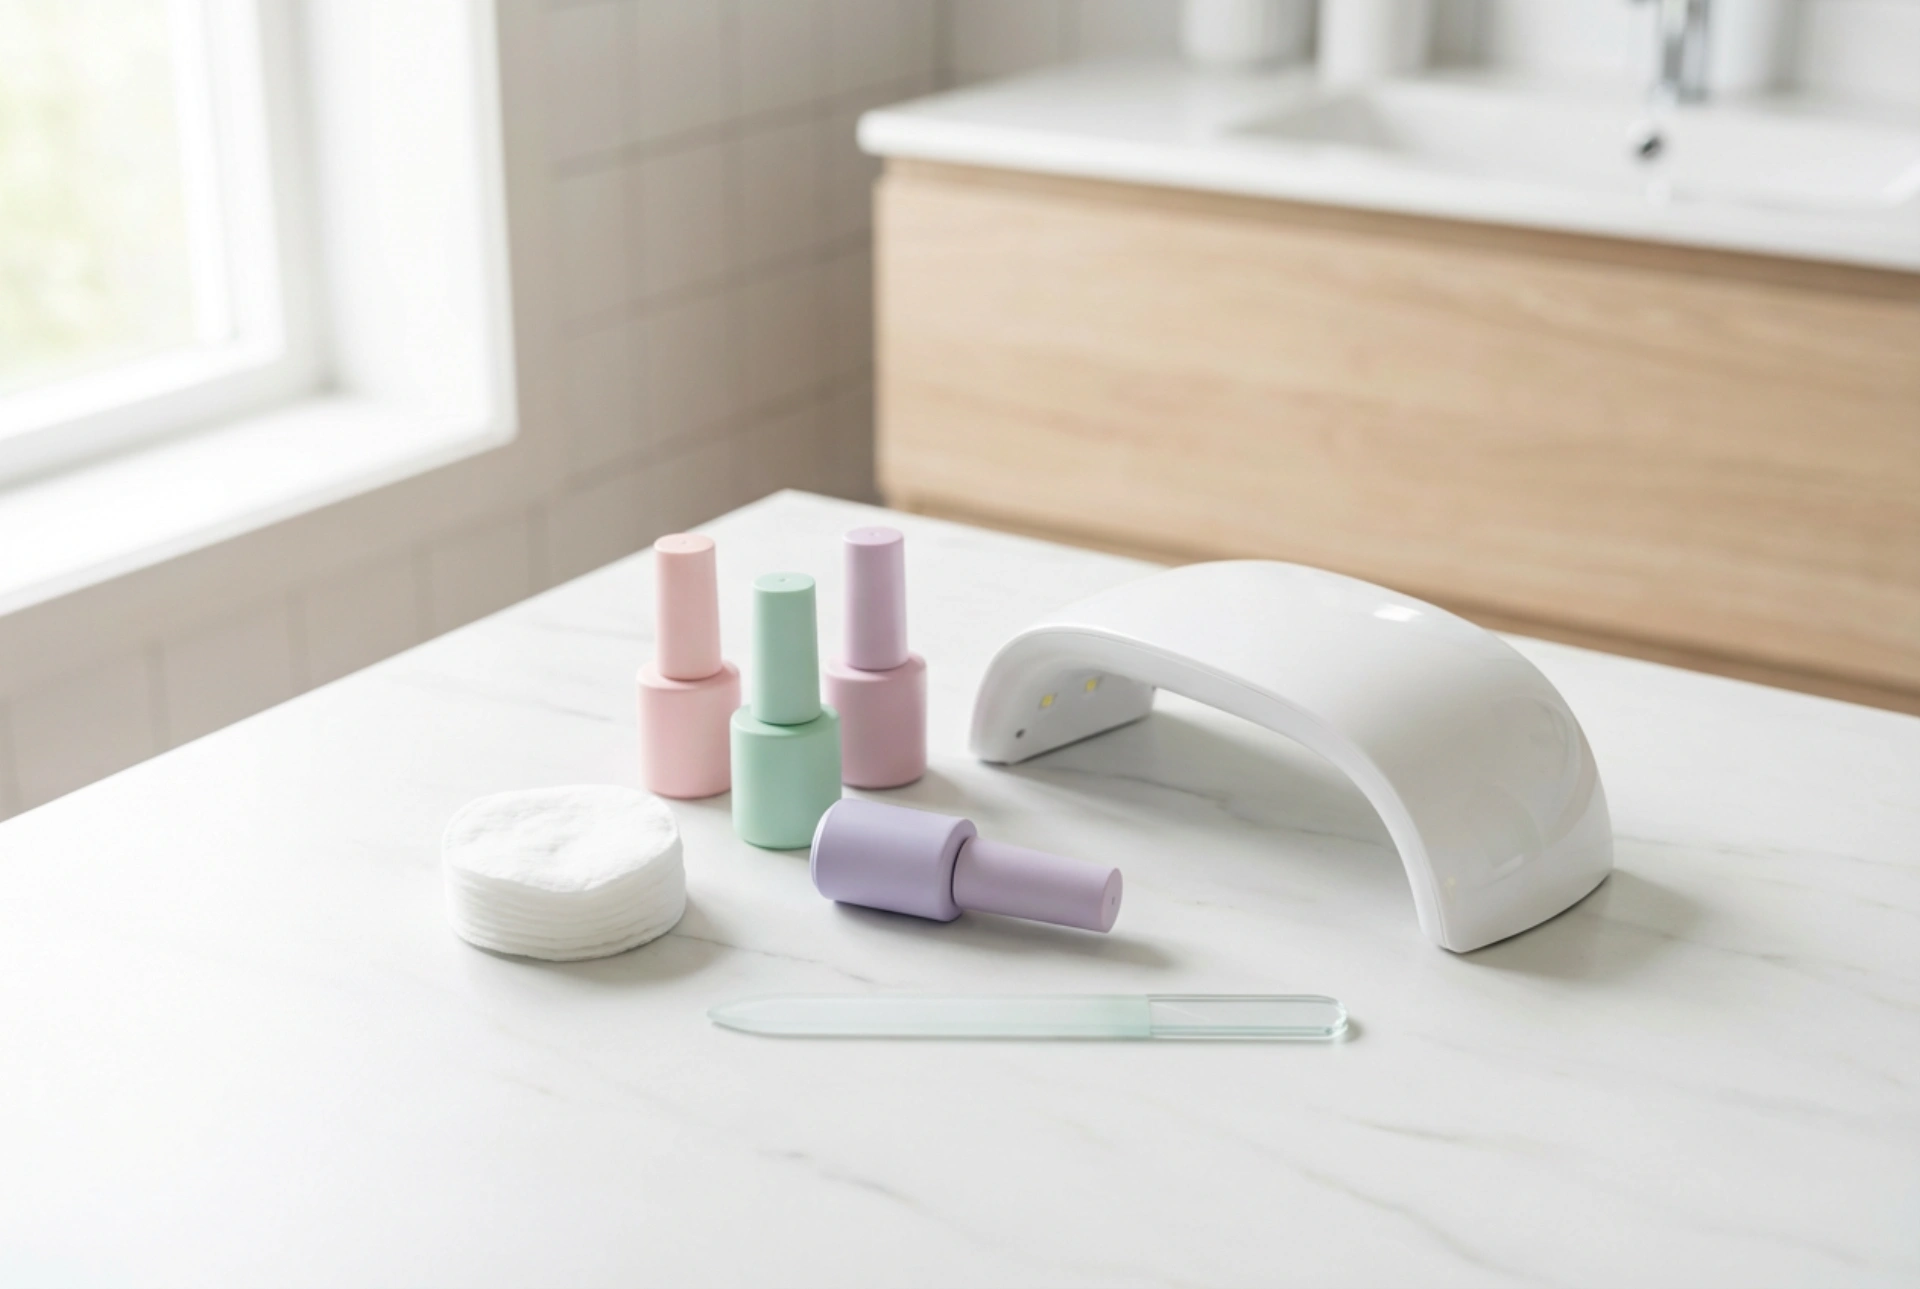
The Curing Process: Hardening the Polish to Perfection
Curing is the chemical process that hardens the gel polish, transforming it from a liquid to a durable solid. This is done using either an LED or a UV lamp. LED lamps are more common for at-home use as they cure the polish much faster, typically in 30-60 seconds per layer, whereas UV lamps can take 2-3 minutes. It is essential to cure each layer (base, colour coats, and top coat) for the recommended time. Under-curing can leave the gel soft and prone to smudging, while over-curing can sometimes make the polish brittle. Always follow the guidelines provided for your specific polish and lamp for the best results.
Final Touches and Long-Term Care
Once your top coat is fully cured, your manicure is almost complete. Most traditional gel systems leave a sticky or 'inhibition' layer on top after the final cure. This is a normal part of the process. To remove it, take a lint-free wipe saturated with a gel cleansing solution (usually an isopropyl alcohol solution) and wipe firmly over each nail. This will reveal the hard, non-tacky, and high-shine finish beneath. To finish, apply a nourishing cuticle oil to the skin around your nails to rehydrate it after the process. To make your manicure last, avoid using your nails as tools, and wear gloves when washing dishes or using cleaning chemicals. With proper care, your at-home gel manicure can look perfect for two weeks or more.


