


Spring is a time of renewal, and it's the perfect opportunity to refresh your beauty routine, starting with your manicure. While long nails can be stunning, short nails offer a practical elegance that is both chic and low-maintenance. They provide a perfect canvas for subtle, fresh designs that celebrate the season. With a few simple tools and techniques, you can create beautiful spring-themed nail art at home that looks polished and sophisticated, complementing the clean, fresh aesthetic of the season.
Preparing Your Nails for a Spring Manicure
Before you even think about colours and designs, proper preparation is essential for a long-lasting and professional-looking manicure. A healthy, smooth base will make any design look its best.
- Shape and File: Start with clean, dry nails. Gently file your nails into your desired shape. A 'squoval' (square-oval) or soft round shape is often the most flattering for shorter nails, as it can help to create an illusion of length and is less prone to snagging.
- Cuticle Care: Soften your cuticles by soaking your fingertips in warm water for a few minutes or by using a cuticle remover solution. Gently push them back with an orange stick or a soft cuticle pusher. Avoid cutting your cuticles, as they protect your nail bed from irritants.
- Buff and Cleanse: Lightly buff the surface of your nails to create a smooth canvas for the polish. This helps the colour adhere better. Afterwards, wipe each nail with a nail polish remover or alcohol to remove any natural oils or residue.
- Apply a Base Coat: Never skip the base coat. It protects your natural nails from staining, provides a grippy surface for your colour to stick to, and helps your manicure last longer.
Choosing Your Spring Colour Palette
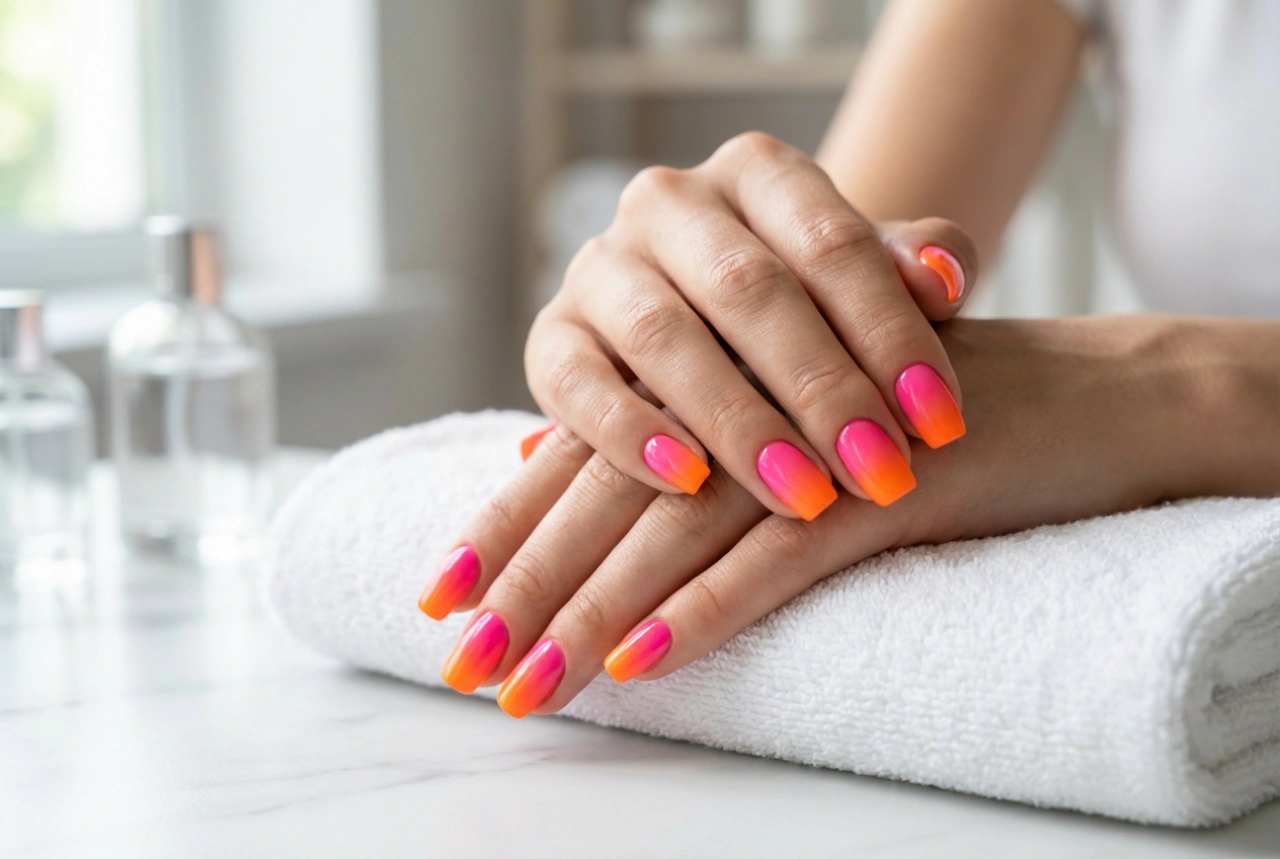
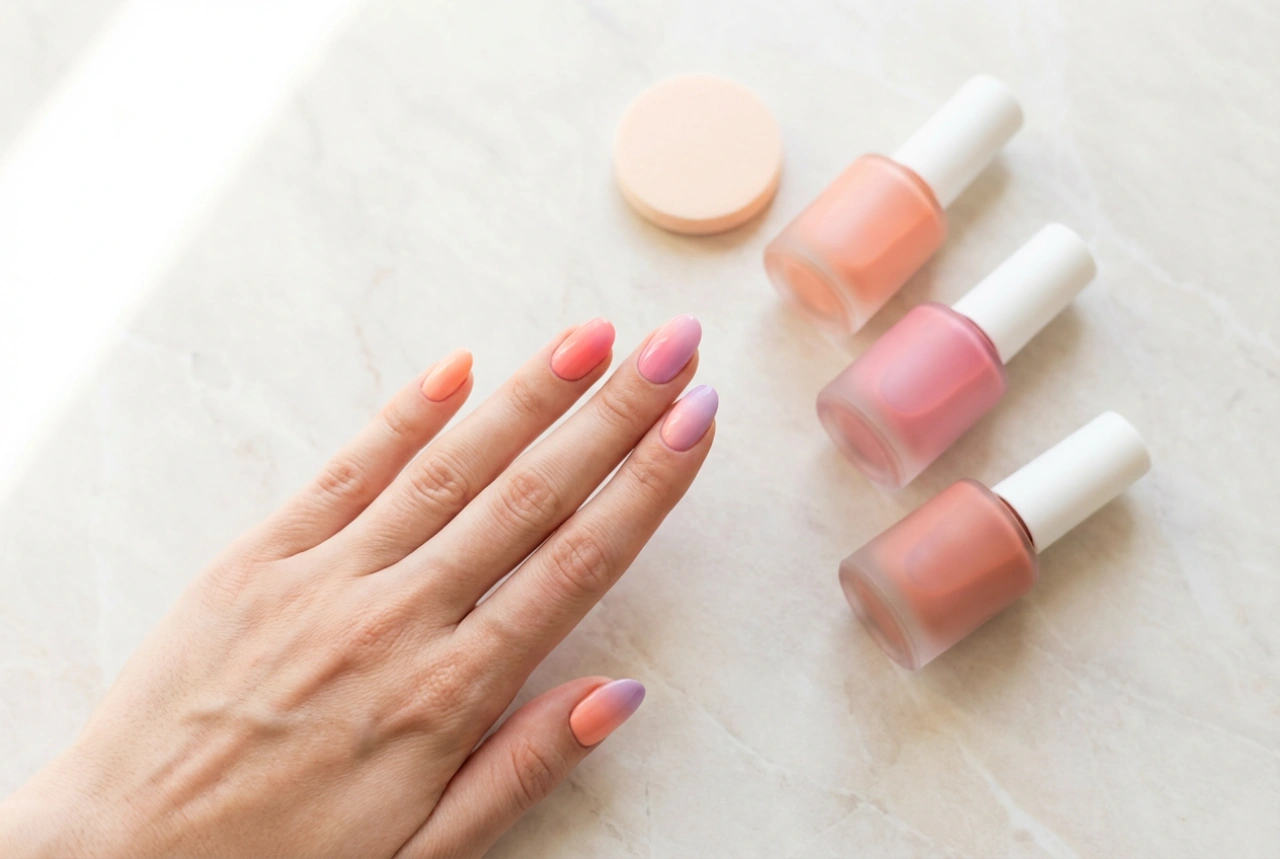
The colours you choose set the tone for your spring manicure. This season is all about soft, airy hues and delicate pastels that mimic the blooming world outside. For short nails, these colours add a touch of brightness without being overwhelming.
Classic Spring Pastels
You can't go wrong with traditional pastel shades. They are universally flattering and instantly evoke a sense of spring. Consider colours like:
- Soft lilac or lavender
- Mint green
- Baby blue
- Buttery soft yellow
- Delicate peach or coral
- Classic baby pink
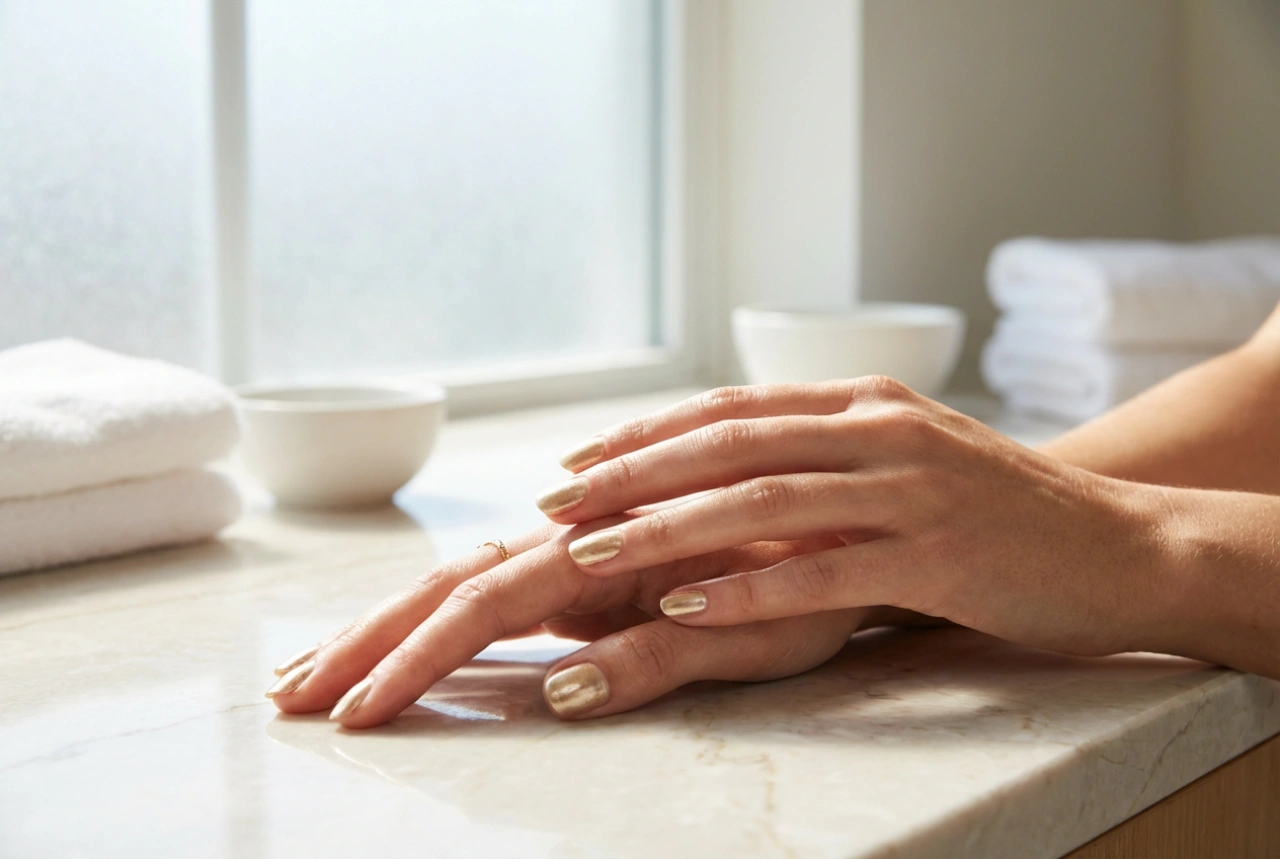
Modern Neutrals and Nudes
For a more understated and elegant look, a palette of nudes and neutrals provides a perfect base for minimalist spring art. A sheer pink or a creamy beige can make short nails look incredibly clean and polished.
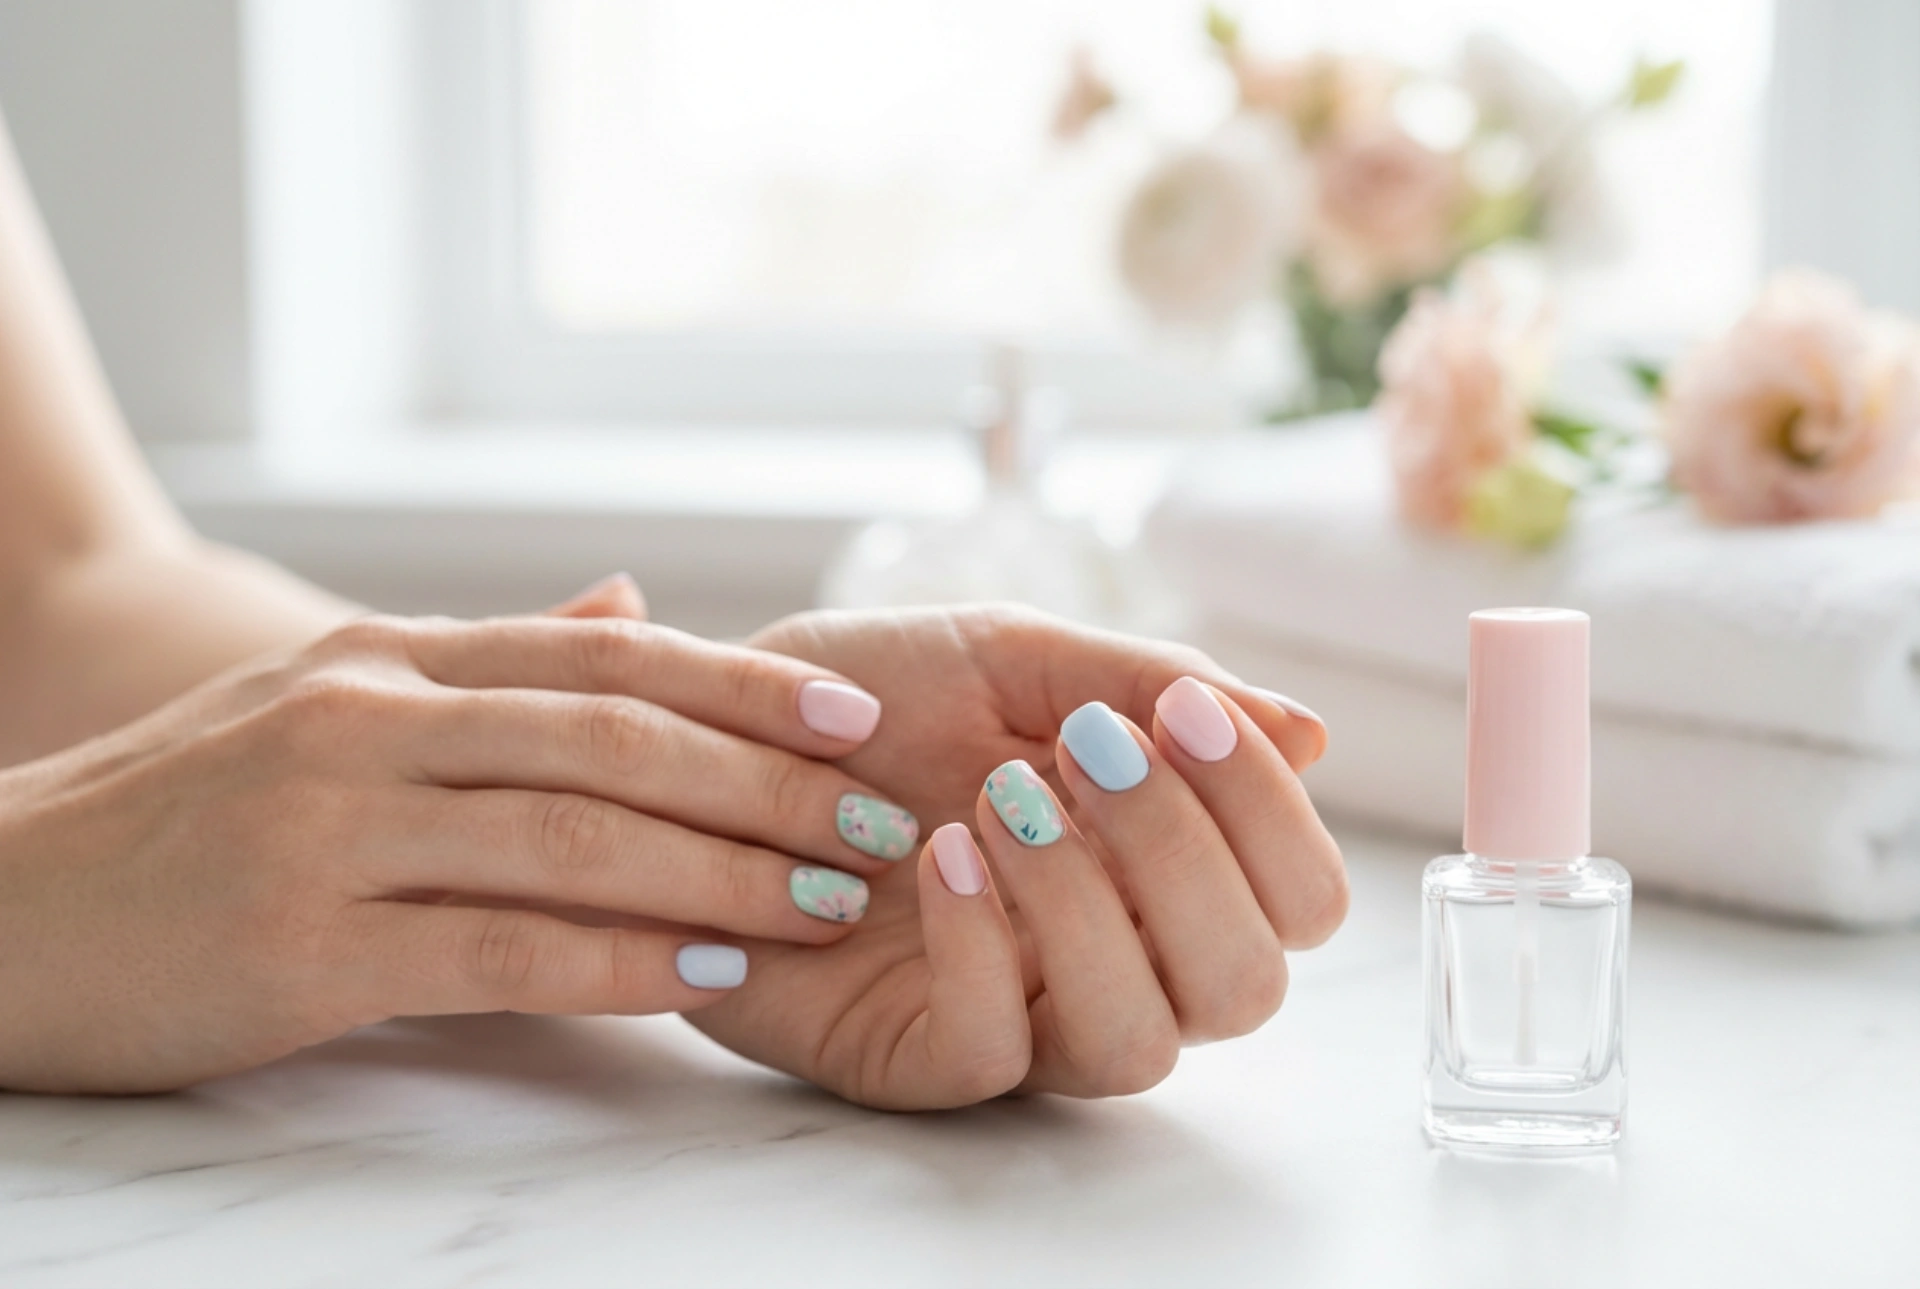
Simple Spring Nail Art for Short Nails
You don't need to be a professional artist to create beautiful designs. These simple techniques are perfect for short nails and require minimal tools—often, a toothpick or the end of a bobby pin will do the trick.
The Minimalist Dot
This is arguably the simplest yet most chic nail art design. After applying two coats of your chosen base colour and letting it dry completely, simply dip a dotting tool, toothpick, or bobby pin into a contrasting polish. Carefully place a single dot at the base of your nail, just above the cuticle, or in the centre of the nail tip. A black dot on a nude base or a metallic dot on a pastel base looks incredibly modern.
Delicate Floral Accents
Flowers are synonymous with spring. Create a simple daisy on an accent nail (usually the ring finger). Use a dotting tool to place five small dots of white or a light pastel polish in a circle to form the petals. Once they are slightly dry, add a tiny dot of yellow or gold in the centre. It's a sweet, subtle nod to the season.
The Modern Pastel French Tip
A French manicure is a timeless classic, but you can give it a spring update. Instead of the traditional white tip, use a soft pastel colour. This works wonderfully on short nails, as a very thin line of colour at the tip can create a clean, elongating effect. You can use nail guides for a perfect line or carefully paint the tip freehand with a thin brush.
Making Your Spring Manicure Last
After putting in the effort to create your beautiful design, you'll want it to last. The final steps are just as important as the preparation.
- Seal with a Top Coat: Once your nail art is completely dry to the touch, apply a generous layer of a high-quality, quick-drying top coat. This will seal in your design, add brilliant shine, and protect your nails from chipping.
- Reapply if Needed: To extend the life of your manicure, you can apply another thin layer of top coat every two to three days.
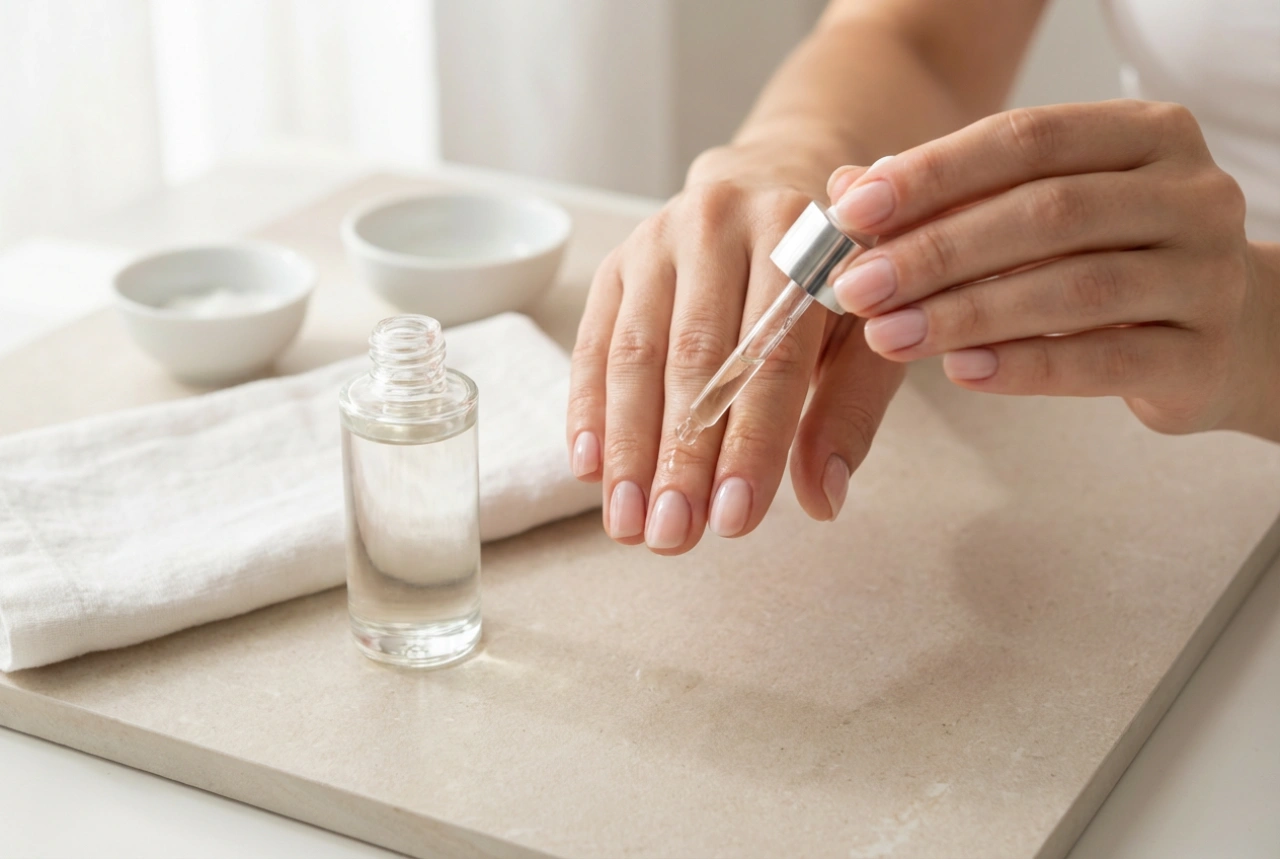
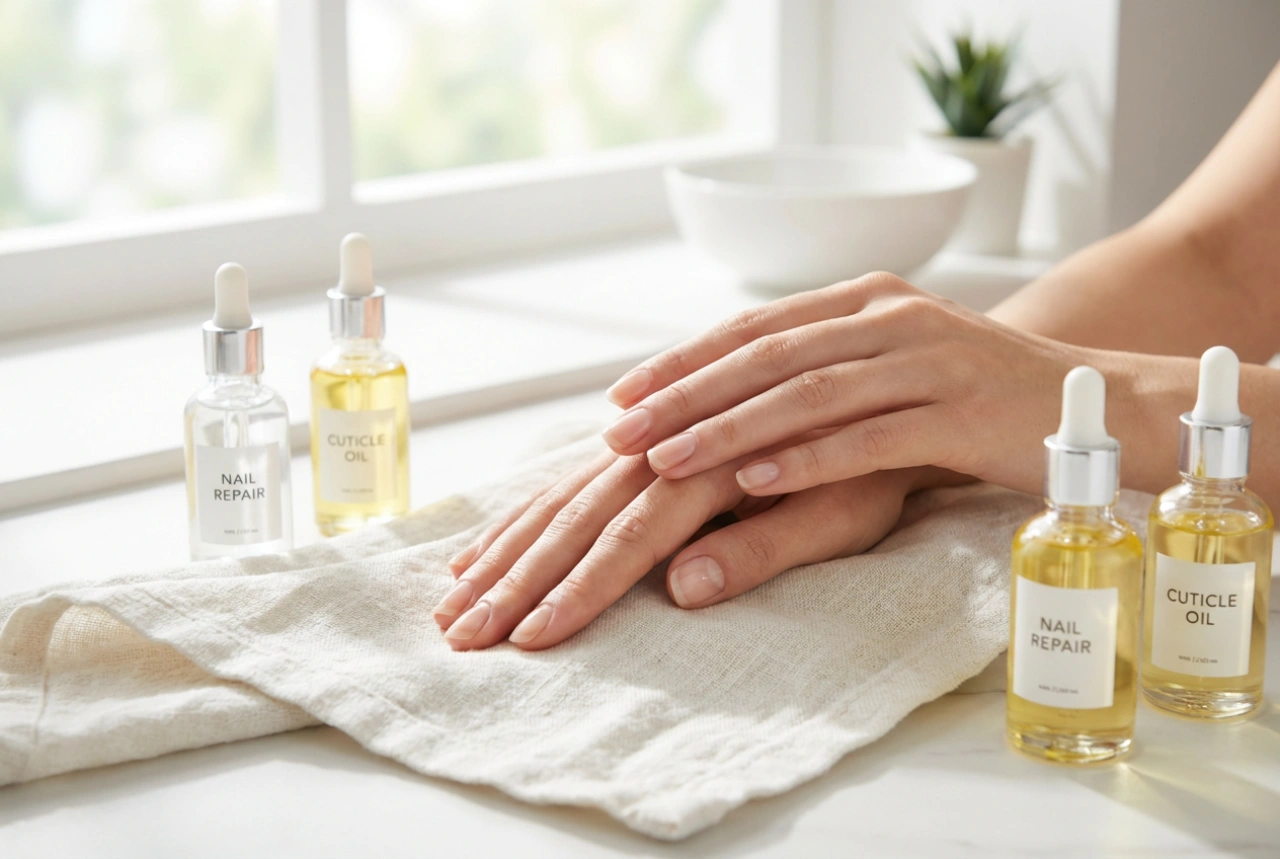
- Hydrate Daily: Keep your hands and cuticles moisturised. Use a nourishing hand cream and apply cuticle oil daily to prevent dryness and keep your manicure looking fresh.