


Achieving beautifully defined yet natural-looking eyebrows is a key goal in many beauty routines. The precision offered by modern cosmetics makes this easier than ever, and the eyebrow pen stands out as a superior tool for the task. Unlike other products, its fine tip is specifically designed for creating delicate, hair-like strokes that mimic the appearance of natural brow hairs. This guide will walk you through the process of using an eyebrow pen, focusing on the popular hair stroke technique to help you enhance your brows with subtle, realistic detail.
What Makes an Eyebrow Pen Unique?
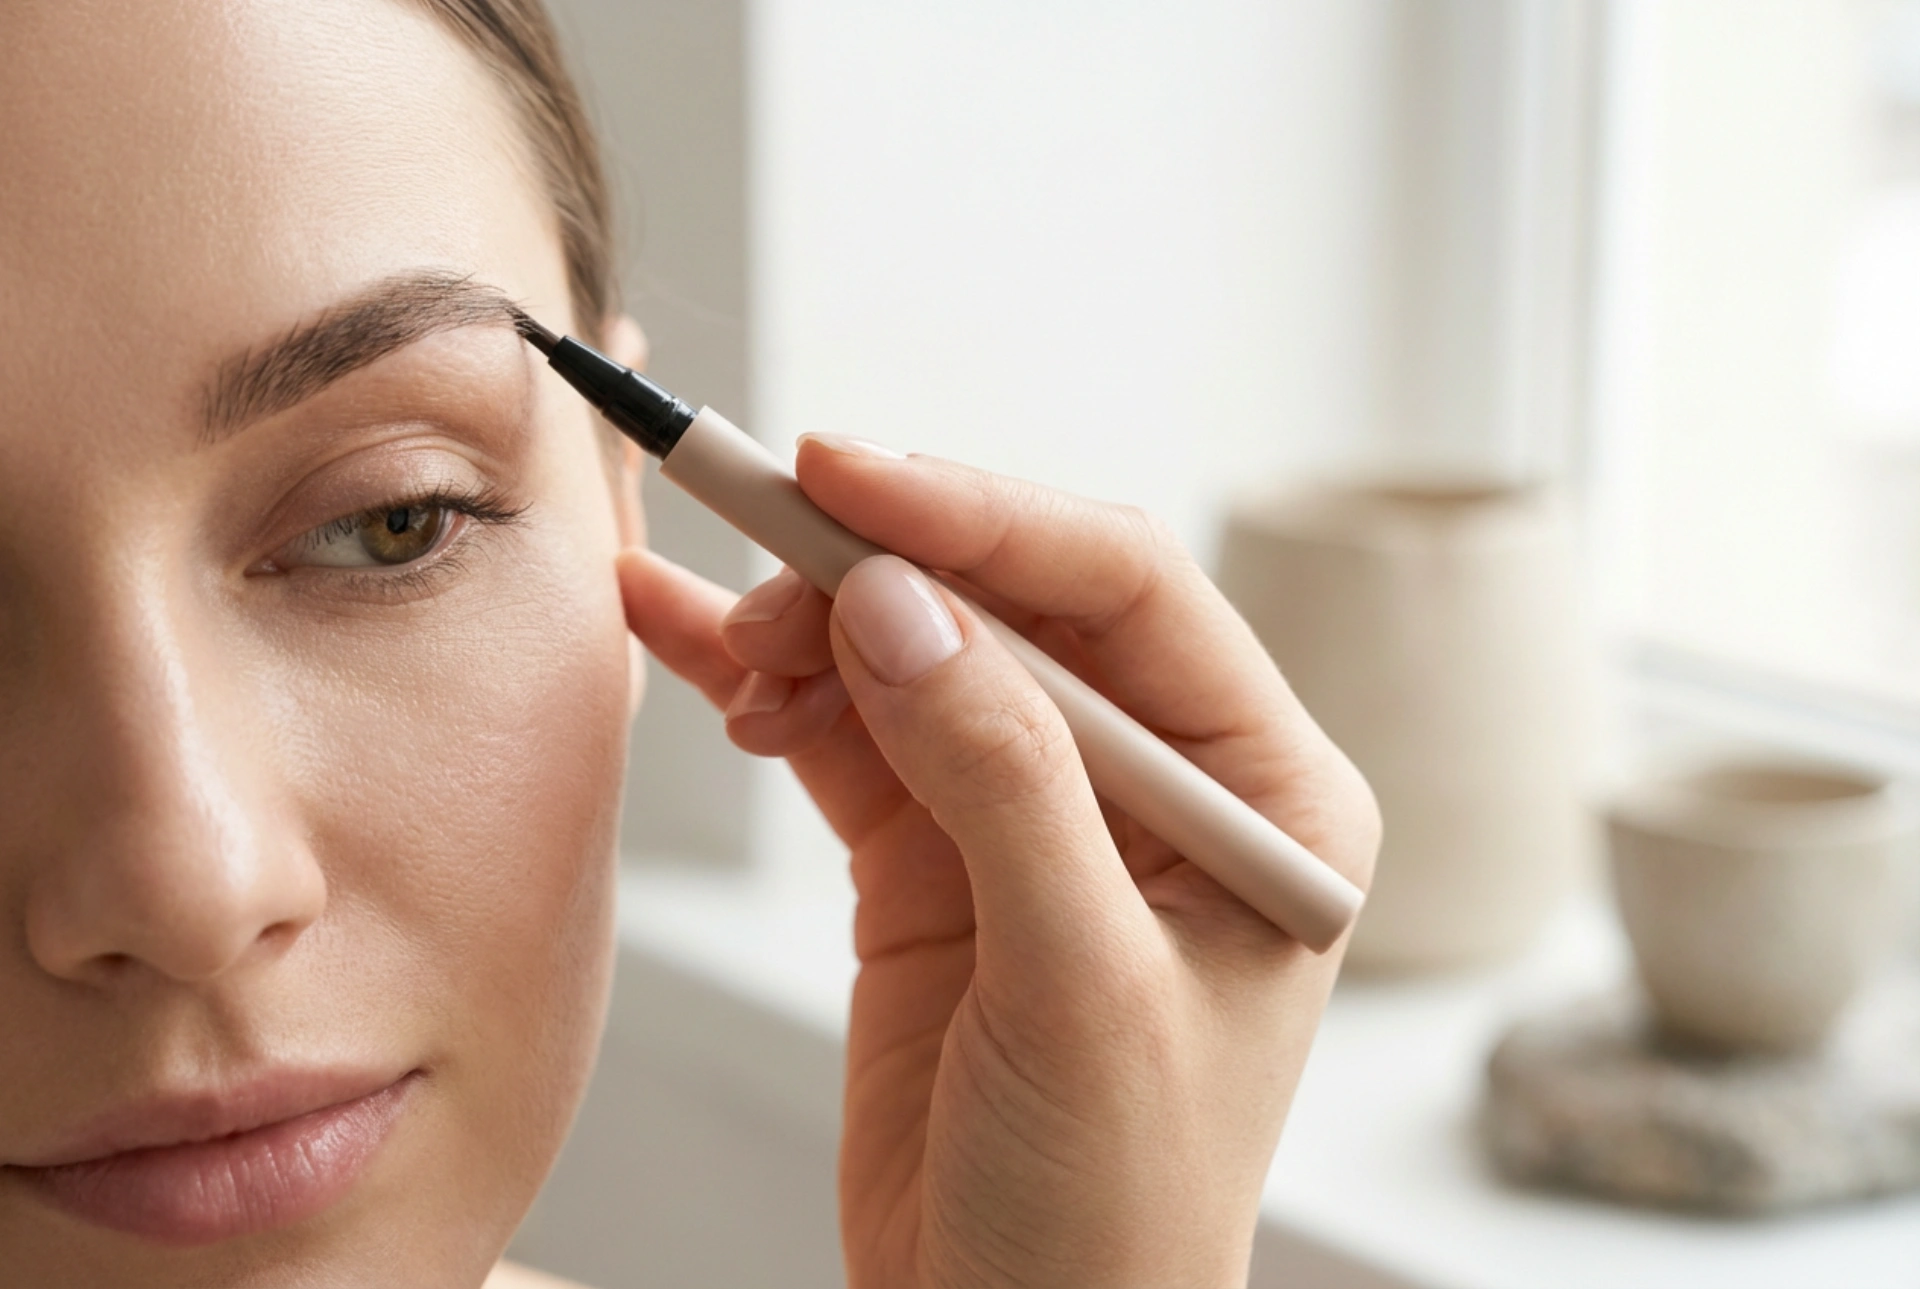
An eyebrow pen, often resembling a fine-tipped marker, is a liquid cosmetic used for brow enhancement. Its primary advantage lies in its ability to deliver precise, controllable lines. While pencils can sometimes create waxy or smudged effects and powders can lack definition, a pen offers clean, sharp strokes that are ideal for filling in sparse areas. The liquid formula is typically lightweight and designed to be buildable, allowing you to add depth gradually without the risk of a heavy, drawn-on look. This makes it the perfect choice for anyone wanting to achieve a 'your-brows-but-better' effect.
Choosing the Right Shade
Selecting the correct colour is crucial for a natural result. A common mistake is choosing a shade that is too dark, which can look harsh and artificial. As a general rule, opt for a shade that is one or two tones lighter than your natural hair colour. If you have very dark hair, a soft dark brown or charcoal may be more flattering than a stark black. For those with lighter hair, taupe, ash, and soft blonde shades work well. It's always best to test the colour on your hand first to see how it looks against your skin tone before applying it to your brows.
Preparing Your Brows for Application
Proper preparation ensures a smooth application and helps your brow makeup last all day. A clean, dry canvas is essential for the pen's ink to adhere correctly and for the strokes to appear crisp and defined.
- Clean the Area: Start with a clean face. Ensure there is no oil, moisturiser, or foundation residue in or around your eyebrows. You can gently wipe the area with a cotton pad and a bit of toner to remove any excess oils.
- Groom Your Brows: Use a clean spoolie brush to comb your brow hairs upwards and outwards. This helps you see the natural shape of your brows and identify any sparse areas that need filling. Trimming any overly long hairs can also create a neater shape.
- Outline if Necessary: If you are unsure of where to fill, you can use a very light-coloured brow pencil to softly outline the desired bottom shape of your brow. This line will act as a guide and can be blended away later.
Mastering the Hair Stroke Technique
The hair stroke technique is all about mimicking the natural growth pattern of your eyebrow hairs. It requires a light hand and a bit of practice, but the results are incredibly realistic.
The Application Process
Start with a very light hand; you can always add more product later. The goal is to build up the definition slowly and deliberately.
- Start at the Front: Begin at the inner part of your eyebrow, where the hairs are often finer and grow upwards. Hold the pen at a slight angle and draw short, light, upward flicks. These strokes should be spaced slightly apart to avoid creating a block of colour.
- Fill the Arch and Body: As you move towards the arch and body of the brow, adjust the direction of your strokes to follow the natural hair growth. Here, the hairs typically grow upwards and outwards. Continue using short, feathery flicks to fill in any gaps. Focus the application on the sparse areas rather than colouring over the entire brow.
- Define the Tail: The tail of the brow is typically the most defined part. Use precise, downward-angled strokes to create a clean, sharp end. Be careful not to extend the tail too far down, as this can make the eyes appear droopy.
Finishing Touches and Common Mistakes
Once you have filled in your brows, a few final steps will ensure a flawless, long-lasting finish. It's also helpful to be aware of common errors to avoid.
Blending and Setting
After applying the pen, take your clean spoolie brush again and gently comb through your brows. This step is essential for softening any harsh lines and blending the cosmetic strokes with your natural hairs. It creates a seamless transition and a more polished look. To lock your brows in place for the day, consider applying a clear or tinted brow gel. Brush the hairs upwards and into your desired shape for a groomed finish that holds.
Mistakes to Avoid
- Applying Too Much Pressure: A heavy hand results in thick, dark, and unnatural lines. Always use a light touch.
- Using a Shade That's Too Dark: This is the most common error and leads to a harsh, severe look. Always opt for a slightly lighter shade.
- Drawing Long, Solid Lines: Eyebrows are made of individual hairs, not solid lines. Keep your strokes short and feathery.
- Forgetting to Blend: Skipping the final blend with a spoolie can leave your brows looking drawn-on. Blending is key to a natural finish.


