


A perfectly polished manicure is a timeless symbol of elegance and attention to detail. Achieving that smooth, high-gloss finish seen in professional photos is not just about the colour you choose; it is about selecting a quality product and mastering the application technique. The good news is that with a little knowledge and practice, you can create a durable and beautiful manicure in the comfort of your own home, transforming your nails into a statement of refined style.
Key Characteristics of a High-Quality Nail Varnish
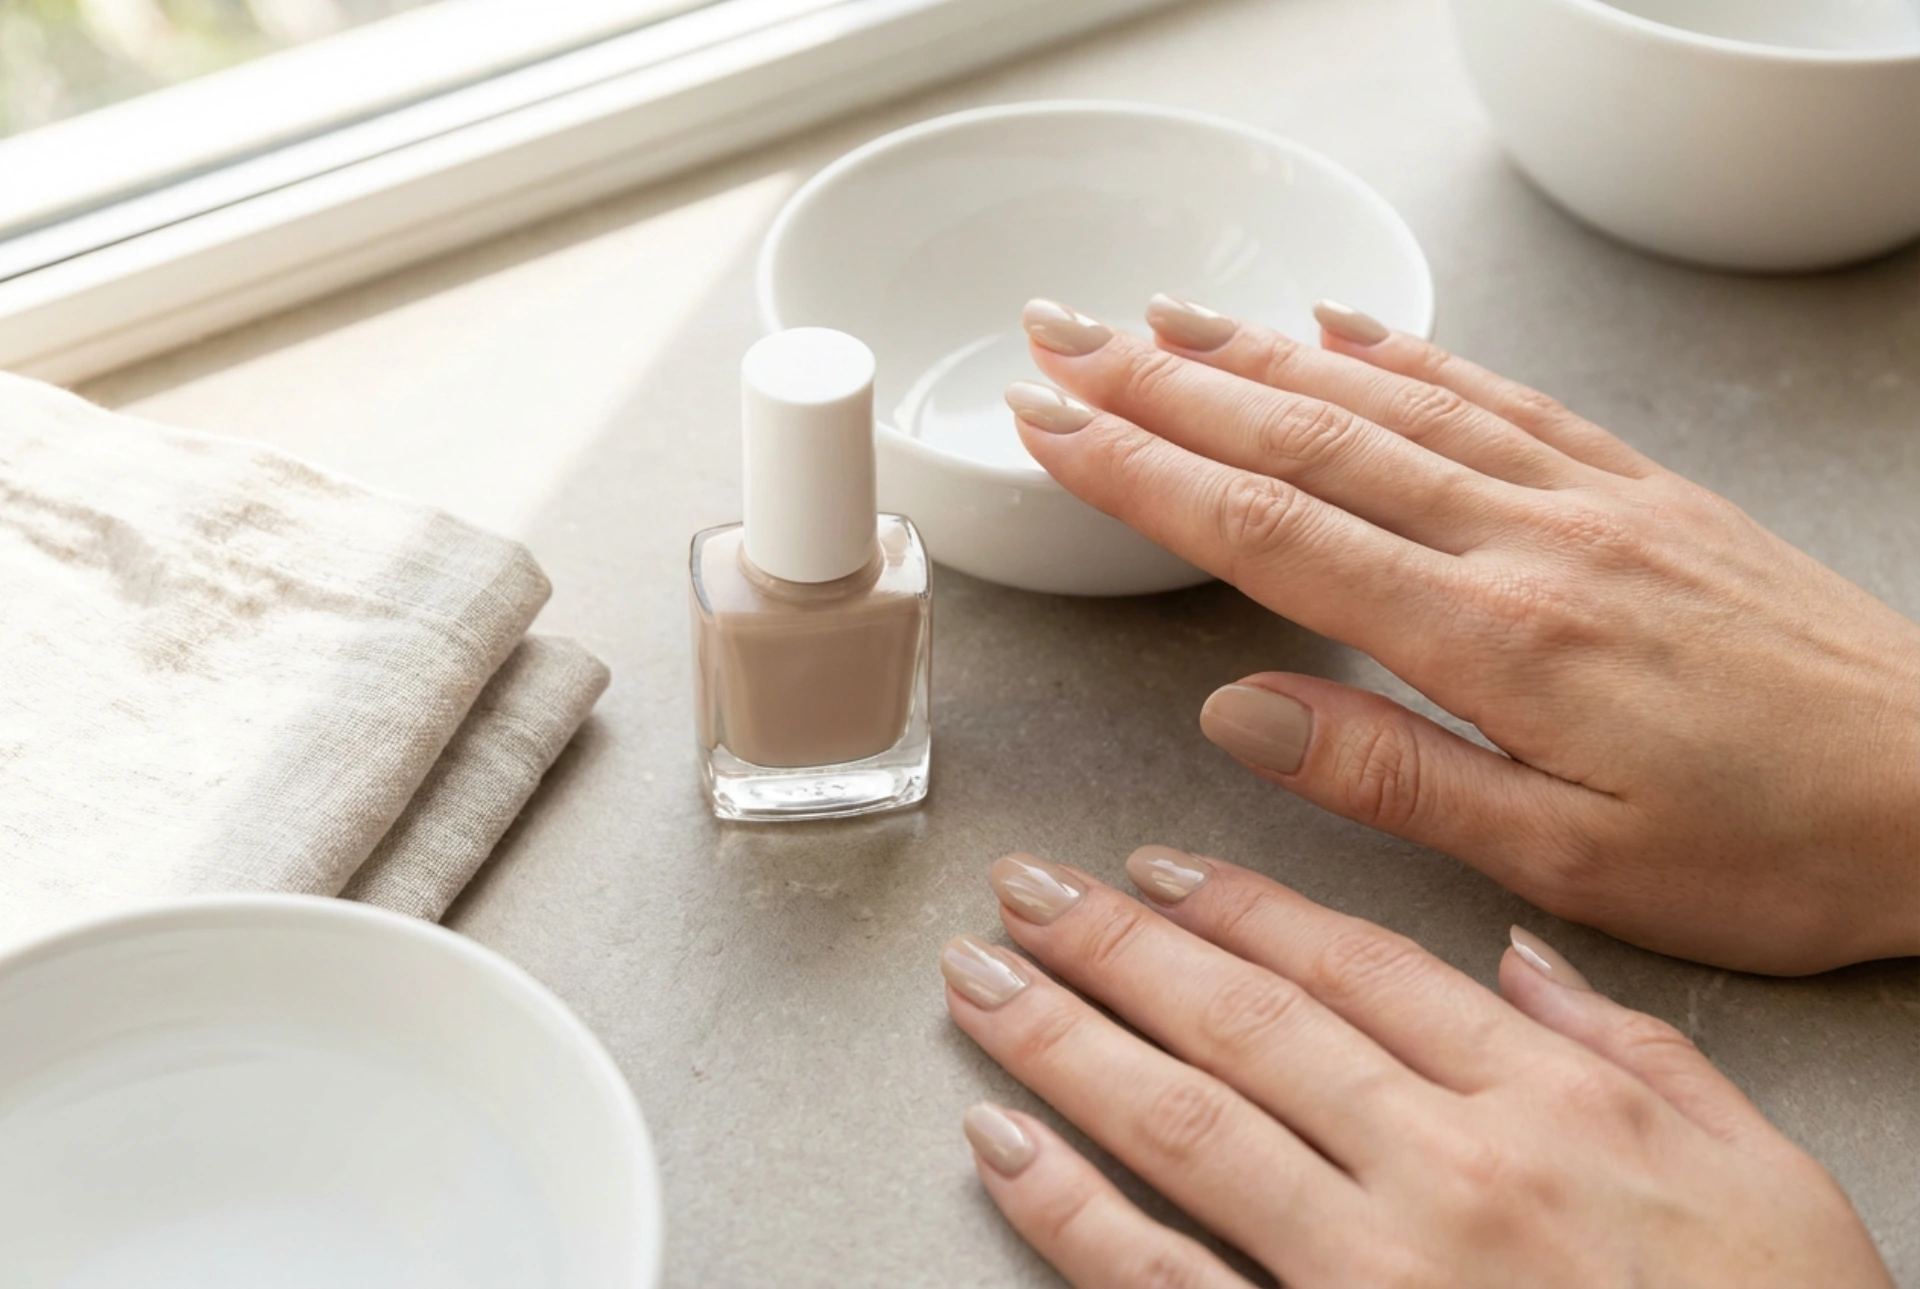
Before you even begin painting, the secret to success lies in the bottle. Not all nail varnishes are created equal, and knowing what to look for can make a significant difference to the final result and the longevity of your manicure. When selecting a new varnish, pay attention to a few key attributes.
Formula and Consistency
A good nail varnish should have a smooth, self-levelling consistency. It should not be overly thick or gloopy, which makes application difficult and leads to a streaky, uneven finish. Conversely, it should not be too thin or watery, as this results in poor coverage and requires multiple coats. The ideal formula glides onto the nail effortlessly, creating an even layer of colour without pooling at the cuticles or sides.
The Applicator Brush
The brush is your primary tool, and its shape and quality are crucial. Look for a brush that is wide and has a slightly rounded or flat tip. This shape allows you to cover a larger surface area of the nail in a single stroke, providing more control and a cleaner application line around the cuticle. The bristles should be dense but flexible, holding a good amount of product without dripping.
Pigmentation and Coverage
Excellent pigmentation is a hallmark of a superior nail varnish. A well-formulated product should deliver rich, opaque colour in just one or two thin coats. If a varnish requires three or more coats to achieve full coverage, it can lead to a thick, bulky-looking manicure that is more prone to chipping and takes much longer to dry completely.
Essential Nail Preparation for a Perfect Finish
Even the best nail varnish will not perform well on unprepared nails. Taking a few minutes to properly prepare your nail plate creates the perfect canvas for your colour and significantly extends the life of your manicure.
- Clean and Shape: Start by removing any old polish. Wash your hands, then gently file your nails to your desired shape, always filing in one direction to prevent splitting. Lightly buff the surface of the nail to smooth out any ridges, but be careful not to overdo it.
- Cuticle Care: Gently push back your cuticles using a wooden or rubber-tipped cuticle pusher. Avoid cutting your cuticles, as they serve as a natural barrier to protect your nail bed.
- De-grease the Nail Plate: Wipe each nail with a lint-free pad soaked in nail polish remover or isopropyl alcohol. This step removes any natural oils and residue, ensuring the base coat and polish adhere properly.
- Always Use a Base Coat: Never skip the base coat. It serves multiple purposes: it protects your natural nails from staining, provides a smooth surface for the colour to grip onto, and helps your manicure last longer.
The Art of Application: A Step-by-Step Guide
The technique you use to apply the varnish is just as important as the product itself. The goal is to apply thin, even coats for a professional-looking and durable result.
The Three-Stroke Method
This classic technique is favoured by professionals for its efficiency and flawless results. After wiping excess varnish from one side of the brush on the bottle's neck, place the brush in the centre of your nail, slightly away from the cuticle. Push gently towards the cuticle, leaving a tiny gap, then pull the brush straight down to the tip of the nail. Return to the base of the nail and complete a second stroke down the left side, followed by a third stroke down the right side. This should cover the entire nail. Remember to 'cap' the free edge by swiping the brush horizontally along the tip of the nail to seal the colour and prevent chipping.
Thin Coats are Key
Patience is paramount. It is always better to apply two or three thin coats than one thick, heavy coat. A thick coat takes much longer to dry, remains soft underneath, and is highly susceptible to smudges, dents, and peeling. Allow each coat to dry for at least two to three minutes before applying the next one.
Tips for a Long-Lasting and Glossy Manicure
Once you have applied your colour perfectly, the final steps are all about protection and maintenance.
Seal with a Top Coat
A high-quality top coat is non-negotiable. It seals in the colour, provides a super-glossy or matte finish, and creates a durable shield against chips and scratches. Apply a generous layer over your completely dry colour, making sure to cap the free edge as you did with the varnish.
Allow Ample Drying Time
Even if your nails feel touch-dry after ten minutes, the varnish underneath can remain soft for several hours. Be mindful of your activities immediately after a manicure. Avoid tasks that could cause dents, such as searching through a handbag, and steer clear of hot water, which can hinder the curing process. For a truly set manicure, allow at least an hour of careful activity.
Maintain and Hydrate
To keep your manicure looking fresh, you can reapply a thin layer of top coat every two to three days. Additionally, regularly apply cuticle oil to keep the skin around your nails nourished and hydrated. This not only promotes healthy nail growth but also prevents hangnails and keeps your manicure looking pristine.


