


A flawless, light-coloured gel manicure is the epitome of elegance and sophistication. However, achieving that perfect, streak-free finish, especially with pastel, white, or nude shades, can be a challenge. The key to a professional-looking result lies not just in a steady hand, but in meticulous preparation and the correct application technique. This guide will walk you through the essential steps to ensure your light gel polish goes on smoothly, evenly, and without any frustrating streaks, giving you a beautiful and long-lasting manicure from the comfort of your home.
The Foundation: Meticulous Nail Plate Preparation
Before you even think about opening a bottle of colour, preparing your nail plate is the most critical step. A clean, smooth canvas is non-negotiable for a perfect finish. Skipping this stage is the primary reason for uneven application, lifting, and a shorter lifespan for your manicure.
Step 1: Cleaning and Shaping
Start with clean, dry hands. Remove any old polish thoroughly. Gently file your nails to your desired shape, always filing in one direction to prevent splitting. Use a fine-grit file to smooth the edges. Next, wash your hands with a gentle, non-moisturising soap and water, and dry them completely. Proper hygiene prevents any unwanted particles from getting trapped under the polish.
Step 2: Cuticle Care
Proper cuticle care is essential for a neat look and better polish adhesion. Gently push back your cuticles using a wooden or rubber-tipped cuticle pusher. Avoid cutting them if you're not experienced, as this can lead to damage. The goal is to create a clean line at the base of your nail, ensuring the gel polish doesn't flood the cuticle area, which can cause lifting.
Step 3: Buffing and Dehydrating
Using a soft buffer block, lightly buff the entire surface of each nail. This removes the natural shine and creates a slightly porous texture for the gel to grip onto. The aim is to create a matte surface, not to thin the nail. After buffing, wipe each nail with a lint-free wipe soaked in a nail dehydrator or isopropyl alcohol. This removes all dust and natural oils, ensuring maximum adhesion.
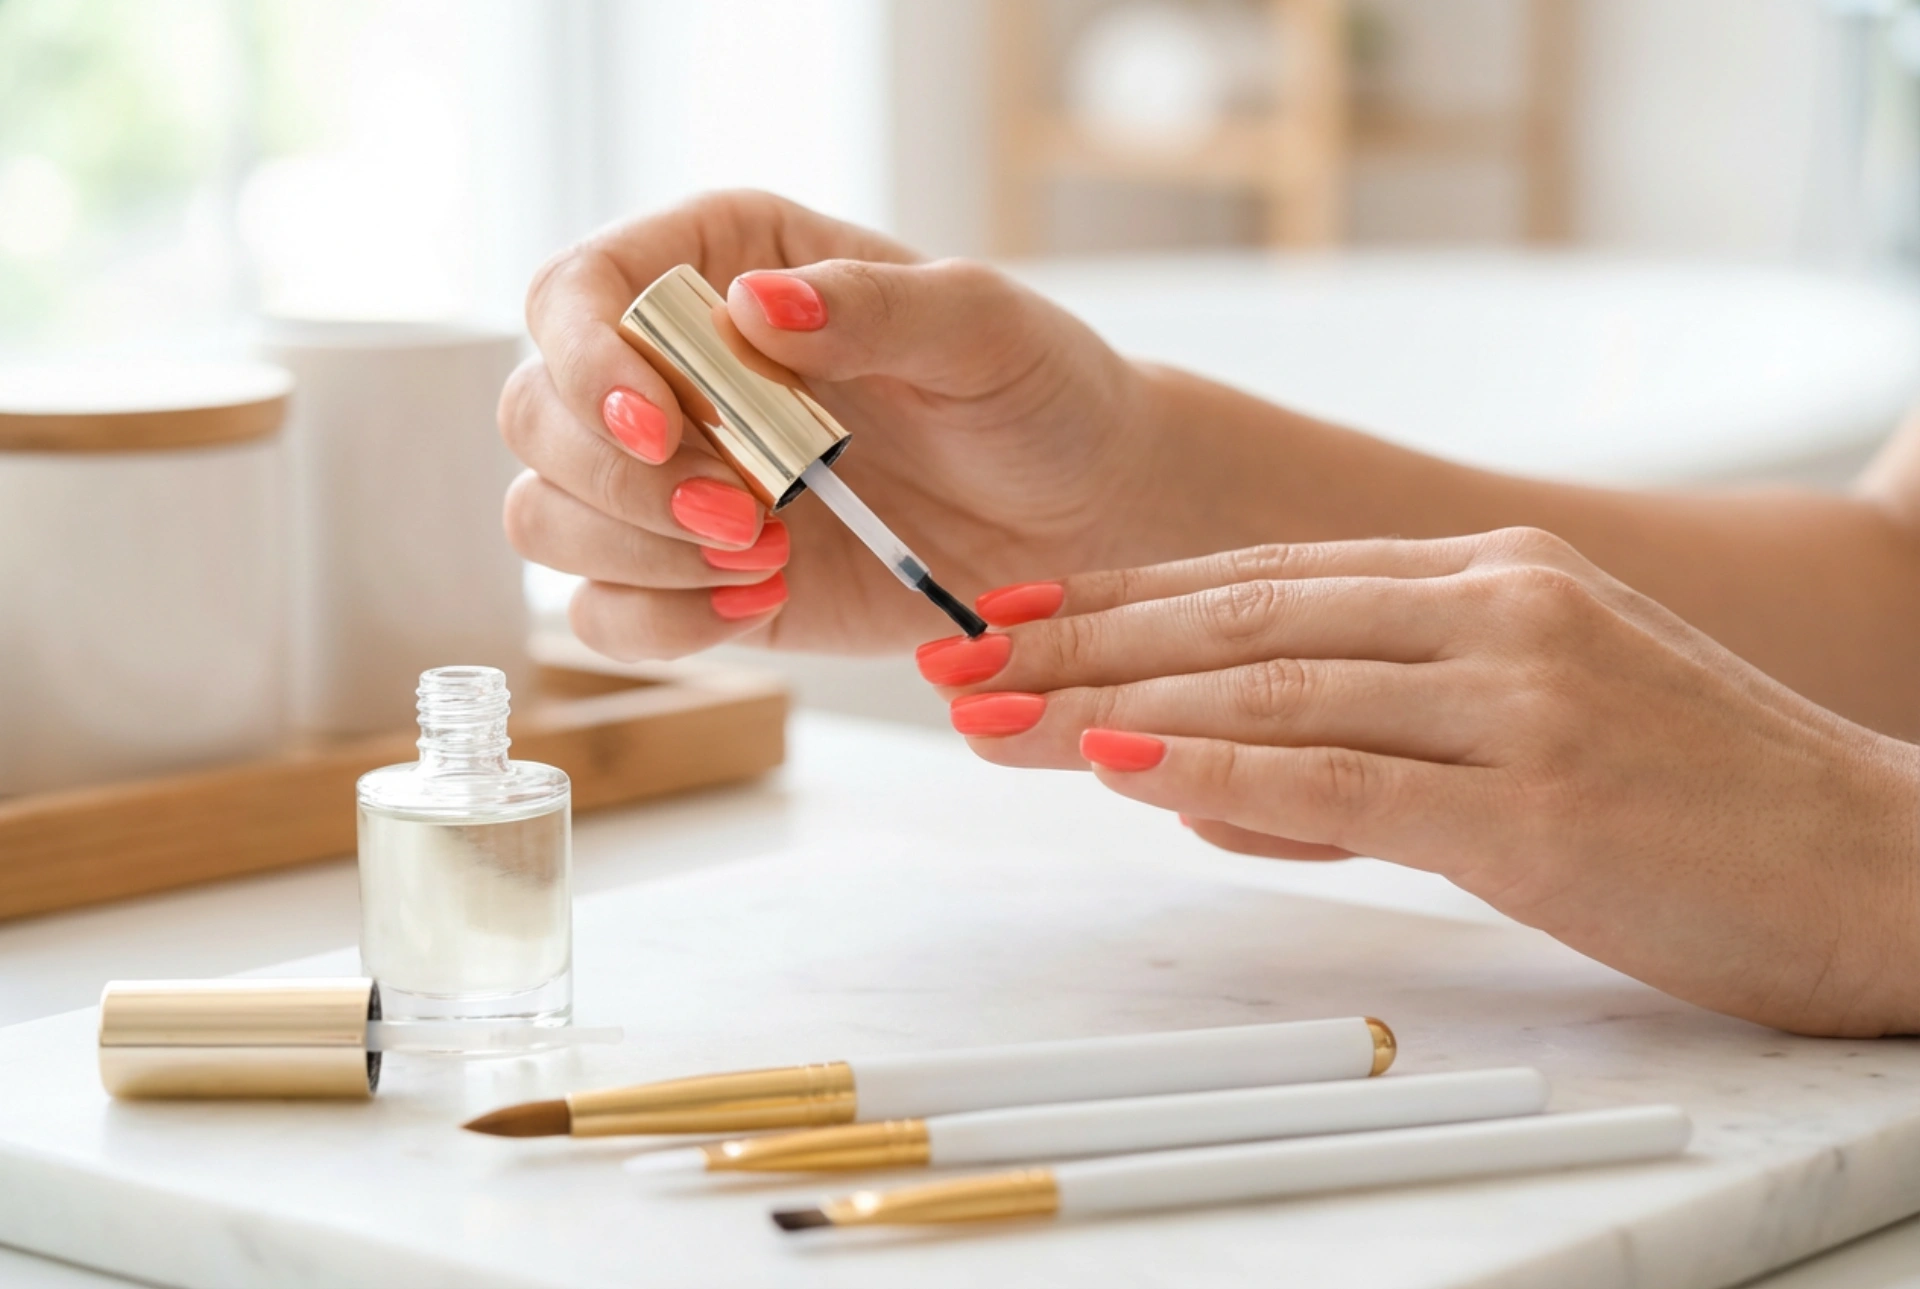
The Art of Application: Base, Colour, and Top Coat
With a perfectly prepped nail plate, you're ready for the application process. The secret to avoiding streaks with light colours is patience and the principle of 'less is more'.
Applying the Base Coat
The base coat acts as a crucial anchor between your natural nail and the coloured gel. It protects your nail and provides a smooth, even surface for the colour.
- Apply a very thin, even layer of the base coat to the entire nail.
- Be careful to 'cap' the free edge of the nail by running the brush along the tip. This helps to prevent chipping.
- Avoid touching the skin or cuticles. If you do, clean it up with a small brush dipped in cleanser before curing.
- Cure the base coat under your lamp according to the manufacturer's instructions. The surface will remain slightly tacky, which is normal and helps the colour layer adhere.
Mastering the Light Colour Application
This is where technique is paramount for a streak-free result. Light-coloured polishes have a high concentration of white pigment, which is prone to streaking if applied incorrectly.
- First Coat: Apply an extremely thin, almost sheer, coat of your chosen light colour. Don't worry if it looks patchy or streaky at this stage; the goal is to create a foundational layer of colour. Use light, even strokes from the cuticle towards the tip. Remember to cap the free edge. Cure this layer fully.
- The Floating Technique: For the second coat, load your brush with a small bead of polish. Instead of pressing the brush against the nail, let it 'float' just above the surface, allowing the polish to flow and self-level. This gentle touch prevents the brush bristles from dragging the pigment and creating streaks. Guide the polish into place rather than painting it on aggressively.
- Building the Colour: It is always better to apply three very thin coats than two thicker ones. A third thin coat can perfect the opacity and evenness without adding bulk. Cure each coat fully before applying the next.
The Final Seal: The Top Coat and Aftercare
The top coat is the final step that seals your work, provides a high-gloss shine, and protects your manicure from daily wear and tear. Apply a slightly more generous layer of top coat than you did with the colour coats, ensuring you cover the entire nail and cap the free edge once more. Be precise to avoid contact with the skin. Cure for the recommended time, and if it's a 'wipe' top coat, use a lint-free pad with a gel cleanser to remove the final tacky layer. To finish, apply a nourishing cuticle oil to hydrate the skin around your nails, giving your manicure that perfect, salon-finished look.


