


A professional nail drill, often called an e-file, can transform your home manicure, offering a level of precision and efficiency that manual tools cannot match. When you see a sleek drill with its array of specialised bits, it's easy to appreciate the artistry involved. However, mastering this tool requires knowledge and a gentle touch. Using a nail drill safely and effectively is key to achieving salon-quality results without leaving your home, ensuring your nails look immaculately cared for.
Why Use a Nail Drill for Home Manicures?
Incorporating a nail drill into your routine can significantly elevate your nail care. Its primary advantage is speed and precision. It makes tasks that are often time-consuming, such as removing old gel or acrylic applications, much faster. Furthermore, it excels at detailed work around the cuticle area, helping to create a clean and polished look. An e-file can gently buff the nail plate, smooth out ridges, and precisely shape the nail's free edge. For those who enjoy intricate nail care, it's a versatile tool that saves time while providing a professional finish. It allows for consistent shaping and smoothing that is difficult to achieve with a standard nail file.
Understanding the Different Types of Drill Bits
The key to successfully using a nail drill lies in choosing the correct bit for the task. Bits come in various materials, shapes, and grits, each designed for a specific purpose. Using the wrong one can be ineffective or even cause damage, so understanding their functions is essential.
Material Matters
Nail drill bits are commonly made from a few key materials. Ceramic bits are excellent for beginners as they tend to generate less heat and are great for gentle surface work and cuticle care. Diamond bits are perfect for precision tasks; their fine grit is ideal for gently exfoliating the skin around the nail and tidying the cuticle line. Carbide bits are the strongest and are typically used for removing product like acrylics or hard gels and for altering the shape of extensions. They are very efficient but require a more experienced hand.
Common Shapes and Their Functions
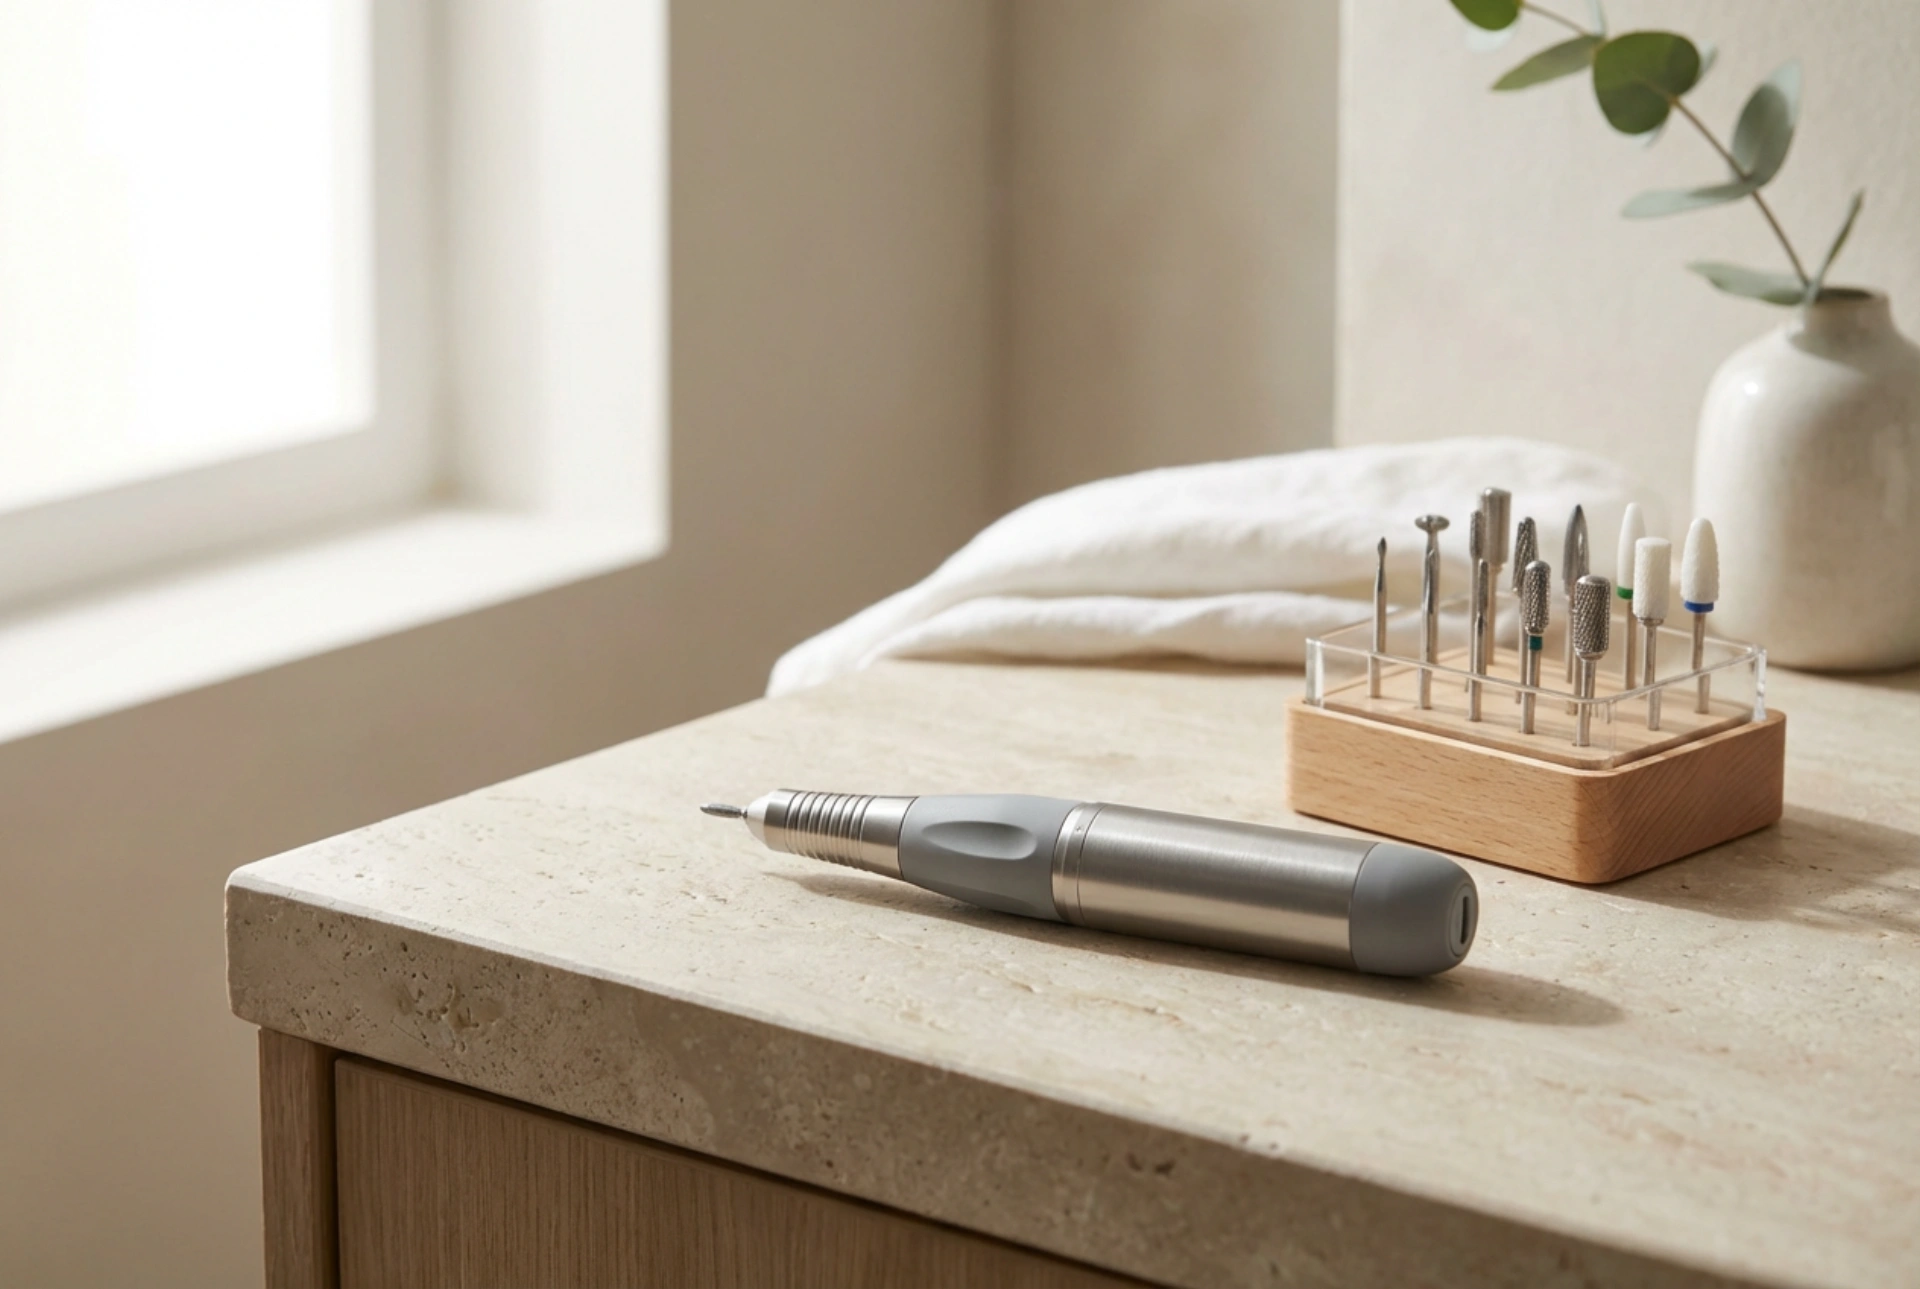
The shape of the bit determines how it interacts with the nail and surrounding skin. Here are some of the most common shapes and their uses:
- Ball Bit: A small, spherical bit perfect for cleaning the side walls of the nail and gently removing non-living tissue from the cuticle area.
- Flame Bit: This tapered shape is used to lift the eponychium (the living skin at the base of the nail) to allow for clean cuticle removal and product application close to the nail fold.
- Barrel or Cylinder Bit: A flat-topped bit used for surface work, shaping the top of the nail, and shortening the length of the nail. It should be used with caution and kept parallel to the nail to avoid creating dips.
- Cone Bit: A tapered bit that is useful for cleaning under the nail, shaping the sidewalls, and preparing the cuticle area. Its pointed shape allows for work in tight spaces.
- Mandrel Bit and Sanding Bands: This consists of a metal or rubber bit that holds single-use sanding bands. They are used for surface work, product removal, and shaping. It's important to use a fine grit and low speed on the natural nail.
A Guide to Safe Operation
Safety must always be your top priority when using a nail drill. This powerful tool can cause damage if used improperly. Always start by reading the manual for your specific device. Begin with the drill on its lowest speed setting and only increase it as you become more comfortable and confident. Never apply pressure; let the rotating bit do the work. Pressing down can cause excessive heat build-up, leading to discomfort and potential damage to the nail bed. Keep the handpiece moving at all times, using light, sweeping motions. Holding it in one spot for too long will create friction and heat. Always work on dry nails, as moisture can affect the performance of the bits and the health of your nails. Hold the handpiece like a pen to ensure you have maximum control and stability.
Cleaning and Maintaining Your Tools
Proper hygiene is non-negotiable for nail care. After every use, your nail drill bits must be thoroughly cleaned and disinfected. Start by using a small, stiff brush to remove all dust and debris from the bit. Afterwards, submerge the bits in a suitable disinfecting solution for the recommended amount of time to ensure they are sanitised. Allow them to air dry completely before storing them. Keeping your drill and its accessories in a clean, dry case will protect them from dust and damage, ensuring they are ready and safe for your next manicure. This practice prevents the transfer of impurities and keeps your nails healthy.


