


A key element of beautifully presented hands is a well-executed manicure, where neat and tidy cuticles play a starring role. Achieving this polished look doesn't have to involve harsh methods. Using a cuticle remover is a gentle yet highly effective way to manage overgrown cuticles, creating a perfect canvas for your favourite nail polish. This guide will walk you through the process, ensuring you can achieve professional results safely in the comfort of your own home.
What Is a Cuticle Remover and Why Use It?
A cuticle remover is a liquid or gel formula, typically with an alkaline base, designed to soften and break down the excess, non-living tissue that builds up around the base of the nail. This overgrown tissue is often mistaken for the cuticle itself, but it's actually the eponychium. The primary function of a remover is to make this dead skin easy to push back and wipe away without the need for cutting. Opting for a remover instead of clippers is a much safer alternative. Cutting the cuticle can lead to nicks, irritation, and damage to the protective barrier that guards against external factors, potentially causing discomfort. Using a remover helps maintain this natural seal while still providing a clean, elongated nail bed look.
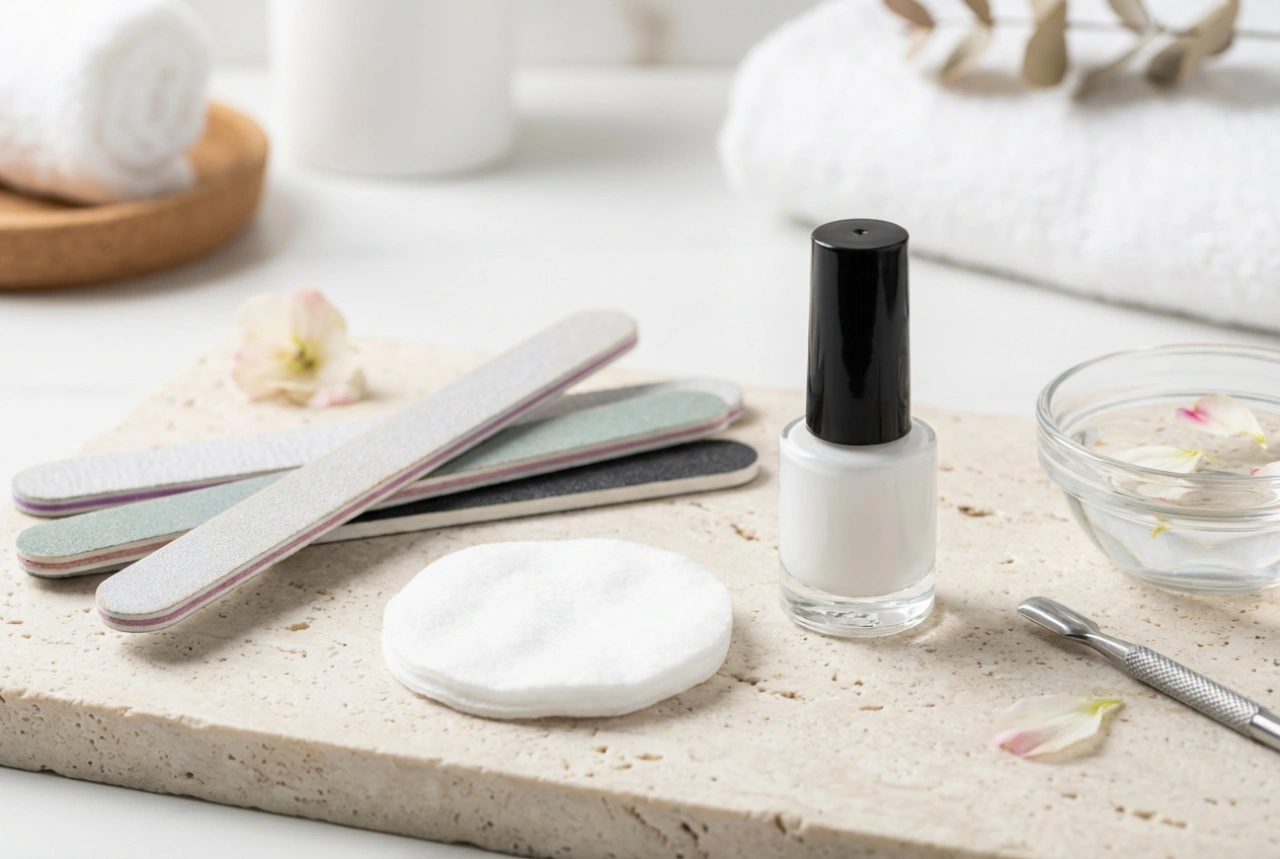
Preparing Your Nails for Cuticle Removal
Proper preparation is essential for getting the best results and ensuring the process is as gentle as possible. Before you begin, make sure your nails are completely clean and free of any old nail polish. Wash your hands with a mild soap and warm water. While some people like to soak their fingertips for a few minutes to further soften the skin, it's not always necessary, so check the instructions on your specific product. After washing, pat your hands and nails completely dry with a clean towel. Having a clean, dry surface ensures the remover can work directly on the target area without being diluted.
How to Apply Cuticle Remover Correctly
The application process is straightforward, but precision is key to avoiding skin irritation. It's often best to work on one hand at a time so you can manage the timing effectively and prevent the product from staying on for too long.
Step-by-Step Application Guide
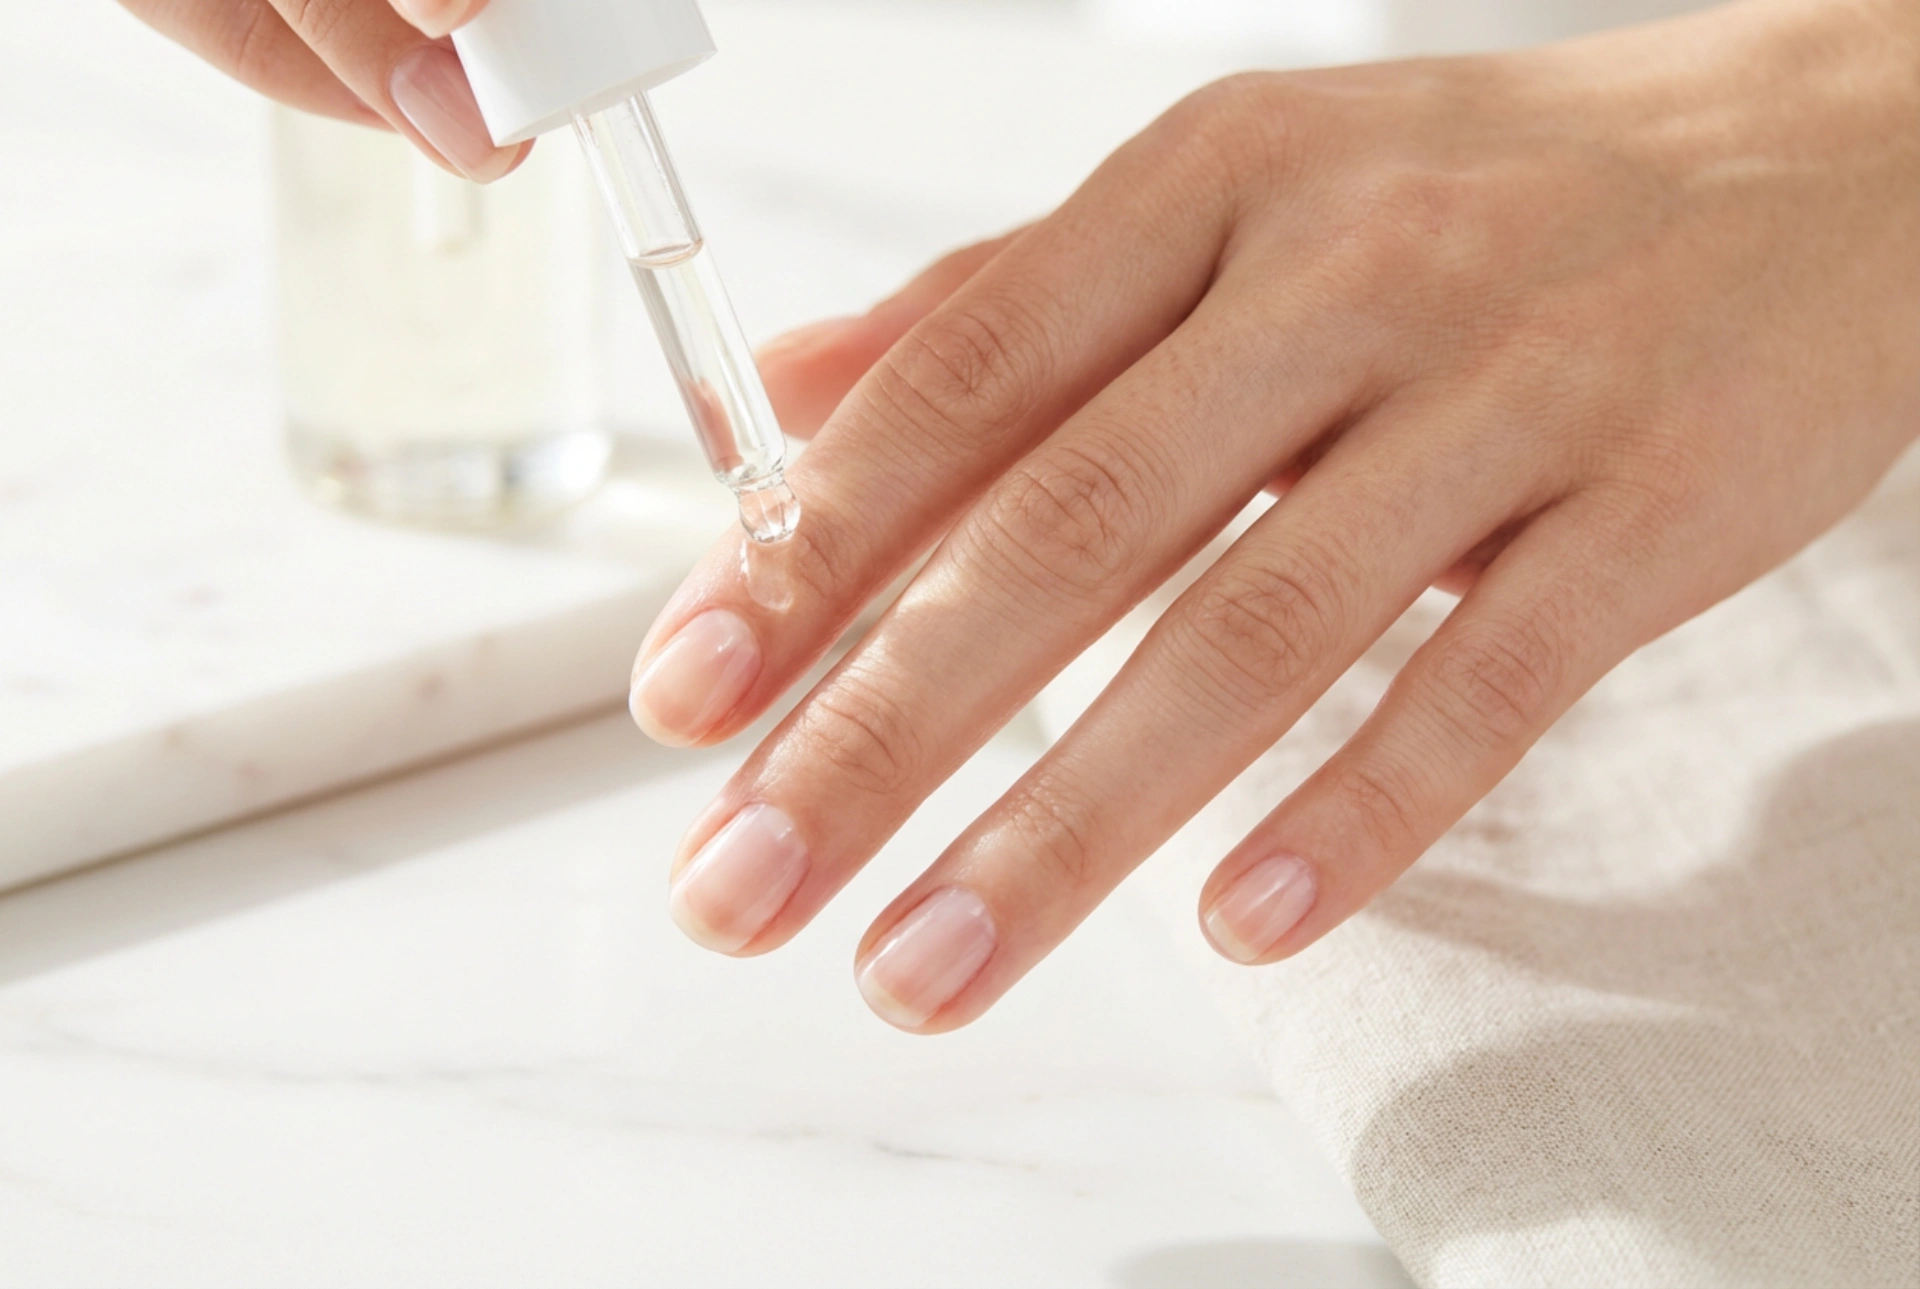
- Using the applicator provided—often a small brush or a dropper—apply a thin line of the cuticle remover directly onto the cuticle area at the base of each nail.
- Be precise and try to keep the product only on the non-living cuticle tissue. Avoid spreading it onto the surrounding finger skin.
- Allow the product to sit and work its magic for the time recommended in the instructions. This is typically very short, often between 15 and 60 seconds. Never leave it on for longer than advised, as this can dry out or irritate the skin.
- While you wait for the remover to work on one hand, you can prepare your tools for the next step.
Safely Removing the Softened Cuticles
Once the remover has had time to soften the dead skin, it's time for gentle removal. The goal is to push back the cuticle, not to scrape or cut it. This step reveals a cleaner nail plate and creates a more defined nail shape.
The Removal Process
Take a wooden orange stick or a cuticle pusher with a soft, rubberised tip. Metal pushers can be too harsh and may scratch your nail plate, so it's best to use a gentler tool. Place the tip of the pusher at the base of your nail and, using a gentle, circular motion, push the softened cuticle back towards your hand. You should see the excess, jelly-like skin lift away easily. Wipe each nail with a damp cotton pad or cloth to remove the product and the loosened skin residue.
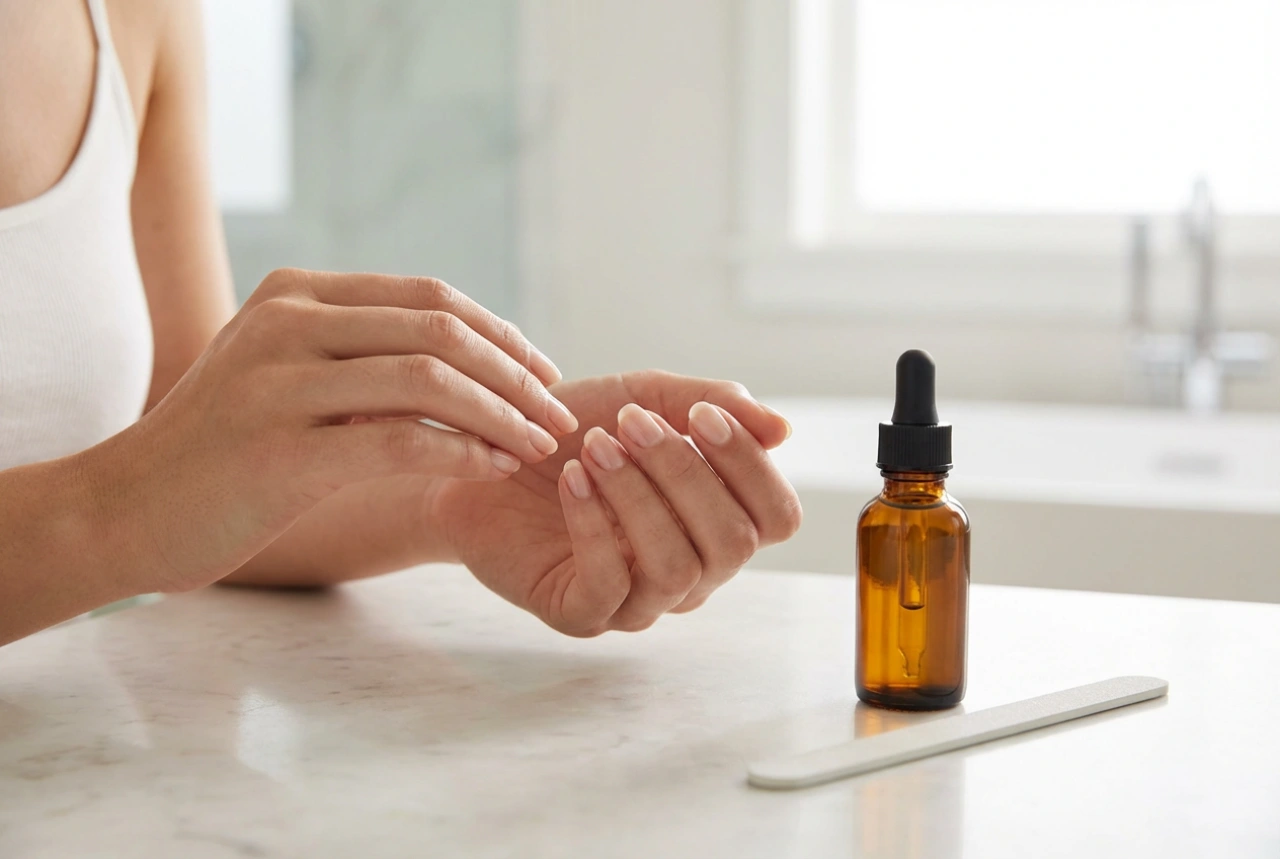
Crucial Aftercare
After you have pushed back the cuticles on all your nails, it is vital to wash your hands thoroughly with soap and water. This step neutralises the active ingredients in the remover and ensures no residue is left behind. Finally, finish by applying a generous amount of nourishing cuticle oil or a rich hand cream. Massage it into the cuticles and surrounding skin to replenish moisture and keep the area hydrated, healthy, and soft.
Common Mistakes to Avoid
To ensure your at-home cuticle care is always safe and effective, be mindful of these common pitfalls:
- Leaving the product on too long: Always adhere to the timing on the packaging. Overexposure can lead to dryness and irritation.
- Using it too often: Cuticle removal doesn't need to be part of your daily routine. For most people, once every one to two weeks is sufficient.
- Aggressive pushing: Be gentle. The nail matrix, where new nail cells are formed, is located under the cuticle area and is very delicate. Pushing too hard can damage it.
- Cutting after softening: The purpose of a remover is to eliminate the need for cutting. Pushing back is enough to get a clean, neat appearance without risking injury.