


Achieving beautifully shiny nails doesn't always require a coat of polish. A well-executed buffing routine can give your natural nails a healthy, high-gloss finish that looks effortlessly elegant. The key is to understand the right technique to enhance the nail plate's natural lustre without causing weakness or damage. With the right tool and a gentle approach, you can create a stunningly smooth and reflective surface that showcases the health of your nails.
What Exactly is a Nail Buffer?
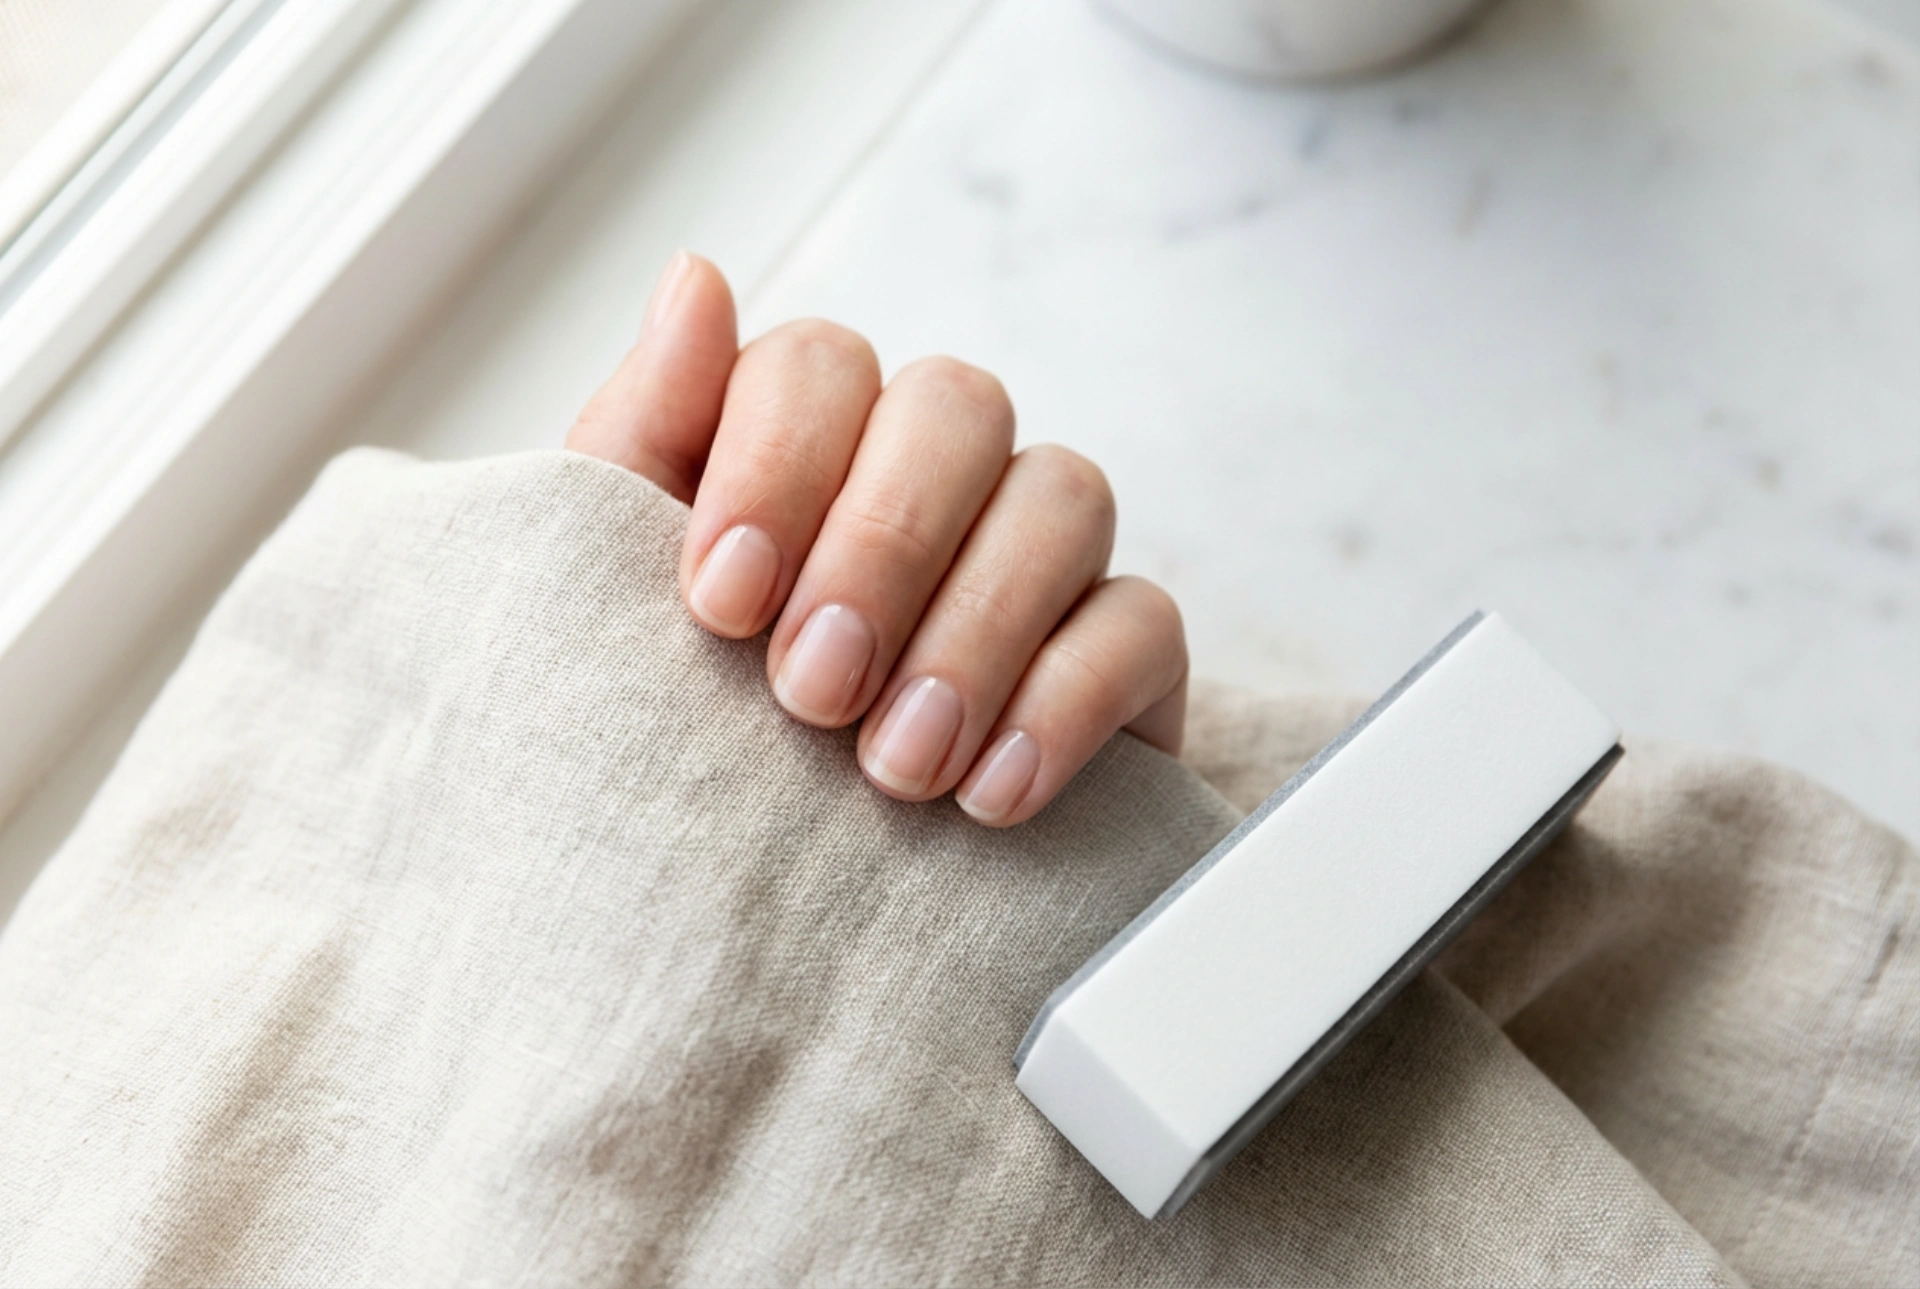
A nail buffer is a cosmetic tool designed to smooth, condition, and polish the surface of your nails. Most commonly found as a multi-sided block or a thick file, each side has a different level of abrasiveness, or grit. These sides are often numbered to guide you through the process, starting from the coarsest grit for smoothing ridges and ending with the finest, smoothest surface for creating a brilliant shine. The primary goal is to gently refine the nail plate, removing minor imperfections and buffing it to a glass-like finish.
Choosing and Understanding Your Buffer
When selecting a nail buffer, it's important to understand its different surfaces. While they vary between products, a typical four-sided buffer works as follows:
- Side 1 (Coarsest): This side is for filing and shaping the nail edge or, very occasionally, for gently evening out significant ridges on the nail plate. It should be used with extreme caution and very sparingly on the nail surface to avoid thinning the nail.
- Side 2 (Medium): This side is used to further smooth the nail surface and remove any minor scratches left by the first step. It begins the process of preparing the nail for polishing.
- Side 3 (Fine): This side acts as a pre-polisher. It conditions and evens out the nail plate, creating a perfectly smooth canvas for the final step.
- Side 4 (Superfine/Shine): This is the smoothest, softest side. Rubbing this surface against your nail creates friction and heat that brings out the natural oils in your nail, resulting in a high-gloss, reflective shine.
For beginners or those with delicate nails, it's wise to choose a buffer with finer, less aggressive grits. The goal is polishing, not sanding.
A Step-by-Step Guide to Safe Nail Buffing
To get the best results without compromising nail health, follow a structured approach. Always work on clean, completely dry nails, as wet nails are more prone to damage.
Step 1: Smooth Ridges (Use Sparingly)
If you have noticeable ridges, use the coarsest side of the buffer. Gently glide it over the ridge in one direction a few times. Avoid aggressive back-and-forth sawing motions. This step should not be part of every buffing session; reserve it for when you truly need to even out the surface. Overusing this side will thin your nails.
Step 2: Condition the Nail Plate
Move on to the next side, which has a finer grit. Buff the entire surface of each nail for a few seconds using light, gentle strokes. This will smooth out the nail plate and prepare it for polishing. Focus on creating an even surface across the entire nail.
Step 3: Polish and Shine
Use the final, smoothest side of the buffer. This is the magic step. Rub this side firmly but gently across the nail plate using brisk back-and-forth or circular motions. You will quickly see a beautiful, natural shine appear. Continue for about 10-15 seconds per nail, or until you are happy with the level of gloss.
How to Avoid Common Buffing Mistakes
Proper technique is essential for keeping nails strong. Avoid these common errors:
- Buffing Too Frequently: A full, four-step buffing process should only be done about once a month. Over-buffing thins the nail plate, making it weak and prone to breaking. You can, however, use the finest 'shine' side for a quick touch-up once a week.
- Applying Too Much Pressure: Let the buffer do the work. Pressing too hard can create heat, cause discomfort, and remove too many layers of the nail. A light hand is all that is needed.
- Using Worn-Out Buffers: An old buffer can become ineffective or develop uneven surfaces that might scratch your nails. Replace your buffer when the different grits feel worn down.
- Ignoring Cuticle Care: After buffing, your nails will look their best if your cuticles are also cared for. Gently push them back and apply a nourishing cuticle oil to complete your natural manicure.
By following these guidelines, you can safely incorporate nail buffing into your routine for nails that are not only shiny and beautiful but also remain healthy and strong.


