


A beautiful, long-lasting gel manicure begins not with the colour, but with a crucial, often overlooked step: the application of a base coat. This transparent layer is the fundamental building block for a flawless finish, acting as the perfect primer for your nails. Just as an artist primes a canvas, preparing your nails with a quality base coat ensures that your final manicure is durable, vibrant, and professionally executed. It’s the secret to achieving that salon-quality look at home.
What is a Gel Base Coat and Why is it Essential?
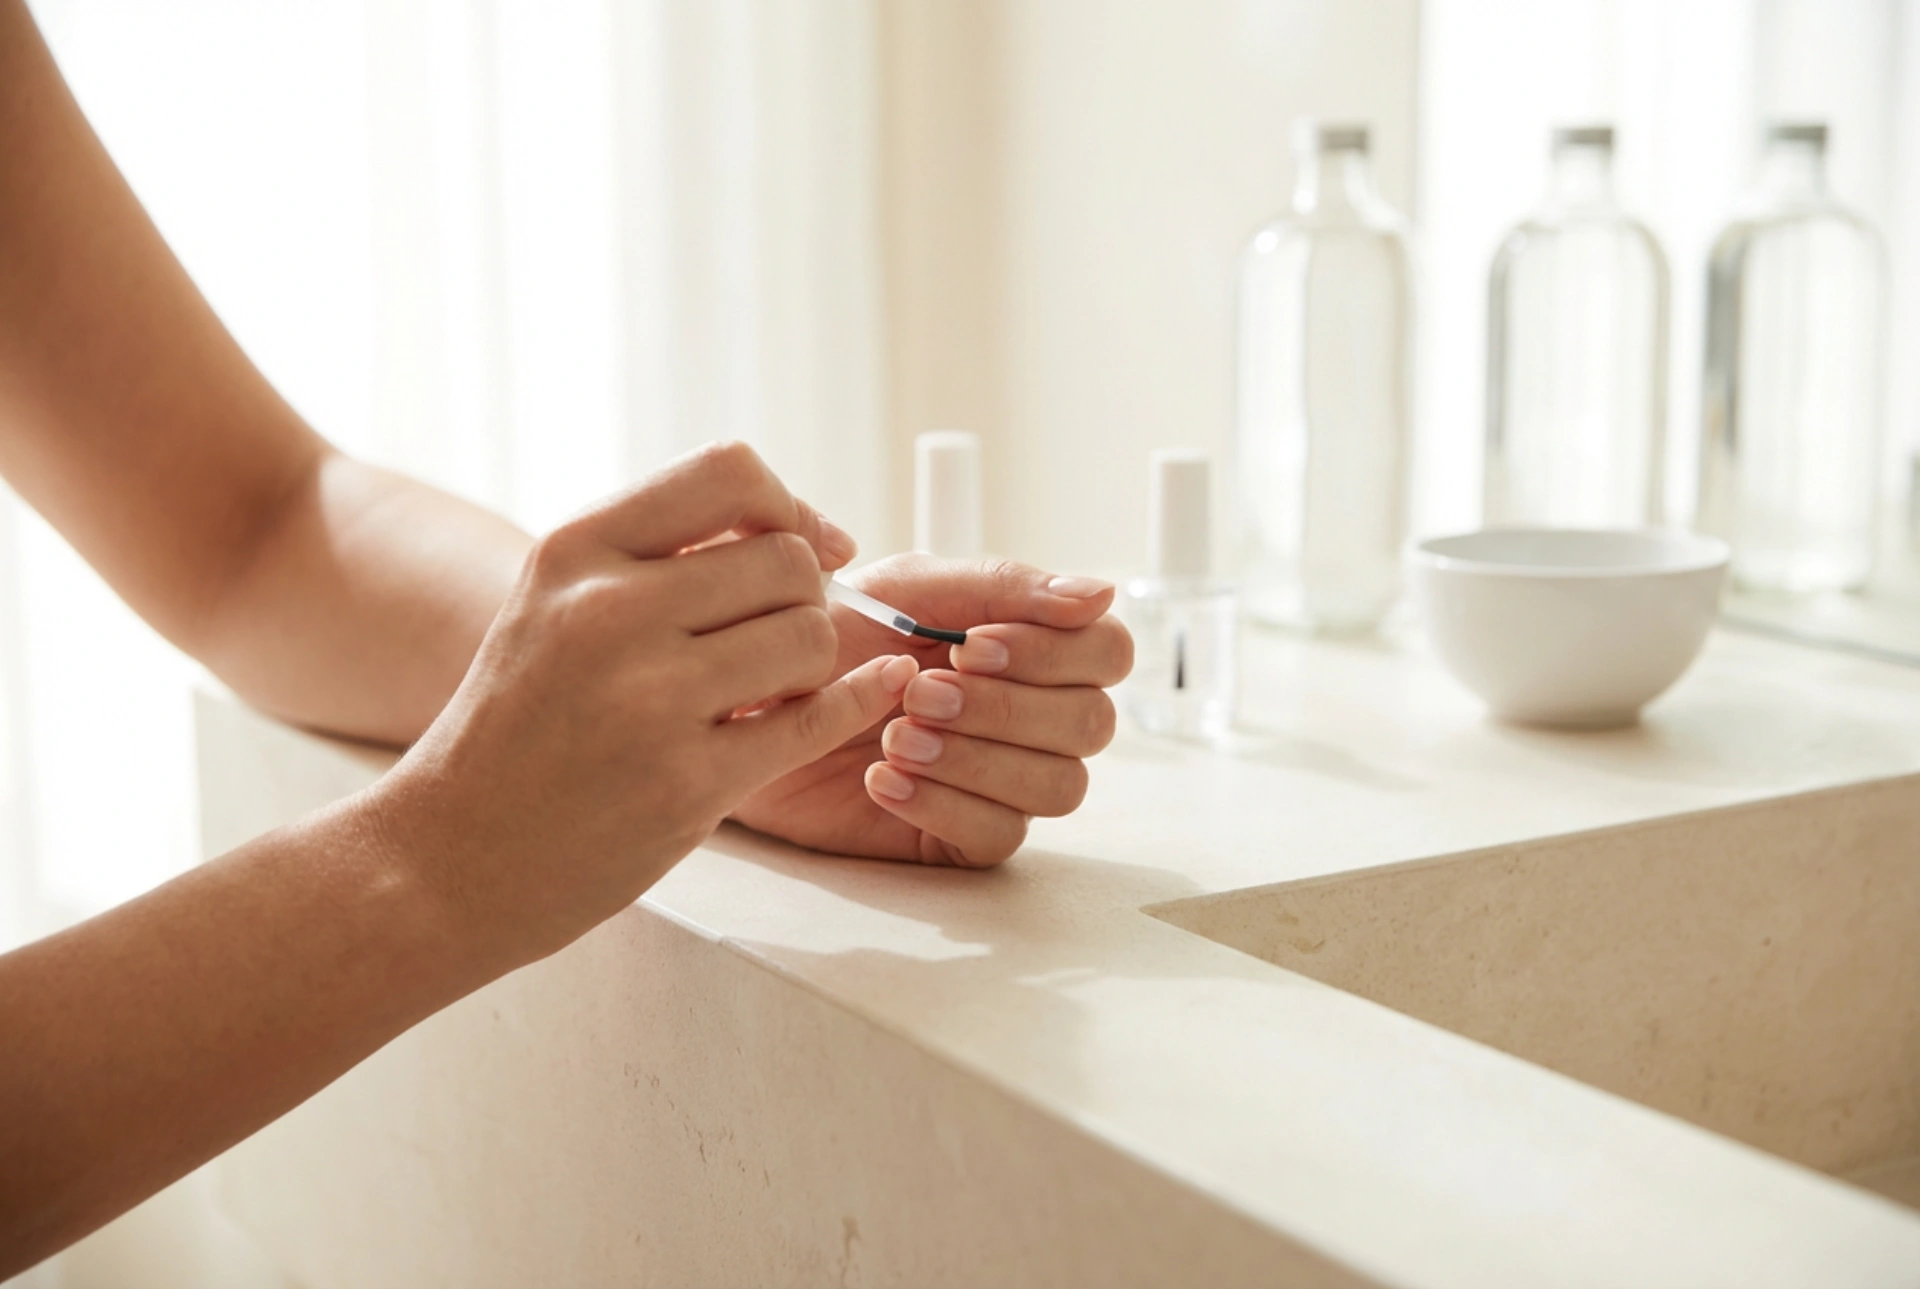
A gel base coat is a specially formulated gel polish that is applied to the natural nail before any colour coats. Its primary function is to create a strong adhesive bond between the nail plate and the gel colour that follows. Without this foundation, the gel polish would have a much harder time sticking to the smooth, slightly oily surface of the natural nail, leading to premature lifting and chipping. Beyond adhesion, the base coat serves several other important purposes. It provides a protective barrier, preventing the pigments in colourful gel polishes from staining the natural nail. It can also add a layer of strength to weaker nails and help to smooth out minor ridges or imperfections on the nail surface, creating an ideal canvas for the colour application.
The Science of Adhesion: How a Base Coat Works
The magic of a gel base coat lies in its chemistry. It is designed to bond effectively with both the keratin of the natural nail and the polymer-based gel colour. When applied, it forms a molecular bridge between these two very different surfaces. To achieve the best possible adhesion, proper nail preparation is non-negotiable. This process involves thoroughly cleaning the nail, gently buffing the surface to remove its natural shine, and dehydrating the nail plate with a specialised cleanser. This preparation removes any surface oils and creates a slightly rougher texture, allowing the base coat to grip onto the nail plate both mechanically and chemically. The result is a secure foundation that holds the entire manicure in place for weeks.
Curing Explained: The Key to a Lasting Manicure
Unlike traditional nail polish that air-dries, gel products must be 'cured' to harden. Curing is a process where the liquid gel is exposed to specific wavelengths of light from a UV or LED lamp. The gel formula contains photoinitiators, which are molecules that react to this light energy. This reaction triggers a process called polymerization, where individual molecules (monomers) link together to form long chains (polymers), transforming the liquid gel into a hard, durable solid. It is critical to follow the manufacturer's recommended curing time for your specific base coat and lamp. Under-curing can leave the base weak and unable to bond properly, leading to lifting. Over-curing, while less common, can sometimes make the gel brittle. A correctly cured base coat will feel solid but will have a slightly sticky or tacky surface, known as the inhibition layer. This layer is intentional and should not be wiped off, as it helps the subsequent colour coat to adhere perfectly.
The Importance of Capping the Free Edge
One of the most vital techniques for ensuring a long-lasting gel manicure is 'capping the free edge'. The free edge is the part of the nail that extends past the fingertip. It is the area most susceptible to knocks and wear, making it the most common starting point for chips and peeling. Capping involves running the brush with the base coat (and every subsequent coat of colour and top coat) along the very tip of the nail. This action seals the layers of polish, creating a protective bumper that wraps around the edge of the nail. This simple step dramatically increases the durability of the manicure by preventing water and oils from seeping under the polish and protecting the tip from daily wear and tear.
Application Tips for a Flawless Finish
Achieving a professional-looking gel manicure at home is entirely possible with careful application. Following these steps will help you create a durable and beautiful result.
- Begin with meticulously clean, dry nails. Ensure all old polish is removed.
- Gently push back your cuticles. Avoid cutting them unless you are professionally trained, as they protect the nail matrix.
- Lightly buff the entire surface of each nail with a fine-grit buffer. The goal is to remove the shine, not to thin the nail.
- Cleanse each nail with a lint-free wipe soaked in a specialised nail surface cleanser. This removes all dust and dehydrates the nail plate for maximum adhesion.
- Apply a very thin, even layer of the gel base coat. Be precise and avoid touching the skin or cuticles, as this can cause lifting. If you do get any on your skin, clean it off before curing.
- Remember to cap the free edge by swiping the brush along the tip of the nail.
- Cure the base coat under your LED or UV lamp for the time specified by the product's manufacturer.
- After curing, the nail will have a sticky layer. Do not remove it. Proceed directly with your chosen gel colour application.


