


Achieving a beautiful, long-lasting manicure at home is a rewarding form of self-care. Gel polish offers durability and a high-gloss finish that can last for weeks, but the secret to success lies in meticulous preparation and correct application. With the right tools and techniques, you can create a professional-looking result that rivals a salon visit. This guide will walk you through the essential steps, from preparing your nails to the final glossy top coat, ensuring a flawless and enduring finish.
Essential Tools and Workspace Setup
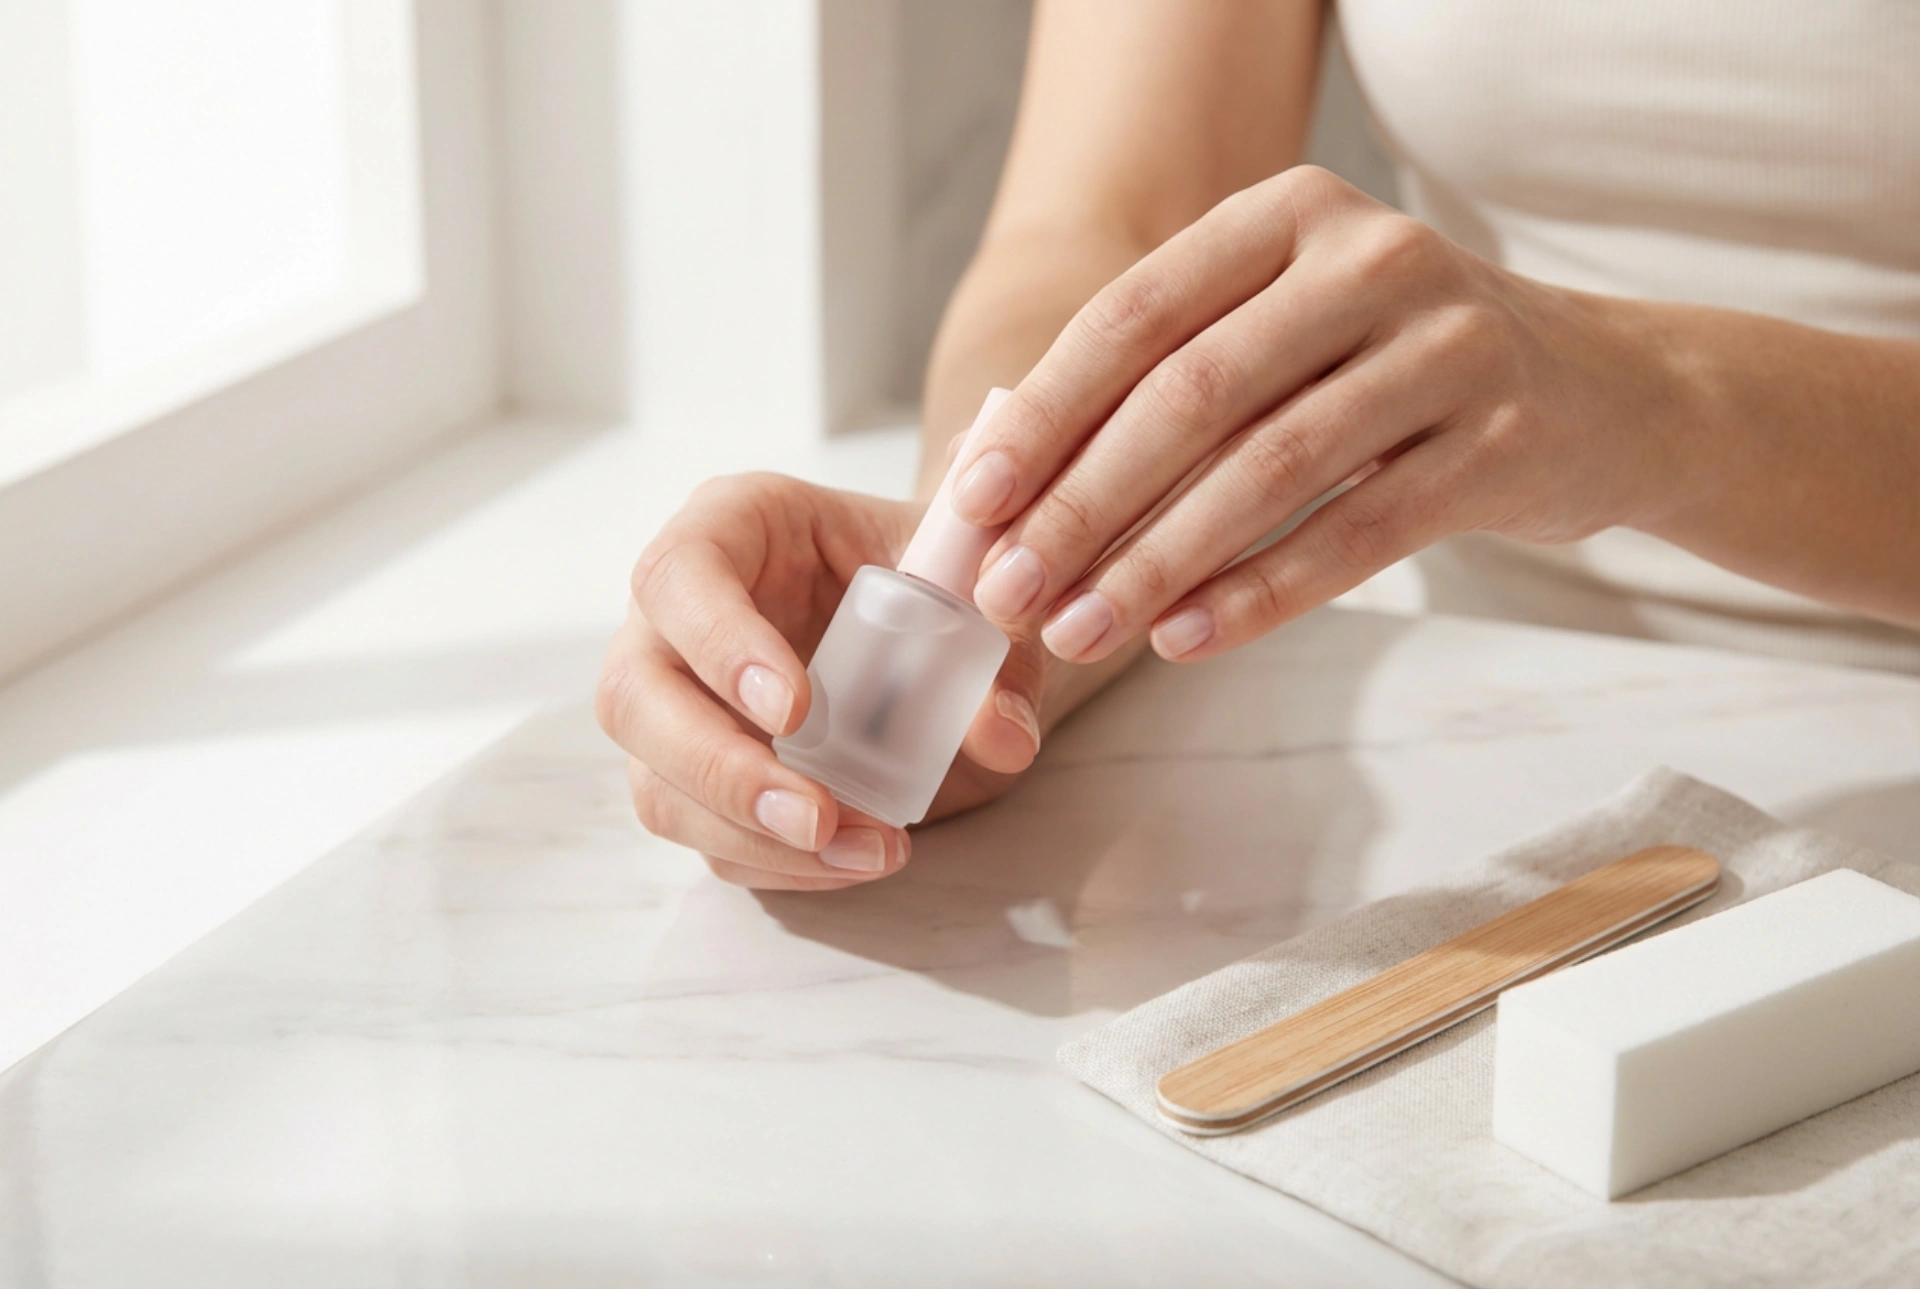
Before you begin, gathering all your tools and setting up a clean, well-lit workspace is crucial for a smooth process. Ensure your surface is protected and you have good ventilation. You will need a specific set of items for a gel manicure:
- LED or UV lamp for curing the polish
- Nail file (180/240 grit is a good choice)
- Nail buffer block
- Wooden or metal cuticle pusher
- Nail cleanser or isopropyl alcohol
- Lint-free wipes
- Gel base coat
- Your chosen gel polish colour
- Gel top coat (no-wipe or standard)
- Cuticle oil for finishing
Step-by-Step Nail Plate Preparation
Proper preparation is the most critical stage for ensuring your gel manicure adheres correctly and lasts as long as possible. Rushing this step is the most common reason for lifting or chipping. Take your time to complete each part thoroughly.
1. Shaping and Cleaning
Start with clean, dry hands. If you have any old polish on, remove it completely. Use a nail file to gently shape your nails to your desired length and form, whether square, round, or almond. Always file in one direction rather than sawing back and forth, as this helps prevent the nail from splitting. Once shaped, gently wash your hands to remove any filing dust, and dry them completely.
2. Cuticle Care
Proper cuticle management creates a clean canvas for your polish. Apply a cuticle remover if you have one, and let it sit for a minute. Then, use a wooden or metal cuticle pusher to gently push back the skin from the nail plate. Pay close attention to removing the non-living tissue (the true cuticle) that is stuck to the nail, as any polish applied over this will lift. If you are comfortable doing so, you can carefully trim any hangnails or excess dead skin, but avoid cutting the living eponychium (the cuticle line) to prevent irritation.
3. Buffing and Dehydrating
Using a light-grit buffer block, gently buff the entire surface of each nail. The goal is not to thin the nail, but simply to remove the natural shine. This creates a slightly rougher texture that the gel base coat can grip onto. After buffing, the nail surface will be covered in fine dust. Take a lint-free wipe saturated with a nail cleanser or isopropyl alcohol and thoroughly wipe down each nail. This step removes all dust and, more importantly, dehydrates the nail plate by removing any oils, which are the primary enemy of good adhesion.
The Art of Application: Base, Colour, and Top Coat
With your nails perfectly prepped, it's time for the application. The key here is to use thin, even coats and to 'cap' the free edge of the nail with each layer. This means running the brush along the tip of the nail to seal it.
1. Applying the Base Coat
Apply a very thin layer of the gel base coat to one hand. Be careful to avoid flooding the cuticles or touching the surrounding skin. If you do get any on your skin, clean it up with a wooden stick or a small brush dipped in cleanser before curing. Cure the hand under your LED or UV lamp according to the manufacturer's instructions (typically 30-60 seconds for LED). The surface will feel slightly sticky after curing; this is normal and is called the inhibition layer, which helps the next coat adhere.
2. Applying the Colour
Apply your first layer of coloured gel polish. Again, keep the coat thin and even. Thin coats cure more effectively and prevent wrinkling or bubbling. Remember to cap the free edge. Cure this layer under the lamp. Most colours require two coats for full opacity, but some may need three. Apply the second coat in the same thin, precise manner and cure again. Always cure one hand completely before starting the next.
3. The Finishing Touch: Top Coat
To seal in your colour and provide that signature high-gloss shine and protection, apply a layer of gel top coat. Apply it just like the previous coats, ensuring full coverage and capping the free edge. Be meticulous about not letting it touch the skin. Cure for the recommended time, which is often slightly longer than for colour coats (e.g., 60-90 seconds). If you used a standard top coat, it will have a sticky layer. Use a lint-free wipe with nail cleanser to wipe this layer off, revealing the hard, glossy finish underneath. If you used a 'no-wipe' top coat, you can skip this final wipe-down.
Aftercare for a Long-Lasting Manicure
Your beautiful manicure is complete! To keep it looking its best, apply cuticle oil daily to nourish the skin around your nails. Avoid using your nails as tools to open cans or scrape things. When cleaning, consider wearing gloves to protect your manicure from harsh chemicals. With proper care, your DIY gel manicure can remain flawless for two to three weeks.


