


A flawless and long-lasting manicure begins not with the colour, but with the foundation. A crucial, yet often overlooked, step is the application of a quality base coat. In the world of gel manicures, the gel base coat is the cornerstone that ensures durability, protects the natural nail, and provides a perfect canvas for your chosen shade. Understanding how and when to use it can transform your at-home nail care routine, giving you professional-looking results that last.
What is a Gel Base Coat and Why is it Essential?
A gel base coat is a special type of gel polish that is applied to the natural nail before any colour layers. Its primary function is to create a strong adhesive bond between the nail plate and the gel colour. Unlike traditional air-drying base coats, a gel base must be cured under a UV or LED lamp to harden. Its role is multifaceted and vital for a successful gel manicure. It not only promotes longevity but also protects the natural nail from staining and provides a smooth, even surface for colour application, filling in minor ridges and imperfections.
The Key Benefits
- Adhesion: The unique formulation ensures that the gel colour adheres securely to the nail, significantly reducing the chances of chipping or lifting.
- Protection: It acts as a protective barrier, preventing the pigments in coloured gels from staining your natural nails.
- Strengthening: Some gel bases, often called builder bases, have a thicker consistency and can be used to add strength and structure to weak or brittle nails, helping them to grow longer without breaking.
- Flexibility: A good gel base provides a flexible foundation that can move with the natural nail, which further prevents cracking and chipping.
When to Reach for a Gel Base Coat
While a gel base is a standard part of any gel manicure, its specific properties make it particularly useful in certain situations. If you have nails that are prone to breaking, peeling, or are naturally thin, using a strengthening or builder-type gel base can make a world of difference. It adds a durable layer that reinforces the nail's structure. Furthermore, if you want to extend the life of your manicure beyond the typical week or two, a proper base application is non-negotiable. It is the single most important factor in ensuring your manicure withstands daily wear and tear. Even for strong nails, it is an indispensable step for a polished and long-lasting finish.
Step-by-Step Application Guide
Proper application is key to unlocking the full potential of your gel base coat. Rushing this stage can lead to a manicure that lifts or peels prematurely. Follow these steps for a flawless foundation.
1. Nail Preparation
Start with clean, dry nails. Gently push back your cuticles and remove any non-living tissue from the nail plate. Lightly buff the surface of the nail with a fine-grit buffer. This removes the natural shine and creates a slightly textured surface for the gel to grip onto. Be gentle; the goal is not to thin the nail, but simply to remove surface oils. Finally, wipe the nail with a lint-free wipe soaked in a nail cleanser or isopropyl alcohol to dehydrate and remove any dust and oils.
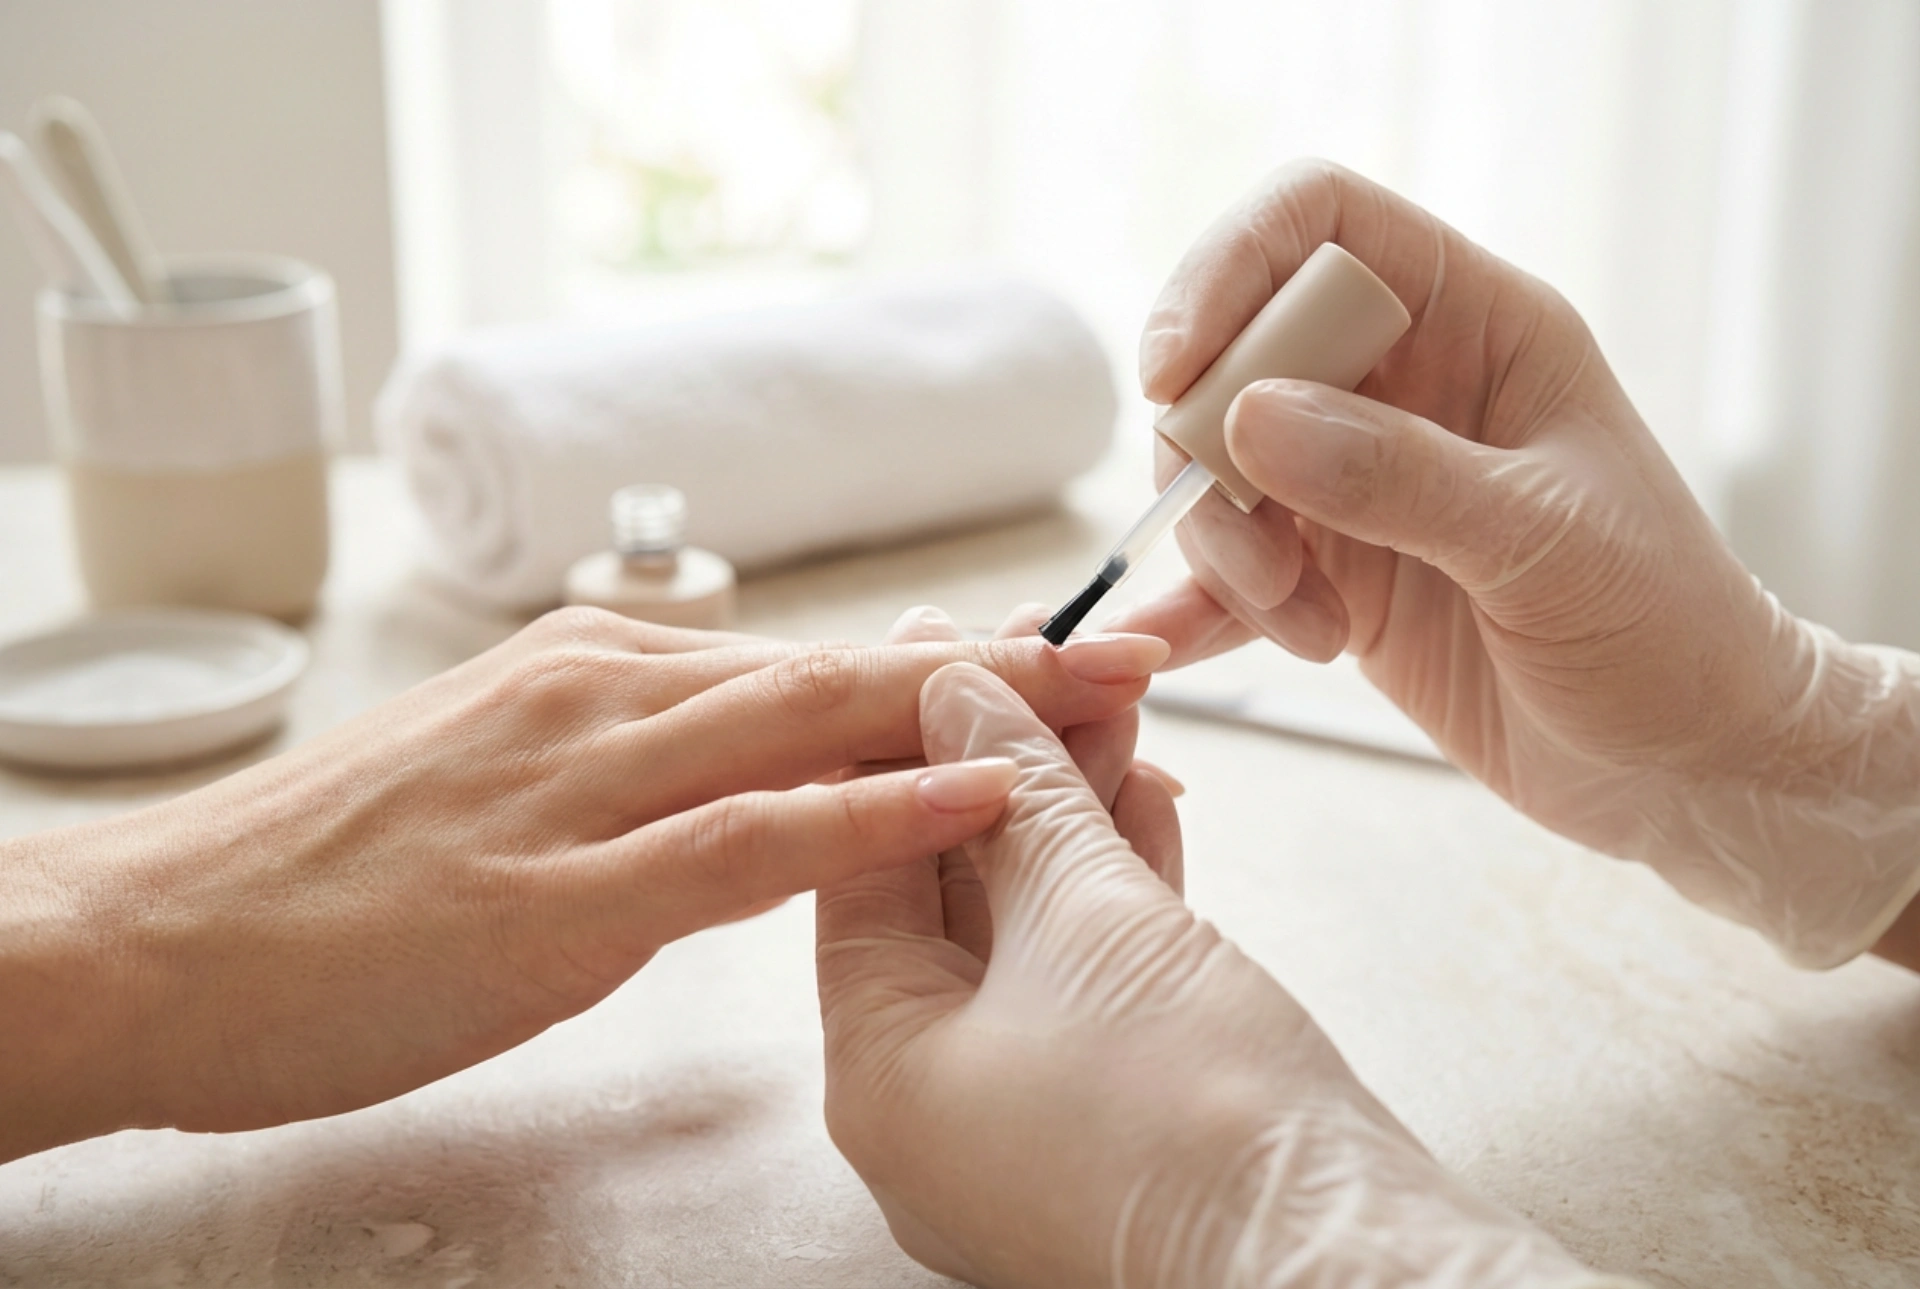
2. Applying the Base Coat
Apply a thin, even layer of the gel base coat to the entire nail. It's crucial to 'cap the free edge' by running the brush along the tip of the nail. This seals the layers and prevents chipping. Be meticulous and avoid letting the product touch the skin or cuticles, as this can cause lifting. If you do get any on your skin, clean it up with a small brush dipped in alcohol before curing.
3. Curing
Cure the base coat under your UV or LED lamp according to the manufacturer's instructions, typically for 30-60 seconds. The nail will have a slightly sticky or 'tacky' layer after curing, known as the inhibition layer. Do not wipe this off; it helps the subsequent colour layer to adhere properly.
How to File Nails with a Gel Base
Shaping is an integral part of any manicure. When working with a gel base, the timing and technique are important. It is always best to do the majority of your shaping and filing on the natural nail *before* you apply any product. Once your nails are the desired length and shape, you can proceed with the base coat application. If, after curing the base coat, you notice any imperfections or wish to refine the shape slightly, you can do so with care. Use a fine-grit file (180-grit or higher) and file gently. If you are using a thicker builder base to create an 'apex' or structure, you will do your refinement filing after the base is cured and before applying colour. First, wipe off the sticky inhibition layer with alcohol, then gently file to perfect the shape and surface smoothness. Remove any dust before proceeding with your colour coats.
Common Mistakes to Avoid
To ensure a perfect result, be mindful of these common pitfalls:
- Applying too thick: A thick layer of base coat can cure unevenly and lead to a bulky appearance and potential lifting. Thin, even coats are always best.
- Flooding the cuticles: Allowing the gel to pool around the skin will compromise the seal and cause the manicure to lift from the edges.
- Improper nail prep: Skipping the buffing and cleansing steps will leave oils on the nail plate, which are the primary cause of poor adhesion.
- Under-curing: Not curing for the recommended time will leave the gel soft and unstable. Always follow the product's guidelines and ensure your lamp is in good working order.
By mastering the art of the gel base coat, you are setting the stage for a beautiful, durable, and professional-quality manicure that you can proudly achieve at home.


