


White nails are a symbol of timeless elegance and sophistication. However, achieving that flawless, opaque, and streak-free finish with white gel polish can be a challenge. The pigment in white polish is prone to uneven application, but with the right technique, a perfect result is entirely achievable at home. The secret lies not in a special product, but in a methodical approach: proper preparation, the strategic use of thin layers, and a quality finish.
Nail Preparation: The First Step to Perfection
Before you even think about opening the white polish, dedicate time to preparing your nails. A clean, smooth canvas is non-negotiable for a professional-looking manicure. Start by ensuring your nails are clean and free of any oils or lotions. Gently push back your cuticles and remove any non-living tissue from the nail plate. Next, lightly buff the surface of the nail with a fine-grit buffer. This removes the natural shine and creates a slightly textured surface for the gel to adhere to, significantly reducing the risk of lifting. Finally, wipe each nail with a lint-free pad soaked in a nail cleanser or dehydrator to remove all dust and oils.
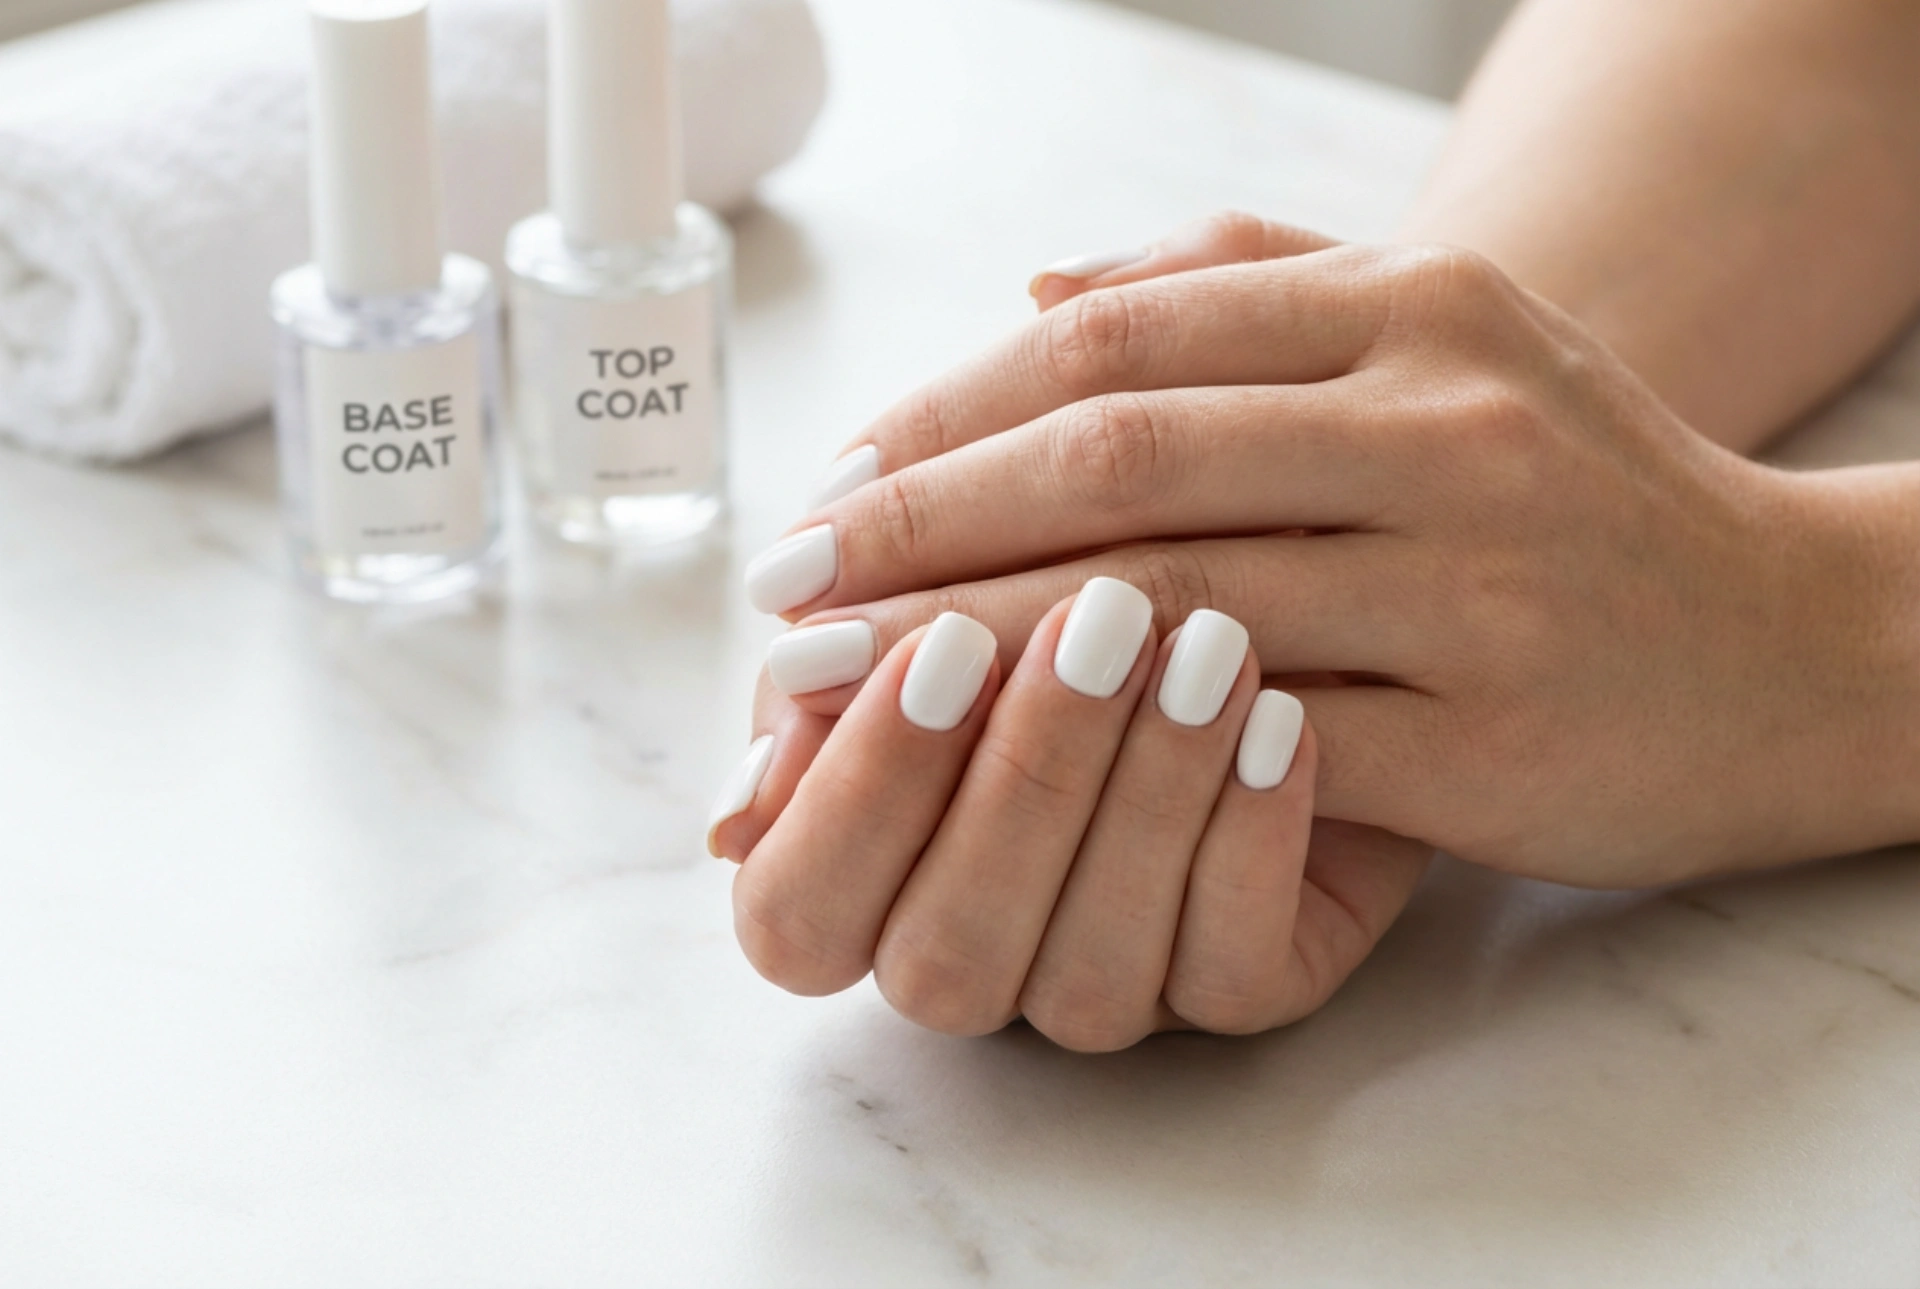
The Base Coat: Your Foundation for Flawlessness
The base coat is an essential step that should never be skipped, especially with tricky colours like white. It serves multiple purposes: it protects your natural nail from potential staining, creates a smooth and even surface for the colour to glide onto, and provides a sticky layer that helps the gel polish adhere better. Apply a single, thin, and even layer of your chosen gel base coat, making sure to cover the entire nail plate without touching the surrounding skin. Cure it under your LED or UV lamp according to the manufacturer's instructions. A properly applied base coat is the foundation upon which your streak-free white manicure will be built.
Mastering the White Polish Application: The 'Thin to Win' Method
This is where the magic happens. The most common mistake when applying white polish is trying to get full coverage in one thick coat. This leads to streaks, pooling in the cuticles, and improper curing. The key is to build the colour in multiple, whisper-thin layers.
The First Coat: Sheer and Strategic
Your first coat of white gel polish should be surprisingly sheer. Do not worry about opacity at this stage. Your goal is to apply a very thin, even layer across the entire nail. Use a light touch and long, smooth strokes from the cuticle area towards the tip. It might look streaky and almost semi-transparent – this is perfectly fine. The purpose of this layer is to create an initial colour map. Be meticulous about keeping it thin and away from the cuticles. Once applied, cure this layer completely.
The Second Coat: Building Opacity
Now you will apply your second thin coat. With the first layer as a guide, this second application will glide on more smoothly and begin to build the opacity you're looking for. Again, the principle is to keep the layer thin and even. You will notice a dramatic difference in coverage with this coat. For most high-quality white gel polishes, two thin coats are sufficient for a perfect, streak-free finish. If after the second cured coat you still see some sheerness, you can apply a third, ultra-thin layer for that final burst of solid colour.
Sealing the Look with a Protective Top Coat
Once you are happy with the colour coverage and the final layer is fully cured, it's time to seal your work. The top coat adds a durable, protective layer that prevents chipping, enhances shine, and ensures your manicure lasts. Apply a slightly more generous (but not thick) layer of top coat over the white colour. An important technique is to 'cap the free edge' – run the brush horizontally along the very tip of your nail. This seals the edge and dramatically reduces the likelihood of chipping. Cure the top coat for the recommended time. If you're using a no-wipe top coat, you're done! If not, use a nail cleanser and a lint-free wipe to remove the final sticky inhibition layer, revealing a hard, glossy, and perfectly white manicure.


