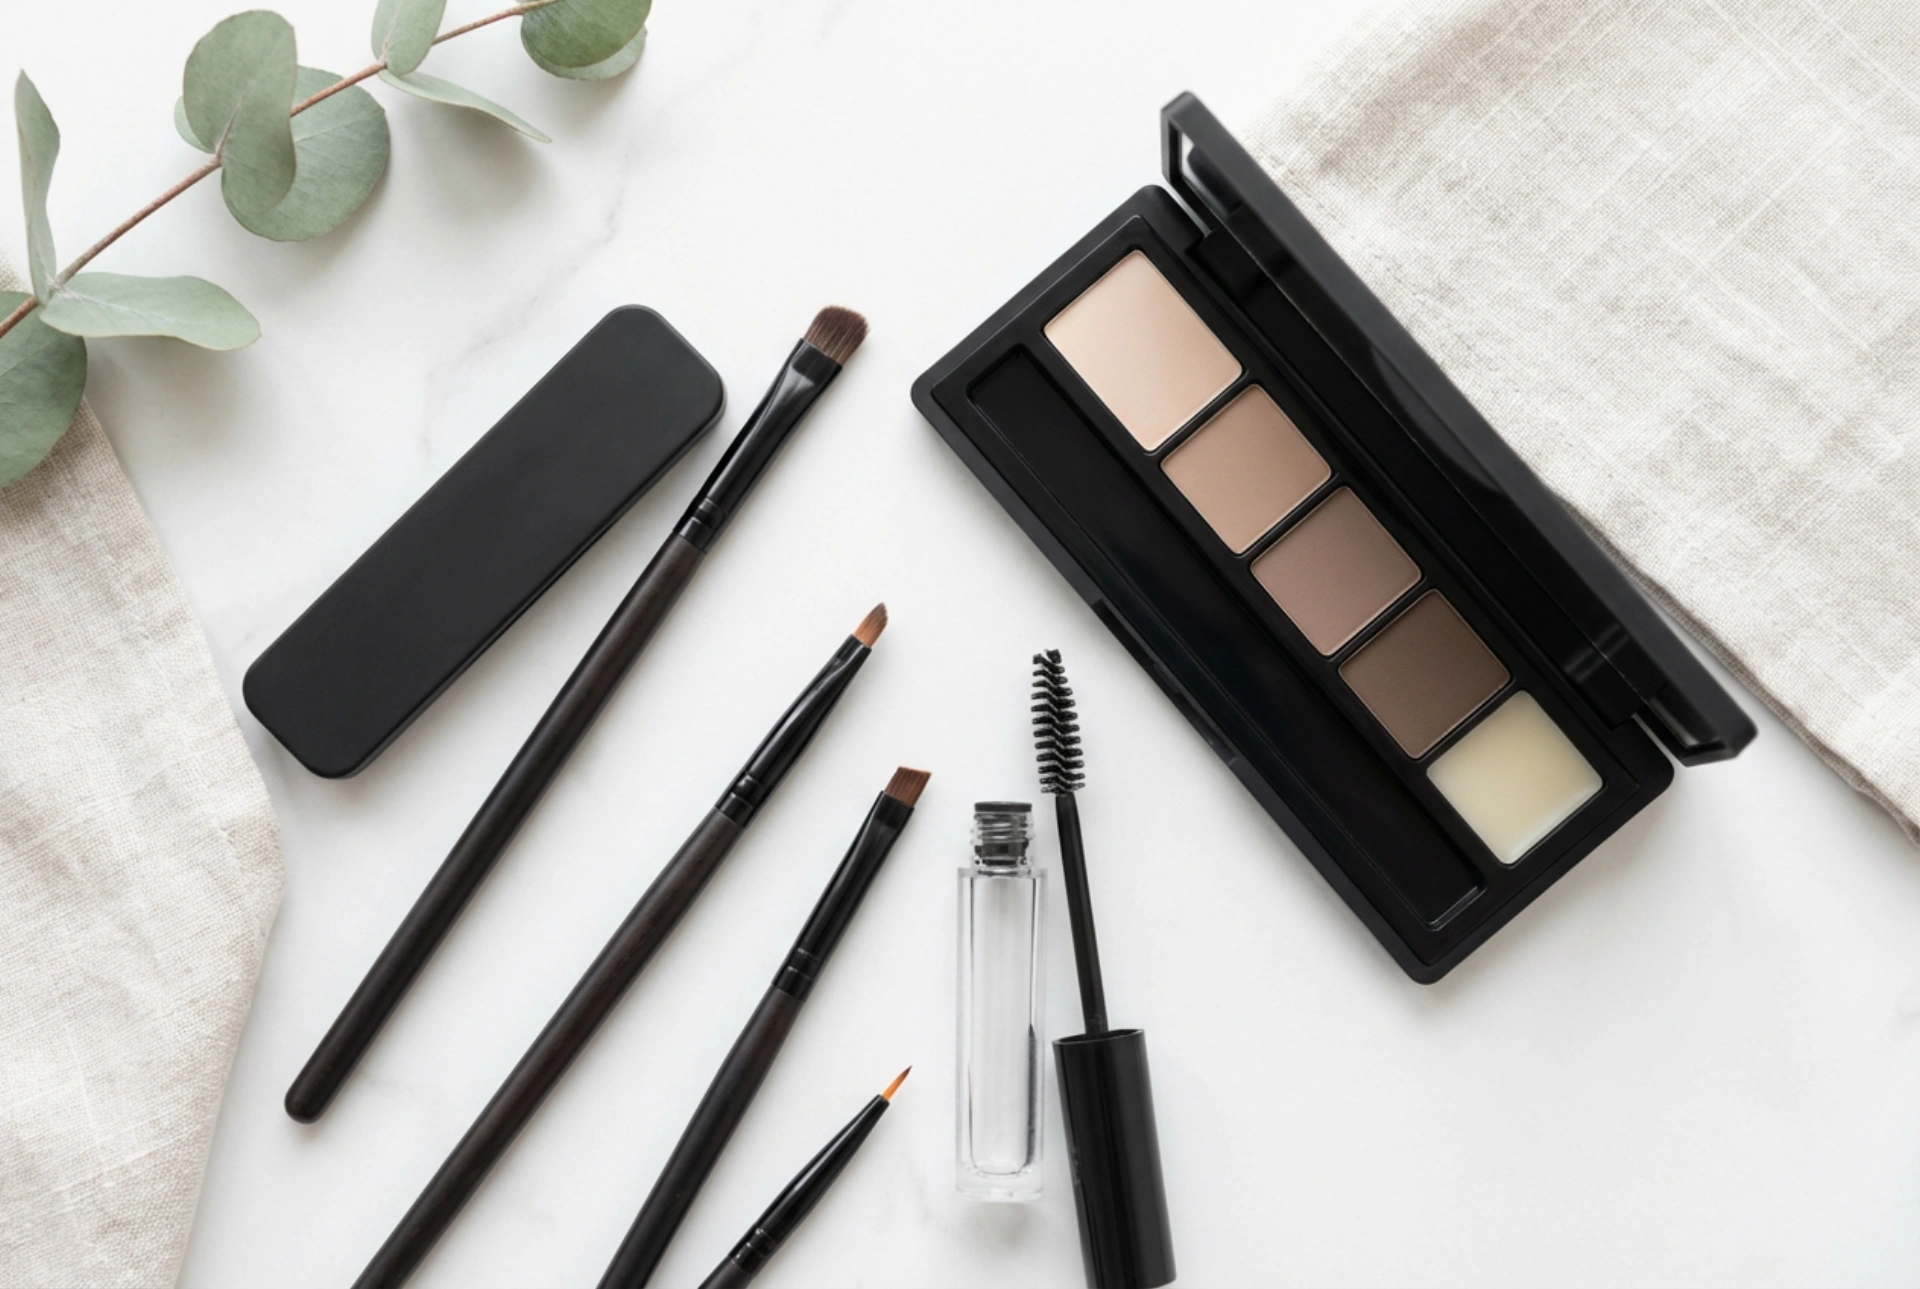


Perfectly styled eyebrows frame the face and enhance your overall look. While there are many tools available, an eyebrow palette is one of the most versatile and effective for achieving a polished, natural finish. It contains everything you need – from powders in various shades to waxes for setting – to shape, fill, and define your brows with precision. This guide will walk you through the entire process, helping you master the art of brow styling at home.
Preparing for Brow Makeup
Before you begin applying any product, proper preparation is key to a flawless result. Start with a clean, dry brow area, free from any skincare or foundation residue. Use a spoolie brush to comb your brow hairs upwards and outwards, following their natural growth pattern. This helps to reveal the true shape of your brows and identify any sparse areas that need filling. The next crucial step is selecting the right colour from your palette. A common mistake is choosing a shade that is too dark, which can result in an unnatural, harsh appearance. For the most natural look, opt for a powder that is one to two shades lighter than your hair colour. Most palettes offer a few options, allowing you to mix shades to create your perfect custom colour.
Step-by-Step Guide to Application
Once your brows are prepped, you can begin the shaping and filling process. This is where precision and a light hand make all the difference. Follow these steps for beautifully defined brows.
Step 1: Outline the Shape
Using a firm, angled brush, pick up a small amount of the brow powder or wax from your palette. Start by defining the bottom line of your brow. Create a crisp, clean line from the start of your brow (near your nose) to the arch and then down to the tail. Next, define the top edge, focusing mainly from the arch to the tail. Keep the front part of the brow softer and less defined to avoid a 'blocky' look. This outline acts as a guide for filling in the rest of the brow.
Step 2: Fill in Sparse Areas
With the outline in place, switch to a slightly lighter powder shade. Using the same angled brush, begin to fill in any gaps or sparse areas within the brow. Apply the product using short, light, hair-like strokes in the direction of hair growth. Concentrate most of the colour on the arch and the tail, as these areas are naturally darker and more defined. The front of the brow should remain the lightest part to create a soft, natural gradient effect.
Step 3: Blend for a Seamless Finish
Blending is a non-negotiable step for achieving natural-looking brows. Take a clean spoolie brush and gently comb through your eyebrows. This softens any harsh lines, removes excess product, and blends the powder seamlessly with your natural brow hairs. Brush upwards at the front and then outwards along the arch and tail. This simple action makes a huge difference, transforming drawn-on brows into brows that look effortlessly full.
Setting and Final Touches
After you have filled and blended your brows to perfection, the final step is to set them in place. This ensures your hard work lasts all day without smudging or fading.
How to Set Your Brows
Most eyebrow palettes include a clear or tinted wax for setting. If yours doesn't, a separate brow gel will work just as well. Scrape a tiny amount of wax onto your spoolie or use the wand of your brow gel. Gently comb the product through your brows, following the direction of hair growth. This locks the powder in place and tames any unruly hairs, keeping them perfectly groomed throughout the day. Be careful not to use too much product, as this can make the brows look stiff or shiny.
Finishing Touches for a Professional Look
For an extra-defined, polished appearance, consider this pro tip. Take a small, flat brush and a tiny amount of concealer that matches your skin tone. Carefully apply it right underneath the brow line, from the start to the tail. Blend it downwards until it disappears into your skin. This technique cleans up any mistakes, sharpens the brow shape, and creates a subtle highlighting effect that makes your brows pop. It’s the perfect final touch for a truly professional result.


