


Achieving beautifully curled, lifted lashes that open up the eyes is a common beauty goal. While mascara alone can add volume and length, the secret to a truly eye-catching look lies in the partnership of two essential tools: the eyelash curler and a good curling mascara. When used together correctly, this dynamic duo creates a long-lasting curl that frames the eyes and enhances their natural shape. This guide will walk you through mastering this simple yet transformative technique for a flawless finish.
The Importance of an Eyelash Curler
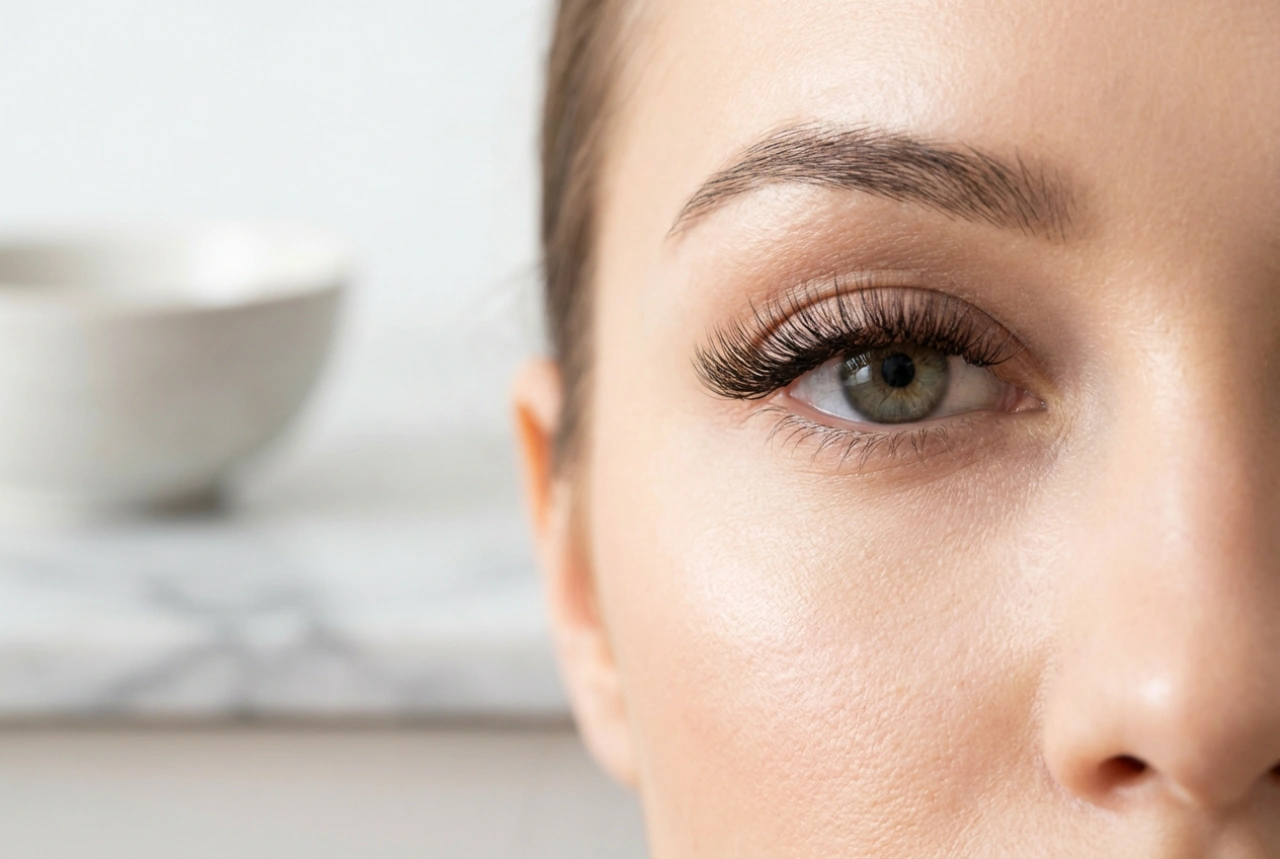
An eyelash curler might seem like an extra, intimidating step, but its impact is undeniable. Straight or downward-pointing lashes can make eyes appear smaller and more tired. A curler physically bends the lashes upwards, creating an instant lift. This simple action has several key benefits:
- Opens Up the Eyes: Curled lashes move away from the eye, making it appear larger, brighter, and more awake. The lift counteracts shadows that straight lashes can cast over the eye.
- Creates a Foundation for Mascara: Curling lashes before applying mascara provides a beautifully shaped base. The mascara then coats the lashes in their lifted position, helping to hold the curl for much longer.
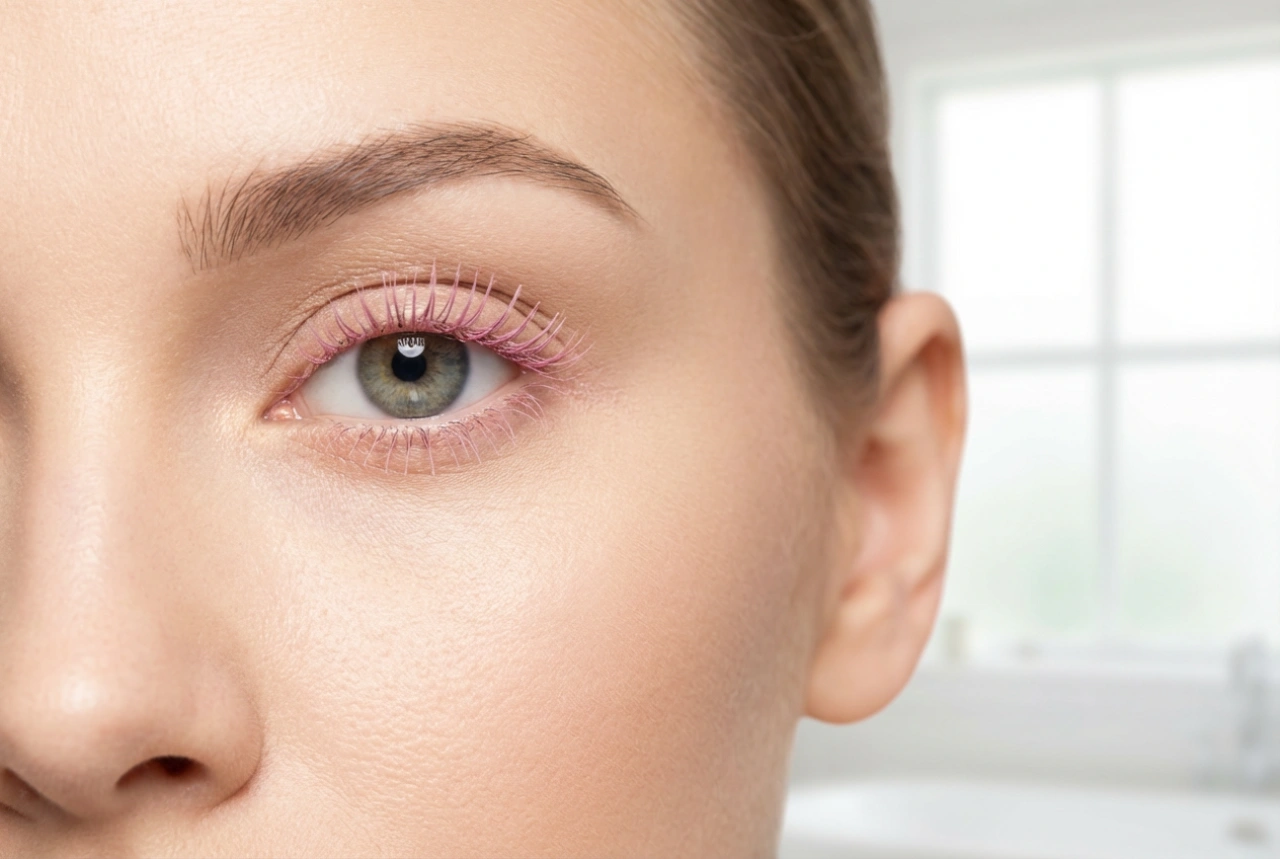
- Enhances Lash Appearance: Even before mascara is applied, curled lashes look longer and more defined simply because more of their length is visible from the front.
How to Use an Eyelash Curler Safely and Effectively
Using an eyelash curler correctly is crucial for achieving a great result without damaging your lashes. Fear of pinching the skin or pulling out lashes can be avoided by following a gentle and precise method.
A Step-by-Step Guide
For a beautiful, natural-looking curve rather than a harsh crimp, follow these steps:
- Start with Clean Lashes: Always use an eyelash curler on bare, dry lashes. Curling after applying mascara can make lashes brittle and prone to breakage. It can also cause the mascara to clump and stick to the curler, creating a mess and pulling out lashes.
- Position the Curler: Open the curler and bring it close to your eye. Keeping your eye open, place your upper lashes between the two pads. Get as close to the lash line as you can without touching the skin.
- The Gentle Squeeze: Once positioned at the base, gently close the curler and hold for about 5-10 seconds with light, steady pressure. Do not press too hard.
- Walk it Out: For a more natural, sweeping curve, release the curler slightly, move it to the middle of your lashes, and press gently again for a few seconds. Finally, repeat this process near the tips of your lashes for a final lift.
Essential Safety Precautions
To ensure the health of your lashes, always remember these key rules:
- Never curl with mascara on: This is the most important rule to prevent breakage.
- Be gentle: Avoid pulling, tugging, or aggressive squeezing. Your lashes are delicate.
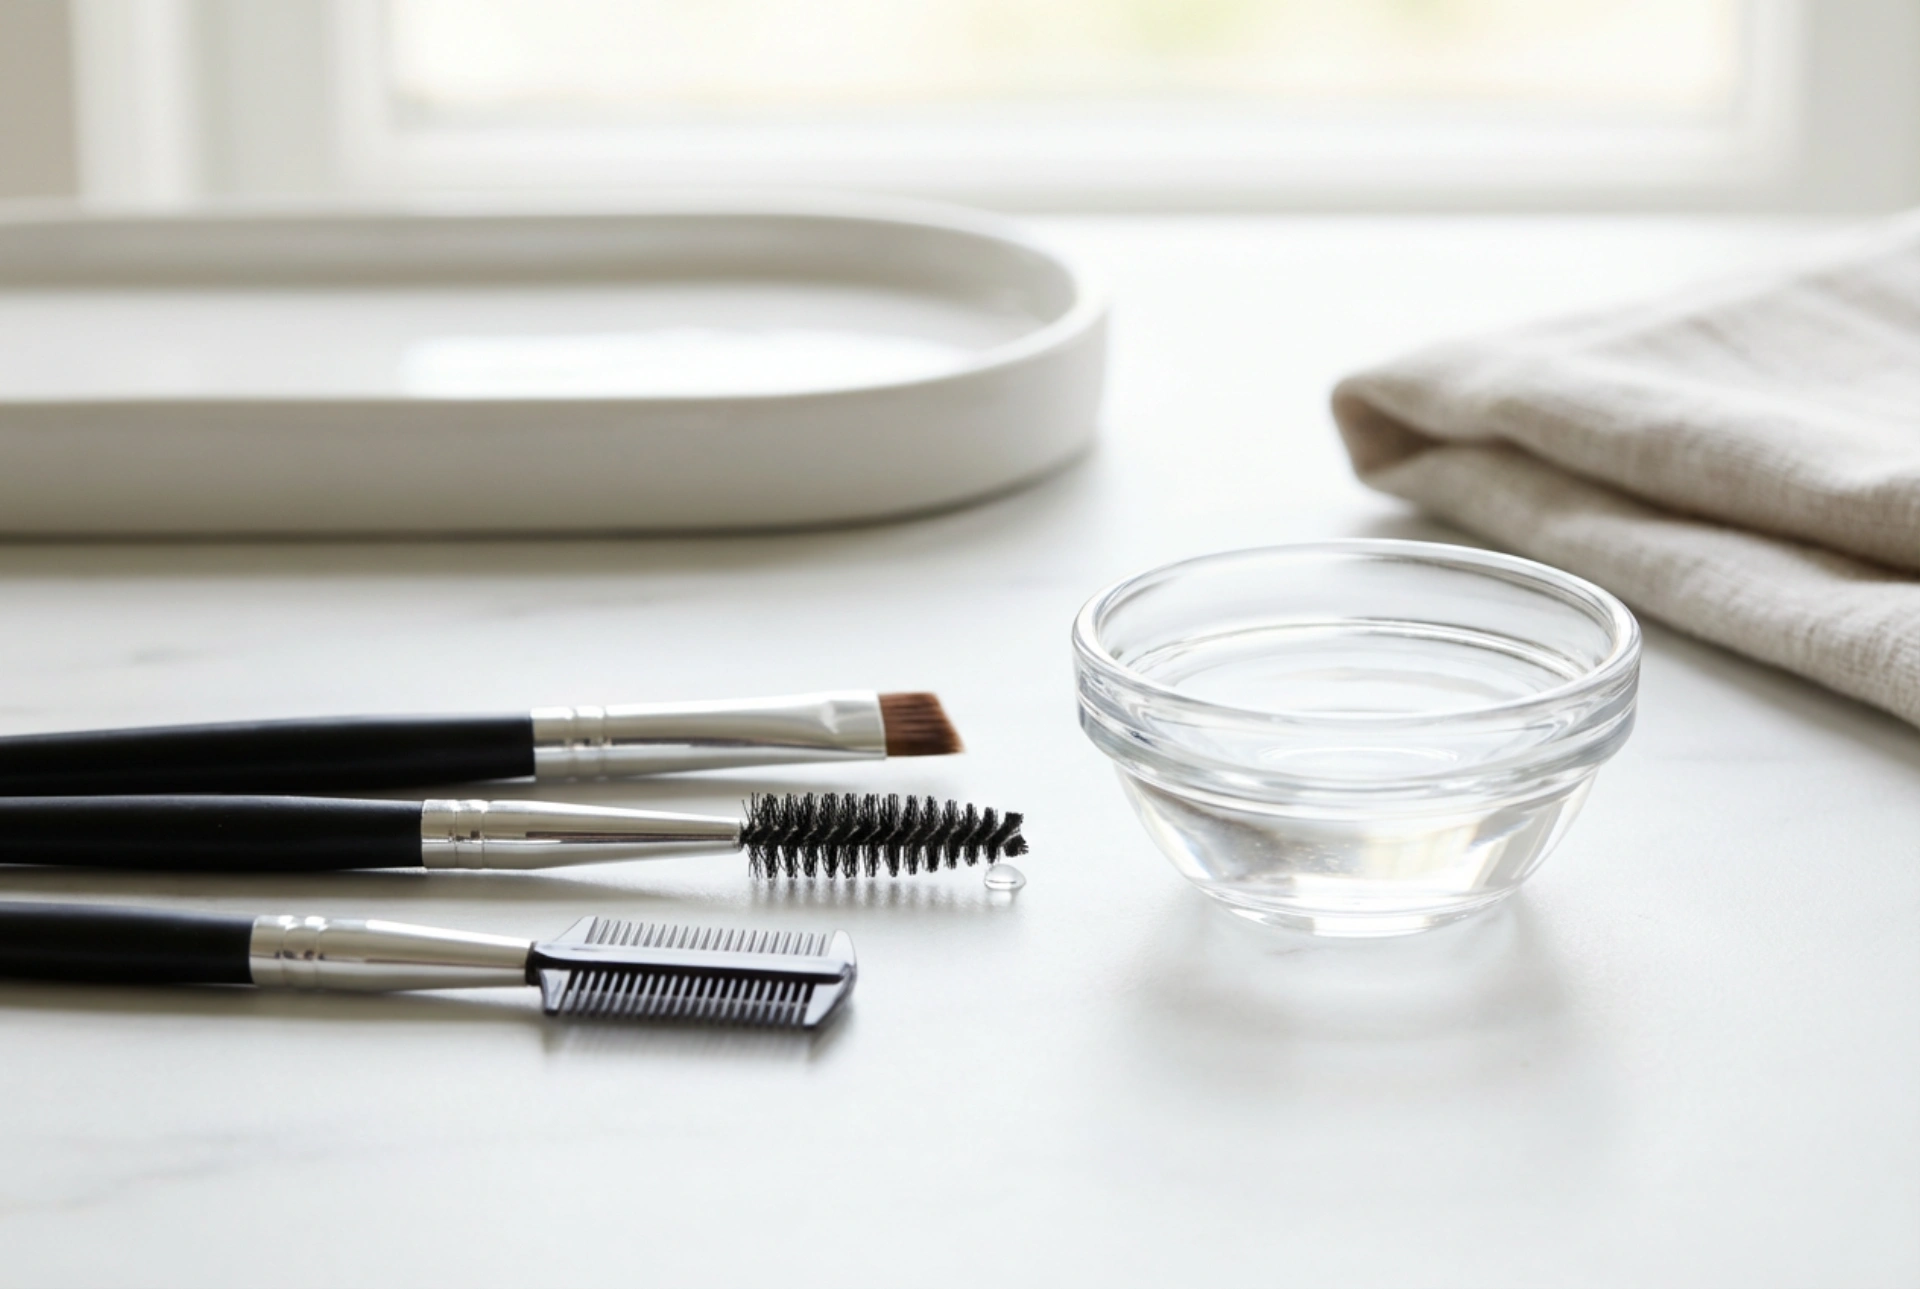
- Keep it clean: Clean your eyelash curler regularly with a makeup remover or gentle soap to prevent the build-up of bacteria and residue.
- Replace the pads: The rubber or silicone pads on your curler wear down over time. Replace them every few months to ensure effective curling and prevent pinching.
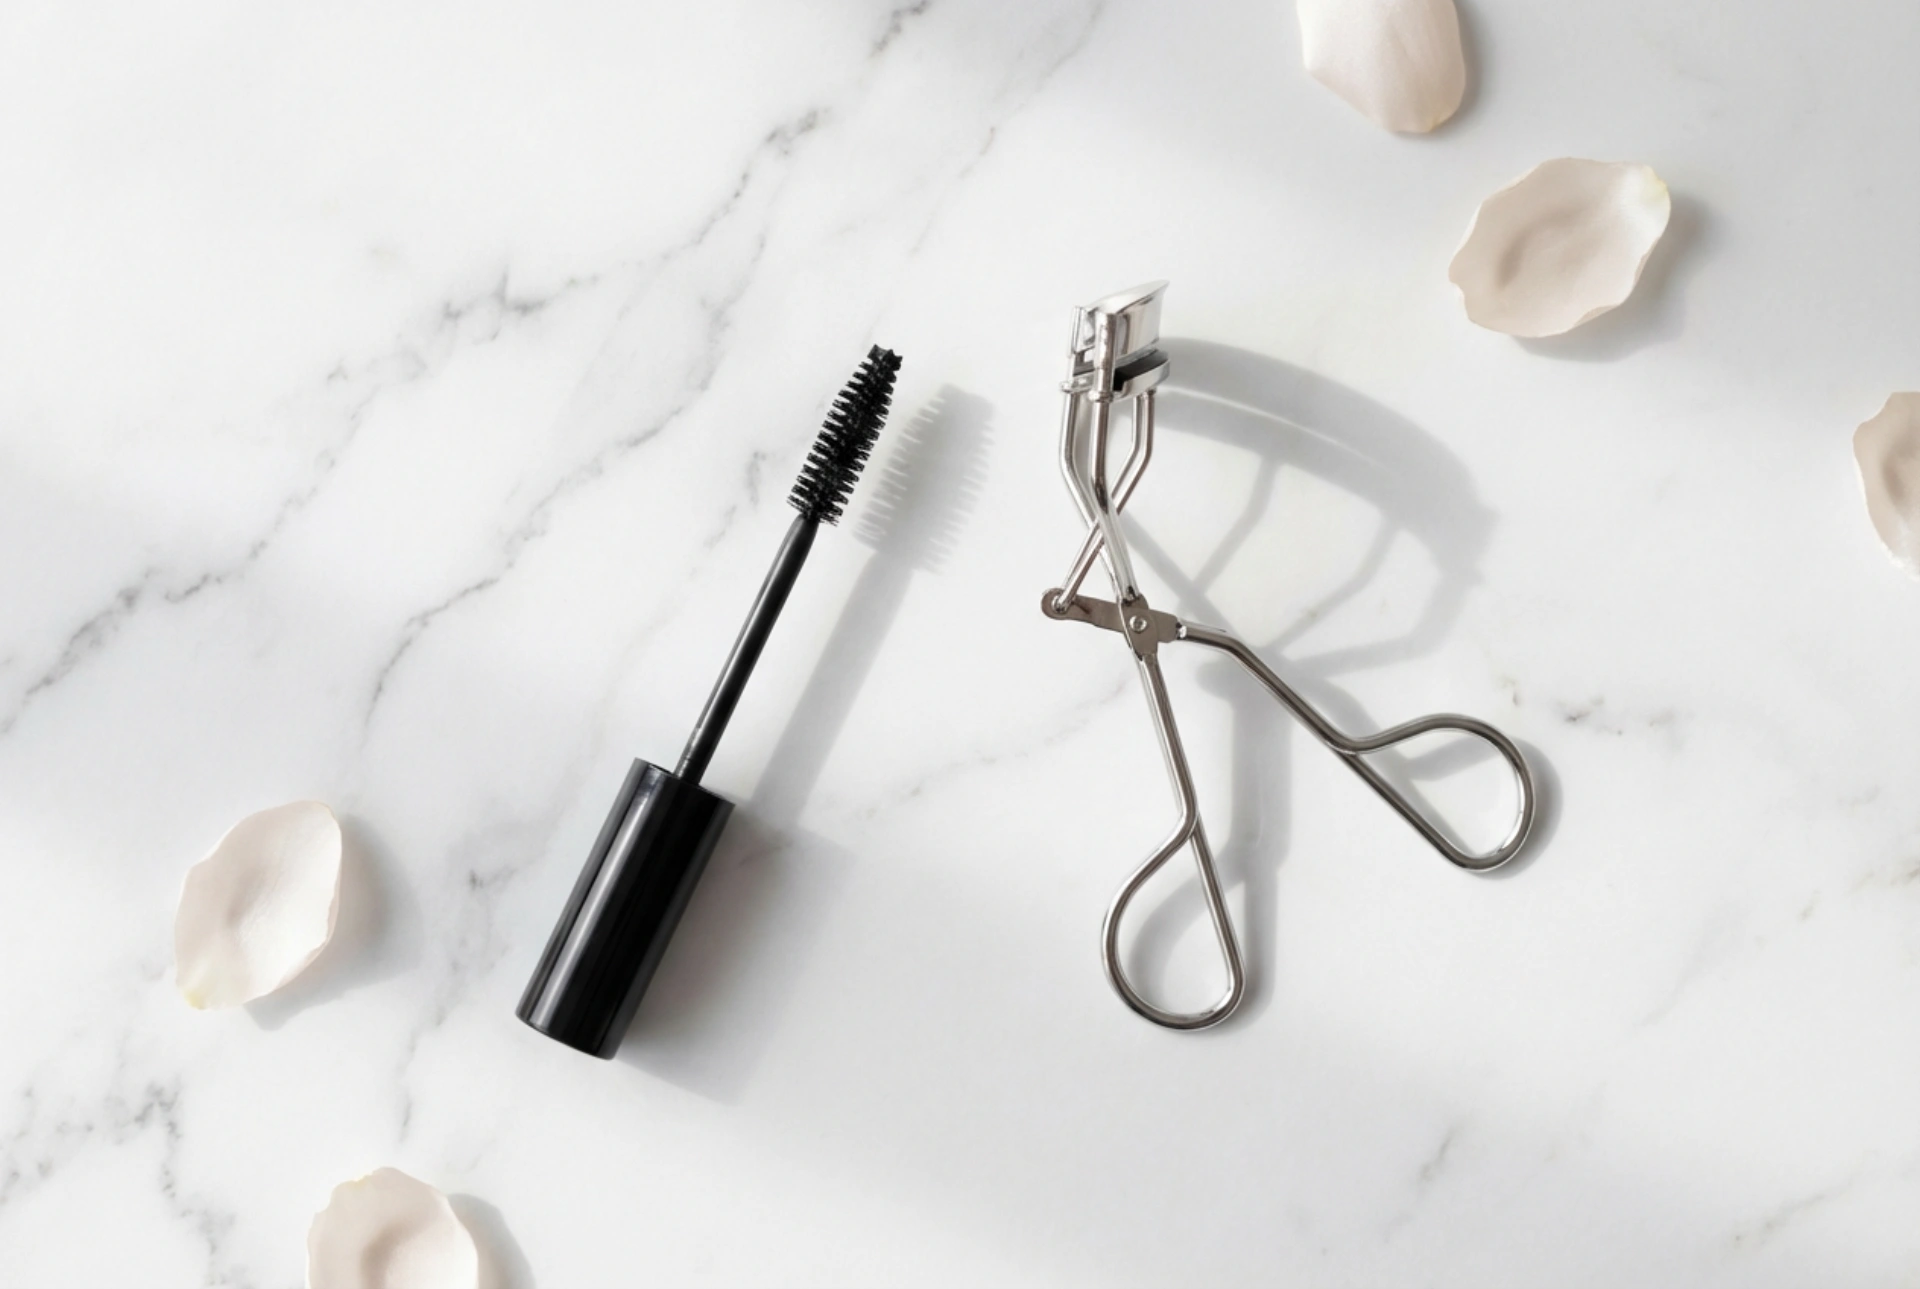
The Role of Curling Mascara
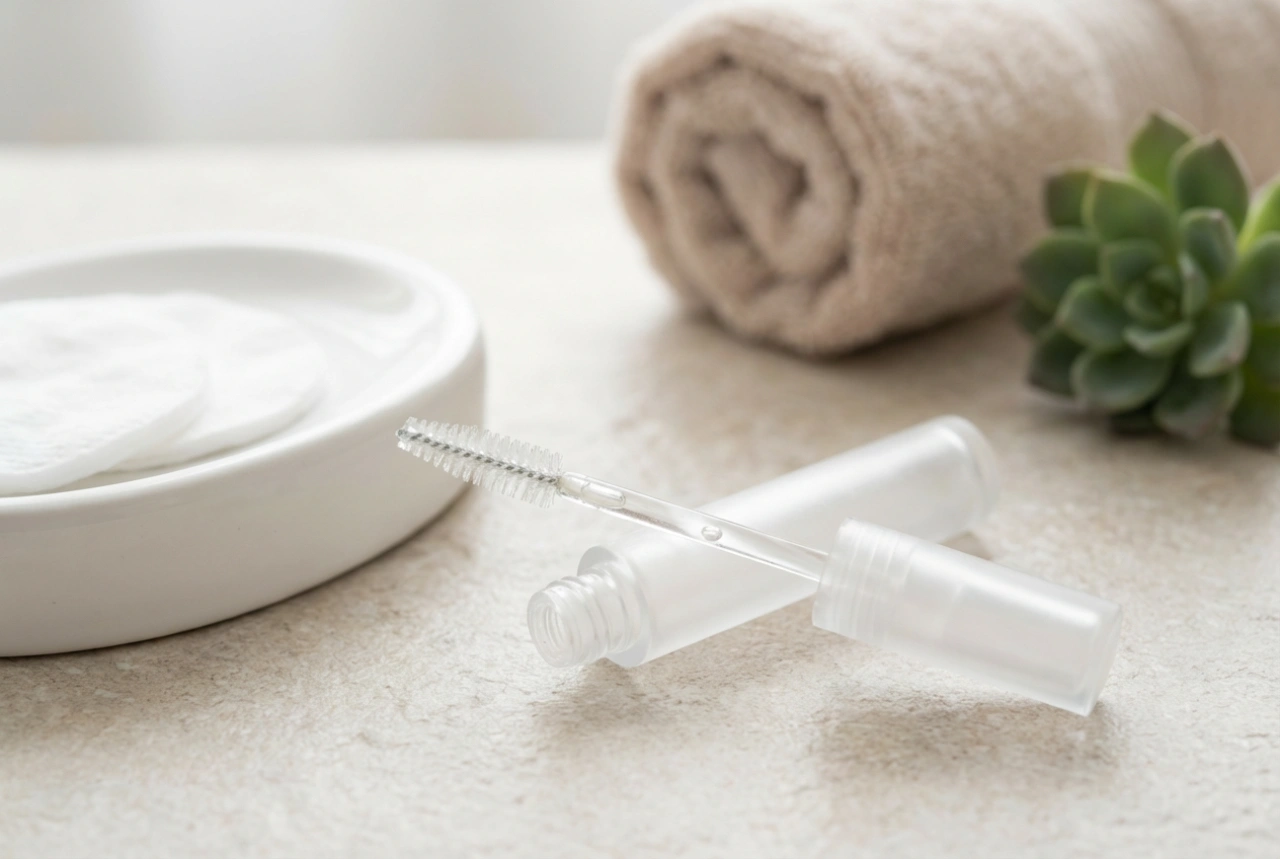
After creating the initial shape with a curler, a curling mascara is essential for locking it in place and amplifying the effect. These mascaras are specifically formulated to support and enhance the curl you've just created.
What Defines a Curling Mascara?
Curling mascaras typically feature two key elements. Firstly, they often come with a curved wand, designed to hug the lash line and lift the lashes from root to tip as you apply. Secondly, their formulas are often lighter and contain film-forming polymers that dry and shrink slightly, helping to hold the lashes in their upward-curved position without weighing them down.
Technique for Application
To get the most out of your curling mascara, apply it immediately after curling your lashes.
- Start at the Base: Place the wand at the very root of your upper lashes.
- Wiggle and Lift: Gently wiggle the wand back and forth at the base to build volume, then sweep it upwards to the tips, following the curve you created with the curler. This ensures every lash is coated.
- Focus on the Lift: As you pull the wand through, you can gently press and hold at the tips for a second to reinforce the curl.
- Apply a Second Coat (Optional): For more drama, wait a moment for the first coat to become slightly tacky before applying a second. Focus on the mid-lengths and ends to avoid clumping at the roots.
The Synergy: Why They Work Better Together
Using an eyelash curler and a curling mascara in tandem creates a result that is far greater than the sum of its parts. The eyelash curler provides the mechanical lift and structure, creating the fundamental shape. The mascara then acts as a 'hairspray' for your lashes, coating them with a formula that sets the curl, adds volume and colour, and ensures the lifted effect lasts all day. Without the initial curl, mascara alone may not be able to lift stubbornly straight lashes sufficiently. Without the mascara, a curl created by a curler will likely fall flat within a few hours. Together, they are the ultimate power couple for achieving beautifully defined, wide-open eyes.