


Well-groomed feet are a sign of self-care and can significantly boost your confidence, especially during warmer months. A classic pedicure is not just about aesthetics; it's a fundamental ritual for maintaining healthy feet. Performing it at home can be a relaxing and rewarding experience. With the right tools and a bit of patience, you can achieve salon-quality results, leaving your feet looking and feeling refreshed and beautiful. This guide will walk you through each stage, from initial preparation to the final coat of polish.
Step 1: Essential Preparation for Your Pedicure
The foundation of a great pedicure lies in proper preparation. Begin by removing any old nail polish using a cotton pad soaked in a gentle nail polish remover. Choose an acetone-free formula if your nails are prone to dryness. Next, prepare a warm foot soak. Fill a basin with warm water and add a handful of Epsom salts or a few drops of your favourite essential oil, such as lavender or peppermint, for a soothing and aromatic experience. Submerge your feet and let them soak for 10-15 minutes. This process softens the skin, cuticles, and nails, making them much easier to work with. After soaking, pat your feet dry with a clean, soft towel, ensuring you dry thoroughly between the toes.
Step 2: Nail and Cuticle Care
Once your feet are dry, it's time to focus on the nails and cuticles. Apply a small amount of cuticle remover to the base of each toenail and let it sit for a minute. Then, using a wooden orange stick or a cuticle pusher, gently push back the softened cuticles from the nail plate. It is advisable to avoid cutting your cuticles at home, as this can lead to discomfort and potential issues. Next, trim your toenails. Using a clean, sharp nail clipper, cut the nails straight across. Avoid rounding the corners too much, as this can lead to ingrown toenails. After trimming, use a nail file to gently shape the nails and smooth any rough edges. A glass or crystal file is an excellent choice as it is gentler on the nails. File in one direction to prevent splitting.
Step 3: Smoothing and Exfoliating the Skin
Dealing with Rough Skin
With your nails shaped, turn your attention to the skin on your feet. The soak will have softened any calluses or rough patches, particularly on the heels and the balls of your feet. Use a foot file or a pumice stone on these areas, applying gentle but firm pressure. Work in one direction and be careful not to overdo it; the goal is to remove dead skin, not sensitive live skin. This step is crucial for achieving soft, smooth feet.
The Exfoliation Process
After filing, use a foot scrub to exfoliate your entire foot, including the tops and sides. Massage the scrub into the skin using circular motions, paying extra attention to rough spots. This will slough away any remaining dead skin cells and improve circulation. Once you have thoroughly scrubbed your feet, rinse them with warm water and pat them completely dry with your towel.
Step 4: Moisturising and Massage
Now that your feet are smooth and clean, it’s time to rehydrate the skin. Apply a generous amount of a rich, nourishing foot cream. Don't forget to moisturise the cuticles as well. Take a few minutes to give yourself a foot massage. Use your thumbs to apply pressure to the arches and balls of your feet, and gently pull on each toe. This not only helps the moisturiser absorb better but also relieves tension and promotes relaxation. Let the cream sink in for a few minutes before moving on to the final step.
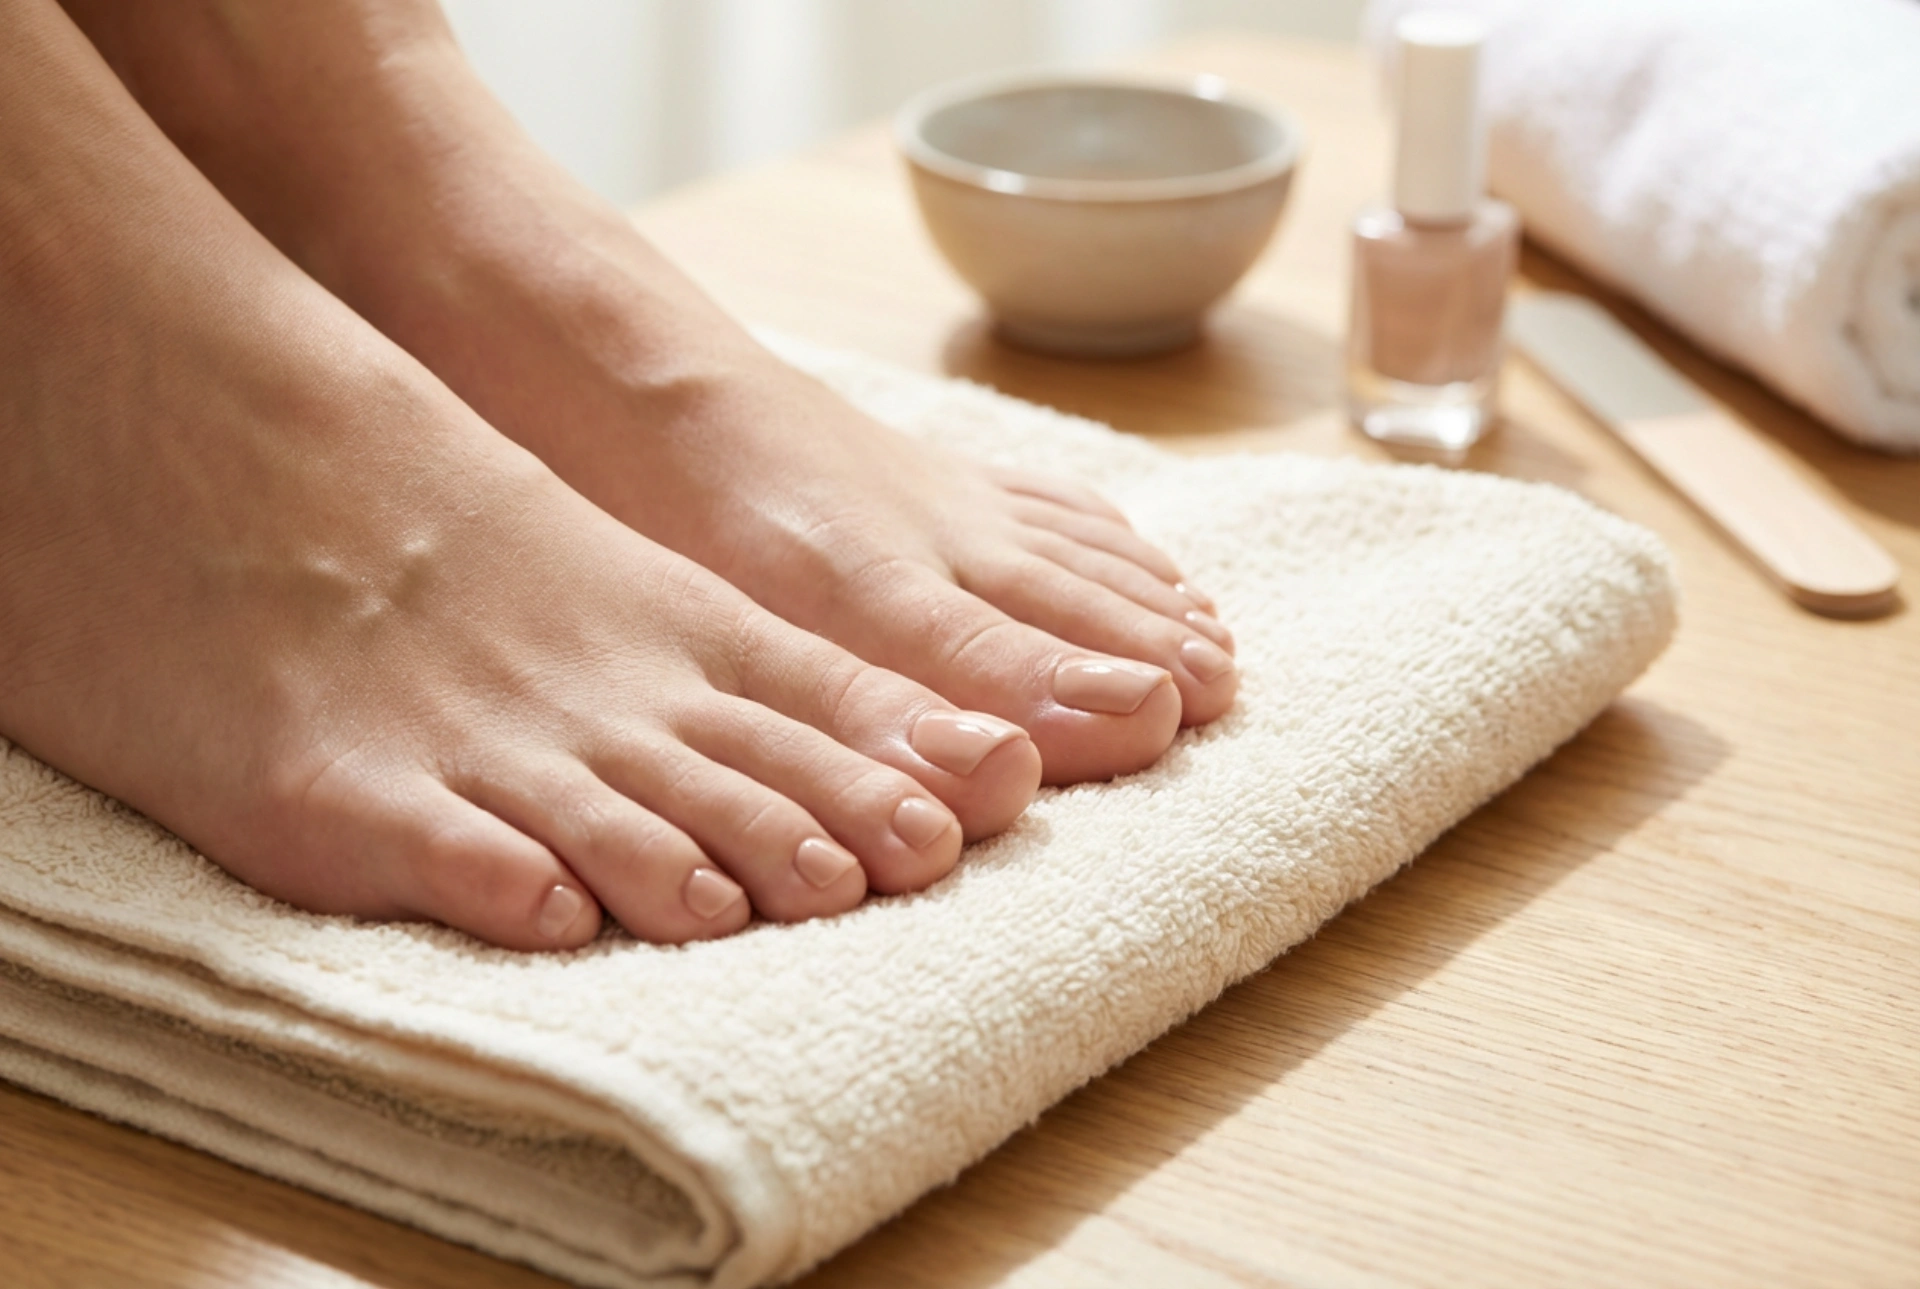
Step 5: The Perfect Polish Application
The final touch is applying your chosen nail colour. First, wipe each toenail with a cotton pad soaked in nail polish remover. This removes any lotion residue that could prevent the polish from adhering properly. Place toe separators between your toes to prevent smudging. Begin by applying a thin layer of base coat. This protects your nails from staining and helps your pedicure last longer. Next, apply your chosen nail polish. It's best to apply two thin coats rather than one thick one. Allow the first coat to dry for a few minutes before applying the second. Steady your hand by resting it on a surface and use three strokes: one down the centre and one on each side. Finally, seal your colour with a high-shine top coat. This adds an extra layer of protection against chipping and enhances the glossy finish. Be patient and allow your nails to dry completely, which can take at least 30-60 minutes.


