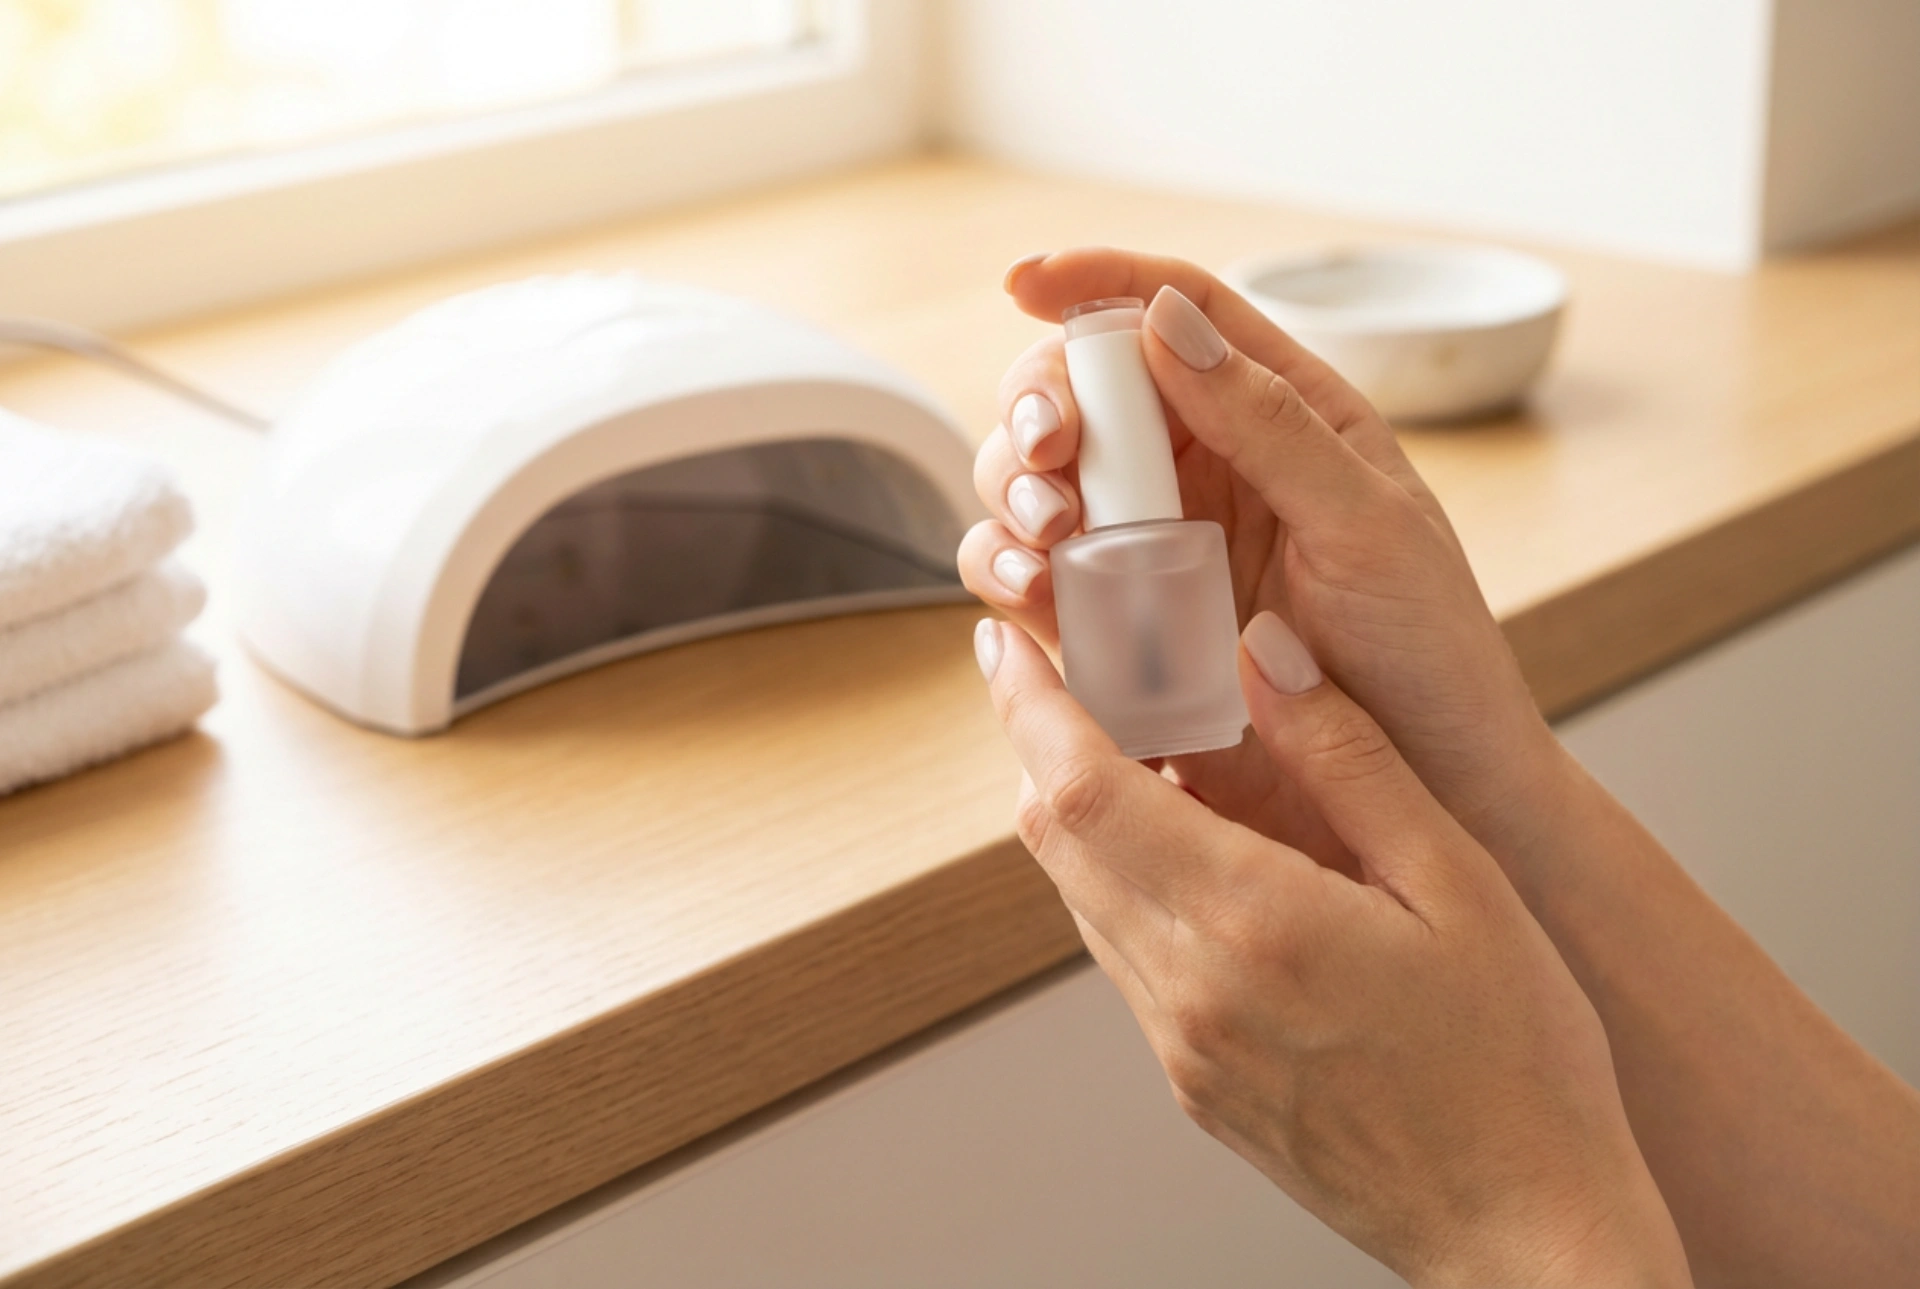


A gel manicure is prized for its incredible shine and remarkable longevity, offering a flawless finish that can last for weeks. Achieving that professional-looking durability at home is entirely possible with the right techniques. The secret lies not just in the polish itself, but in meticulous preparation, precise application, and proper curing. Understanding each step of the process is key to transforming your nails and ensuring your manicure withstands the test of time, just like the elegant finish hinted at by a sleek polish bottle and the glow of a curing lamp.
The Foundation: Preparing the Nail Plate
Proper preparation is the most critical step for a long-lasting gel manicure. Without a clean and well-prepped canvas, the polish is more likely to lift or chip prematurely. Taking the time to prepare your nails correctly will pay dividends in the durability of your manicure.
Shaping and Buffing
First, shape your nails to your desired length and form using a nail file. Once you are happy with the shape, gently buff the entire surface of each nail with a fine-grit buffer block. The goal is not to thin the nail, but simply to remove the natural shine and create a slightly textured surface for the gel to adhere to. Pay close attention to the areas near the cuticles and the side walls.
Cuticle Care and Cleansing
Next, address your cuticles. Apply a cuticle remover and gently push them back with an orange wood stick or a cuticle pusher. Avoid cutting the live tissue. After managing your cuticles, it's crucial to cleanse the nail plate thoroughly. Use a lint-free wipe saturated with a nail preparation solution or isopropyl alcohol to remove all dust, oils, and residue. This dehydrates the nail surface, ensuring maximum adhesion.
The Art of Application: Base, Colour, and Top Coat
Applying gel polish requires a steady hand and an understanding that thin layers are key. Each coat has a specific purpose, and applying them correctly builds a strong, flexible, and beautiful manicure.
Step 1: The Base Coat
The base coat acts as a protective barrier for your natural nail and provides the foundation for the colour to grip onto. Apply a very thin, even layer of gel base coat to the entire nail, from the cuticle to the tip. Be careful not to let the product touch your skin or cuticles, as this can cause lifting. Finally, 'cap' the free edge by running the brush lightly along the tip of the nail. This seals the polish and helps prevent chipping. Cure the base coat under your UV or LED lamp according to the manufacturer's instructions.
Step 2: The Colour Coats
Now for the colour. Apply your chosen gel polish in a thin, even layer. Just as with the base coat, avoid flooding the cuticles or side walls. If you make a mistake, clean it up with a small brush dipped in cleanser before curing. Remember to cap the free edge with each colour coat. Cure the layer completely. Most colours require two coats for full opacity, but some may need three. Always apply thin coats and cure each one individually. Applying one thick coat will result in improper curing and a weak manicure.
Step 3: The Top Coat
The top coat is the final shield. It protects the colour from scratches, adds a brilliant shine, and seals the entire manicure. Apply a slightly more generous layer of top coat than the colour coats, ensuring you cover the entire nail and cap the free edge one last time. This final seal is vital for longevity. Perform the final, and often longest, cure as directed by the product's guidelines.
Perfect Curing: The Key to Durability
The curing process hardens the liquid gel into a durable solid. Without proper curing, even the best application will fail. Using the right lamp and adhering to the correct times is non-negotiable.
Your Lamp and Curing Times
Gel polishes are formulated to cure under a specific wavelength of light, either UV or LED. Ensure your lamp is compatible with your chosen polish system. LED lamps generally cure much faster (30-60 seconds) than traditional UV lamps (2-3 minutes). Always follow the recommended curing time for each specific product—base, colour, and top coat. Under-curing will leave the gel soft and prone to smudging, while over-curing can sometimes cause discolouration or make the polish brittle.
Removing the Sticky Layer
After the final cure of the top coat, most gel systems leave behind a sticky or tacky 'inhibition layer'. This is a normal byproduct of the curing process. To reveal the hard, glossy finish beneath, take a lint-free wipe soaked in a specialised gel cleanser or high-purity isopropyl alcohol and wipe each nail firmly. Some modern top coats are 'no-wipe' formulas, which cure to a hard, non-tacky finish and do not require this final step.
Aftercare for a Lasting Manicure
Once your manicure is complete, a little care goes a long way. To keep your nails looking their best, apply cuticle oil daily to nourish the skin around the nails. Wear gloves when washing dishes or using household cleaning products to protect your manicure from harsh chemicals and prolonged water exposure. Lastly, treat your nails as jewels, not tools—avoid using them to open cans or scrape things. With these steps, you can enjoy a beautiful, chip-free manicure for weeks.


