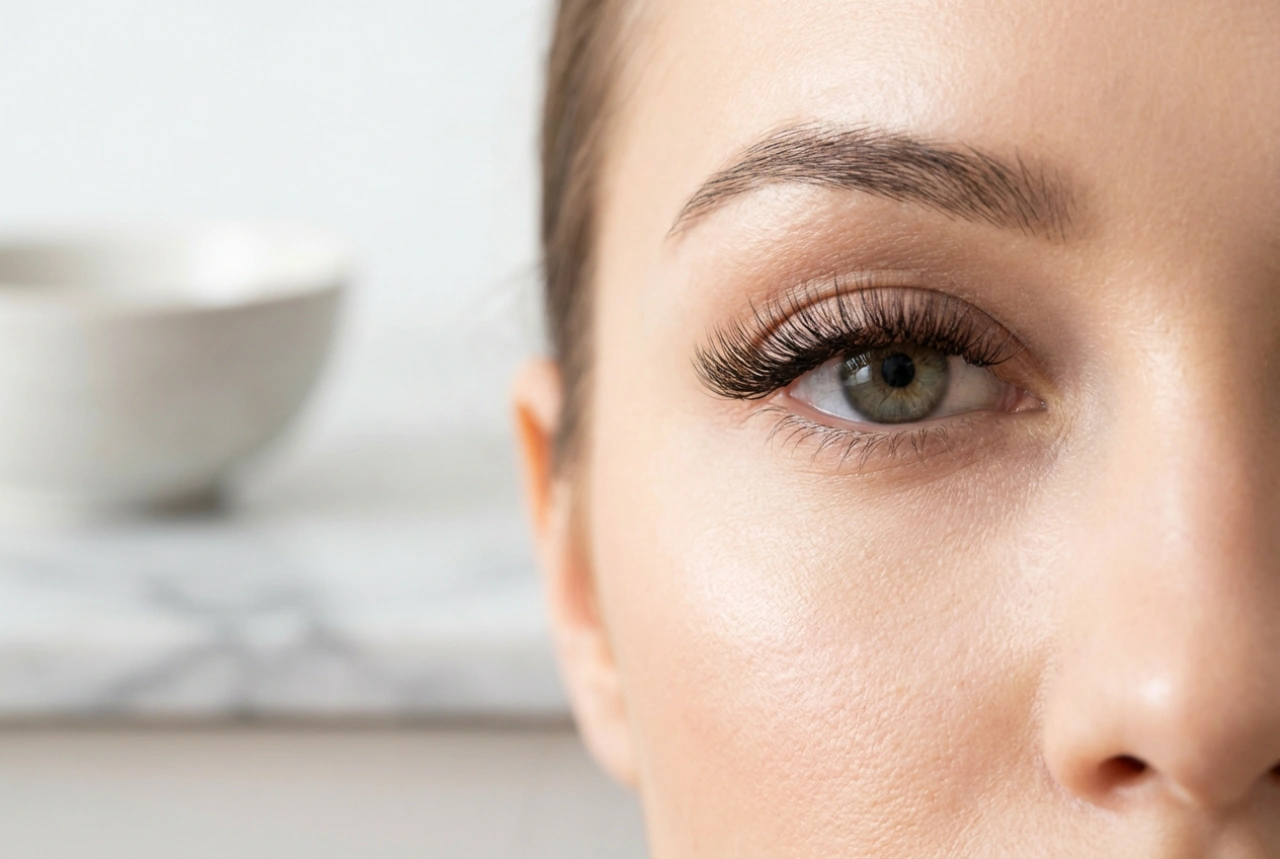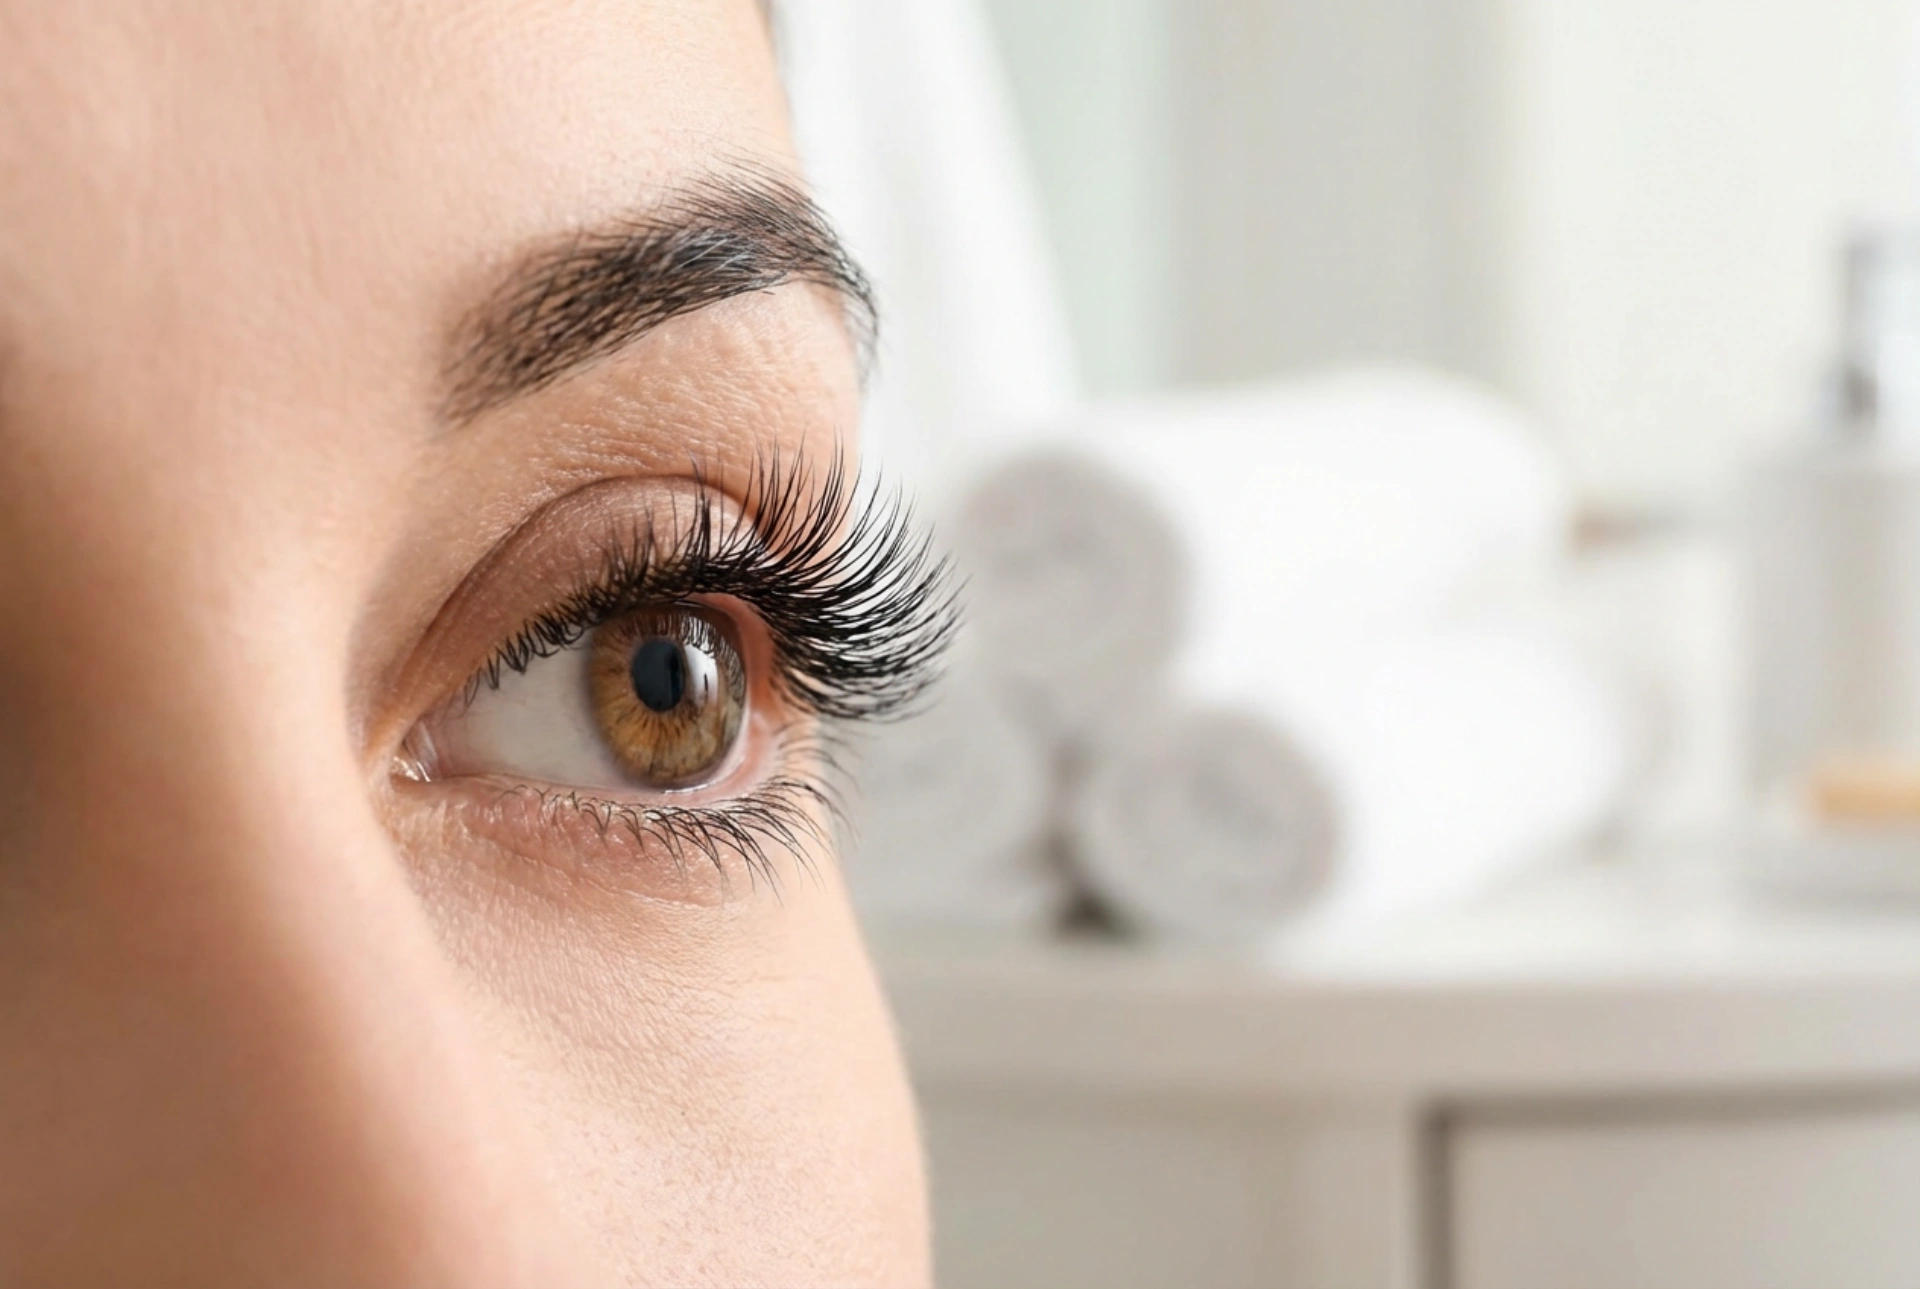


Achieving beautifully long, separated lashes as seen in a flawless beauty portrait is a common goal, yet the reality of mascara application can often involve clumping, smudging, and flaking. The key to a perfect finish lies not just in the product itself, but in the preparation and technique. With a few simple steps, you can master the art of applying mascara for a clean, defined, and elegant look that enhances your eyes without any unwanted mess.
Preparing Your Lashes for Mascara
A great mascara application starts before you even open the tube. For the best results, your lashes need to be clean and properly prepped. Any residual oil or old makeup can cause fresh mascara to smudge or flake off during the day. Start by ensuring your lashes are completely clean and dry. If you use an eye cream, allow it to fully absorb before you begin your makeup routine.
- Clean Lashes: Use a gentle makeup remover to wipe away any leftover product from the previous day. Clean lashes provide a better surface for the mascara to adhere to, leading to a longer-lasting finish.
- Curl for Lift: Using an eyelash curler is a game-changing step. It opens up the eyes and gives your lashes a beautiful, upward curve, making them appear longer and more prominent. Position the curler at the base of your upper lashes, hold for a few seconds, then gently release. For an even more pronounced curl, you can 'walk' the curler up the lash, curling at the middle and the tips as well.
Choosing the Right Mascara and Wand
The vast array of mascaras available can be overwhelming, but understanding the basics of formulas and wands can help you choose the best one for your desired look. The formula determines the effect (lengthening, volumising, curling), while the wand shape dictates how the product is applied to your lashes.
Formula Types
Consider what you want to achieve. Lengthening formulas contain polymers that bind to the tips of your lashes, making them appear longer. Volumising formulas are often thicker and may contain waxes to build thickness and make lashes look fuller. Waterproof formulas are ideal for humid conditions or emotional events, but they can be harder to remove, so a dedicated remover is essential.
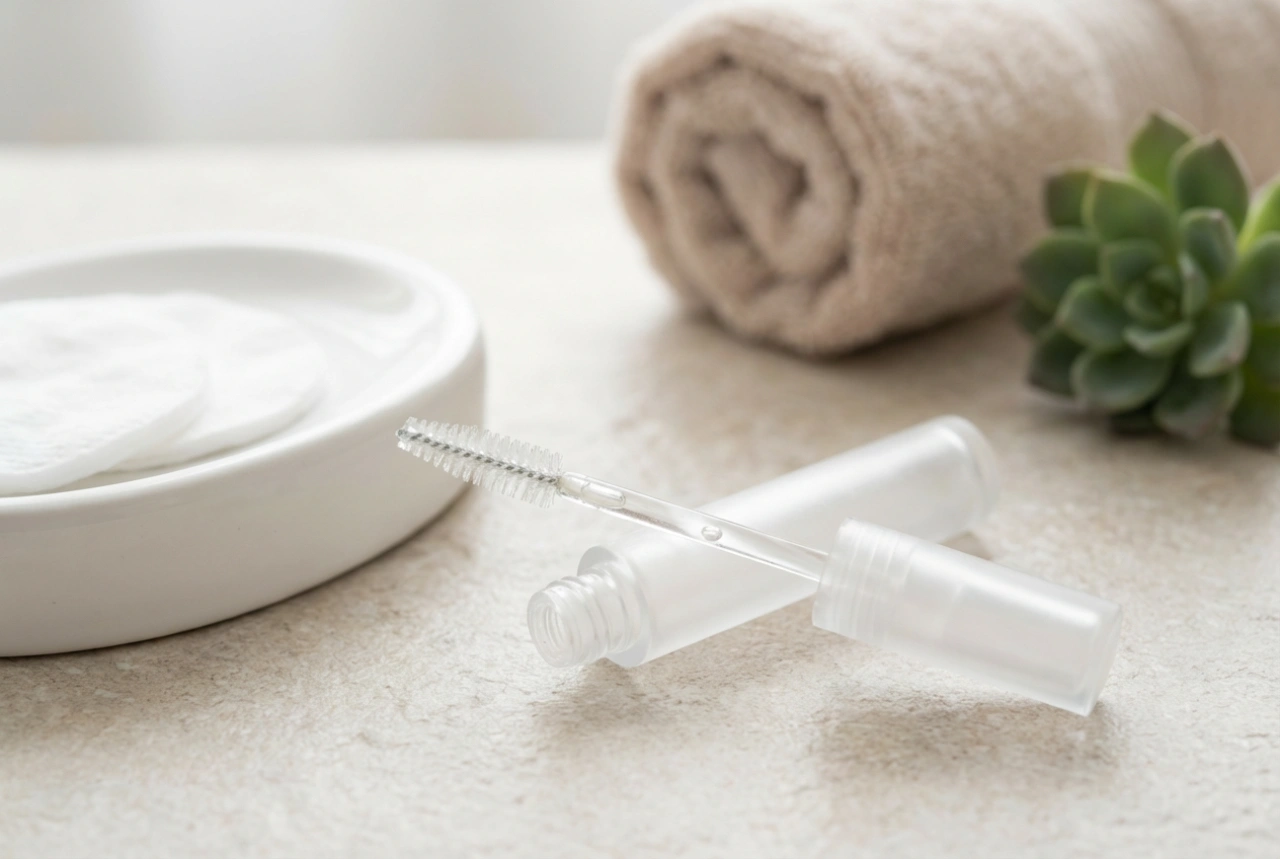
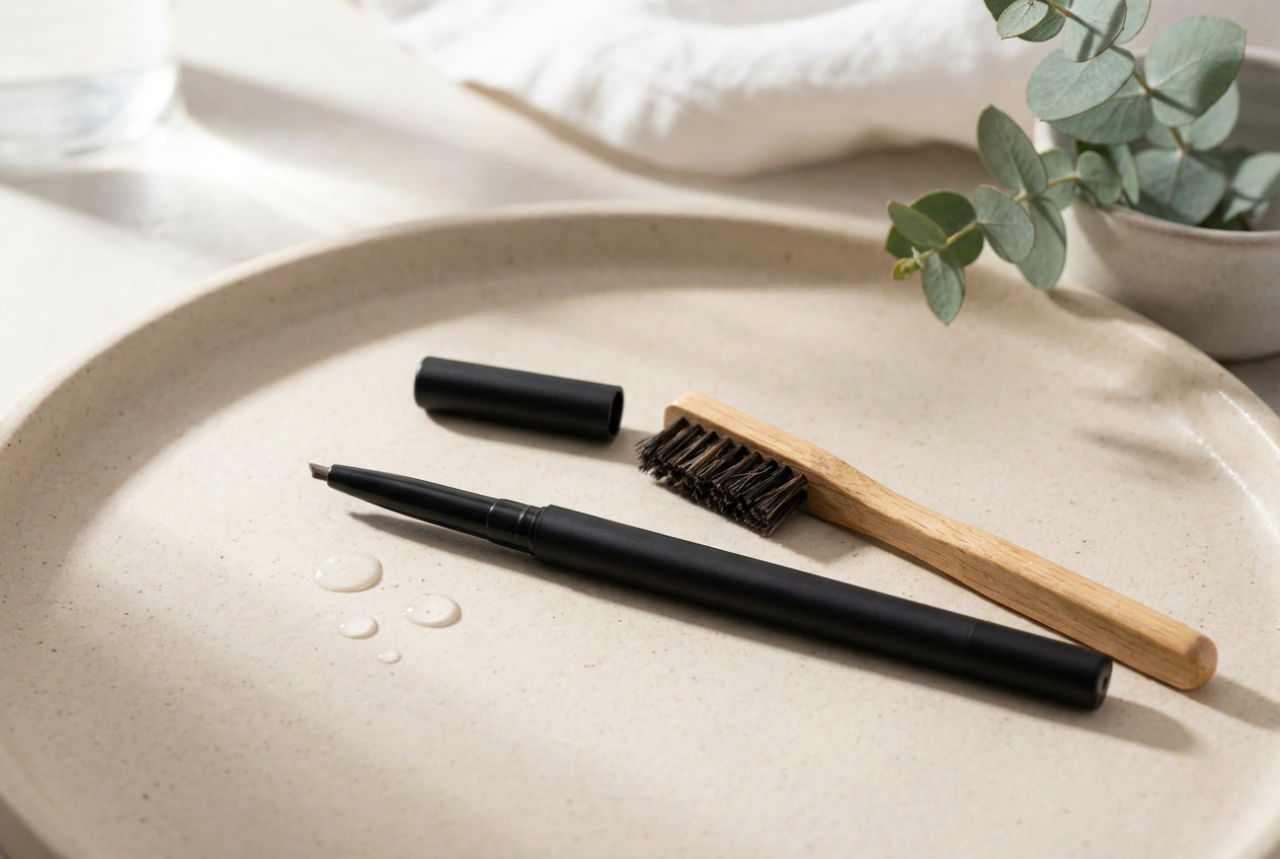
Wand Shapes and Materials
The applicator wand plays a crucial role in preventing clumps.
- Traditional Bristle Wands: These are great for building volume, as the dense bristles pick up a lot of product. They are effective for creating a fuller, more dramatic look.
- Silicone or Rubber Wands: These wands typically have shorter, more widely spaced bristles. They excel at separating lashes and providing a clean, defined application, making them a great choice for avoiding clumps.
- Curved Wands: Designed to mimic the natural curve of your lash line, these wands help to lift and curl the lashes as you apply.
The Perfect Application Technique
The way you apply mascara is the most critical factor in achieving a clump-free finish. A rushed application is the primary cause of 'spider legs' and smudges. Take your time and follow a structured approach.
Step 1: Remove Excess Product
Before the wand touches your lashes, wipe off any excess mascara on the lip of the tube. A heavily loaded wand is the number one cause of clumps. You want a thin, even coat of product on the bristles, not a large glob at the tip.
Step 2: The Wiggle at the Base
To build volume and ensure every lash is coated from root to tip, start by placing the wand at the very base of your upper lashes. Gently wiggle the wand back and forth. This technique deposits the majority of the product at the roots, which creates the illusion of a fuller lash line (similar to eyeliner) and prevents the tips from becoming heavy and clumpy.
Step 3: Sweep to the Tips
After wiggling at the base, slowly pull the wand straight up through the rest of your lashes to the tips. A slow, steady motion helps to coat each lash evenly and separate them as you go. For the outer lashes, angle the wand outwards to create a fanned-out, cat-eye effect. For the inner corner lashes, use the tip of the wand for a more precise application.
Step 4: Layering Smartly
If you desire more volume or length, a second coat can be applied. The key is to wait a moment—about 30 seconds—for the first coat to become slightly tacky but not completely dry. Applying a second coat to wet mascara will just move the product around and cause clumps. If you wait until it's fully dry, the new layer may flake off. Repeat the wiggle-and-sweep technique for your second coat.
Post-Application Tricks for a Flawless Finish
Even with the best technique, a small clump can occasionally appear. Don't worry; there are simple ways to fix it without starting over.
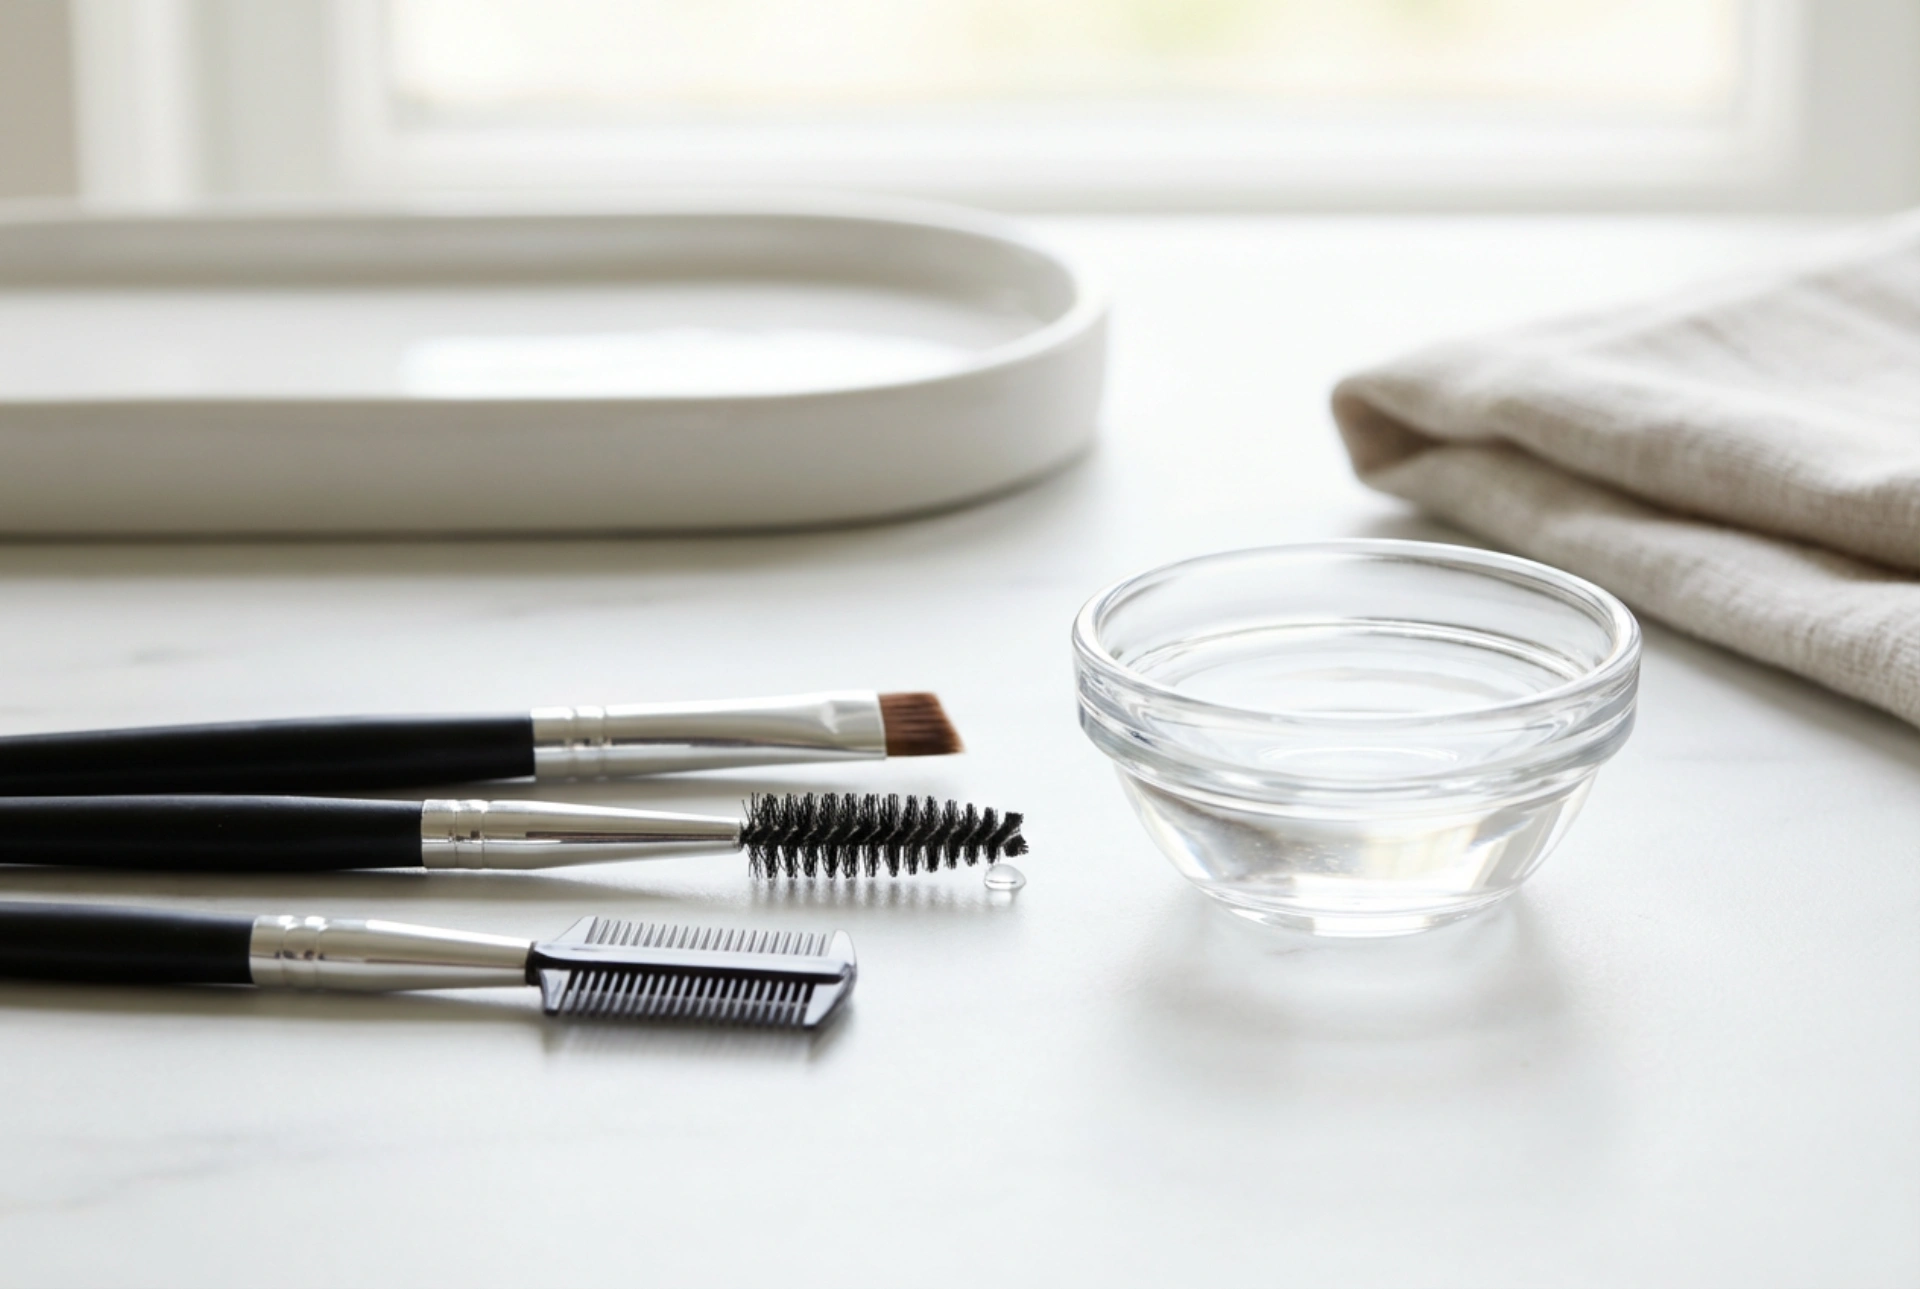
- Use a Clean Spoolie or Lash Comb: While the mascara is still slightly wet, gently comb through your lashes with a clean, dry spoolie brush or a dedicated metal lash comb. This will instantly separate any lashes that have stuck together and remove excess product.
- Fixing Smudges: If you get a smudge on your eyelid or under-eye area, let it dry completely. Once dry, take a dry cotton bud and gently flick it away. The dried mascara will come off as a tiny speck of powder without smearing your makeup.
By following these steps—from preparation to application and final touch-ups—you can consistently achieve perfectly defined, long, and clump-free lashes. A little patience and the right technique are all it takes to elevate your mascara game for a polished and beautiful result.