


Achieving a durable and elegant manicure that lasts for weeks is a goal for many beauty enthusiasts. Acrylic nails are a popular choice for their strength and versatility, allowing for added length and a perfect canvas for nail art. While often associated with salon visits, with the right technique and patience, it is possible to create a beautiful acrylic manicure at home. This guide will walk you through the essential steps, from preparing your natural nails to the final filing and finishing touches, ensuring a polished and long-lasting result.
Step 1: Meticulous Nail Plate Preparation
Proper preparation is the foundation of a successful and long-lasting acrylic manicure. Skipping these steps can lead to lifting and prevent the acrylic from adhering correctly. The goal is to create a clean, dry, and slightly textured surface for the product to bond to.
- Clean and Sanitise: Begin by washing your hands thoroughly. Cleanse your nails and the surrounding skin with a nail-specific sanitising spray or wipe to remove any oils and bacteria.
- Cuticle Care: Gently push back your cuticles using a wooden or metal cuticle pusher. It is important not to cut the live tissue, as this can lead to discomfort. The aim is to reveal the full nail plate and create a clean baseline for the acrylic application.
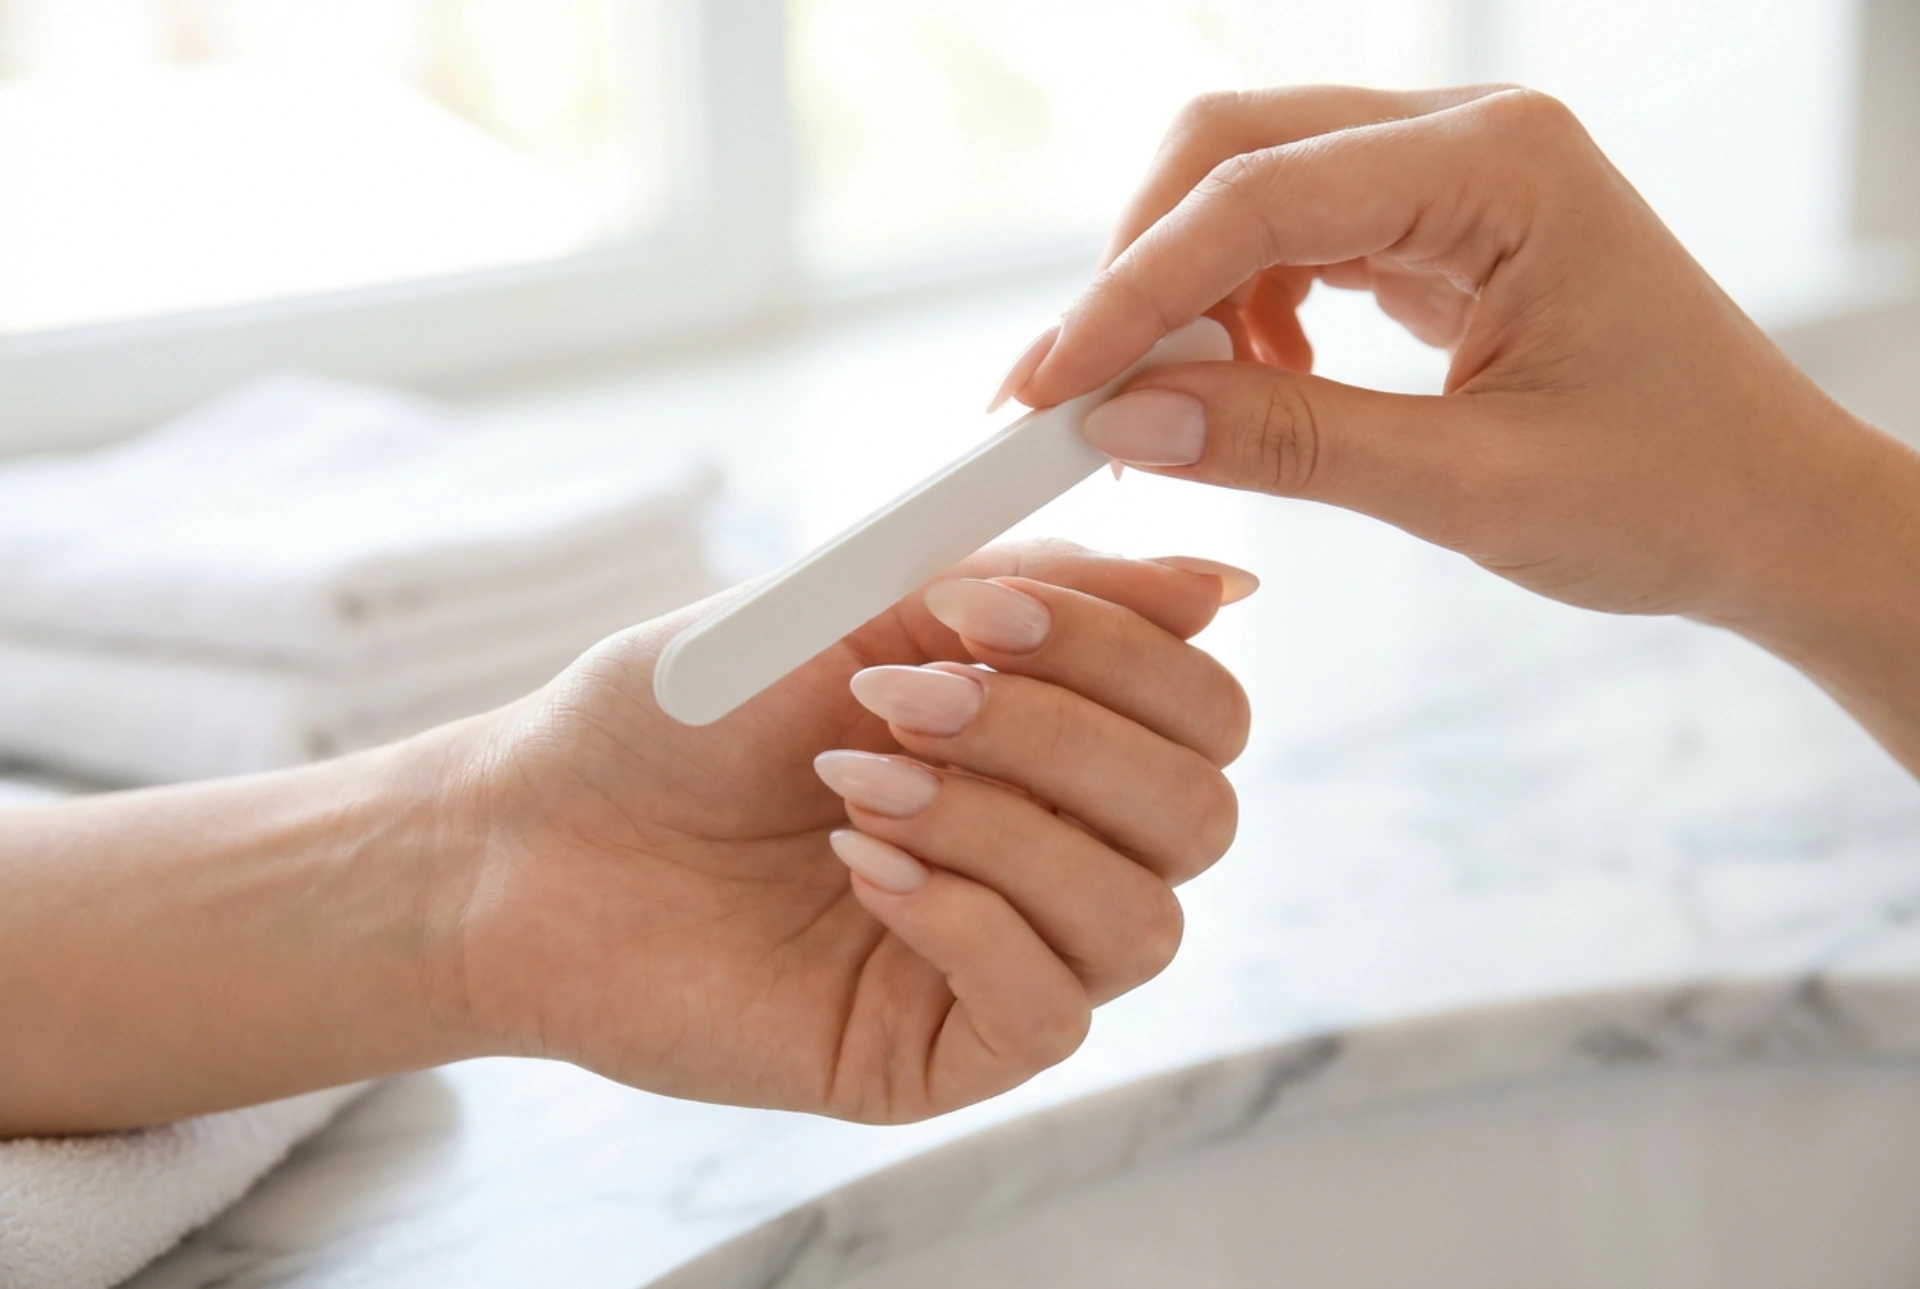
- Shape the Natural Nail: Trim and file your natural nails to a short, uniform length. This provides a stable base for the acrylic extension.
- Buff the Surface: Using a fine-grit buffer, gently remove the shine from the entire surface of your nail plate. The goal is to create a subtle texture, not to thin the nail. Be very gentle and use light strokes. After buffing, remove all dust with a stiff nail brush.
- Dehydrate and Prime: Apply a nail dehydrator to the entire nail surface to remove any remaining moisture and oils. Follow this with a nail primer, applying it sparingly according to the product's instructions. Primer acts as a double-sided tape, helping the acrylic adhere securely to the natural nail.
Step 2: Building the Acrylic Nail
This is the most technical part of the process and requires practice to master. Working in a well-ventilated area is essential. The process involves combining a liquid monomer and a polymer powder to create a malleable bead that is then shaped into a nail.
Creating the Perfect Bead
Pour a small amount of liquid monomer into a dappen dish. Dip your acrylic brush into the liquid, ensuring the bristles are saturated, then wipe one side of the brush on the edge of the dish to remove excess. Next, gently drag the tip of the brush through the acrylic powder until a small, round bead forms on the end. The ideal bead should be firm and glossy, not too wet (runny) or too dry (powdery).
Application and Shaping
Place the acrylic bead on the nail, slightly away from the cuticle area. Using the body of the brush, gently press and pat the bead into place, guiding it to cover the nail plate and form the desired length and shape. You will typically work with two or three beads per nail: one near the free edge to build length, one in the middle to build the apex (the highest point of the nail, which provides strength), and a smaller one near the cuticle. Blend each bead seamlessly into the next. Work quickly but deliberately, as the acrylic begins to harden as soon as the liquid and powder are mixed.
Step 3: Filing and Shaping for a Flawless Finish
Once the acrylic has fully hardened (it will make a clicking sound when tapped), it's time to refine the shape. This filing stage transforms the rough structure into a smooth and elegant nail.
- Define the Shape: Use a medium-grit file (around 100/180 grit) to shape the sidewalls and the free edge. Whether you prefer a square, almond, or coffin shape, focus on creating crisp, clean lines.
- Refine the Surface: Switch to the finer side of your file or a separate fine-grit file to smooth the entire surface of the nail. Pay special attention to the cuticle area, filing it flush with the natural nail for a seamless grow-out. Create a smooth, even curve from the cuticle to the tip.
- Buff to Perfection: Use a buffer block to smooth out any remaining scratches from the file. Progress from the coarsest side of the buffer to the finest, until the nail surface is completely smooth and free of imperfections.
Step 4: Finishing Touches and Aftercare
The final step is to add shine and hydrate the surrounding skin. Apply a high-gloss top coat over the entire nail to protect the acrylic and give it a brilliant shine. Cure if necessary, depending on the type of top coat used. Once finished, apply a generous amount of cuticle oil to the skin around the nails and massage it in. This rehydrates the skin after exposure to the chemicals and filing process. To maintain your acrylics, be mindful of using your nails as tools and moisturise your cuticles daily.


