


Achieving a salon-quality manicure at home is more accessible than ever, thanks to tools like the electric nail file, also known as a nail drill. This device can help you shape your nails, manage cuticles, and remove old polish with precision and speed. However, choosing the right one and learning to use it safely is crucial for protecting the health of your nails. This guide will walk you through the essential features to look for in a nail drill and the correct techniques for using it effectively and safely in your own home.
What to Look for in a Nail Drill for Home Use
When you're ready to invest in a nail drill, it's easy to get overwhelmed by the options. Focusing on a few key features will help you select a device that is both effective and suitable for a beginner. The goal is to find a tool that offers control and precision without being overly powerful for non-professional use.
Power and Speed Control (RPM)
RPM stands for 'revolutions per minute' and indicates how fast the drill bit spins. For home use, a drill with a maximum speed of around 15,000 to 20,000 RPM is more than sufficient. Anything higher is designed for professional salon settings and can be difficult to control without proper training. The most important feature is adjustable speed. The ability to start at a very low speed and gradually increase it as you gain confidence is essential for preventing nail damage.
Forward and Reverse Rotation
A bi-directional motor that allows you to switch between forward and reverse rotation is incredibly useful. This feature makes it easier to work on both your right and left hands comfortably. It allows you to file in different directions without having to awkwardly twist your wrist, ensuring a smoother and more even finish on every nail.
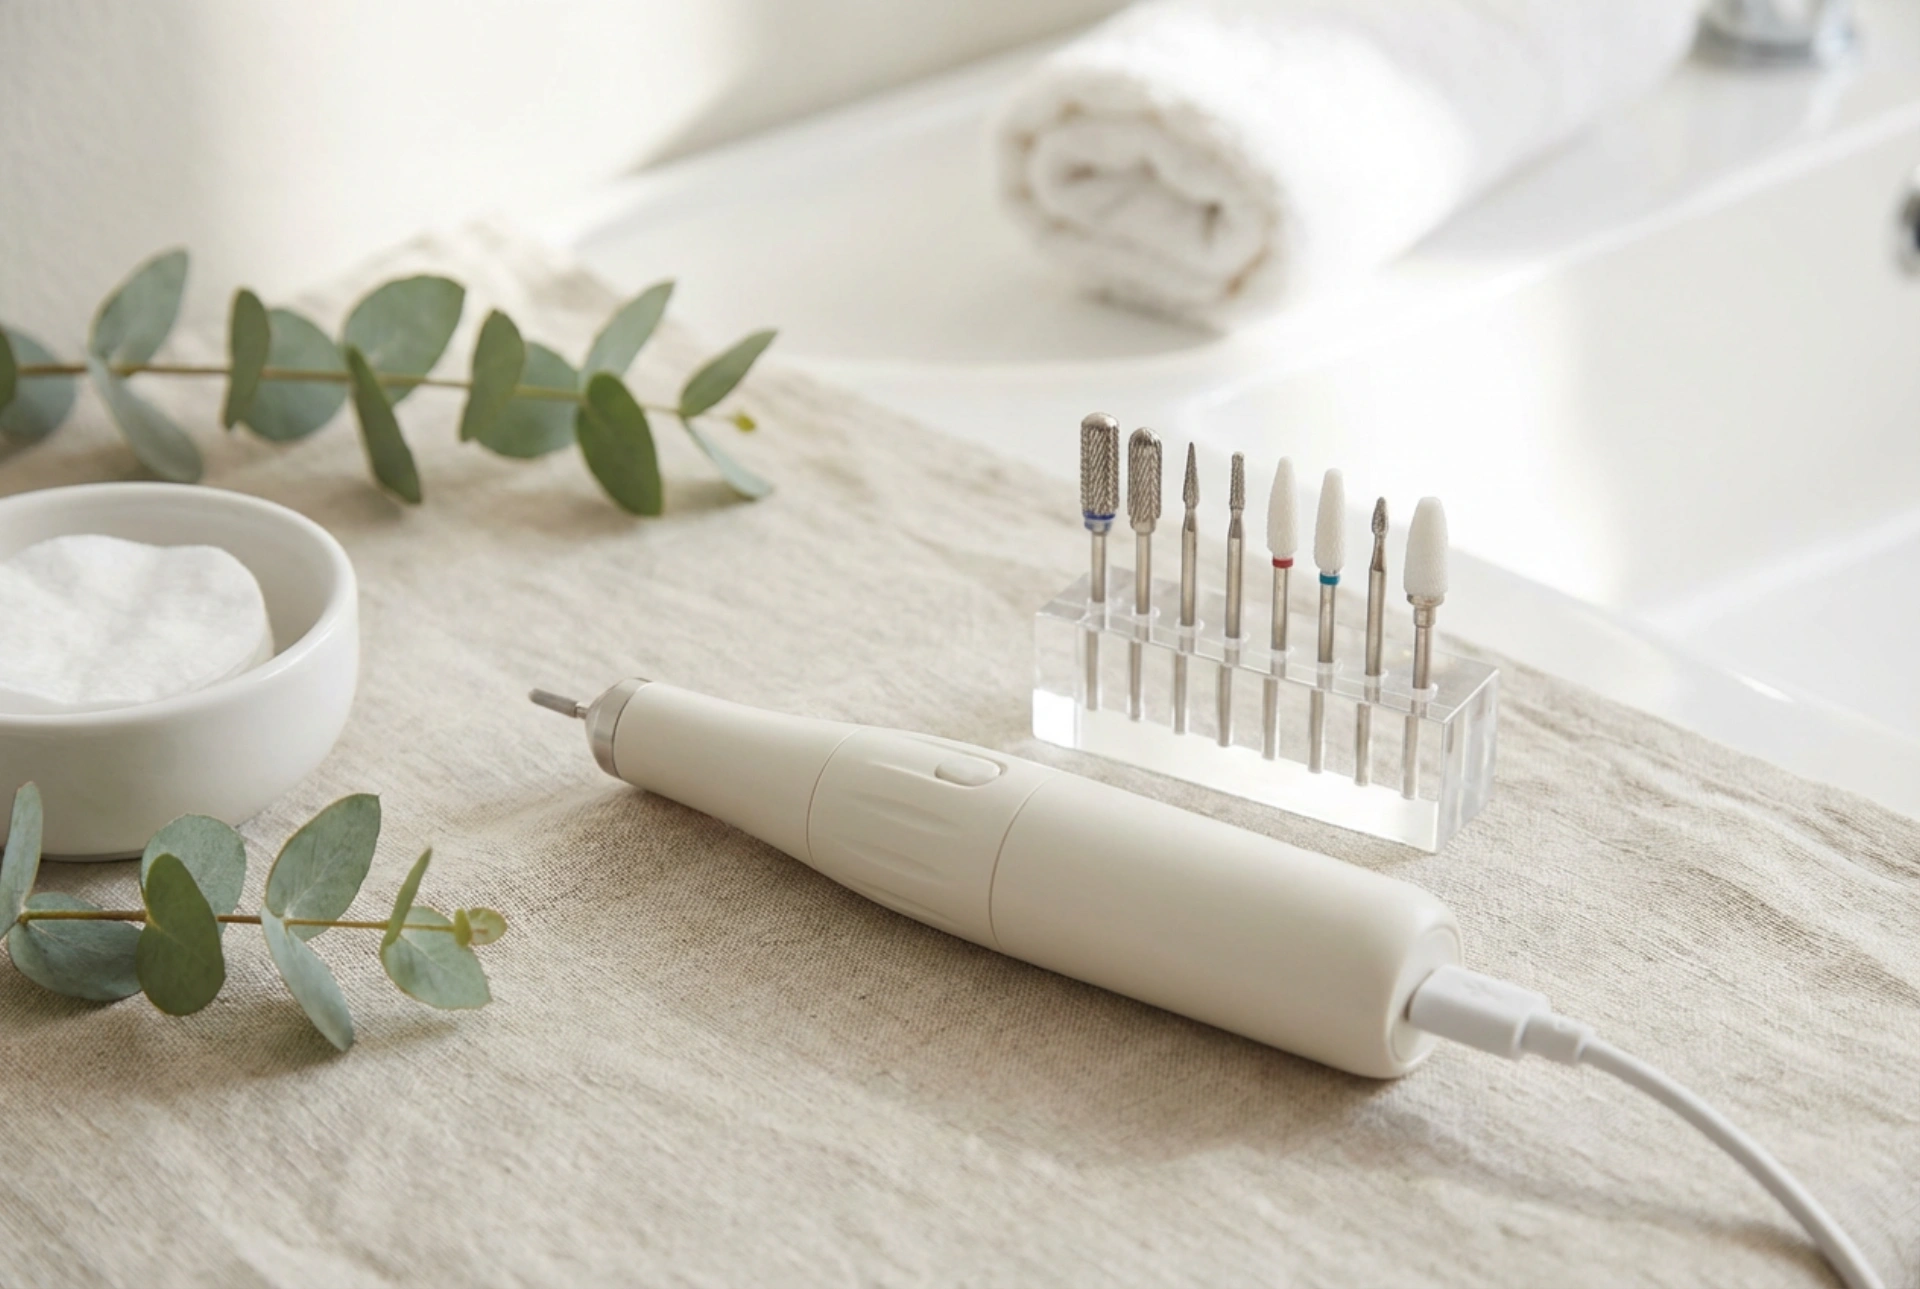
Drill Bits and Attachments
Nail drills come with a variety of interchangeable attachments, or bits, each designed for a specific purpose. For home use, a basic set is all you need. Look for a kit that includes:
- A Mandrel Bit: This is used with single-use sanding bands to shorten, shape, and smooth the nail surface.
- A Cone-Shaped Bit: Ideal for gently cleaning around the cuticle area and under the nail.
- A Barrel or Cylinder Bit: Used for working on the surface of the nail, such as buffing or removing layers of gel polish.
- A Ball-Tipped Bit: Good for precise cuticle work and cleaning up side walls.
A Guide to Using Your Nail Drill Safely
Once you have your nail drill, practice and patience are key. Always prioritise the health of your natural nail plate by following safe practices. Work in a well-lit and well-ventilated area to see clearly and avoid inhaling dust.
Start Slow and with No Pressure
Always begin with the drill on its lowest possible speed setting. You can slowly increase the speed as you become more comfortable, but for natural nails, a low-to-medium setting is all you'll ever need. Let the spinning bit do the work for you; never apply firm pressure to the nail. Pressing down can cause friction, heat, and significant damage, including rings of fire—red, painful marks on the nail bed.
Keep It Moving
Never hold the spinning bit in one spot on the nail. Keep the handpiece moving in a consistent, even motion across the nail surface. This prevents heat build-up and avoids creating dips or uneven patches. When filing the surface, work from side to side. When shaping the free edge, move the drill in one direction to create a clean line.
Maintain Proper Hygiene
Cleanliness is essential for preventing the transfer of bacteria. After every use, turn off and unplug the drill. Use a small, stiff brush to remove all dust and debris from each drill bit. You can then clean the bits with a suitable cosmetic tool disinfectant according to the product's instructions. Allow them to dry completely before storing them away. Store your drill and its attachments in a clean, dry case to protect them from dust and damage.