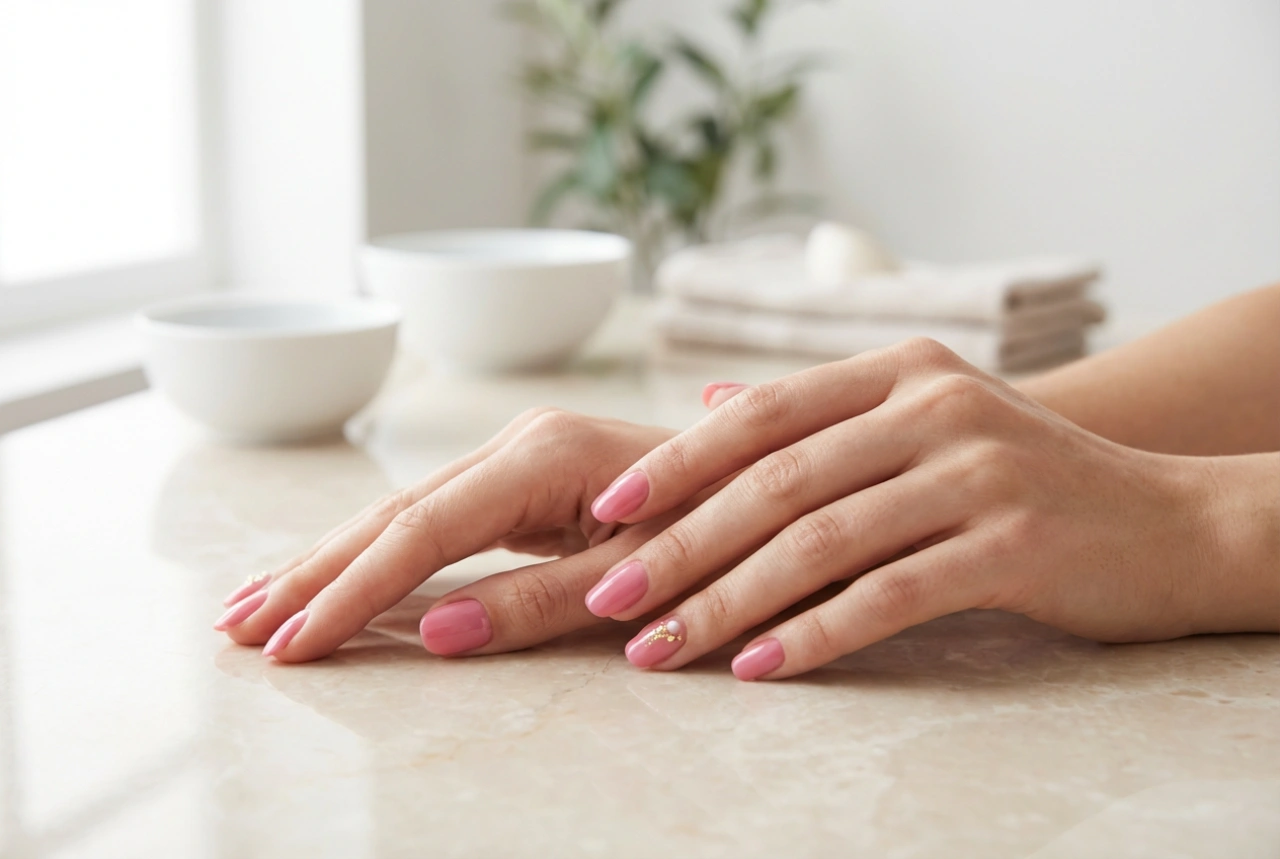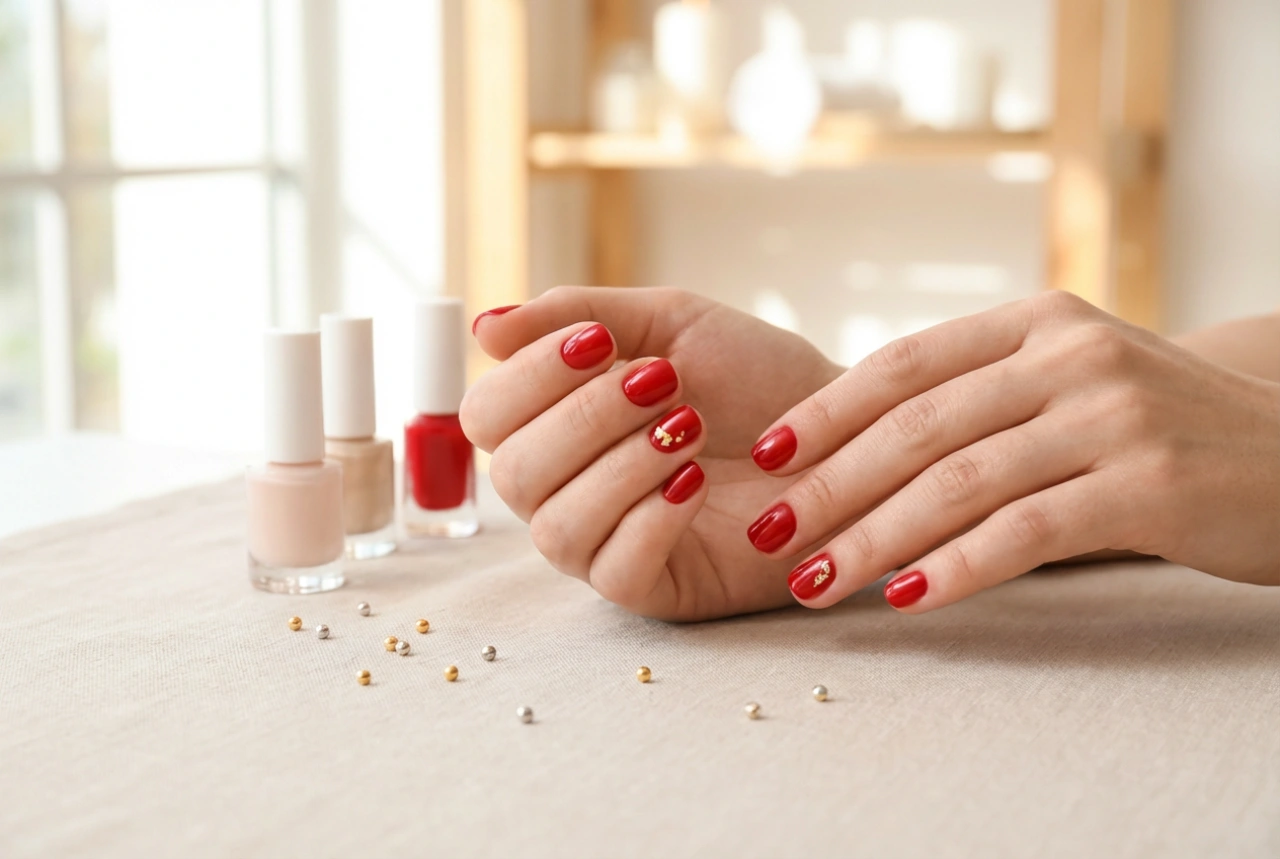


The milky square nail trend embodies a refined and understated elegance. This look, characterised by its soft, semi-translucent white finish and clean, geometric shape, offers a sophisticated alternative to both stark white and traditional sheer manicures. Achieving this pristine and luminous aesthetic at home is entirely possible with the right techniques and a little patience. This guide will walk you through creating the perfect square shape and applying a flawless milky polish for a manicure that looks effortlessly chic.
The Art of Shaping Square Nails
The foundation of this look is a perfectly executed square nail shape. It provides a modern canvas for the soft milky colour, creating a beautiful contrast between sharp lines and gentle tones.
Preparing Your Nails
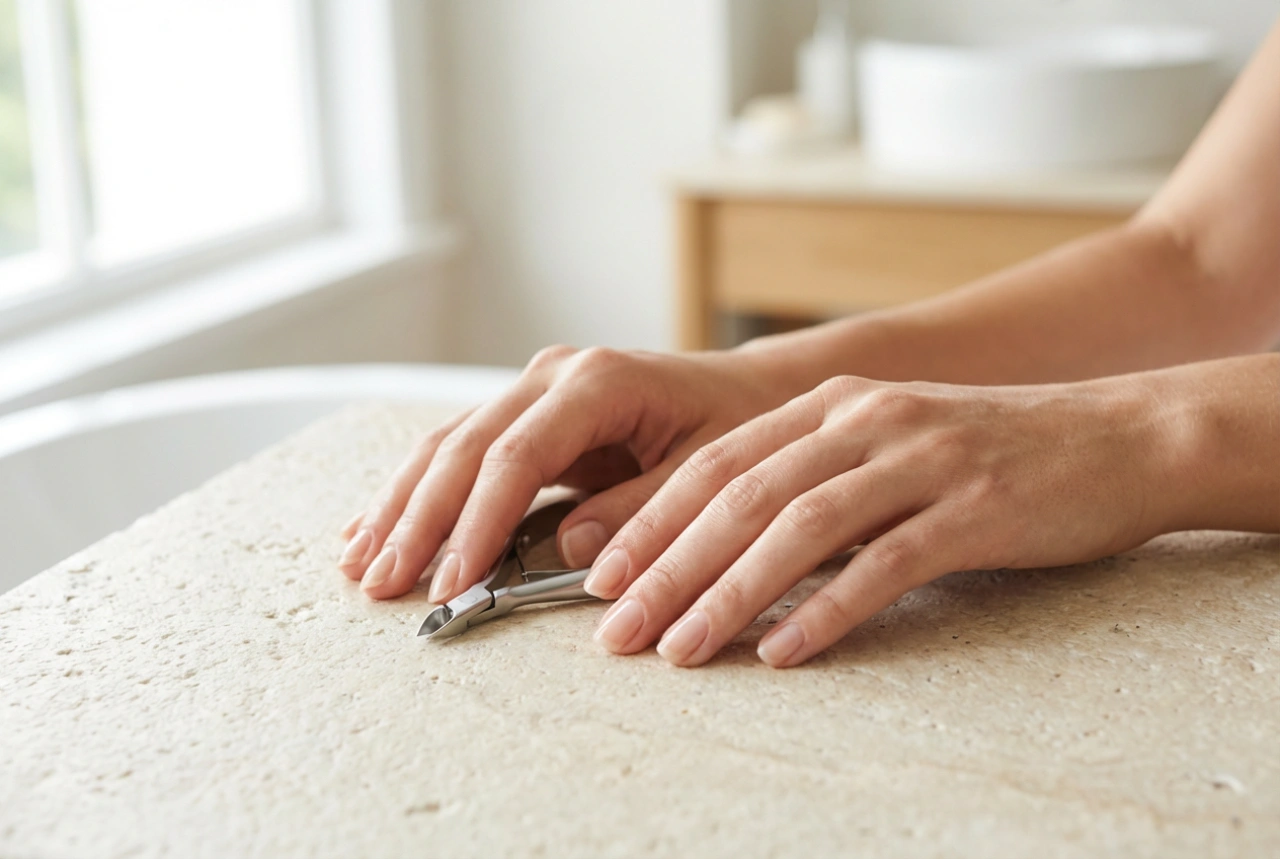
Before you even pick up a file, proper preparation is essential. Start by thoroughly cleansing your hands and nails to remove any oils or dirt. Gently push back your cuticles using a wooden or soft-tipped cuticle pusher; avoid cutting them as they serve as a protective barrier for your nail bed. Lightly buff the surface of each nail with a fine-grit buffer. This simple step removes any natural oils and creates a smooth, even texture for the polish to adhere to, which is crucial for a long-lasting manicure.
Filing for a Crisp Square
For a true square shape, precision is key. Using a good quality nail file will make the process much easier and give you cleaner results.
- Hold the file perpendicular to your nail's free edge. File straight across in one direction, from the outer edge towards the centre. Avoid a harsh back-and-forth sawing motion, as this can cause the nail to split or fray.
- Once you have a straight, flat top, position the file parallel to the sides of your nail. File these straight, ensuring they are perfectly parallel to each other to create a symmetrical and balanced square shape.
- Finally, very gently soften the two sharp corners with just one or two light swipes of the file. This small adjustment will prevent them from catching on fabrics and make the nail shape more durable for everyday wear.
Mastering the Milky Polish Application
The key to the 'milky' look is its delicate, see-through quality. This requires a specific type of polish and a careful application method to avoid the streaks and patchiness that can often occur with light-coloured polishes.
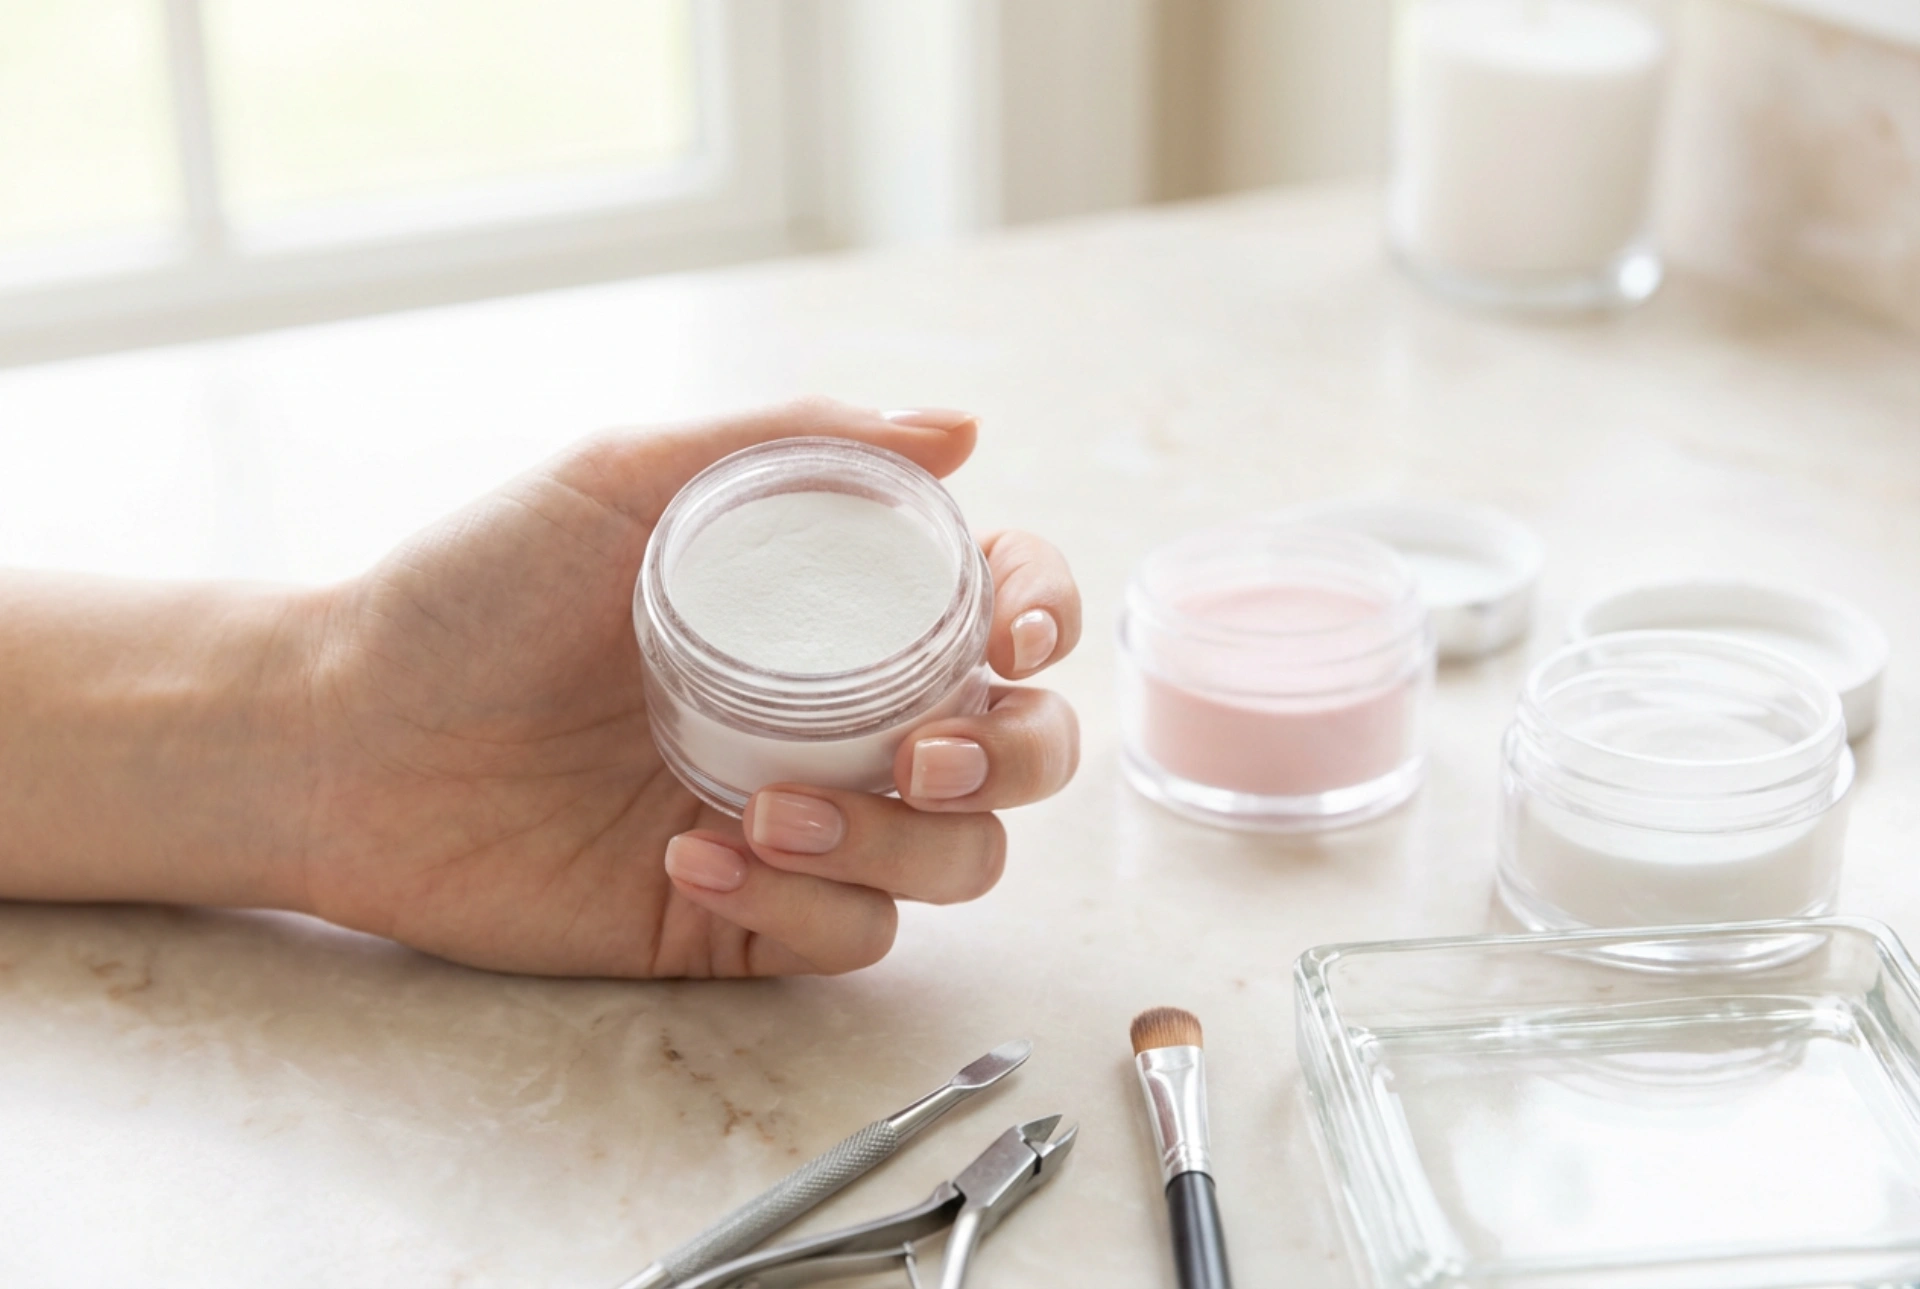
Choosing the Ideal Polish
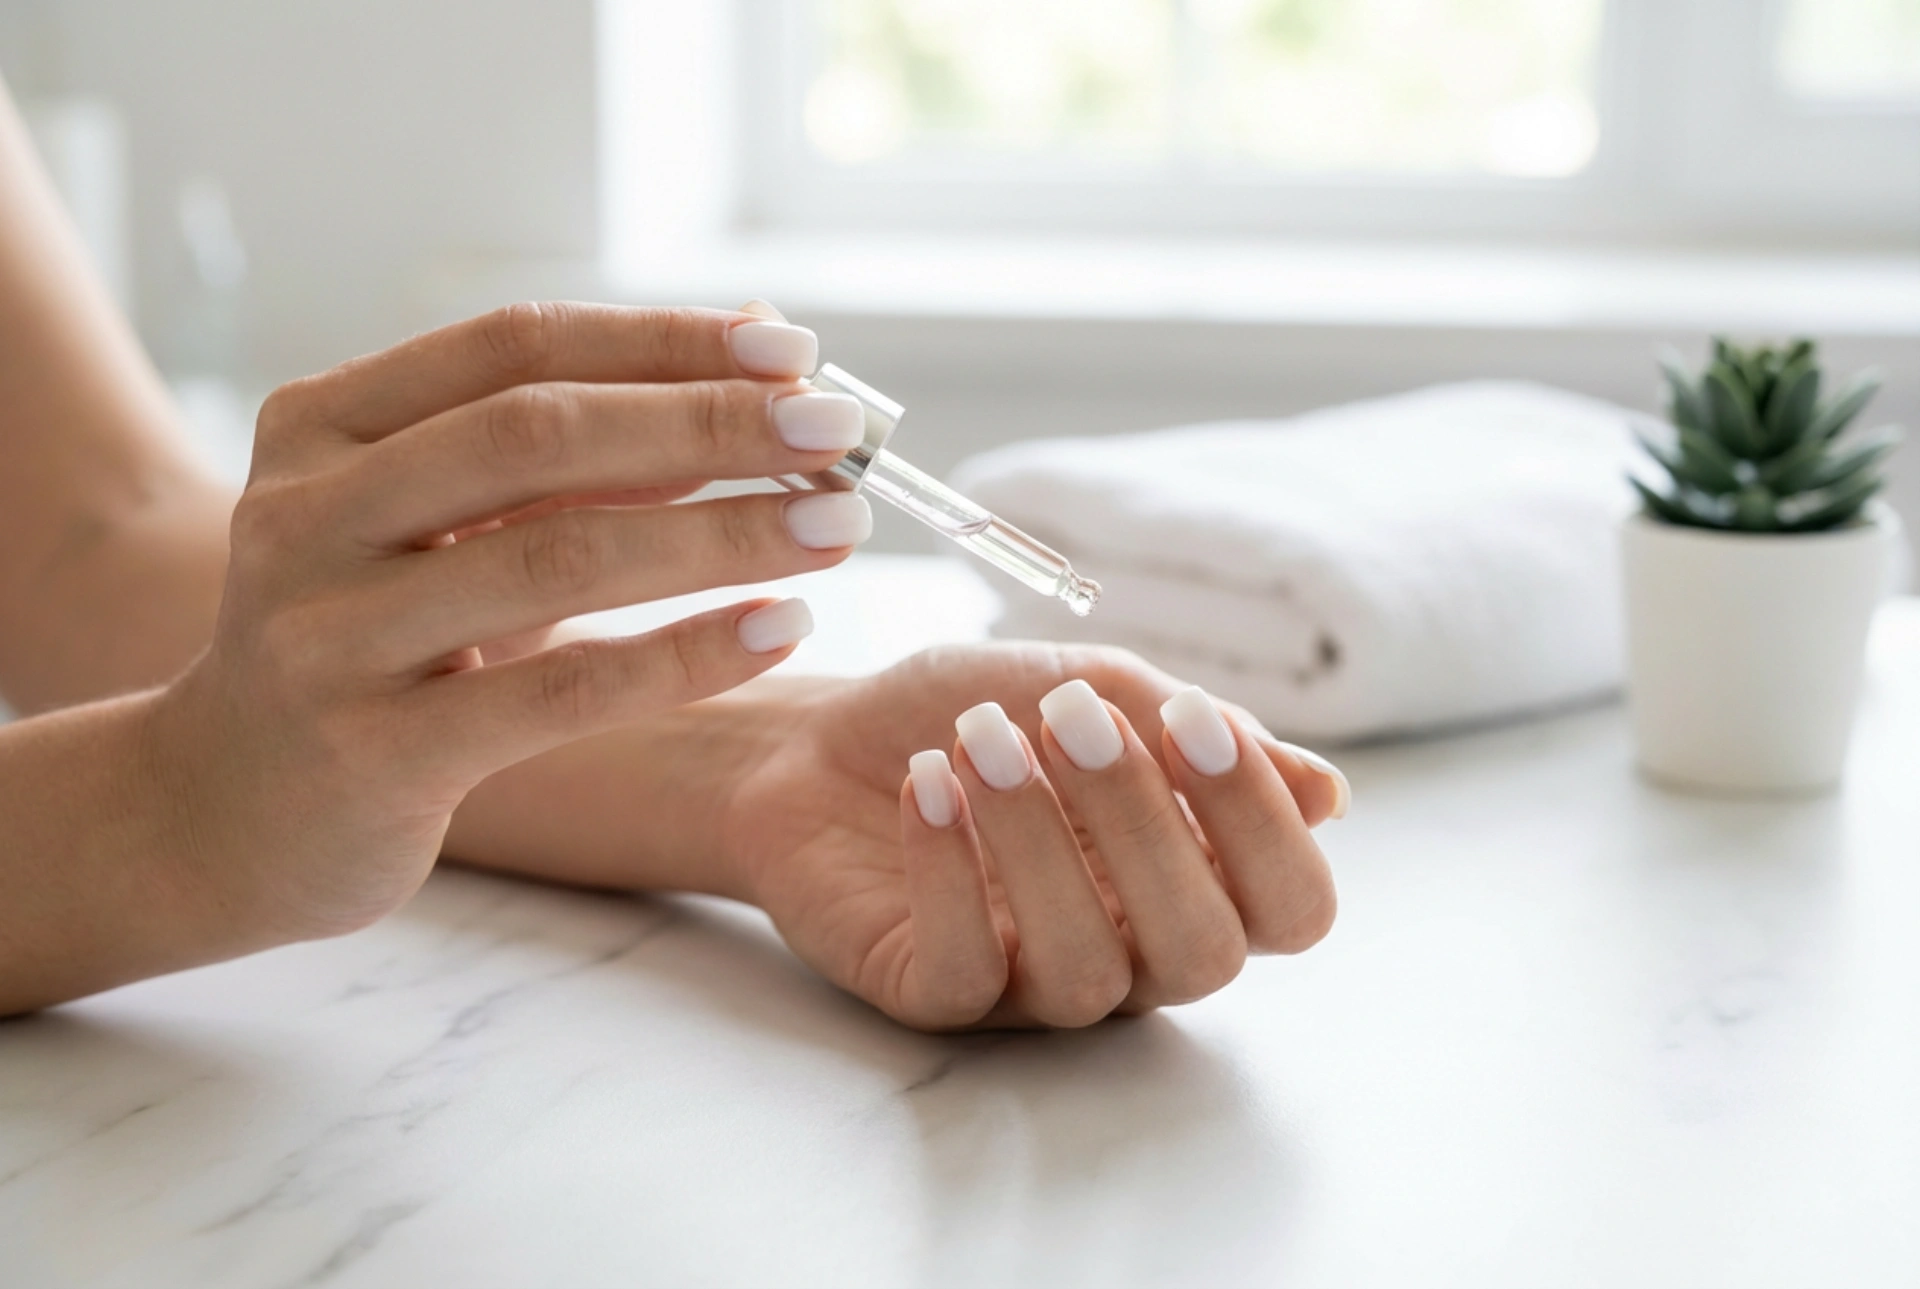
Look for a nail polish specifically described as 'milky', 'sheer white', or 'semi-translucent'. Unlike an opaque white polish, this formula is designed to be buildable. The goal is to create a soft, cloud-like effect where the natural tip of your nail might still be faintly visible through the layers, adding depth and a natural-looking dimension to the manicure.
A Step-by-Step Guide to a Flawless Finish
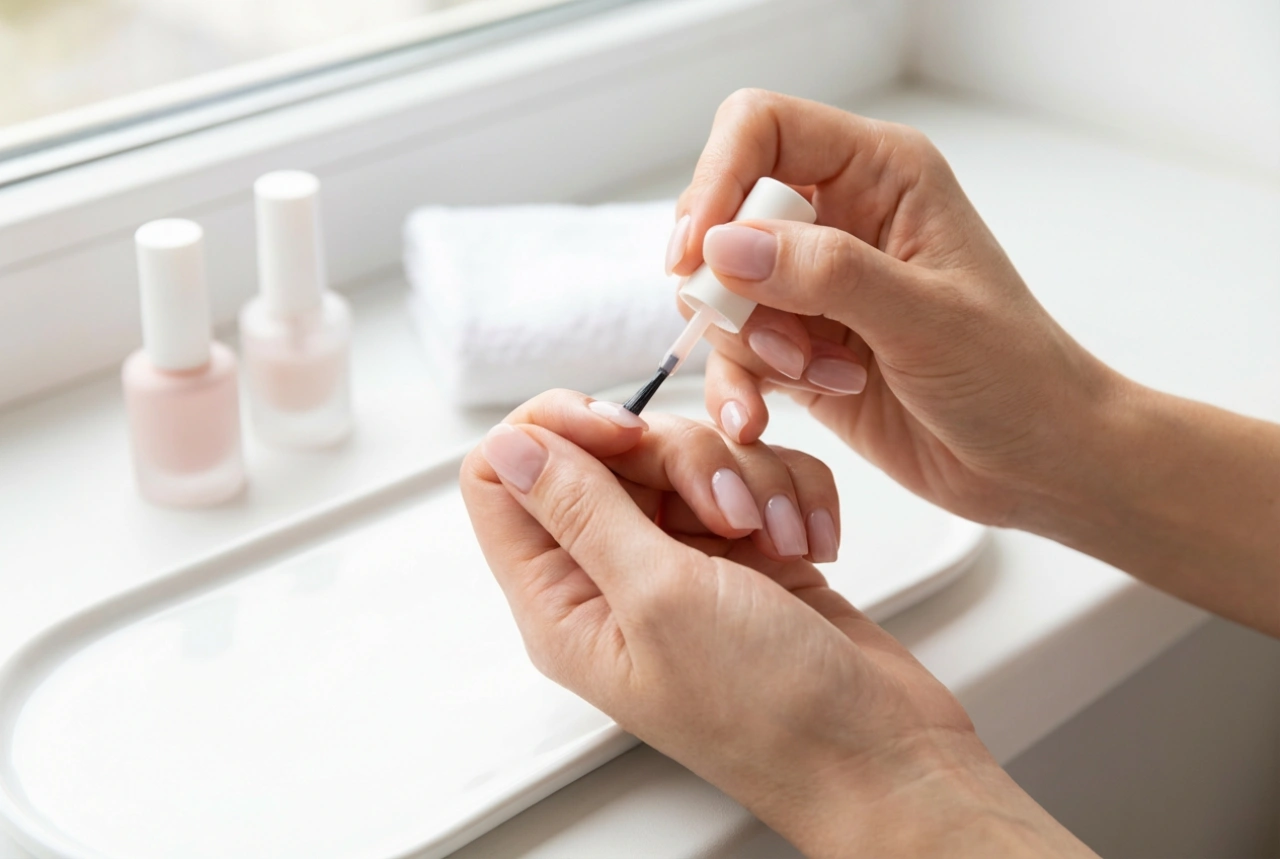
Patience and thin coats are your best friends when aiming for a professional-looking milky manicure. Rushing the process will lead to a thick, uneven result.
- Start with a Base Coat: Always apply a thin layer of a quality base coat. This protects your natural nails from potential staining and provides a smooth, grippy surface for the colour to adhere to.
- Apply the First Coat: Apply your first coat of milky polish in thin, even strokes from the cuticle to the tip. It will likely look very sheer and possibly streaky – this is completely normal. Do not be tempted to apply a thick layer to compensate.
- Build the Colour: Wait for the first coat to dry completely to the touch. This is a critical step to prevent dragging the polish. Apply a second thin coat, which will begin to build the milky opacity and even out the colour. For a more pronounced effect, a third thin coat may be necessary.
- Seal with a Top Coat: Once your final colour coat is dry, apply a high-gloss top coat. This will smooth out any minor imperfections, provide a brilliant, glass-like shine, and create a durable barrier to protect your manicure from chipping.
Essential Aftercare for Lasting Elegance
To keep your milky square nails looking pristine, a little daily care goes a long way. This final step is what maintains that fresh-from-the-salon look. Hydrate your cuticles and the skin around your nails daily with a nourishing cuticle oil. This not only promotes healthy nail growth but also keeps your manicure looking neat and well-maintained. When doing household chores, especially those involving water or cleaning agents, wear protective gloves to prevent the polish from chipping and your nails from becoming brittle. For extra longevity, consider reapplying a thin layer of your top coat every two to three days to refresh the shine and add an extra layer of protection.