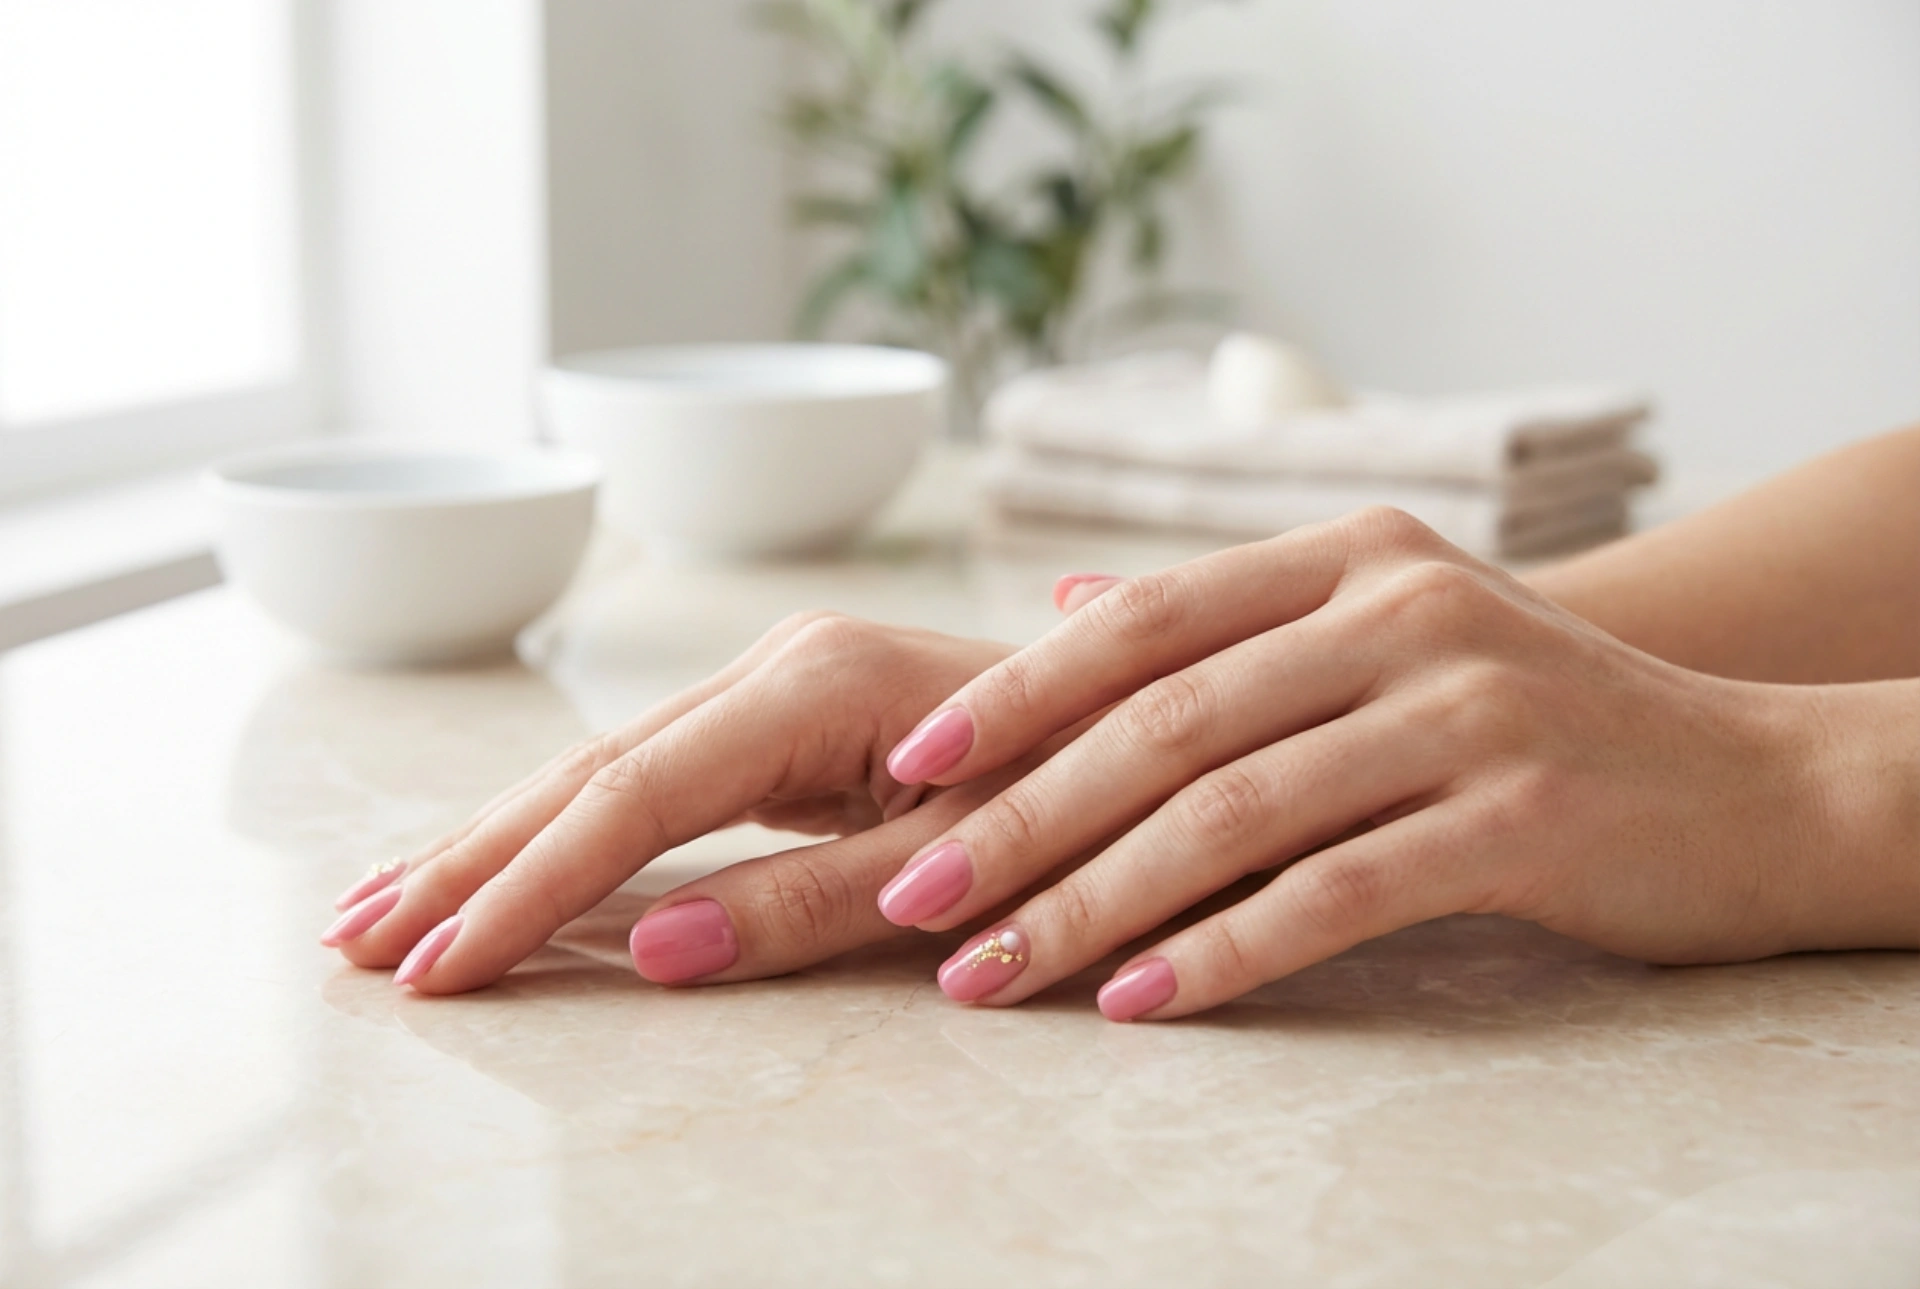


Elegant, well-manicured hands are a universal symbol of personal care and timeless style. When bathed in soft natural light, a delicate pink manicure looks particularly refined, offering a clean, modern beauty aesthetic that complements any wardrobe. While a uniform, solid colour is always classic, adding a subtle accent design to just one nail on each hand is a wonderful way to introduce sophistication without overpowering the overall look. This modern nail art approach brings a touch of creativity to a traditional manicure, allowing you to showcase your personal style in an understated manner. This step-by-step guide will walk you through creating an elegant, pink manicure with a single-nail accent right in the comfort of your home, helping you achieve a professional-looking result with ease.
The Appeal of the Single Accent Nail
The concept of the accent nail—where one nail on each hand features a distinct design or colour—has remained a staple in the beauty world for years. Its longevity lies in its sheer versatility. A full set of intricate nail art can sometimes feel overwhelming or clash with daily professional wear, whereas a single accented nail strikes the perfect balance between playfulness and sophistication. Traditionally, the ring finger is chosen for this highlight, but modern trends also favour the thumb or the index finger for a contemporary twist.
Choosing pink as the primary colour further enhances this delicate aesthetic. Pink is incredibly versatile, ranging from barely-there sheer hues to rich, dusty roses. When paired with a minimalist design, it creates a clean, polished look that flatters all hand shapes and skin tones. It provides a subtle canvas that allows the accent detail to truly shine without looking too busy or distracting.
Selecting the Perfect Shade of Pink
Before beginning your manicure, it is important to choose a pink shade that complements your skin's natural undertones. Selecting the right polish ensures that your hands look bright, healthy, and elegant.
- Cool Undertones: If your skin has cool, pink, or blue undertones, opt for soft pastel pinks, baby pinks, or shades with a subtle blue or lilac base. These colours will harmonise beautifully with your skin.
- Warm Undertones: If your skin has warm, golden, or olive undertones, look for peachy-pinks, warm salmon shades, or dusty rose tones with a hint of beige. These warmer hues will bring out the natural warmth in your hands.
- Neutral Undertones: Those with neutral undertones are fortunate as they can carry off almost any shade. Sheer, milky pinks or classic neutral nudes look exceptionally sophisticated and clean.
The opacity of the polish also plays a significant role in the final look. A sheer, jelly-like pink offers a soft, natural appearance, while a fully opaque cream polish provides a more structured and modern finish. Consider your personal style and the occasion when making your selection.
Inspirational and Safe Accent Designs
The beauty of a single accent nail is that the design does not need to be overly complex to be effective. In fact, the most elegant designs are often the simplest. Here are a few safe and easy ideas that you can recreate at home using basic tools:
- The Minimalist Dot: A single, perfectly placed dot at the base of the nail, near the cuticle line, using a contrasting colour like soft white, metallic gold, or deep rose. This looks incredibly chic and modern.
- Delicate Fine Lines: Using a very thin striping brush to draw a single vertical or horizontal line across the nail. This adds a subtle geometric element that elongates the appearance of the nail.
- Soft Shimmer Fade: Applying a touch of fine, delicate glitter or shimmer polish starting from the tip of the nail and fading downwards, creating a subtle ombre effect.
- Contrast Matte Finish: Painting the accent nail in the exact same pink shade as the rest of the hand, but finishing it with a matte top coat while the other nails remain glossy. This tactile contrast is sophisticated and modern.
Step-by-Step Guide to the Pink Accent Manicure
Achieving a flawless home manicure requires patience and the correct preparation. Follow these steps to create a beautiful pink manicure with a delicate accent design.
Step 1: Preparation is Key
Begin by removing any old polish with a gentle, acetone-free remover. File your nails into your preferred shape—oval, squoval, or almond shapes work exceptionally well with pink polish. Gently push back your cuticles using a wooden manicure stick. Avoid cutting the cuticles, as they protect the nail bed from impurities. Wipe the nail plates with a lint-free pad to remove any natural oils, ensuring the polish adheres perfectly.
Step 2: Apply the Base Coat
Never skip the base coat. It serves multiple purposes: it protects your natural nail from staining, smooths out any ridges on the nail plate, and provides a tacky surface for the colour polish to grip, which significantly extends the life of your manicure. Apply a thin, even layer and allow it to dry completely.
Step 3: Apply the Pink Polish
Apply your chosen pink polish to all nails except the designated accent nails, or apply it to all nails if your accent design sits on top of the pink base. For a streak-free finish, apply the polish in three thin strokes: one down the centre, and one on each side. It is always better to apply two thin coats rather than one thick coat, as thin layers dry faster and are much less prone to bubbling or chipping. Allow the first coat to dry for a few minutes before applying the second.
Step 4: Create the Accent Design
Once the base colour is dry to the touch, it is time to create your subtle design on the selected accent nail. If you are creating a minimalist dot, dip the tip of a bobby pin or a dotting tool into your accent colour and press it gently onto the nail. For fine lines, use a thin brush with a steady hand. If you make a small mistake, you can gently correct it using a clean brush dipped in a tiny amount of polish remover. Keep the design clean and simple to maintain an elegant aesthetic.
Step 5: Lock it in with Top Coat
Once your accent design has dried for a couple of minutes, seal the entire manicure with a high-quality top coat. This step is crucial as it blends the design smoothly into the base colour, adds a beautiful glossy shine, and protects your artwork from daily wear and tear. Be sure to cap the free edge of each nail by running the brush along the very tip to prevent chipping.
Maintaining Your Beautiful Manicure
To keep your hands looking elegant and your manicure fresh for as long as possible, incorporate a few simple habits into your daily routine. Apply a nourishing cuticle oil every evening to keep the skin around your nails hydrated and healthy. Moisturise your hands regularly, especially after washing them. When performing household chores or washing dishes, wear protective gloves to shield your nails from hot water and harsh detergents. This simple step will significantly prolong the life of your home manicure, keeping your elegant pink accent nails looking perfect for days to come.




