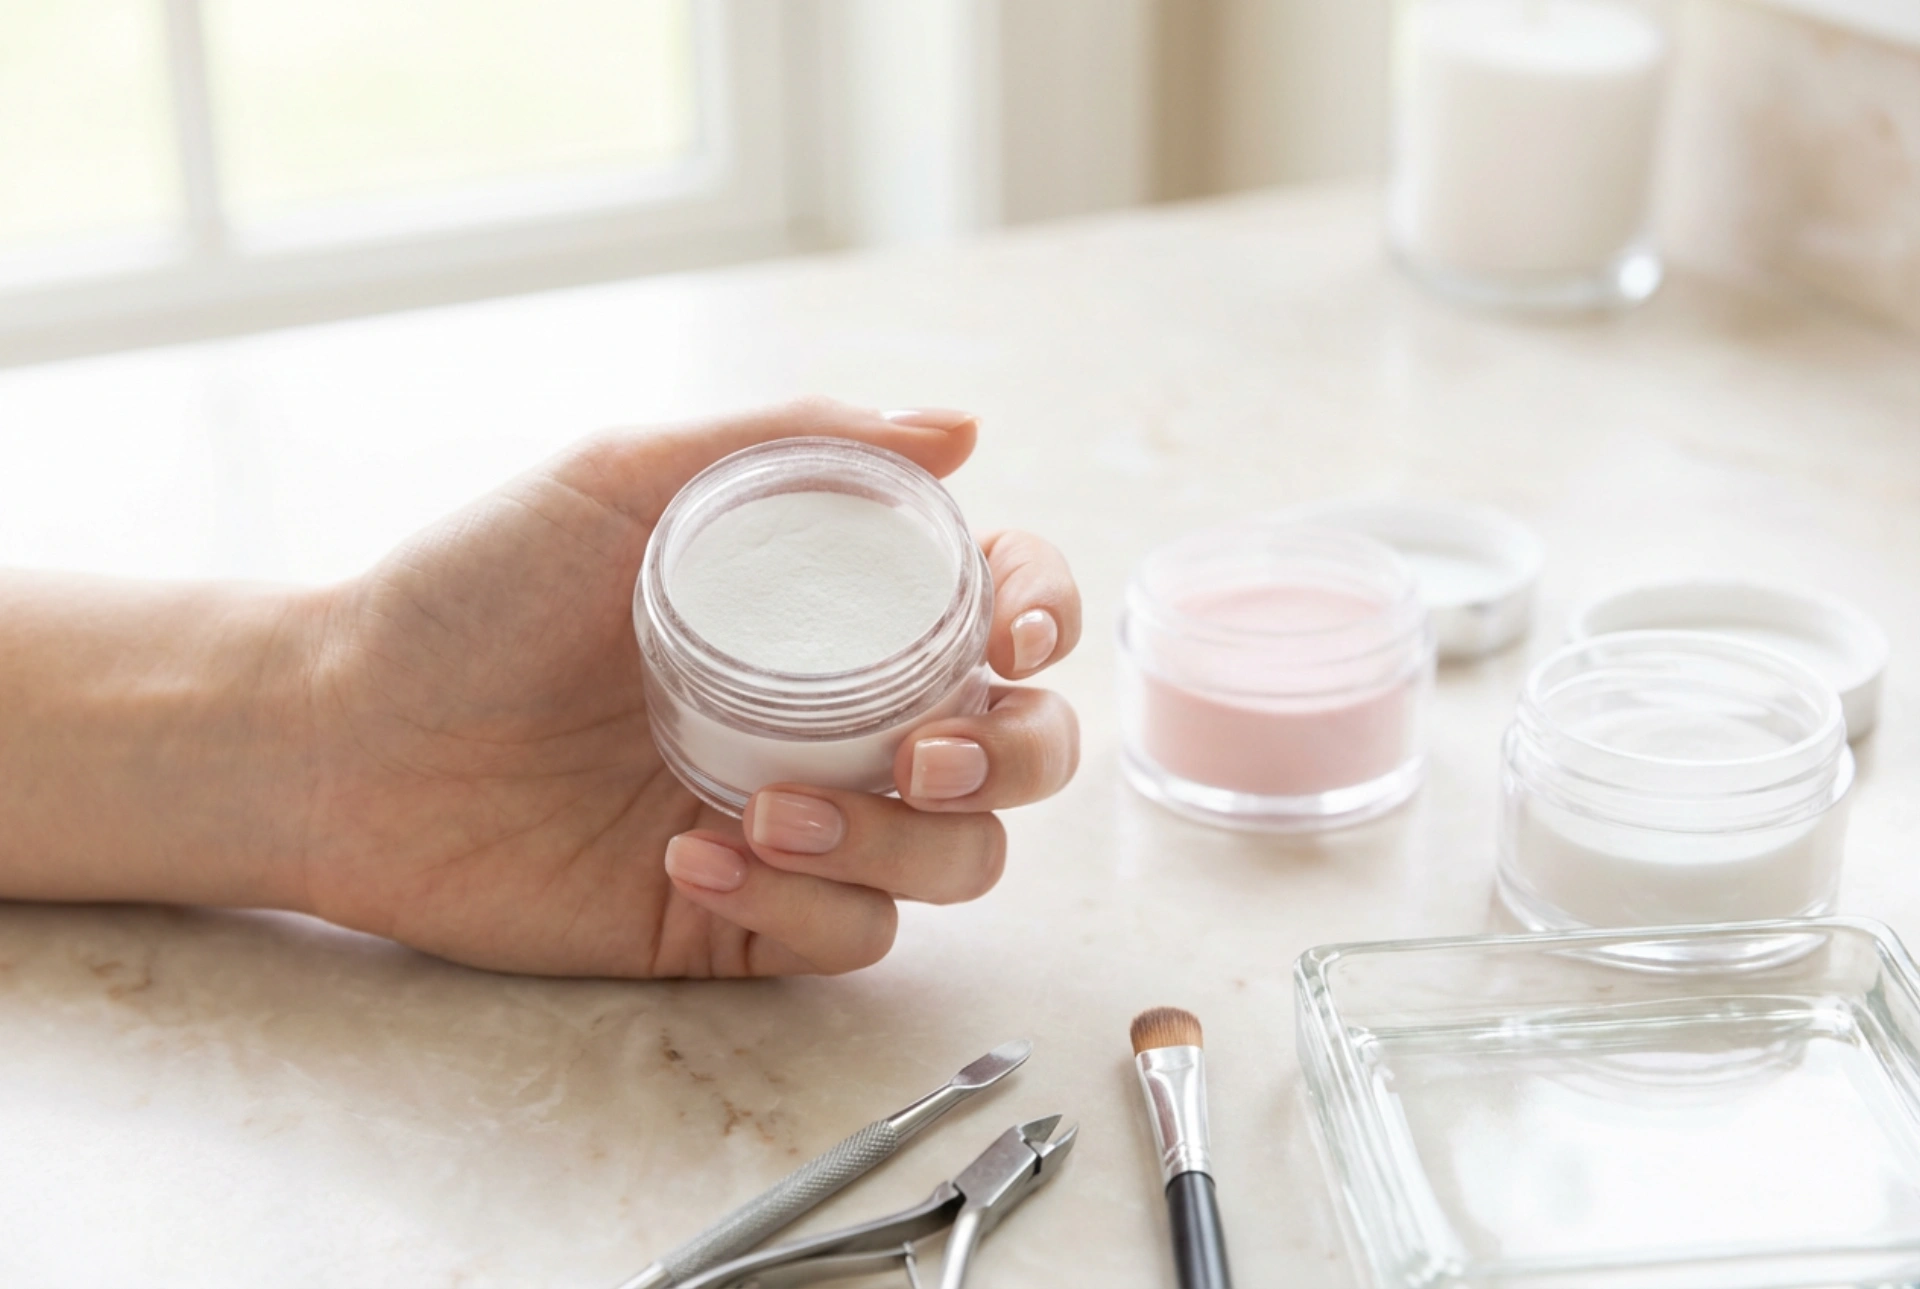


Achieving a professional-looking, long-lasting manicure at home has never been easier, thanks to the rise of innovative dip powder nail systems. Often admired for their exceptional durability and rich colour payoff, dip powder nails—frequently referred to as titanium nails—provide a strong shield that protects natural nails from chipping and breaking. Unlike traditional gel manicures, this method does not require a UV or LED lamp to cure, relying instead on a system of liquid adhesives and finely milled acrylic powders that bond together seamlessly. When observing a minimalist beauty flatlay, one is instantly drawn to the neat arrangement of small, pristine jars of powder, elegant liquid bottles, and precise nail tools that make this technique so appealing. Embarking on your home manicure journey begins with understanding what goes into a standard starter kit and mastering the art of precise, hygienic application.
The Essential Components of a Dip Powder Nail Kit
To achieve a seamless and beautiful finish, it is crucial to understand the purpose of each item inside your starter kit. A standard high-quality kit contains several specialised liquids and powders that work in harmony to build a resilient nail coating. Here is a breakdown of the essential components you will need to get started:
- Nail Prep or Dehydrator: This essential first step removes natural oils, moisture, and dust from the nail plate, ensuring optimal adhesion of the subsequent layers and preventing early lifting.
- Base Coat: A specially formulated adhesive liquid that acts as the glue for the fine powder. It must be applied evenly and thinly to prevent clumping and bulky spots.
- Dip Powder: The star of the show. This is a finely ground pigment powder, often enriched with vitamins and minerals, which provides the rich colour and structural strength to the manicure.
- Activator: A liquid catalyst that is brushed over the powder layer to chemically harden the base coat and powder mixture, bonding them into a solid, durable shell.
- Top Coat: The final liquid layer that seals the manicure, providing a high-gloss or matte shine and protecting the colour from environmental wear, scratches, and fading.
- Brush Saver: A handy cleaning solution used to soften and restore the applicator brushes of the base and top coats, which can occasionally become stiff during application.
Preparing the Nail Plate for Maximum Adhesion
The secret to any long-lasting manicure lies in the preparation stage. Neglecting to prepare the nails properly can lead to premature lifting, moisture trapping, or an uneven surface. Begin by thoroughly washing and drying your hands. Use a wooden or metal cuticle pusher to gently push back the cuticles, creating a clean, unobstructed nail bed. Next, use a fine-grit buffer file to gently remove the natural shine from the nail surface, creating a slightly textured grip for the base coat to adhere to without thinning the natural nail. Once the nails are lightly buffed, wipe away all dust with a lint-free wipe or a soft dusting brush. Apply a thin layer of nail dehydrator across the entire nail plate and let it air dry completely. Avoid touching your nails after this step, as the natural oils from your fingertips can re-contaminate the clean surface and compromise the adhesion of the dip powder.
Step-by-Step Dip Powder Application Guide
Applying dip powder requires patience and a steady hand, but once you master the basic steps, the process becomes incredibly straightforward. Follow these steps for a clean, even application that looks as though it was done by a professional:
Step 1: Applying the Base Liquid
Working on one nail at a time, apply a thin, even layer of the base coat. Start slightly away from the cuticle line—approximately three-quarters of the way down the nail—and sweep towards the free edge. This partial application helps prevent bulkiness near the cuticle area. Ensure the coat is perfectly smooth, as any pools of liquid will cause the powder to clump and ruin the final texture.
Step 2: Dipping the Nail
Immediately dip the wet nail into the powder jar at a 45-degree angle. Leave the finger in the powder for a couple of seconds to allow the liquid adhesive to fully absorb the fine pigment. Gently tap your finger against the edge of the jar to remove excess powder. Alternatively, you can pour the powder over the nail using a small spoon to ensure a gentle and even distribution. Allow the layer to dry for about a minute, then use a soft, fluffy cosmetic brush to sweep away any loose particles.
Step 3: Building the Layers
For the second layer, apply another thin coat of base liquid, this time moving closer to the cuticle, leaving only a microscopic gap to prevent the adhesive from touching the skin. Dip the nail into the powder again, tap off the excess, and let it dry. Most manicures require two to three layers of powder to achieve the desired opacity and strength. Always brush away excess loose powder between each layer to keep the finish clean and smooth.
Step 4: Activating and Hardening
Once you are satisfied with the thickness and colour coverage, apply a generous layer of the activator liquid over the entire nail surface, including the free edge. The activator chemically cures the powder, transforming the layers into a hard, resilient shield. Allow the activator to dry completely for two to three minutes before touching the surface.
Refining, Shaping, and the Final Seal
After the activator has fully dried, your nails will be hard enough to file and shape. Even with precise application, there may be slight bumps or uneven edges. Use a medium-grit file to shape the free edges and clean up the side walls. A buffing block can be used to smooth the top surface of the nails, ensuring a flat, uniform canvas. Wipe away the filing dust with a dry, lint-free wipe. Apply a second light layer of activator to seal the buffed surface and wait a minute. To finish, apply the top coat liquid in quick, thin, even strokes. The first layer of top coat should be applied lightly, while the second layer can be applied more slowly to achieve a rich, glass-like shine. Let the top coat air dry completely for several minutes. Finish the process by applying a nourishing cuticle oil to restore moisture to the skin surrounding your beautiful, newly styled nails.




