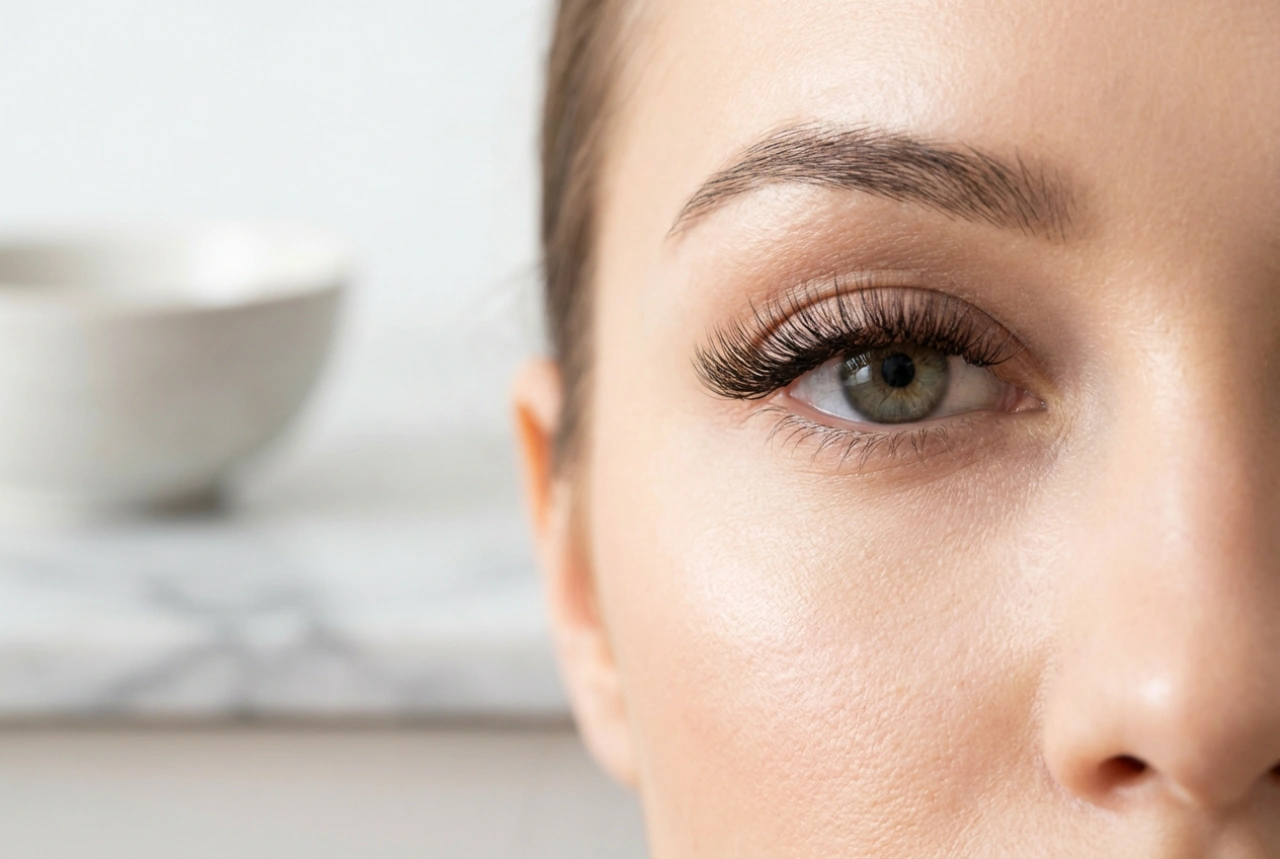


Achieving a sharp, elegant eyeliner line can seem like a daunting task, but it's a skill that can elevate any makeup look. Whether you desire a subtle enhancement of your lash line or a dramatic winged effect, mastering the application is possible with the right technique and a little patience. This guide is designed to demystify the process for beginners, helping you apply eyeliner with confidence and precision.
Choosing the Right Eyeliner for You
The first step is selecting a product that suits your skill level and desired look. There are several types of eyeliner, each with unique characteristics.
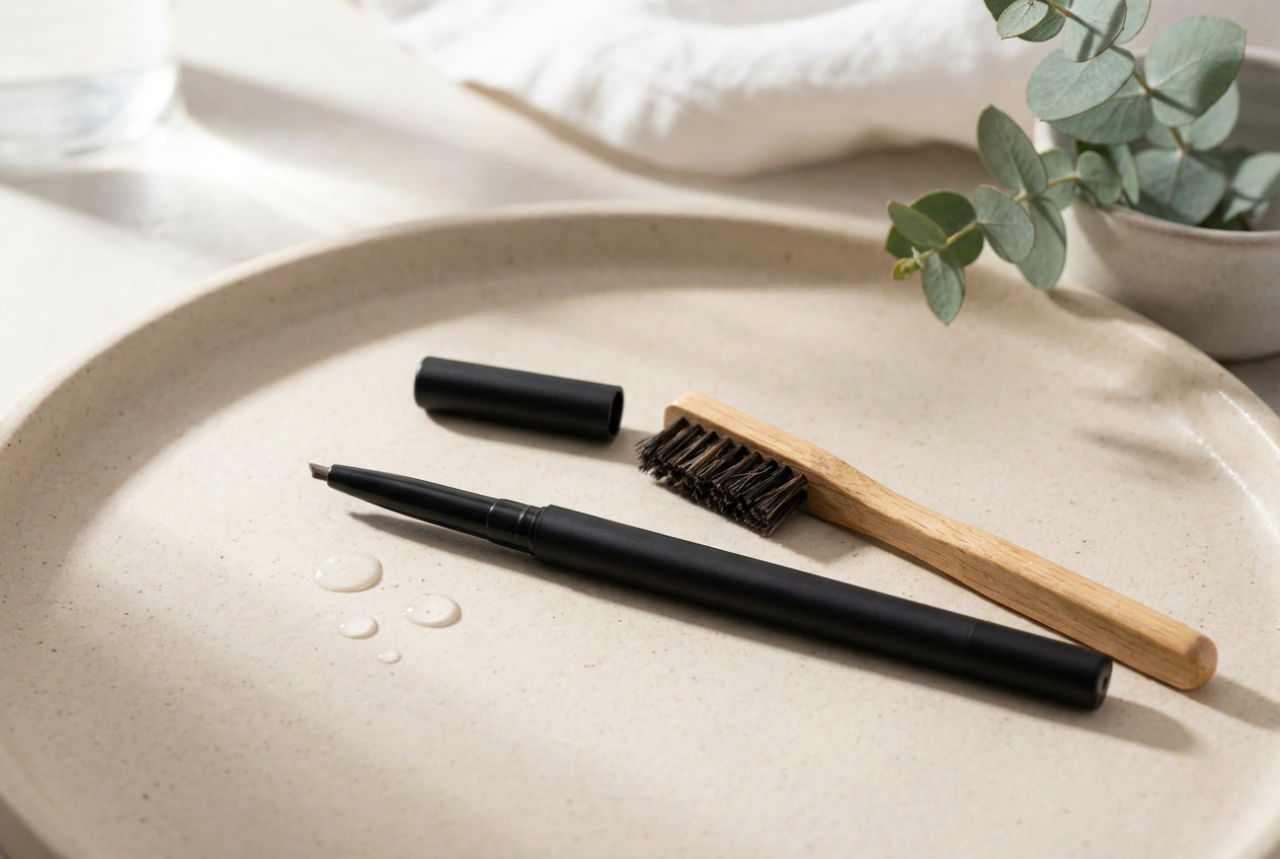
Pencil Eyeliner
This is often recommended for absolute beginners because it's the most forgiving. Pencils offer good control and are easy to smudge for a softer, smokey effect. If you make a mistake, it's relatively simple to correct. Look for a creamy formula that glides on without pulling at the delicate skin on your eyelid.
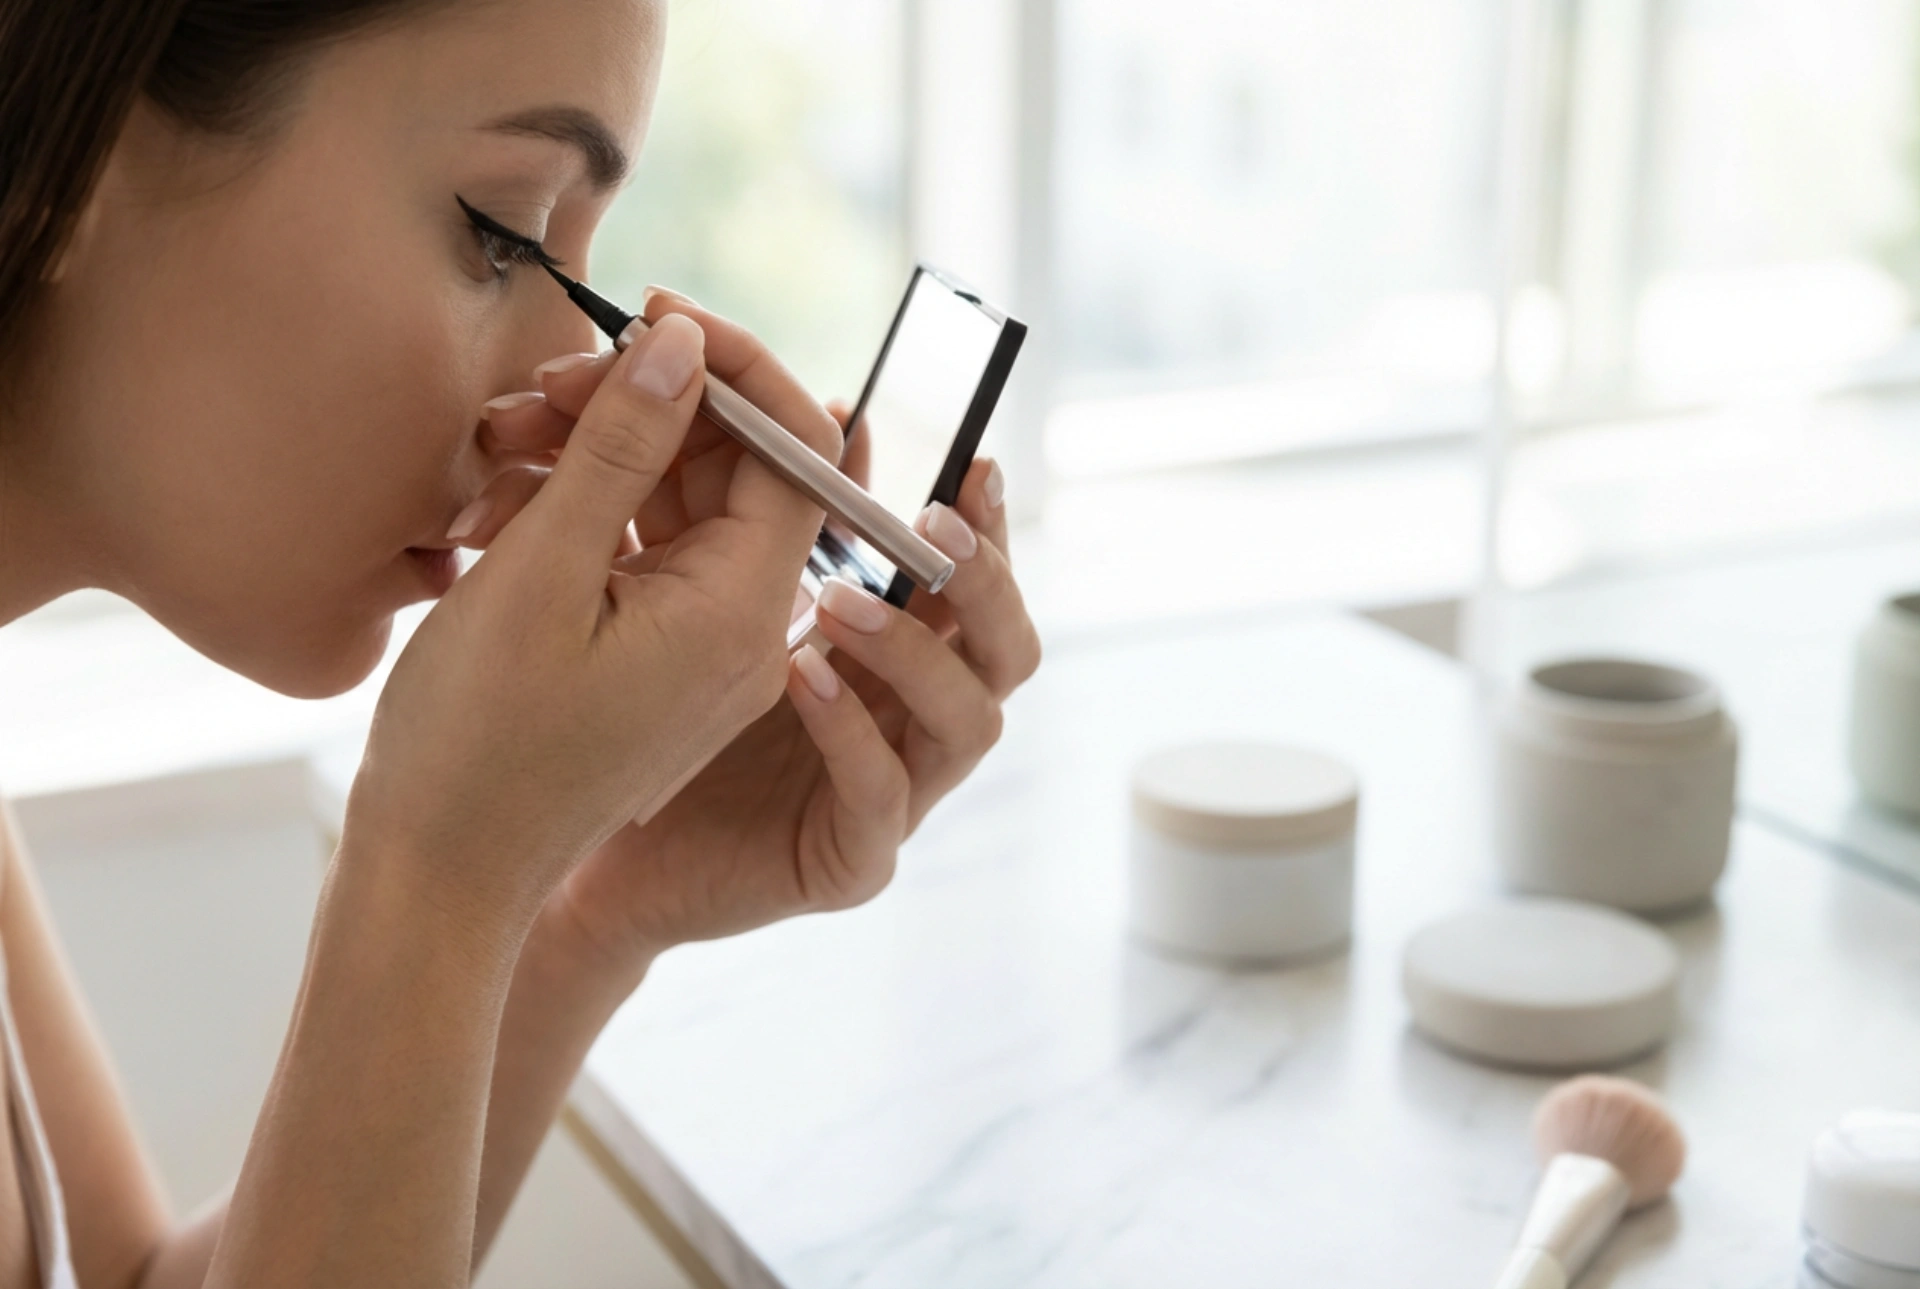
Liquid Eyeliner
Liquid liners are perfect for creating sharp, defined, and intensely coloured lines. They typically come in a pen format with a felt tip or as a small pot with a fine brush. While they require a steadier hand, the precise results are worth the practice. Pen-style liners are generally easier for beginners to handle than the traditional brush-and-pot variety.
Gel Eyeliner
Applied with a separate brush, gel eyeliners offer a happy medium. They combine the smooth application of a liquid with the blendability of a pencil. The formula is creamy and allows for some playtime before it sets, giving you time to perfect your line or wing. You have full control over the thickness of the line depending on the brush you use.
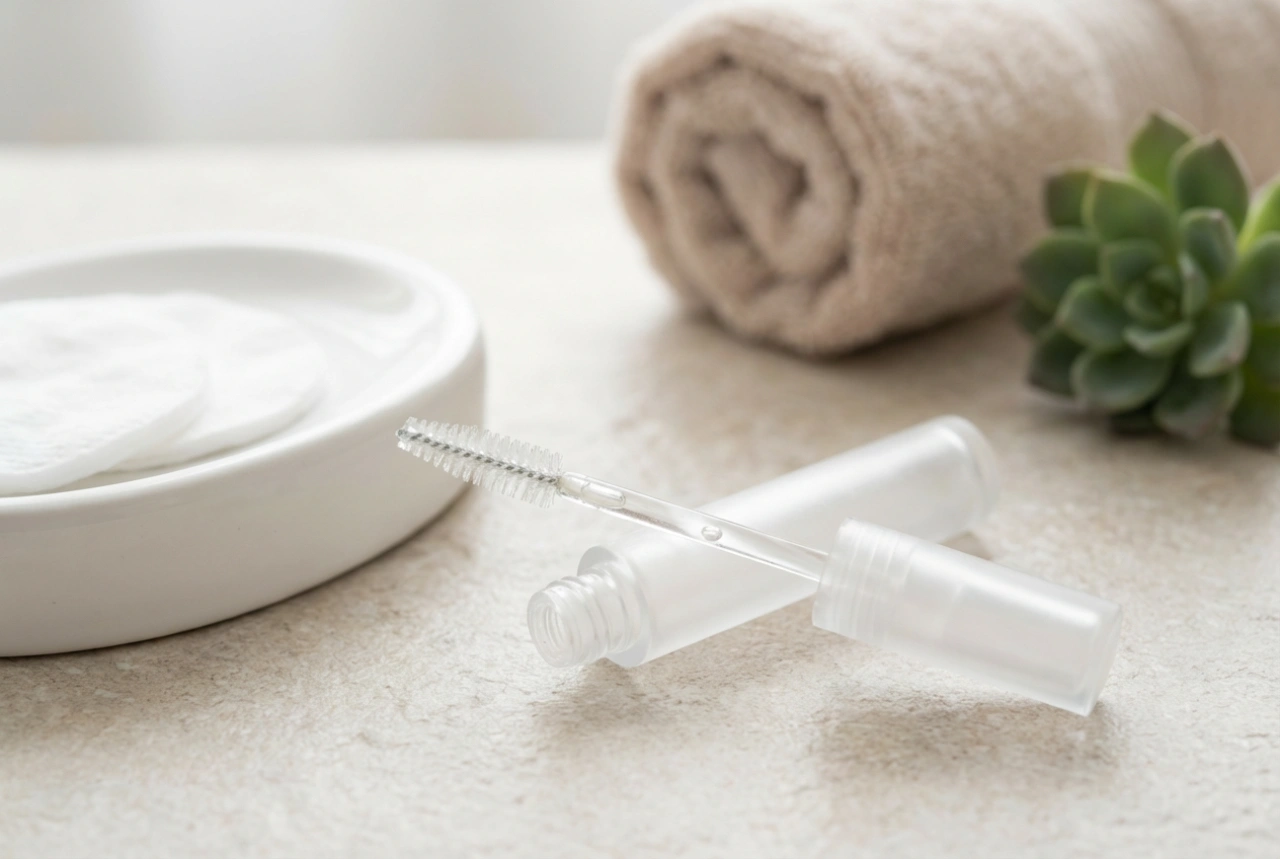
Preparing Your Eyelids for Flawless Application
Proper preparation is key to ensuring your eyeliner applies smoothly and lasts all day without smudging or fading. Always start with clean, dry eyelids. Any excess oil can cause the eyeliner to break down. Applying a thin layer of an eye primer will create a smooth canvas, intensify the colour of your eyeliner, and significantly improve its longevity. If you don't have an eye primer, a small amount of concealer set with a translucent powder can also do the trick.
Step-by-Step Guide to Applying Eyeliner
Find a comfortable, well-lit space where you can rest your elbow on a stable surface, such as a desk or vanity. This simple trick dramatically reduces shaking and improves control.
- Step 1: Start with Dots or Dashes. Instead of trying to draw one continuous line, look down into a mirror and create a series of small dots or short dashes as close to your upper lash line as possible. Start from the inner corner and work your way out.
- Step 2: Connect the Line. Gently connect the dots or dashes using small, slow strokes. This technique, often called 'dot-to-dot', helps you build a much smoother and more even line. Don't worry if it's not perfect on the first go; you can thicken it later.
- Step 3: Create the Wing (Optional). For a classic winged look, imagine a line extending from your lower lash line up towards the tail of your eyebrow. Use your eyeliner to draw this short line at the outer corner of your eye. The angle will determine the lift of your wing.
- Step 4: Complete the Triangle. From the tip of your wing, draw a line back to connect with the liner on your upper lash line, forming a small, empty triangle.
- Step 5: Fill It In. Carefully fill in the triangle with your eyeliner. Go back over your entire lash line to ensure it is smooth, even, and seamlessly connected to the wing.
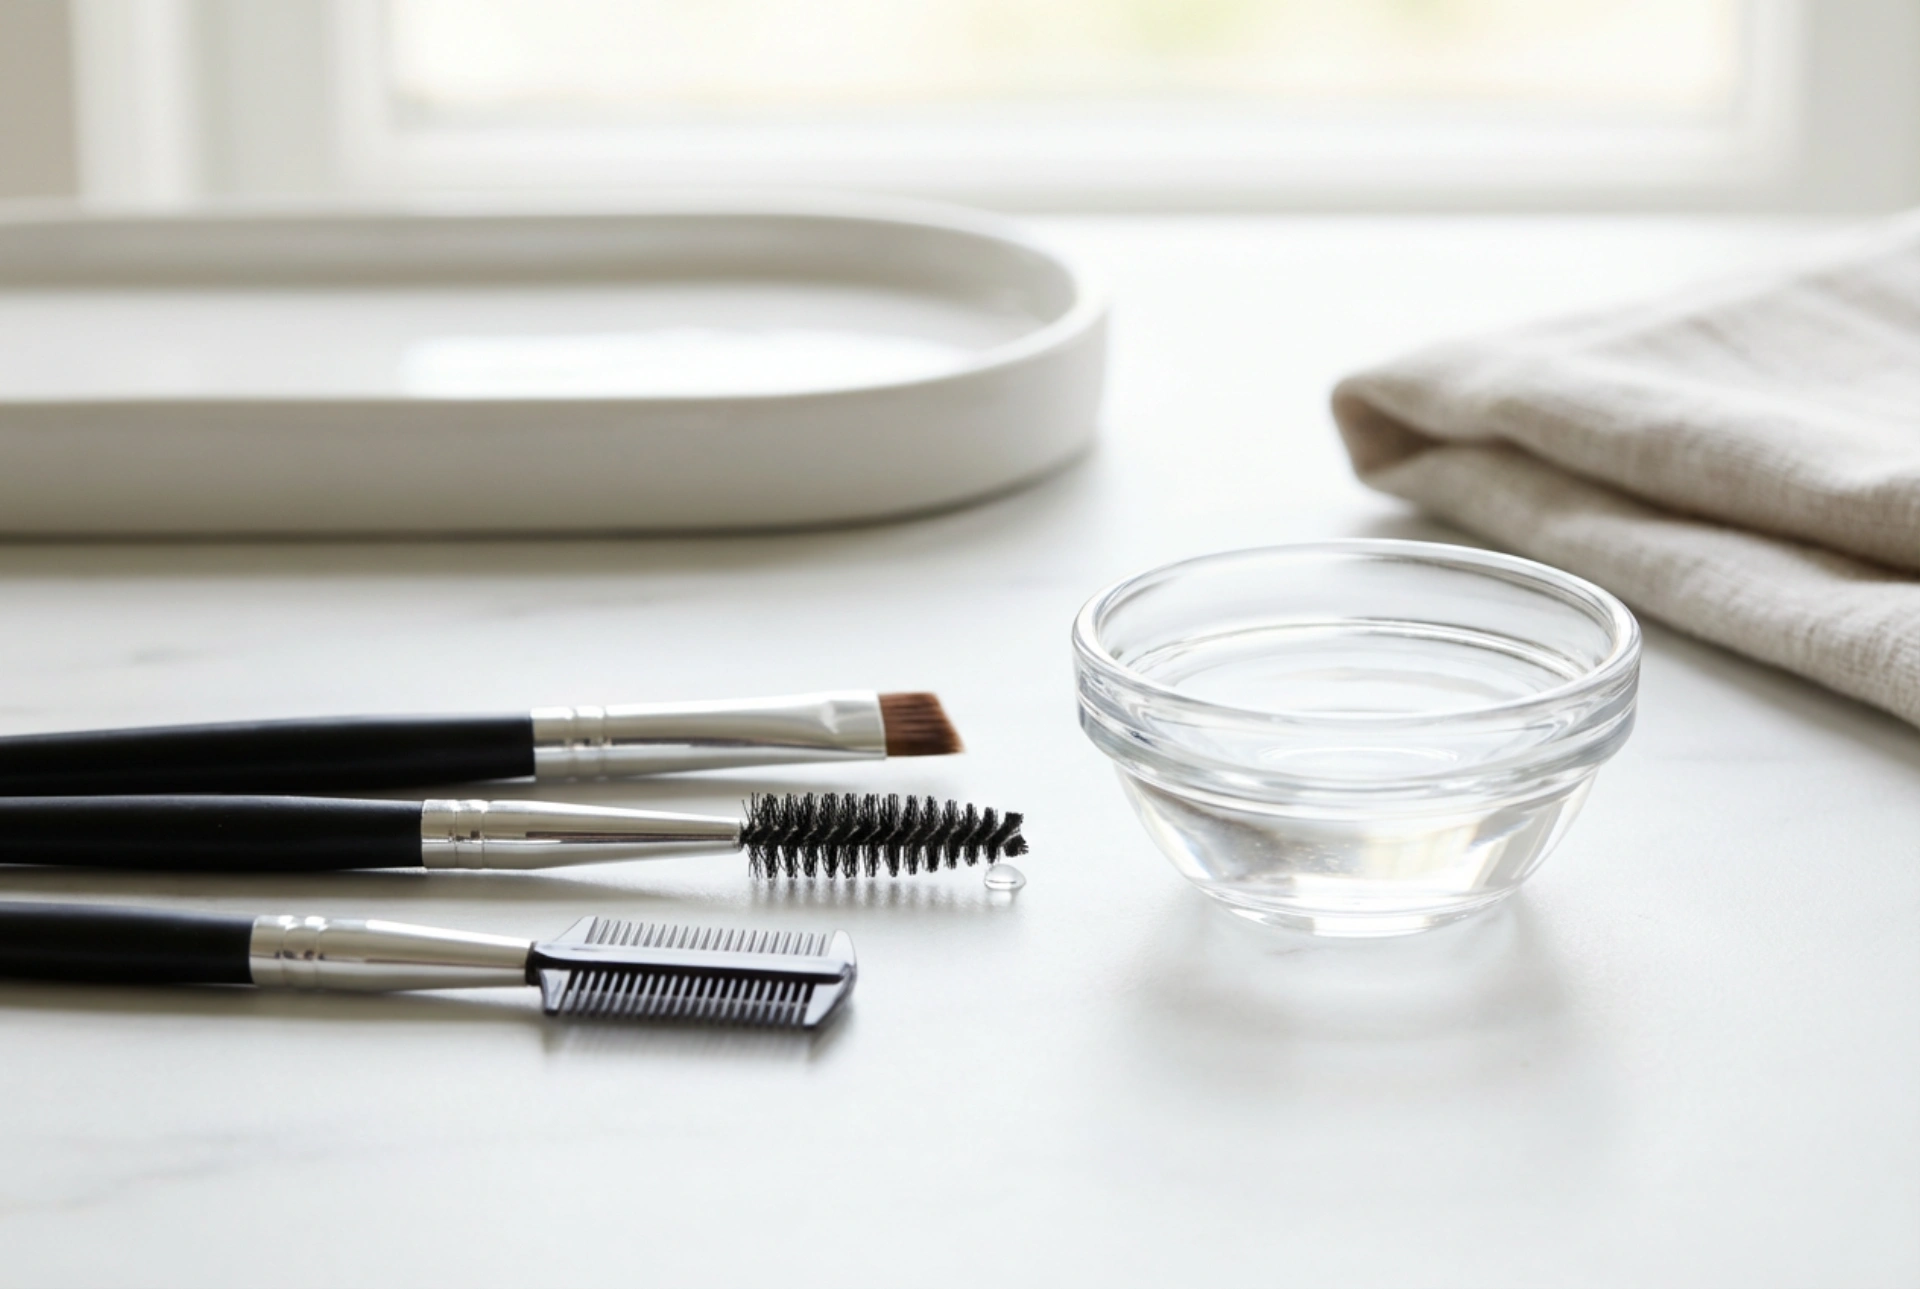
Common Mistakes and How to Fix Them
Even experienced makeup enthusiasts make mistakes. The key is knowing how to fix them without starting over.
- Shaky or Jagged Lines: This is usually caused by an unsteady hand. Always rest your elbow on a surface. Drawing the line in short strokes instead of one long one also helps.
- Uneven Wings: Getting both wings to match can be tricky. A helpful trick is to use a piece of tape or the edge of a card as a stencil for a sharp, symmetrical angle on both sides.
- Gaps Between Liner and Lashes: This is a common issue that makes the line look disconnected. To fix it, gently lift your eyelid and use a pencil to fill in any gaps from underneath the lashes, a technique known as 'tightlining'. Alternatively, point your liquid liner tip directly down into the lash roots.
- Smudging and Transferring: If your eyeliner smudges, use a cotton bud dipped in a tiny amount of makeup remover or concealer to clean up and sharpen the edges. To prevent it, always use an eye primer and consider setting the liner with a matching eyeshadow powder.
Remember, applying eyeliner is an art that improves with practice. Don't be discouraged if your first few attempts aren't perfect. Experiment with different eyeliner types and shapes to discover what best accentuates your unique eye shape. Soon, it will become an effortless part of your beauty routine.