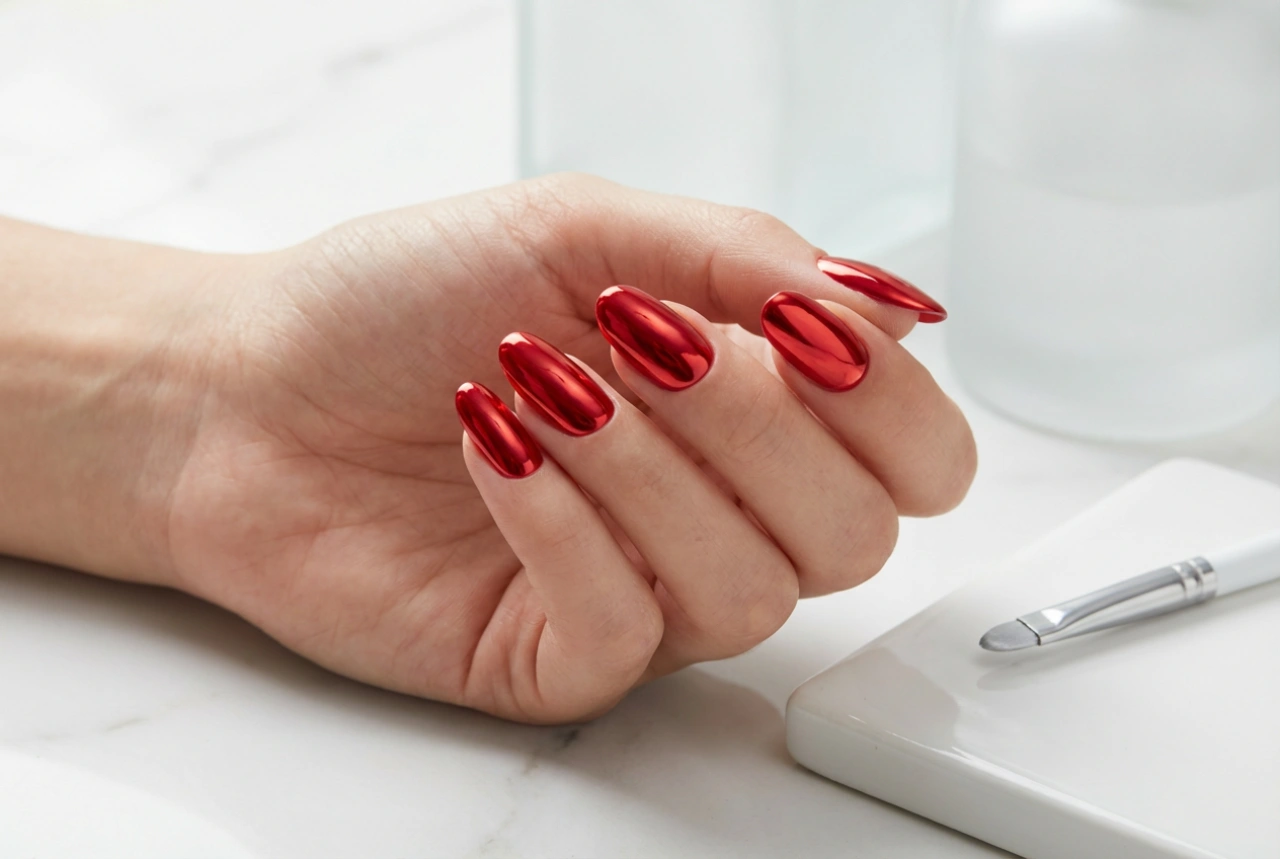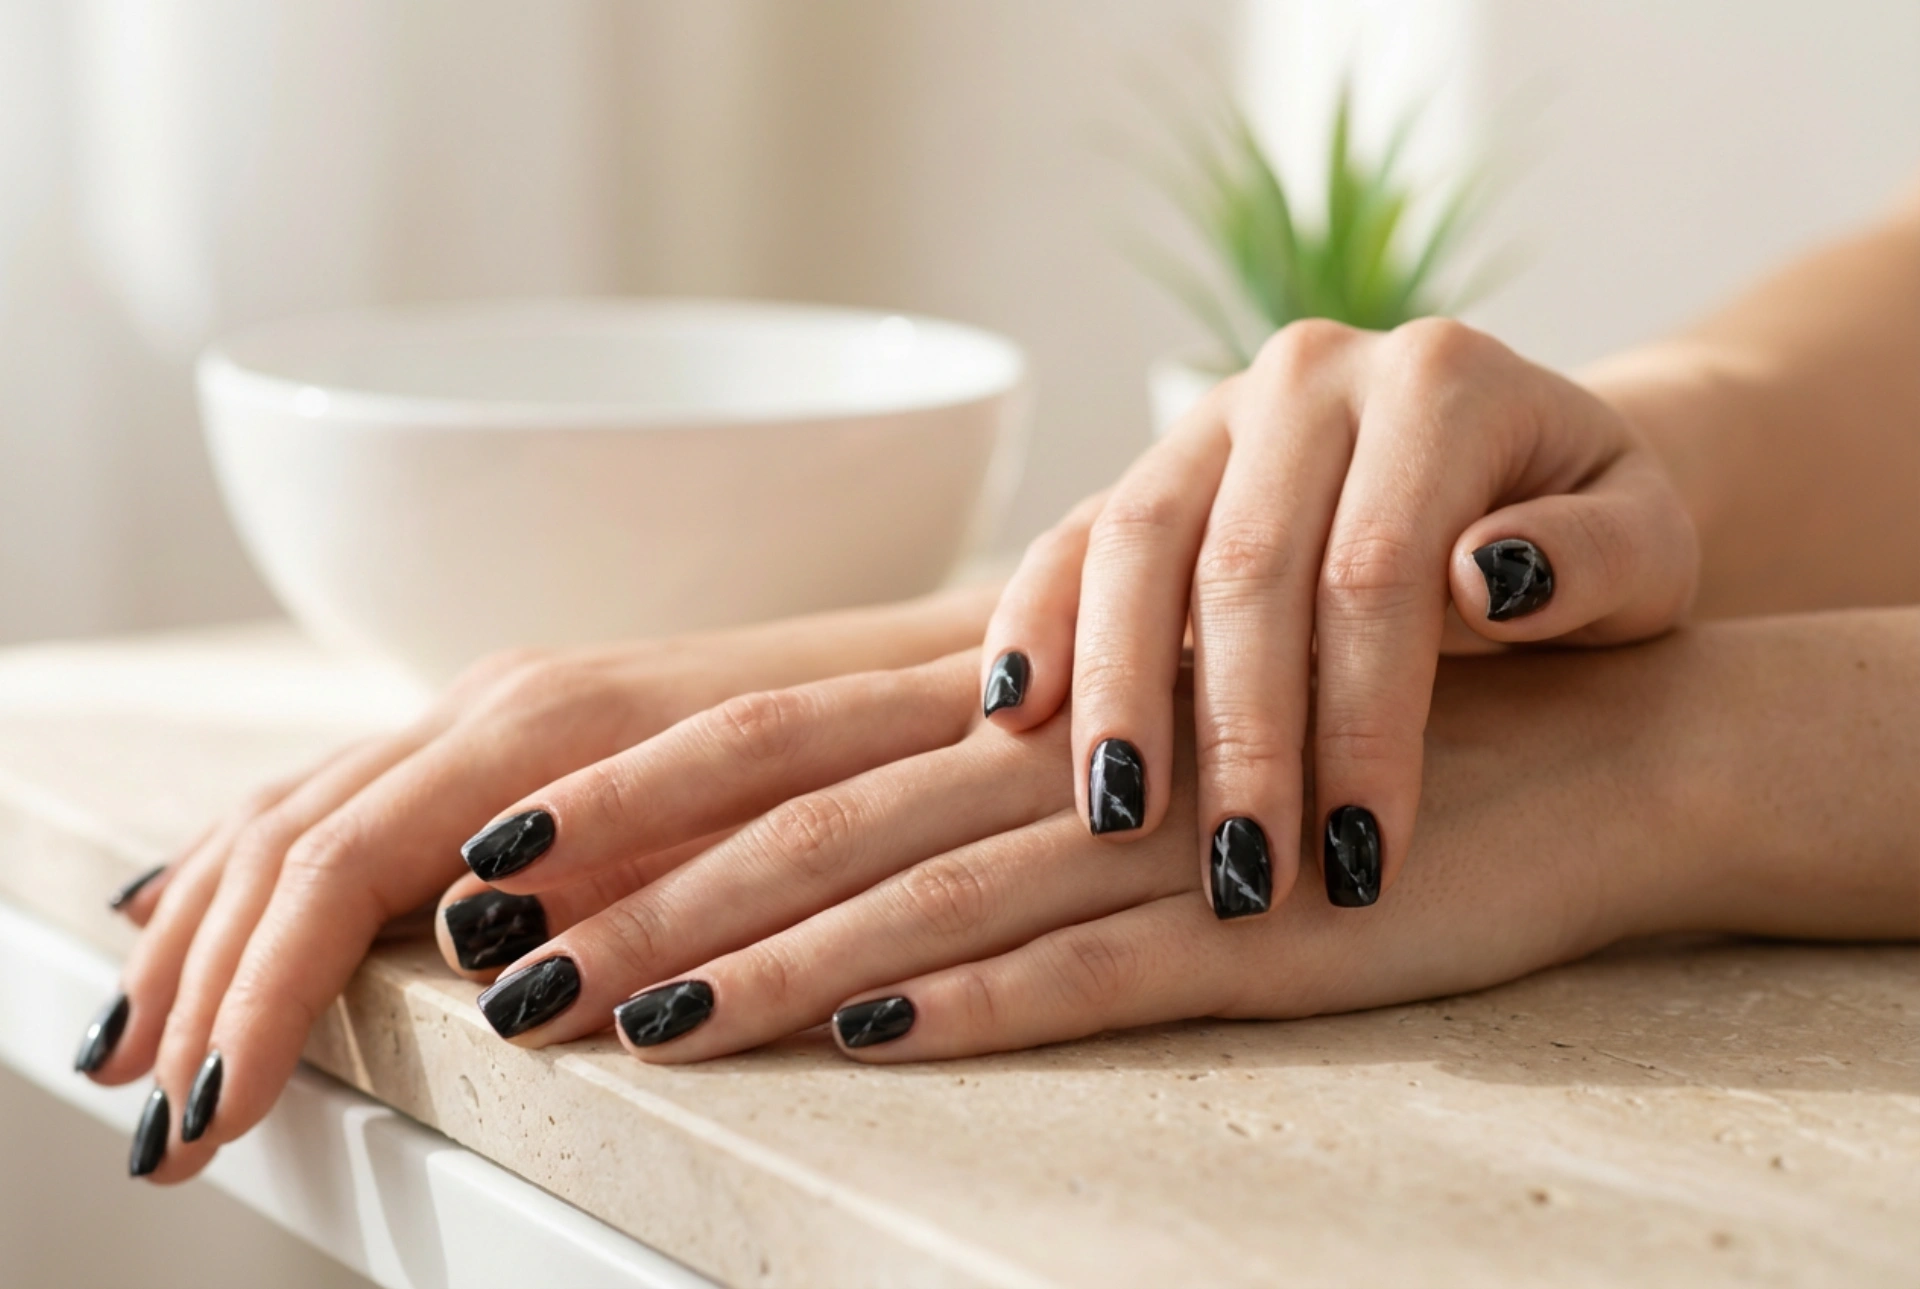


The sophisticated allure of black marble nails brings a touch of modern elegance to any look. This intricate and chic design, often seen as a salon-exclusive style, can be recreated in the comfort of your own home. With a little patience and the right technique, you can master the art of marble nails and enjoy a stunning, personalised manicure. This guide will walk you through two different methods for achieving the perfect black marble effect, along with tips to ensure your creation lasts.
Preparing Your Nails for a Flawless Finish
Before diving into the creative process, proper preparation is key to a beautiful and long-lasting manicure. A clean and smooth canvas allows the marble pattern to truly stand out. Neglecting this step can lead to a less polished result and a shorter lifespan for your nail art.
- Clean and Shape: Start by removing any old polish. Wash your hands and gently scrub your nails to ensure they are free of oils and debris. File your nails to your desired shape, whether it be square, oval, or almond. Gently push back your cuticles, but avoid cutting them to maintain the health of your nail bed.
- Buff the Surface: Lightly buff the surface of your nails. This creates a slightly rough texture that helps the polish adhere better, increasing the longevity of your manicure. Be gentle to avoid thinning or damaging your nails.
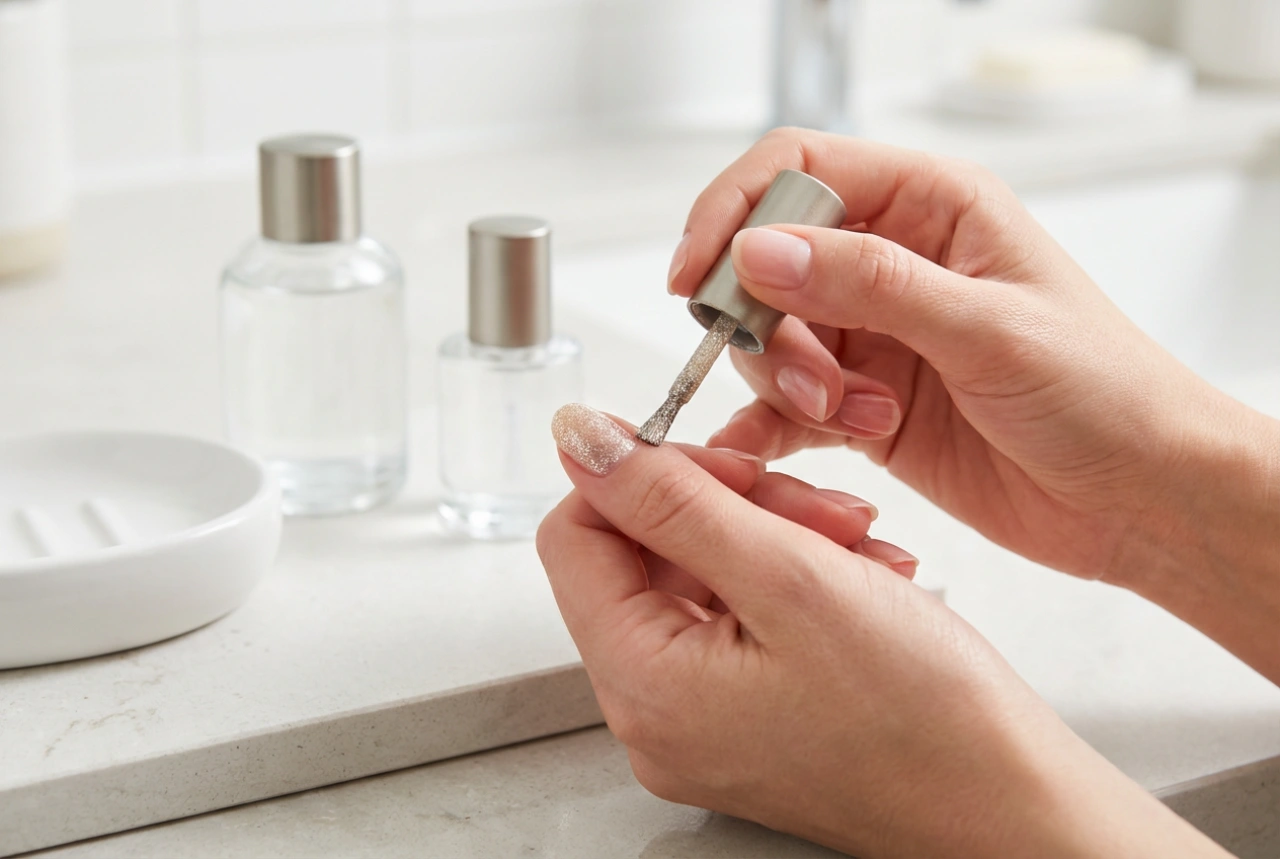
- Apply a Base Coat: Never skip the base coat. It serves multiple purposes: it protects your natural nails from staining (especially important with dark colours like black), it fills in any ridges for a smoother surface, and it provides a tacky layer for the colour polish to grip onto. Apply one thin layer and let it dry completely.
Technique 1: The Classic Water Marbling Method
Water marbling is a well-known technique that creates authentic, flowing marble patterns. It requires a bit of setup and can be messy, but the results are often breathtakingly unique. Each nail will have a one-of-a-kind design.
What You Will Need
- A small bowl or cup filled with room-temperature filtered water.
- Your chosen nail polishes: a base colour (like white, light grey, or nude), black, and optionally a metallic shade like silver or gold for accents.
- A toothpick, dotting tool, or a thin pin.
- Liquid latex or tape to protect the skin around your nails.
- A quality top coat.
Step-by-Step Guide
First, apply your chosen base colour over your dried base coat. Two coats usually provide the best opacity. Let this dry completely. Next, protect the skin surrounding your nail with tape or liquid latex, getting as close to the nail edge as possible. Now, you're ready to create the marble. Gently drop your polish colours one by one onto the surface of the water. You will see them spread out in concentric circles. Work quickly, as the polish will start to form a film. Take your toothpick and gently drag it through the colours to create veins and swirls. Once you are happy with your pattern, slowly dip your nail flat onto the design. Hold it under the water for a few seconds and use the toothpick to clean the excess polish from the water's surface before pulling your finger out. Carefully remove the protective tape or latex and clean up any remaining polish from your skin using a small brush dipped in nail polish remover. Repeat for each nail.
Technique 2: The Simple Plastic Wrap Method
If water marbling seems too intimidating or time-consuming, the plastic wrap method is a fantastic alternative. It's much quicker, less messy, and gives you more control over the final look, resulting in a more textured, stone-like effect.
Required Materials
- Your base coat and chosen polish colours (e.g., white and black).
- A small piece of scrunched-up plastic wrap or cling film.
- A palette or piece of foil for the polish.
- A fast-drying top coat.
How to Create the Effect
Begin by applying your base coat and two layers of your lighter base colour, allowing them to dry thoroughly. Once dry, you have two options. You can either paint small, random dots of your black polish directly onto the nail, or you can paint the black polish onto your palette. Take your scrunched-up piece of plastic wrap and lightly dab it into the black polish on the palette. Then, gently press and twist the wrap onto your nail. This action will lift some of the polish and smudge the rest, creating a mottled, marble-like texture. Continue dabbing until you achieve the desired effect. Don't press too hard, as you want to blend the colours, not remove the base layer. This method allows for easy customisation; you can add more black for a darker look or use a lighter touch for a more subtle effect. Clean up the edges with a brush and remover before moving on to the final step.
Setting and Protecting Your Marble Design
After putting in the effort to create your beautiful black marble nails, the final step is to seal and protect them. This ensures a glossy, professional finish and helps your artwork last for as long as possible.
The Importance of a Top Coat
Wait until your design is completely dry to the touch before applying a top coat. Applying it too soon can cause the colours to drag and smudge, ruining your pattern. When you are ready, float a generous drop of top coat onto the nail and guide it over the surface without letting the brush press down too hard. This 'floating' technique is crucial for preserving intricate art. A good quality, fast-drying top coat will not only add incredible shine but also create a durable shield against chips and scratches.
Tips for a Longer-Lasting Manicure
To extend the life of your marble nails, reapply a thin layer of top coat every two to three days. This refreshes the shine and adds an extra layer of protection. Be mindful when doing household chores; wear gloves when washing dishes or using cleaning products, as harsh chemicals can dull the finish and cause the polish to break down. Finally, keep your cuticles and the skin around your nails hydrated with a nourishing oil or cream. Healthy cuticles provide a better foundation for a lasting manicure.