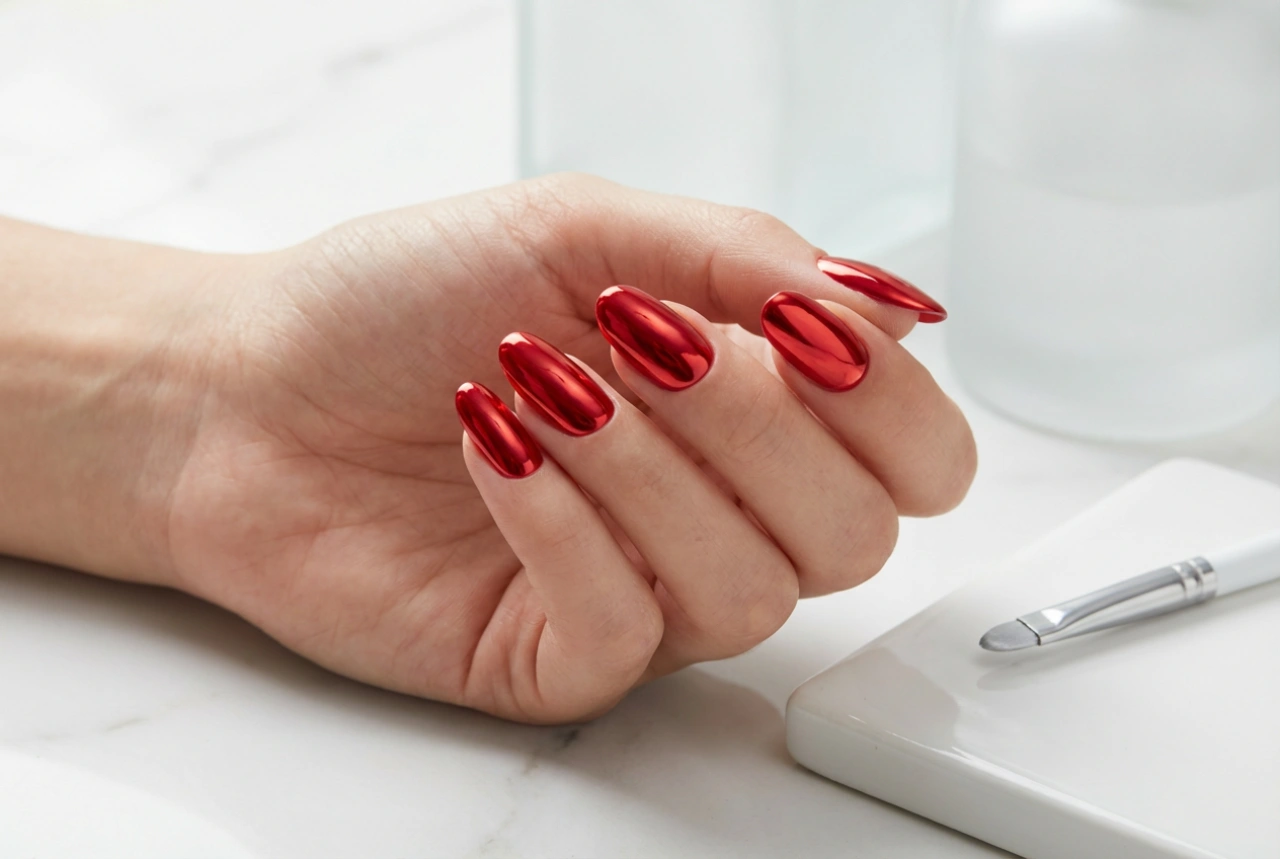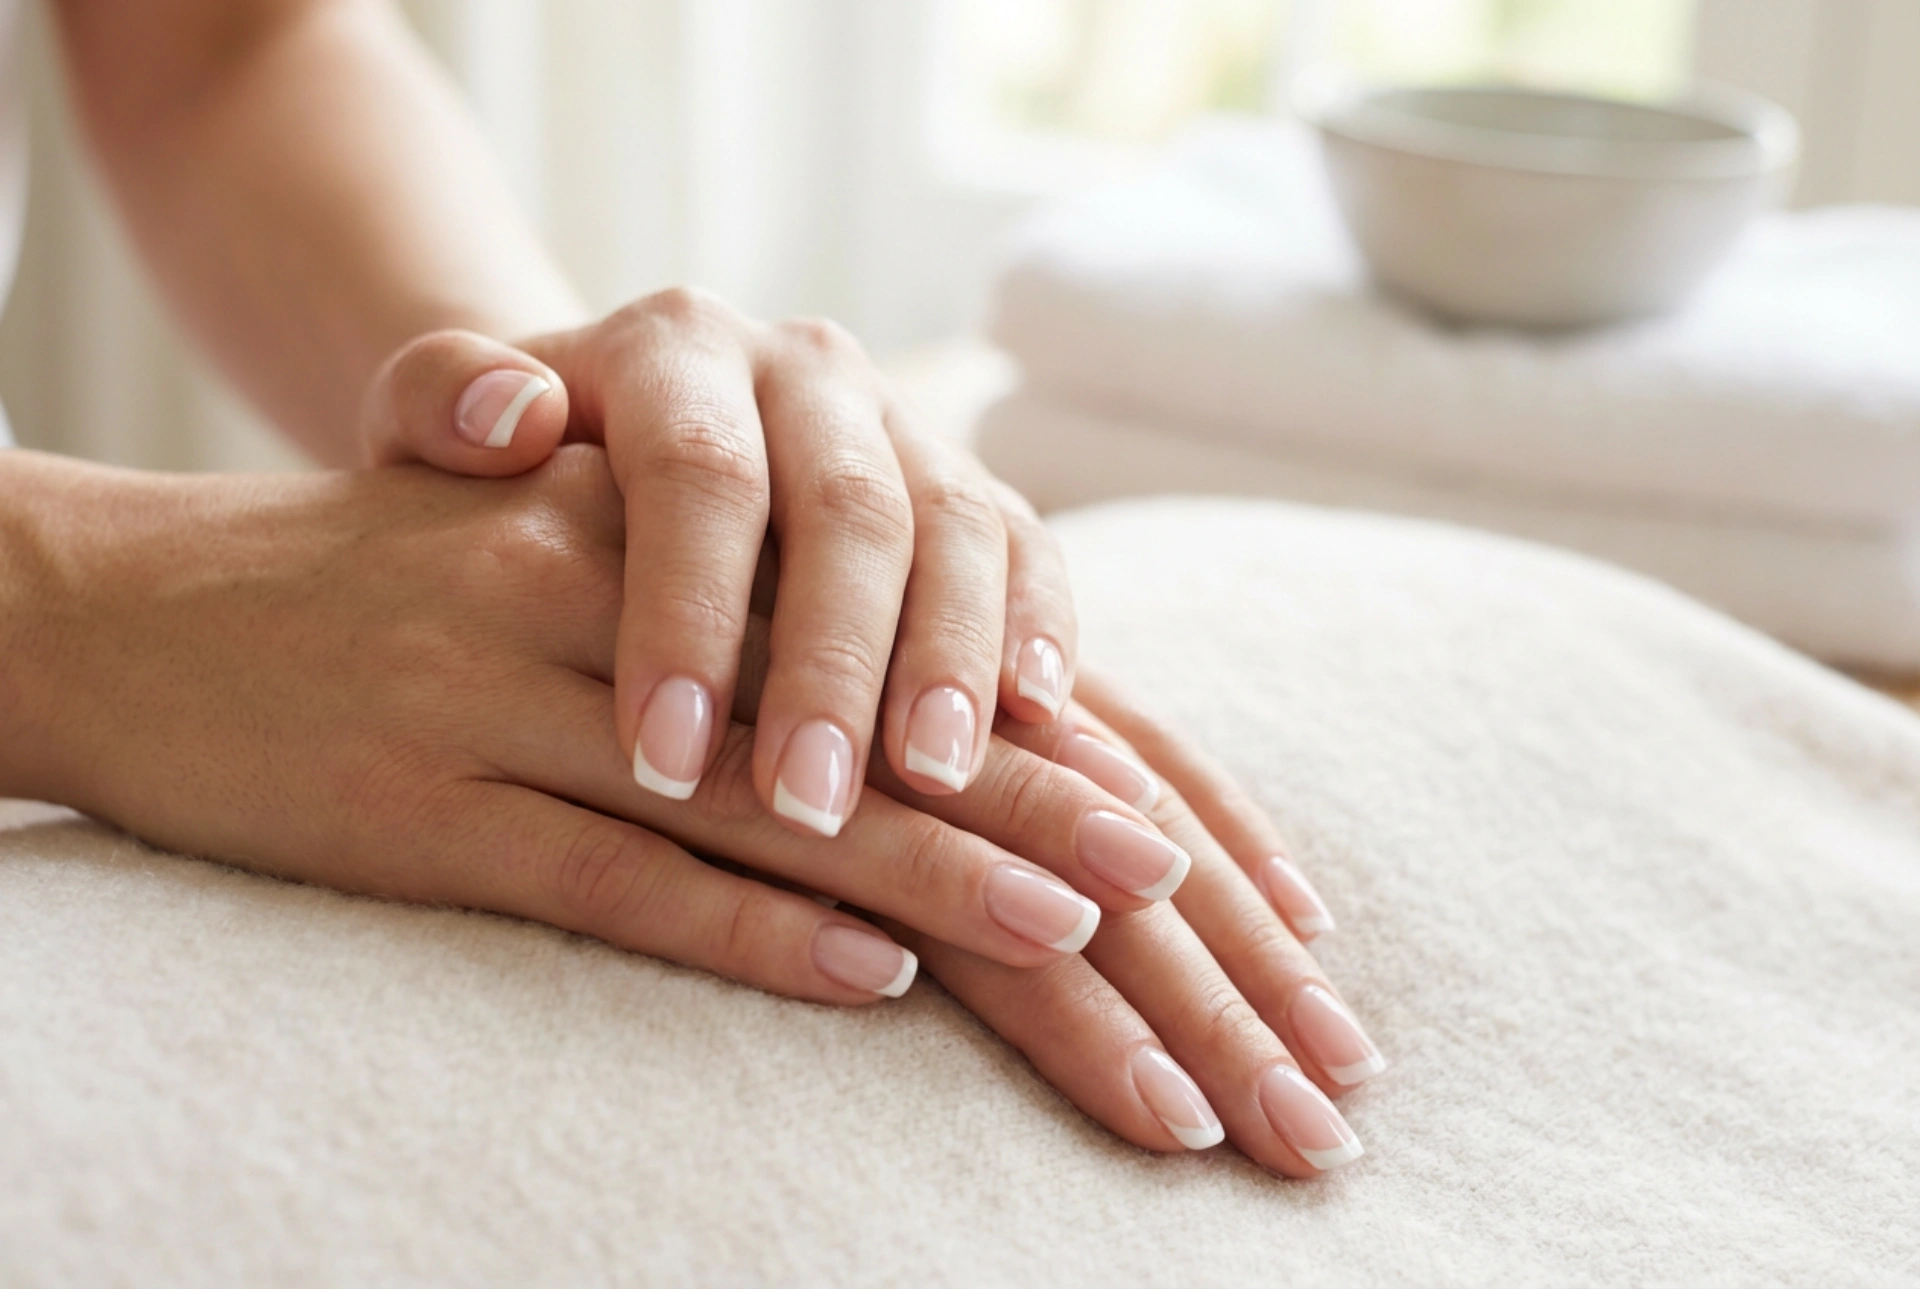


The French manicure is a symbol of timeless elegance, a classic choice that never goes out of style. Its clean look, featuring a neutral base and crisp white tips, complements any outfit or occasion. When created with gel polish, this iconic design gains exceptional durability and a brilliant, long-lasting shine. The key to a professional-looking French manicure lies in the precision of the 'smile line' – the delicate curve that separates the pink base from the white tip. This guide will walk you through the entire process, helping you master this beautiful technique at home.
Preparing Your Nails for a Gel Polish Manicure
Proper preparation is the foundation of any long-lasting gel manicure. Skipping this stage can lead to lifting and chipping, so take your time to do it right. A well-prepared nail plate ensures the gel polish adheres correctly and your manicure looks flawless for weeks.
- Clean and Shape: Start with clean, dry hands. Remove any old polish. File your nails to your desired shape – square, oval, or almond shapes all work beautifully with a French manicure. Gently push back your cuticles using a cuticle pusher. Avoid cutting them if you're not experienced, as this can lead to damage.
- Buff the Surface: Using a fine-grit buffer, lightly buff the entire surface of each nail. The goal is to remove the natural shine, not to thin the nail. This creates a slightly rough surface for the gel to grip onto.
- Dehydrate and Prime: After buffing, wipe away all the dust with a lint-free wipe soaked in an isopropyl alcohol solution or a dedicated nail cleanser. This step removes oils and dehydrates the nail plate. For enhanced adhesion, you can apply a thin layer of a nail primer or bonder specifically designed for gel polish, allowing it to air dry completely.
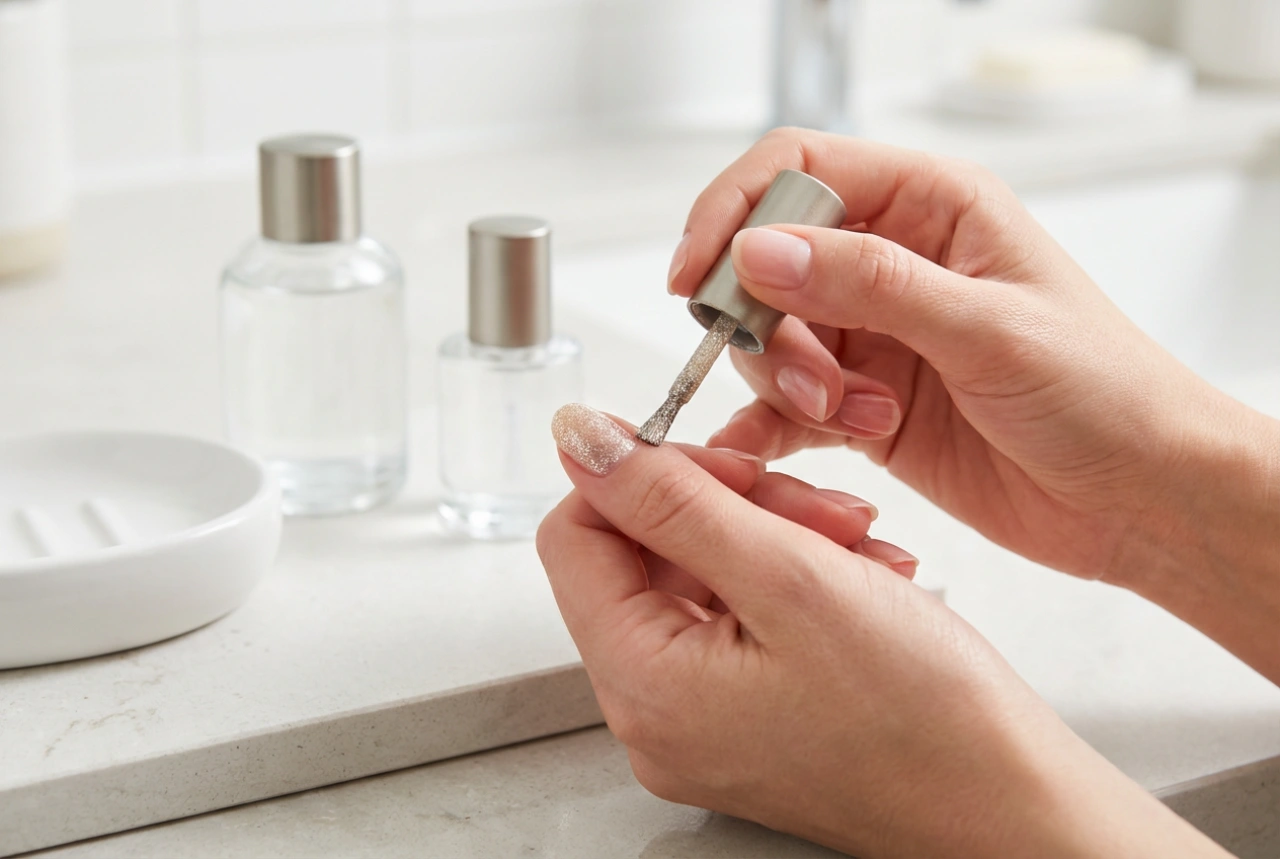
Applying the Base and Nude Colour
With your nails prepped, it's time to build the foundation of your French manicure. The base coat protects your natural nail, while the sheer nude or pink colour creates that classic, healthy-looking backdrop for the white tips.
First, apply a thin, even layer of gel base coat to each nail, making sure to 'cap' the free edge by running the brush along the tip of the nail. This helps prevent chipping. Cure the base coat under your UV or LED lamp according to the manufacturer's instructions. Next, choose your sheer pink or nude gel polish. Apply one or two thin coats, depending on the desired opacity. Remember that thin layers are crucial for proper curing and a smooth finish. Cure each coat of colour under the lamp before moving on to the next step.
Creating the Perfect Smile Line: Techniques and Tips
This is the most intricate part of the process, but with practice and patience, you can achieve a sharp, clean smile line. There are several methods to try, so you can find the one that works best for you.
The Classic Brush Technique
This method offers the most control and is favoured by professionals. You will need a fine, long-striping nail art brush and your white gel polish. Pour a small amount of the white polish onto a palette. Dip your brush in, getting a small bead of product. Start painting the tip from one corner of the nail, drawing a thin line towards the centre. Repeat from the other corner, connecting the lines in the middle to form a gentle curve. Fill in the rest of the tip with the white polish. Don't worry if it's not perfect on the first try; you can clean it up before curing.
Alternative Methods for Beginners
If you struggle with a freehand line, there are tools that can help. One popular method involves a silicone stamper. Simply paint a line of white gel polish onto the stamper, then gently press the tip of your nail into the polish at an angle. As you press, the soft silicone will wrap around your nail tip, creating a perfect curve. Another option is to use French manicure guide stickers, though these can sometimes cause the polish to bleed underneath if not applied firmly.
Cleaning Up and Perfecting the Line
The beauty of gel polish is that it doesn't dry until it's cured. This gives you plenty of time to perfect your smile line. Take a clean, flat or angled brush, dip it into a nail cleanser or isopropyl alcohol, and wipe away any smudges or unevenness. You can use this to sharpen the curve and ensure both sides are symmetrical. Once you are completely happy with the look of all ten tips, cure the white polish under the lamp.
Finishing and Sealing Your French Manicure
The final step is to seal your beautiful design with a high-shine top coat. This not only protects the manicure from chipping and scratching but also provides that signature glossy finish. Apply a thin layer of no-wipe gel top coat over the entire nail, again making sure to cap the free edge. A thorough cure is essential for the top coat to harden completely and provide maximum durability. Follow the recommended curing time for your specific top coat and lamp. If you are using a top coat that leaves a tacky layer, simply wipe it off with a lint-free pad and cleanser after curing to reveal the smooth, shiny surface beneath.
Aftercare for a Long-Lasting Finish
Your gorgeous French manicure is complete, but a little aftercare will keep it looking its best for as long as possible. Apply cuticle oil daily to nourish the skin around your nails and keep your cuticles hydrated. This not only promotes healthy nail growth but also keeps your manicure looking fresh. When doing household chores, wear gloves to protect your nails from harsh cleaning chemicals and prolonged water exposure, which can cause the gel to lift over time. Be gentle with your nails and avoid using them as tools to open cans or scrape things.