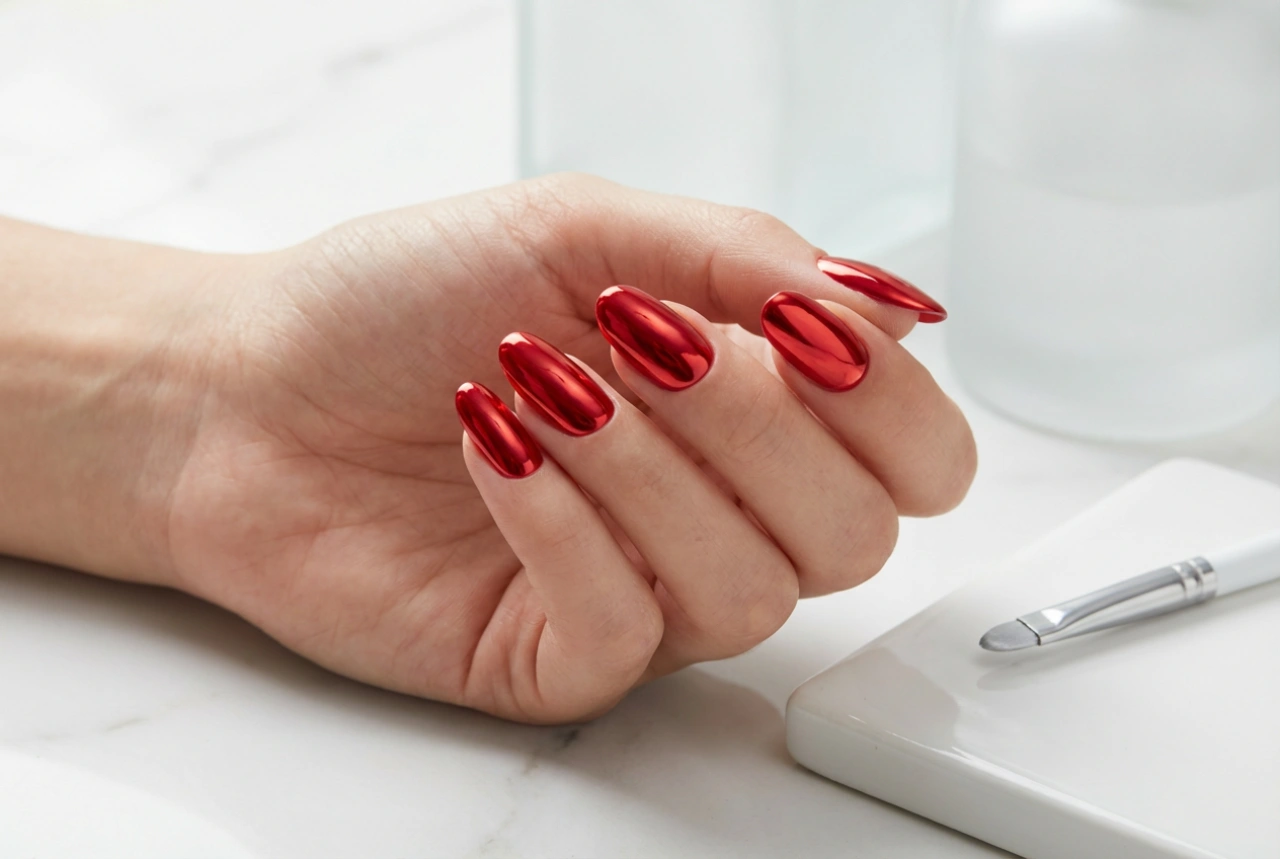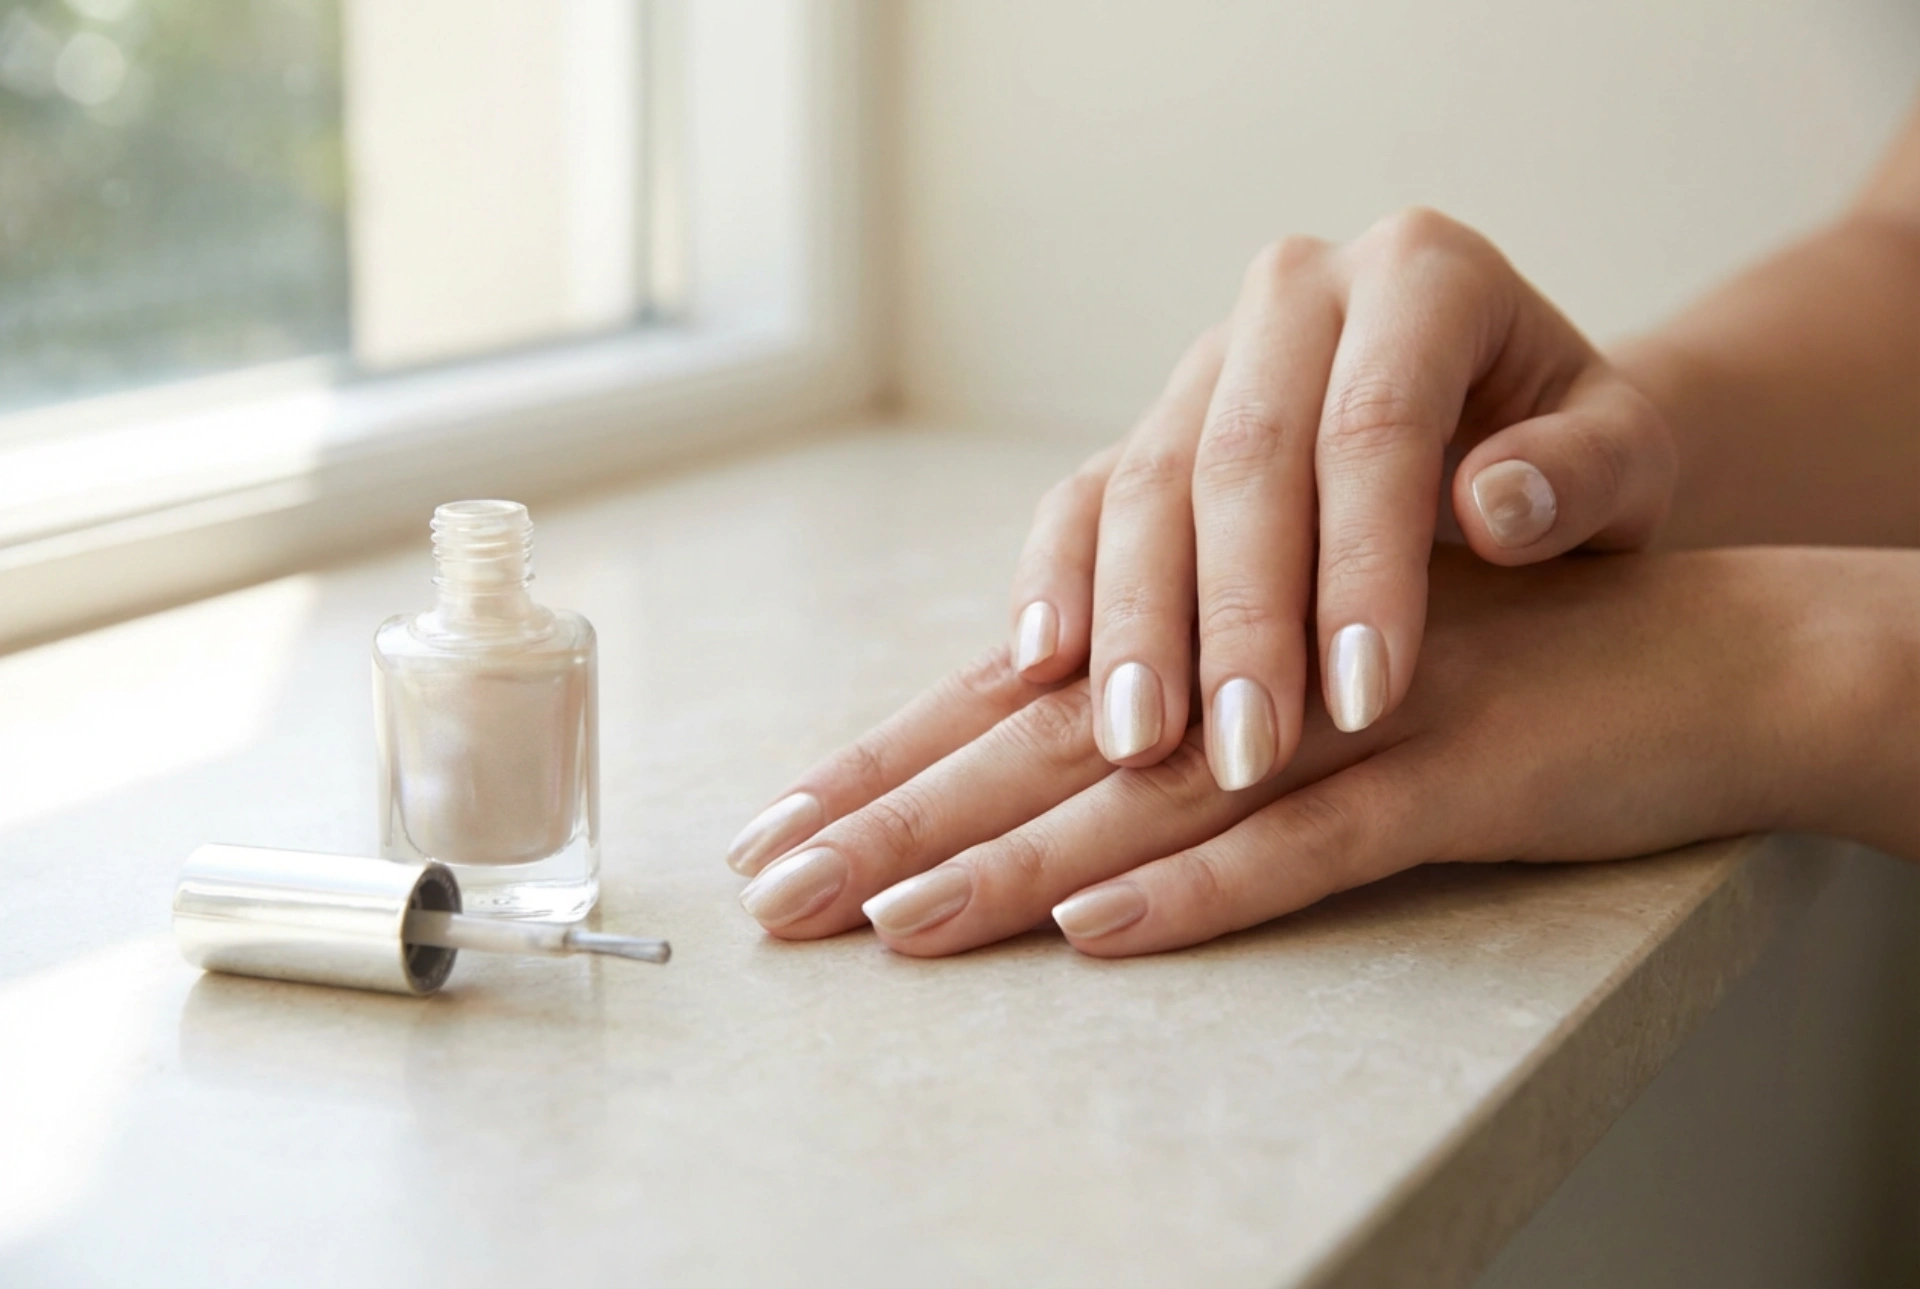


Pearlescent nail varnish offers a sophisticated shimmer that catches the light beautifully, creating an elegant and polished look. However, its unique formulation, rich in fine pigment particles, can often result in a streaky, uneven finish if not applied with care. The secret to a flawless, liquid-pearl effect lies not just in the varnish itself, but in meticulous preparation and a steady hand. This guide will walk you through the essential steps to achieve a professional-quality, streak-free manicure at home.
The Foundation: Preparing the Nail Plate
A perfect manicure begins long before the first coat of colour is applied. Creating a smooth, clean canvas is the most critical step in preventing streaks, especially with unforgiving finishes like pearlescent or metallic varnishes. Any ridges, oils, or residue on the nail surface will disrupt the way the polish lays down and reflects light.
Key Preparation Steps:
- Clean and Shape: Start by removing any old polish. File your nails to your desired shape and gently buff the edges to smooth them. Wash your hands to remove any filing dust.
- Cuticle Care: Soften your cuticles with a remover or by soaking your fingertips in warm water for a few minutes. Gently push them back using a wooden orange stick or a soft cuticle pusher. This creates a larger, cleaner nail surface for application.
- Buff the Surface: Use a fine-grit buffer block to very gently go over the surface of your nails. The goal is not to thin the nail, but to smooth out any natural ridges or imperfections. This single step can make a dramatic difference in the final finish.
- Degrease the Nail: After buffing, wipe each nail with a lint-free pad soaked in a nail preparation solution or isopropyl alcohol. This removes all natural oils and residue, ensuring the base coat and varnish adhere perfectly.
The Importance of a Good Base Coat
Never skip the base coat when aiming for a professional finish. It serves multiple purposes: it protects your natural nail from staining, helps the manicure last longer, and, most importantly for a pearlescent varnish, it provides a smooth, even surface for the colour to glide over. A high-quality base coat acts as a primer, filling in any microscopic ridges that buffing might have missed. For those with more pronounced nail ridges, consider using a specific ridge-filling base coat. These are slightly thicker and are formulated to create an impeccably smooth foundation. Always allow the base coat to dry completely before proceeding to the colour application.
The Art of Application: Technique Matters
With a perfectly prepped base, the focus shifts to the application technique. The way you load your brush and apply each stroke is paramount to avoiding streaks. Patience and precision are your best tools here.
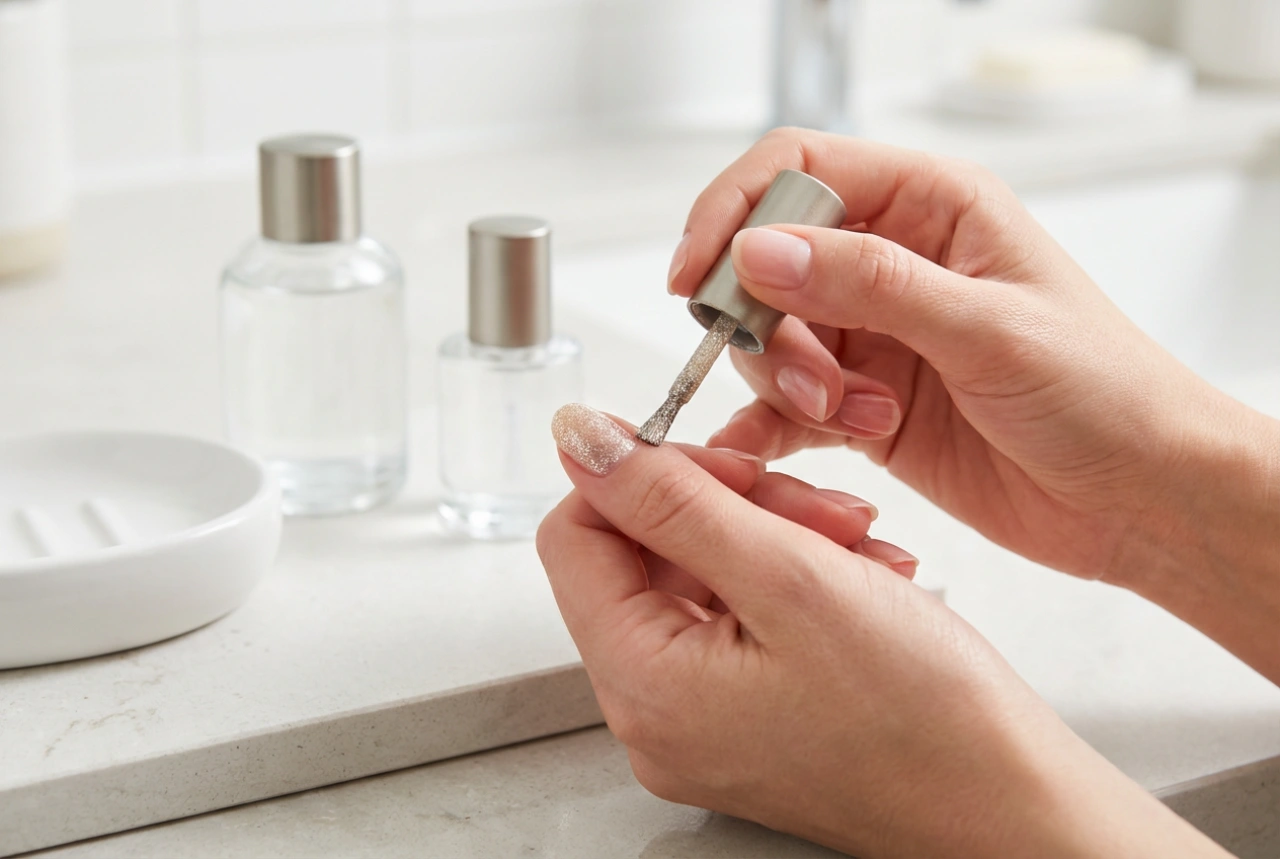
Loading the Brush Correctly
The amount of varnish on your brush is a delicate balance. Too little, and the brush will drag; too much, and it will flood your cuticles and become difficult to control. Dip the brush into the bottle and pull it out. As you do, wipe one side of the brush flat against the inner neck of the bottle. This leaves a small, rounded bead of varnish on the other side, which is the perfect amount for one nail.
Mastering the Three-Stroke Method
This classic technique ensures even coverage with minimal brush strokes. Start by placing the brush in the centre of your nail, slightly away from the cuticle. Gently push the brush back towards the cuticle, leaving a tiny gap, and then pull it straight down to the tip in one fluid motion. Return the brush to your starting point and apply a second stroke down one side of the nail, following its natural curve. Finally, do the same on the other side. Use light pressure and confident, straight strokes. Avoid the temptation to go back over a wet area, as this is the primary cause of streaks and dragging.
Thin Coats are Key
It is always better to apply two or three thin coats of varnish than one thick, gloopy one. A thick coat is hard to control, dries unevenly, and is more prone to smudging and streaking. Apply your first thin coat using the three-stroke method and let it dry for at least two to three minutes. The first coat may look patchy or sheer, which is completely normal. The second coat will build the opacity and deepen the colour, evening out the finish beautifully.
The Finishing Touch: The Top Coat
A top coat is the final, essential step to seal your hard work. It not only adds a brilliant shine and protects your manicure from chipping, but it can also help to smooth over any minor surface imperfections. A good top coat has a self-levelling quality that can visually blend the layers of varnish beneath it, enhancing the seamless, pearlescent effect. When applying it, use a technique called 'floating'. Get a generous bead of top coat on the brush and gently glide it over the nail surface without letting the bristles press down too hard. This prevents the top coat brush from dragging and smearing the delicate pearlescent colour underneath. A quick-dry top coat will also speed up the overall drying time, helping you avoid accidental smudges.