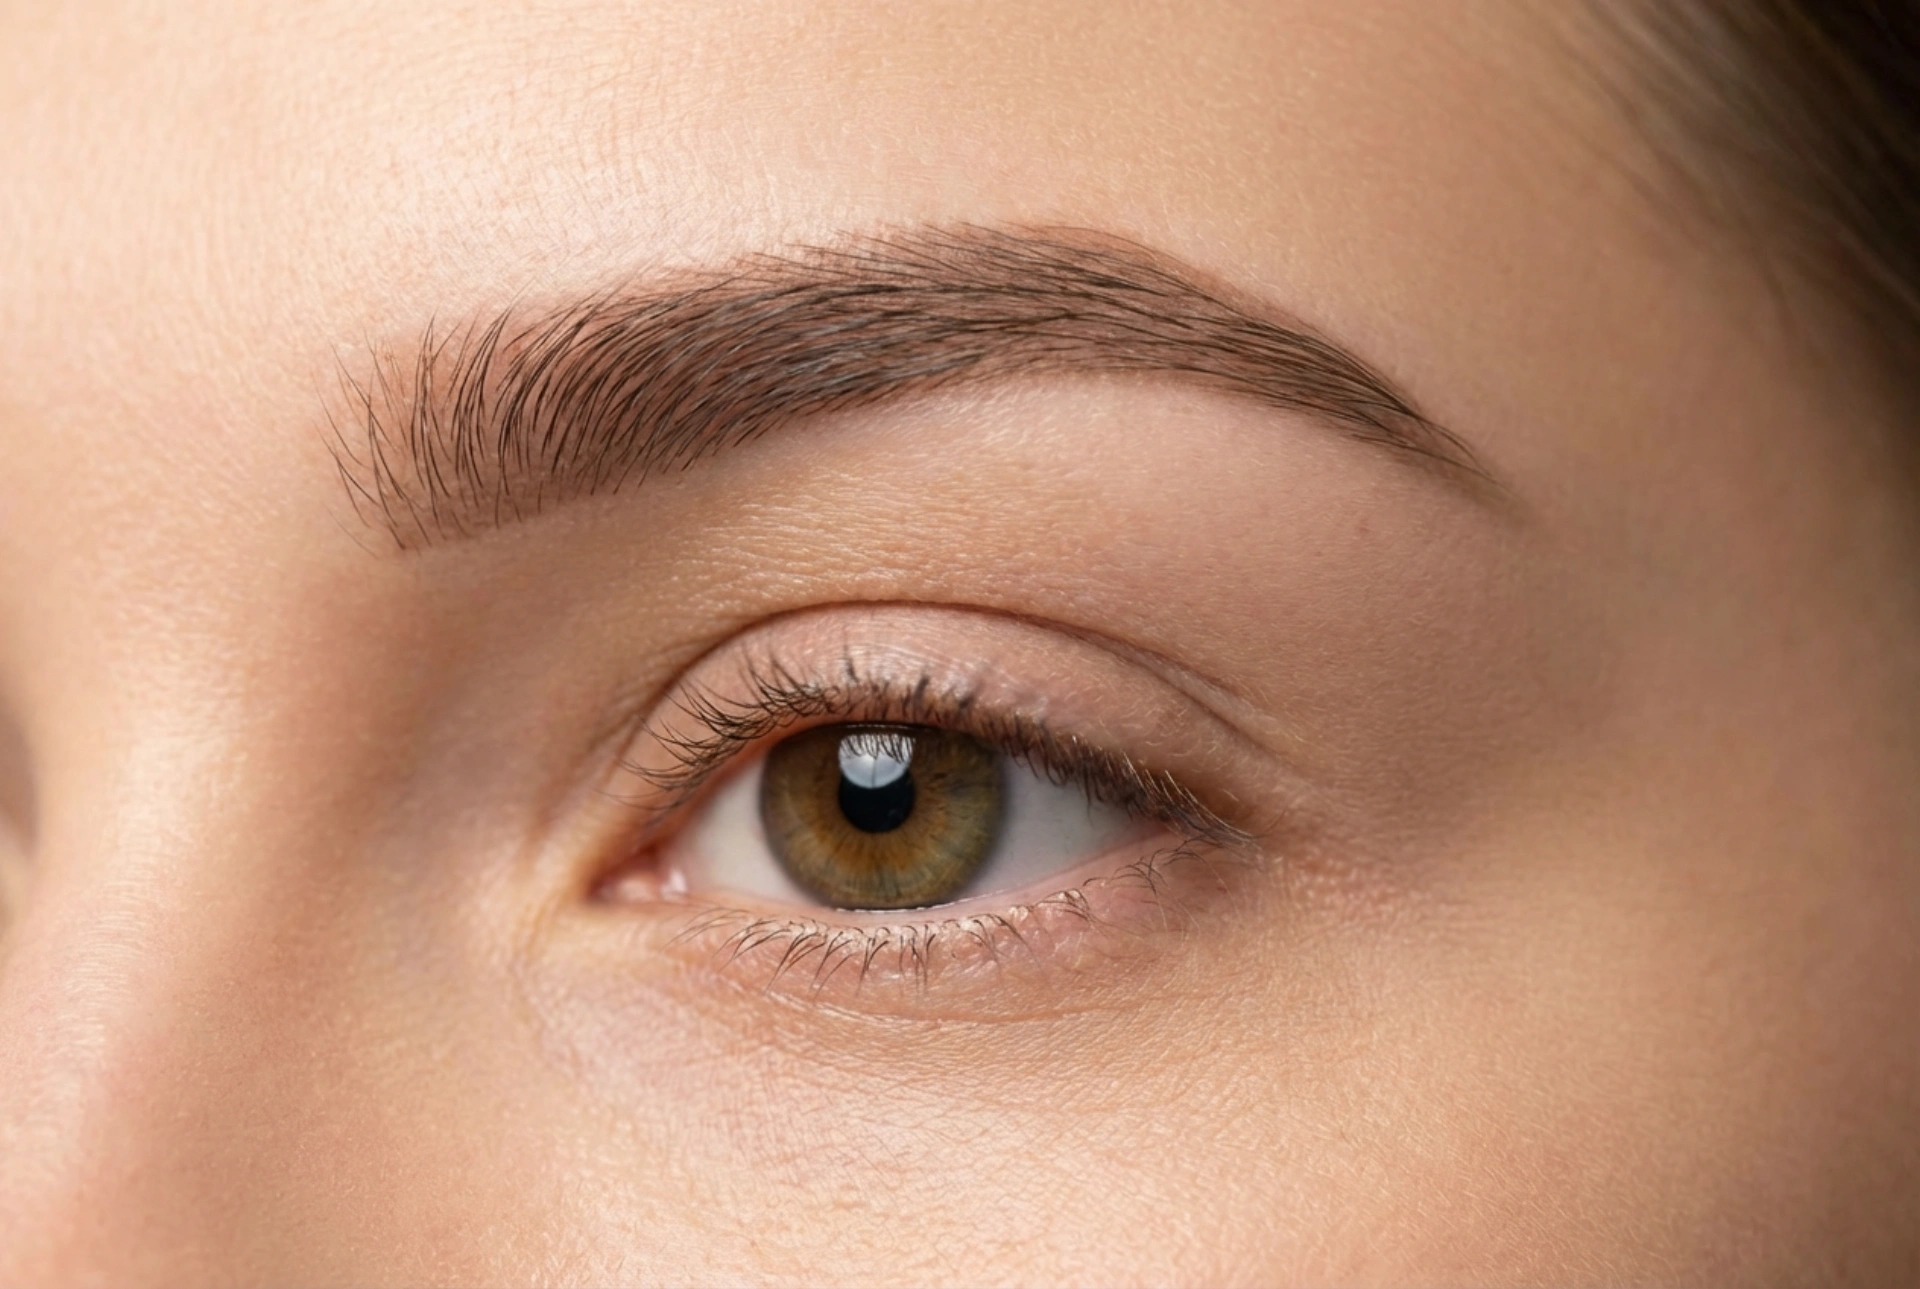


Eyebrow tinting is a fantastic way to enhance your natural features, creating the illusion of fuller, more defined brows that frame your face beautifully. A well-executed tint can streamline your morning routine, giving you a polished look without the daily need for pencils or powders. However, achieving that perfect, natural-looking result at home requires a bit of knowledge and care. The key is to master the technique to avoid common pitfalls such as stained skin or a colour that appears too harsh. This guide will walk you through the process, ensuring you can achieve a flawless finish with confidence.
Preparing for a Flawless Tint
Proper preparation is the foundation of a successful eyebrow tint. Rushing this stage can lead to uneven results and skin staining. Taking a few extra minutes to prepare correctly will make all the difference and set you up for a professional-looking outcome.
Choosing the Right Shade
Selecting the correct tint colour is crucial for a natural look. A shade that is too dark can look severe and unnatural, especially on fairer skin tones. As a general rule, if you are new to tinting, it's wise to choose a colour that is one or two shades lighter than you think you need. For those with light blonde or red hair, a light brown or a specific blonde tint is often a good starting point. Brunettes can opt for a shade that matches their hair colour or is slightly lighter. You can always build up intensity with a second application or leave the tint on for longer next time, but it is much harder to correct a shade that is too dark.
Skin Preparation and Patch Testing
Before you begin, your skin must be completely clean and free of oils. Use a gentle, oil-free cleanser to wash the brow area, and ensure it is thoroughly dry. Any residue from makeup or skincare can create a barrier, preventing the tint from developing evenly on the brow hairs. Most importantly, always perform a patch test 48 hours before you plan to tint your brows. Apply a small amount of the mixed product to a discreet area of skin, such as behind your ear or on your inner elbow, and leave it for the recommended time before rinsing. This will help ensure you do not have an adverse reaction to the product.
Protecting the Skin from Stains
One of the most common issues with at-home tinting is staining the skin around the eyebrows. To prevent this, create a barrier. Apply a thick layer of a barrier cream, such as petroleum jelly or a dense moisturiser, around the perimeter of your brows using a cotton bud. Be careful not to get any on the brow hairs themselves, as this will prevent the tint from adhering to them.
The Application Process: Technique is Key
With your brows prepped, you are ready for the application. Your technique will determine the final shape and intensity, so it's important to be patient and precise.
Mixing and Applying the Tint
Follow the instructions provided with your tinting kit carefully to mix the colour and developer. The consistency should be a smooth, creamy paste that is not too runny. Use a small, clean applicator tool, such as a spoolie or a fine, angled brush, to apply the mixture. Start applying the tint to the main body and tail of the brow, where you typically want the most definition. Work the product through the hairs, ensuring every strand is coated. Apply the product to the front part of the brows last, as this area should look softer and more diffused for a natural, gradient effect.
Timing is Everything
Adhering to the correct processing time is vital for controlling the colour intensity. Set a timer as soon as you have finished applying the tint. For your first time, it's a good idea to be conservative and choose the lower end of the recommended time range. You can gently wipe a small section of your brow with a damp cotton bud to check the colour development. If it's not dark enough, reapply the tint to that spot and wait another minute or two. It's always better to under-process and re-tint than to over-process and end up with brows that are too dark.
Troubleshooting Common Issues
Even with careful preparation, you might encounter some minor issues. Fortunately, most are easy to fix if you act quickly.
Dealing with Stained Skin
If you notice some tint has stained the skin despite your barrier cream, don't panic. As soon as you remove the tint from your brows, take a cotton pad dampened with a gentle, non-oily makeup remover and gently rub the stained areas. For more stubborn stains, a small amount of a clarifying facial toner can also help to lift the colour. Be gentle to avoid irritating the skin.
How to Soften Overly Intense Colour
If you remove the tint and find your brows are darker than you wanted, there are a few simple ways to soften the colour. Immediately after tinting, you can wash your brows several times with a clarifying shampoo and warm water, lathering gently with your fingertips. This can help to lift the initial intensity from both the hair and any light staining on the skin beneath. This method is most effective when done right away.
Aftercare for Long-Lasting Colour
To keep your freshly tinted brows looking great for as long as possible, a little aftercare goes a long way. This helps maintain the colour and keeps your brow hairs healthy.
- For the first 24 hours, try to avoid getting your brows wet. This allows the colour to fully set.
- Avoid using oil-based cleansers, harsh exfoliants, or strong toning products directly on the brow area, as these can cause the tint to fade more quickly.
- Keep the brow hairs conditioned. Applying a small amount of a gentle brow serum or a natural oil can help keep the hair nourished and prolong the life of your tint.
- Remember that eyebrow tint is semi-permanent. It will naturally fade over a period of 2 to 4 weeks as your skin and hair go through their natural renewal cycles.


