


Perfectly shaped eyebrows can frame the face and enhance your overall appearance. For those new to makeup, an eyebrow pencil is an excellent and accessible tool to start with. It offers control and precision, allowing you to define, shape, and fill in sparse areas for a natural or more defined look. Learning the correct technique for choosing a shade and applying the pencil is fundamental to achieving beautiful, polished brows that complement your features without looking artificial.
How to Choose the Right Eyebrow Pencil Shade
Selecting the correct shade is the most critical step for natural-looking eyebrows. A poorly matched colour can look harsh and unflattering. The goal is to add definition and fullness, not to completely redraw your brows in a new colour.
Match Your Hair Colour, Not Your Brow Colour
A common guideline is to choose a shade based on your hair colour. However, you should aim for a colour that is one or two shades lighter than your hair if you have dark hair, and one or two shades darker if you have very light or blonde hair. This contrast prevents the brows from looking too severe or 'drawn on'.
- For brunettes: Opt for a soft brown or taupe that is slightly lighter than your hair. Avoid black unless your hair is jet black, and even then, a charcoal or dark brown is often a softer, more natural choice.
- For blondes: A light taupe or a soft, ashy blonde pencil works best. Avoid pencils with warm, reddish undertones unless your hair has golden or strawberry blonde tones.
- For redheads: Choose a pencil with warm, auburn undertones that complements the red in your hair.
- For black hair: A charcoal, dark grey, or very deep, cool-toned brown is ideal. A pure black pencil can look very harsh.
- For grey or silver hair: A slate, cool taupe, or soft grey pencil will blend beautifully.
Consider Your Skin's Undertone
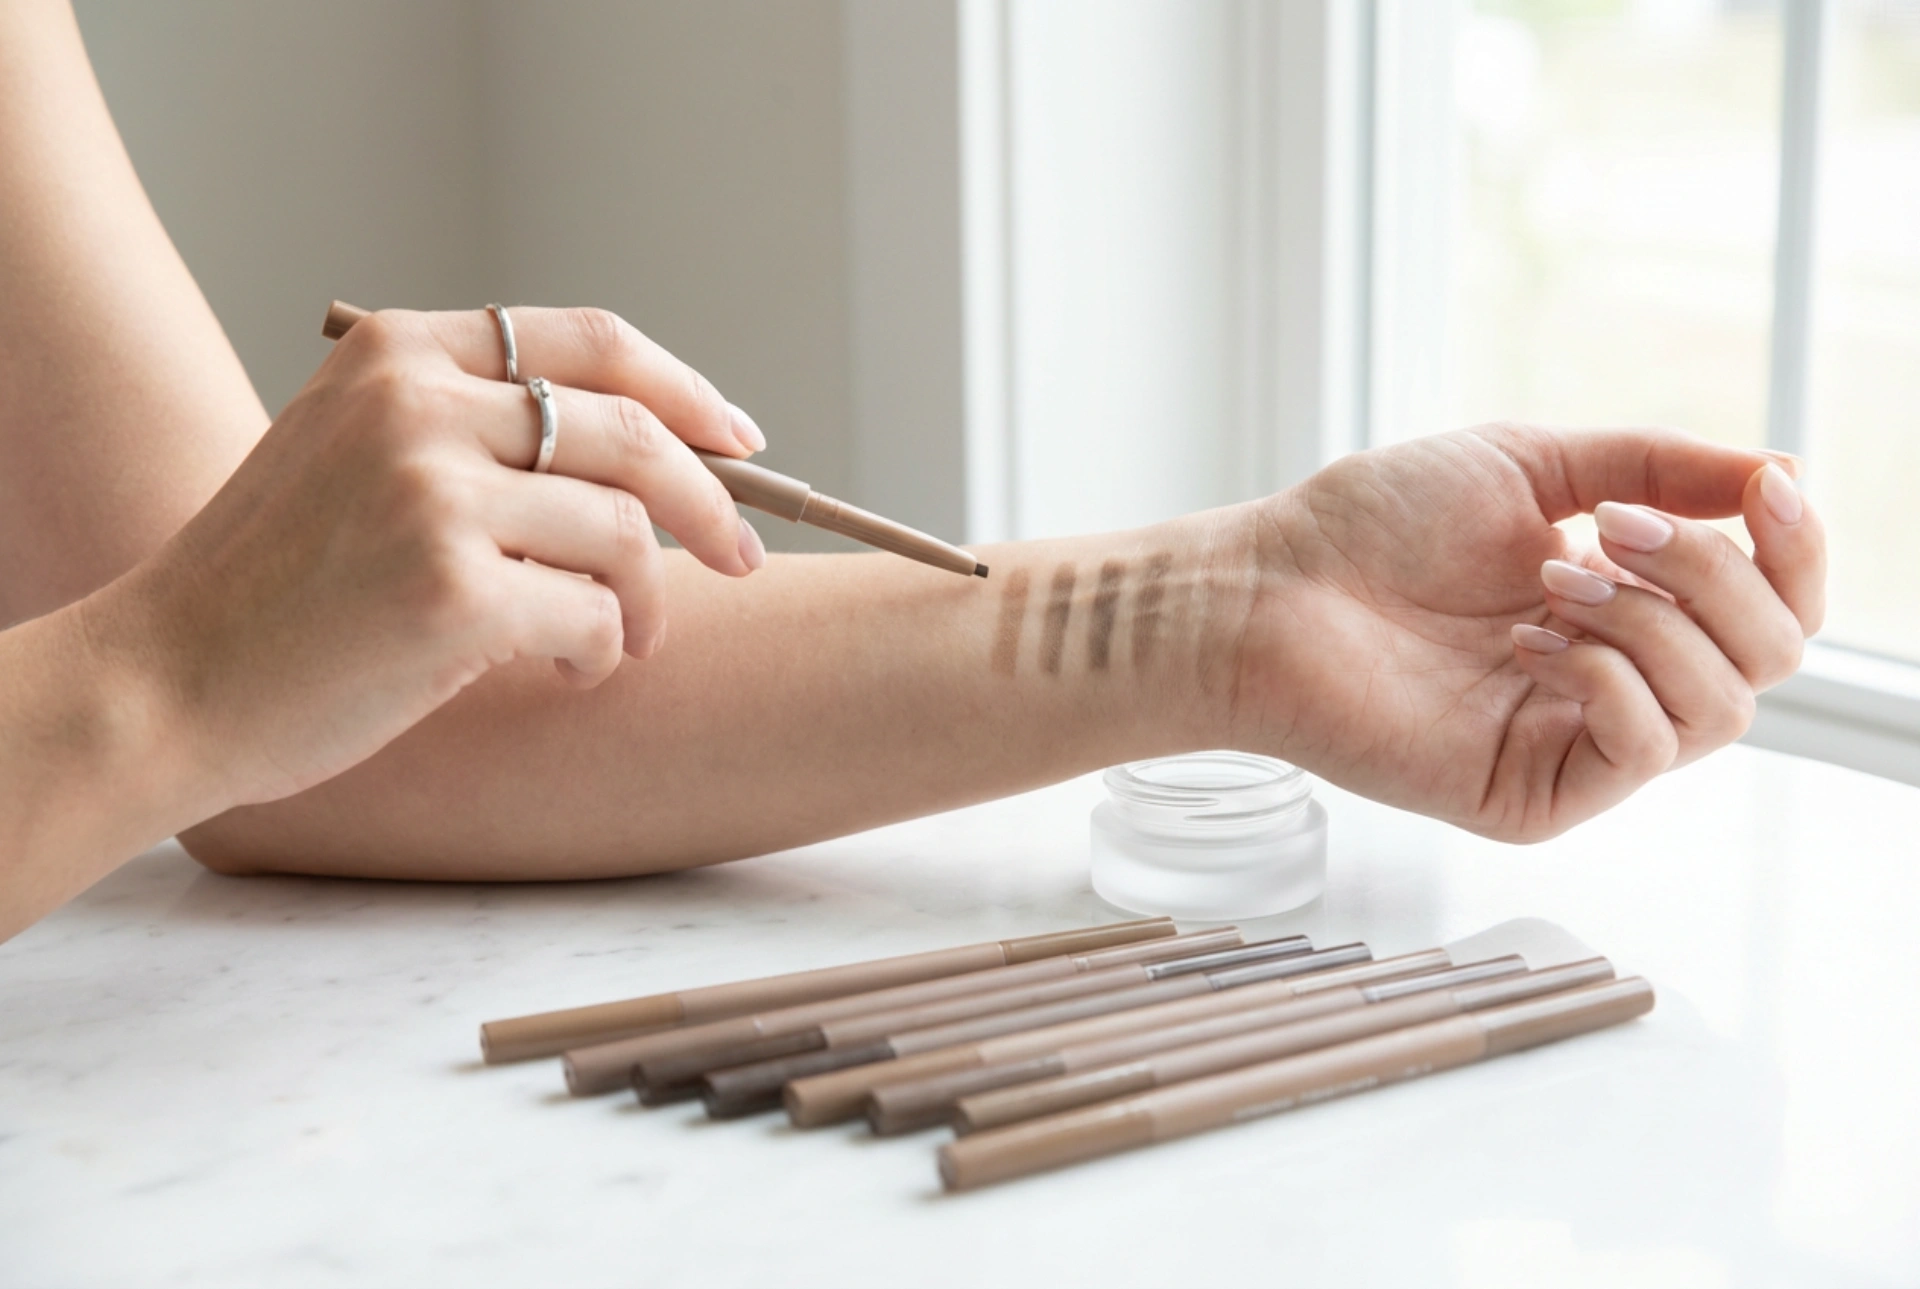
Just like with foundation, your skin's undertone (cool, warm, or neutral) plays a role. If you have cool undertones, look for ashy, taupe, or grey-based browns. If you have warm undertones, pencils with a hint of red or gold will be more flattering. Test a swatch on your jawline to see how the colour looks against your skin in natural light.
Preparing Your Brows for Application
Before you pick up the pencil, a little preparation goes a long way in ensuring a smooth and lasting application. Start with a clean, dry face. Ensure there is no moisturiser or foundation residue on your brow hairs, as this can cause the pencil to slip or appear patchy.
Using a clean spoolie brush (the mascara-like wand often found on the other end of an eyebrow pencil), brush your brow hairs upwards and outwards. This helps you see the natural shape of your brow and identify any sparse areas that need filling. It also trains the hairs to lie in a neat, uniform direction.
The Step-by-Step Drawing Technique
Once you have the right shade and your brows are prepped, it's time to apply the pencil. The key is to use light, deliberate motions to mimic the look of natural hair.
1. Map Your Brows
To ensure your brows are symmetrical and suited to your face shape, you can use a simple mapping technique. Hold the pencil vertically against the side of your nose. This is where your brow should begin. Next, angle the pencil from the side of your nose through your pupil; this is where your arch should be. Finally, pivot the pencil to align with the outer corner of your eye; this is where your brow should end.
2. Use Light, Hair-Like Strokes
Instead of drawing a solid, hard line, use the tip of a sharpened pencil to create short, feathery strokes in the direction of your natural hair growth. Start filling in from the middle of the brow towards the tail, as this area is typically the darkest. Use a lighter hand as you move towards the inner part of the brow to create a softer, more natural gradient effect. Concentrate on filling in sparse patches rather than colouring the entire brow.
3. Blend, Blend, Blend
This is a non-negotiable step for a natural finish. After applying the pencil, take your spoolie brush again and gently brush through your eyebrows. This softens any harsh lines, distributes the pigment evenly, and blends the product seamlessly with your natural brow hairs. Brush upwards and outwards to maintain the lifted, groomed shape.
Common Mistakes to Avoid
For beginners, a few common errors can make eyebrows look unnatural. Being aware of them can help you achieve a professional result.
- Choosing a shade that's too dark: This is the most frequent mistake. It creates a severe and artificial look. Always err on the side of a lighter, more subtle shade.
- Applying too much pressure: A heavy hand leads to a blocky, 'stencilled' appearance. Remember to use light, sketchy motions.
- Creating a harsh inner corner: The start of your brows should be soft and diffused. Avoid drawing a square or hard line at the beginning of the brow.
- Forgetting to blend: Skipping the blending step leaves visible pencil marks. A spoolie is essential for a soft, integrated look.
With a little practice, using an eyebrow pencil will become a quick and easy part of your makeup routine, giving you beautifully defined brows that perfectly frame your face.


