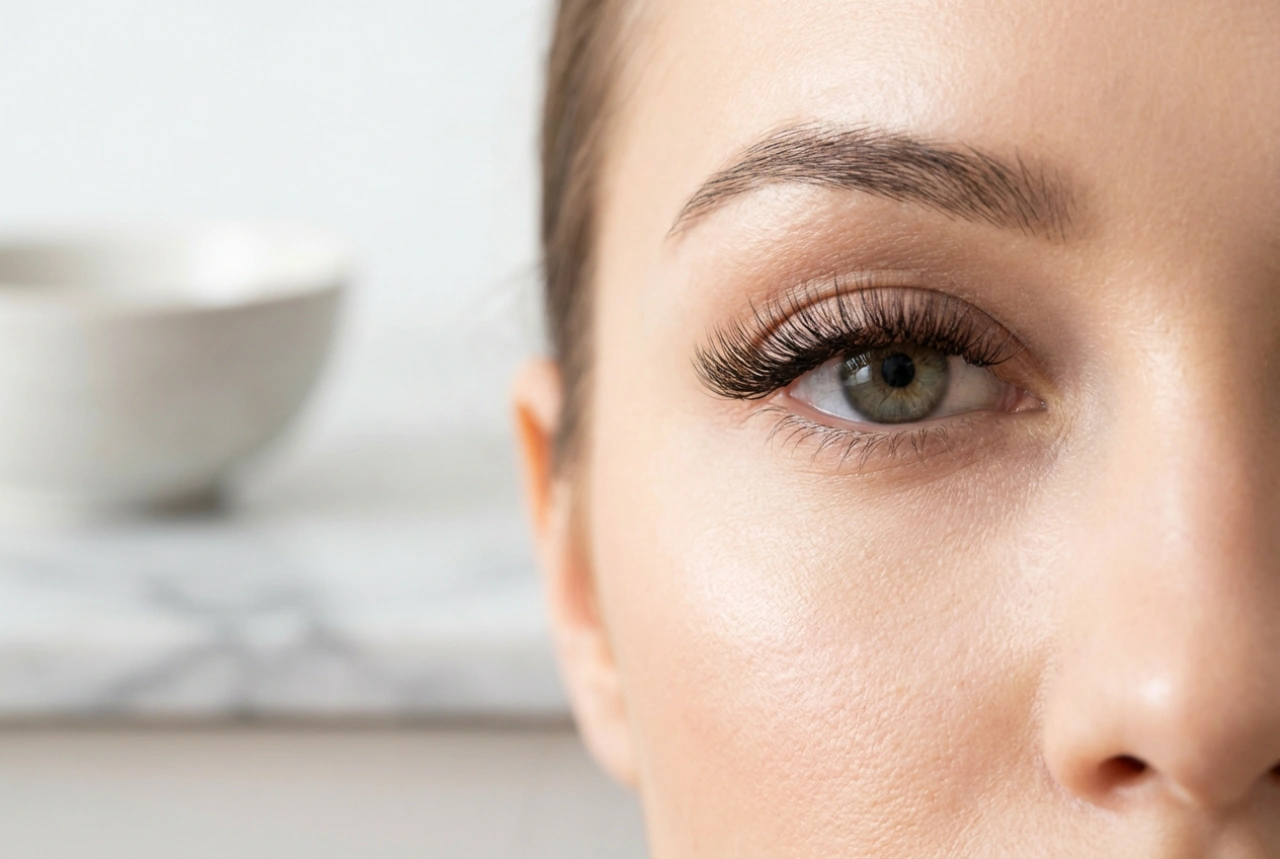


The iconic, wispy lash look, often associated with celebrity red carpet styles, has become a major beauty trend. Characterised by its artful texture and defined 'spikes', this look offers drama without the uniformity of traditional strip lashes. The great news is that achieving this striking, eye-opening effect is possible at home with the right technique and a set of lash clusters. It is a process that rewards precision, allowing you to create a customised look that enhances your unique eye shape.
What Defines the 'Kim K' Lash Style?
This particular lash style is all about texture and dimension. It is not simply about adding volume; it's about creating a deliberate, spiky appearance. The look is built by combining different lengths of lashes in a specific pattern.
- A Textured Base: The foundation of the look is a relatively full, but not overly dense, layer of shorter lashes. This creates a dark lash line and provides a backdrop for the more dramatic elements.
- Prominent 'Spikes': The defining feature is the placement of longer, often thinner, lash clusters at strategic intervals across the lash line. These 'spikes' or 'rays' stand out from the shorter base, creating that signature textured and wispy finish.
- A Hybrid Effect: The final result is a hybrid between a natural look and a full volume set. It opens up the eye and adds a touch of glamour that feels both intentional and sophisticated.
Preparing for At-Home Application
Proper preparation is the key to a smooth application process and a long-lasting result. Before you begin, gather your tools and prepare your natural lashes to ensure the best possible adhesion and a seamless blend.
Choosing Your Lash Clusters
To create the spiky effect, you will need lash clusters in a variety of lengths. Most 'DIY lash extension' kits come with a tray offering multiple lengths, which is ideal for this style. Typically, you will need at least three different sizes: a shorter length for the main base (e.g., 10mm-12mm), a medium length for blending, and a longer length for the spikes (e.g., 14mm-16mm).
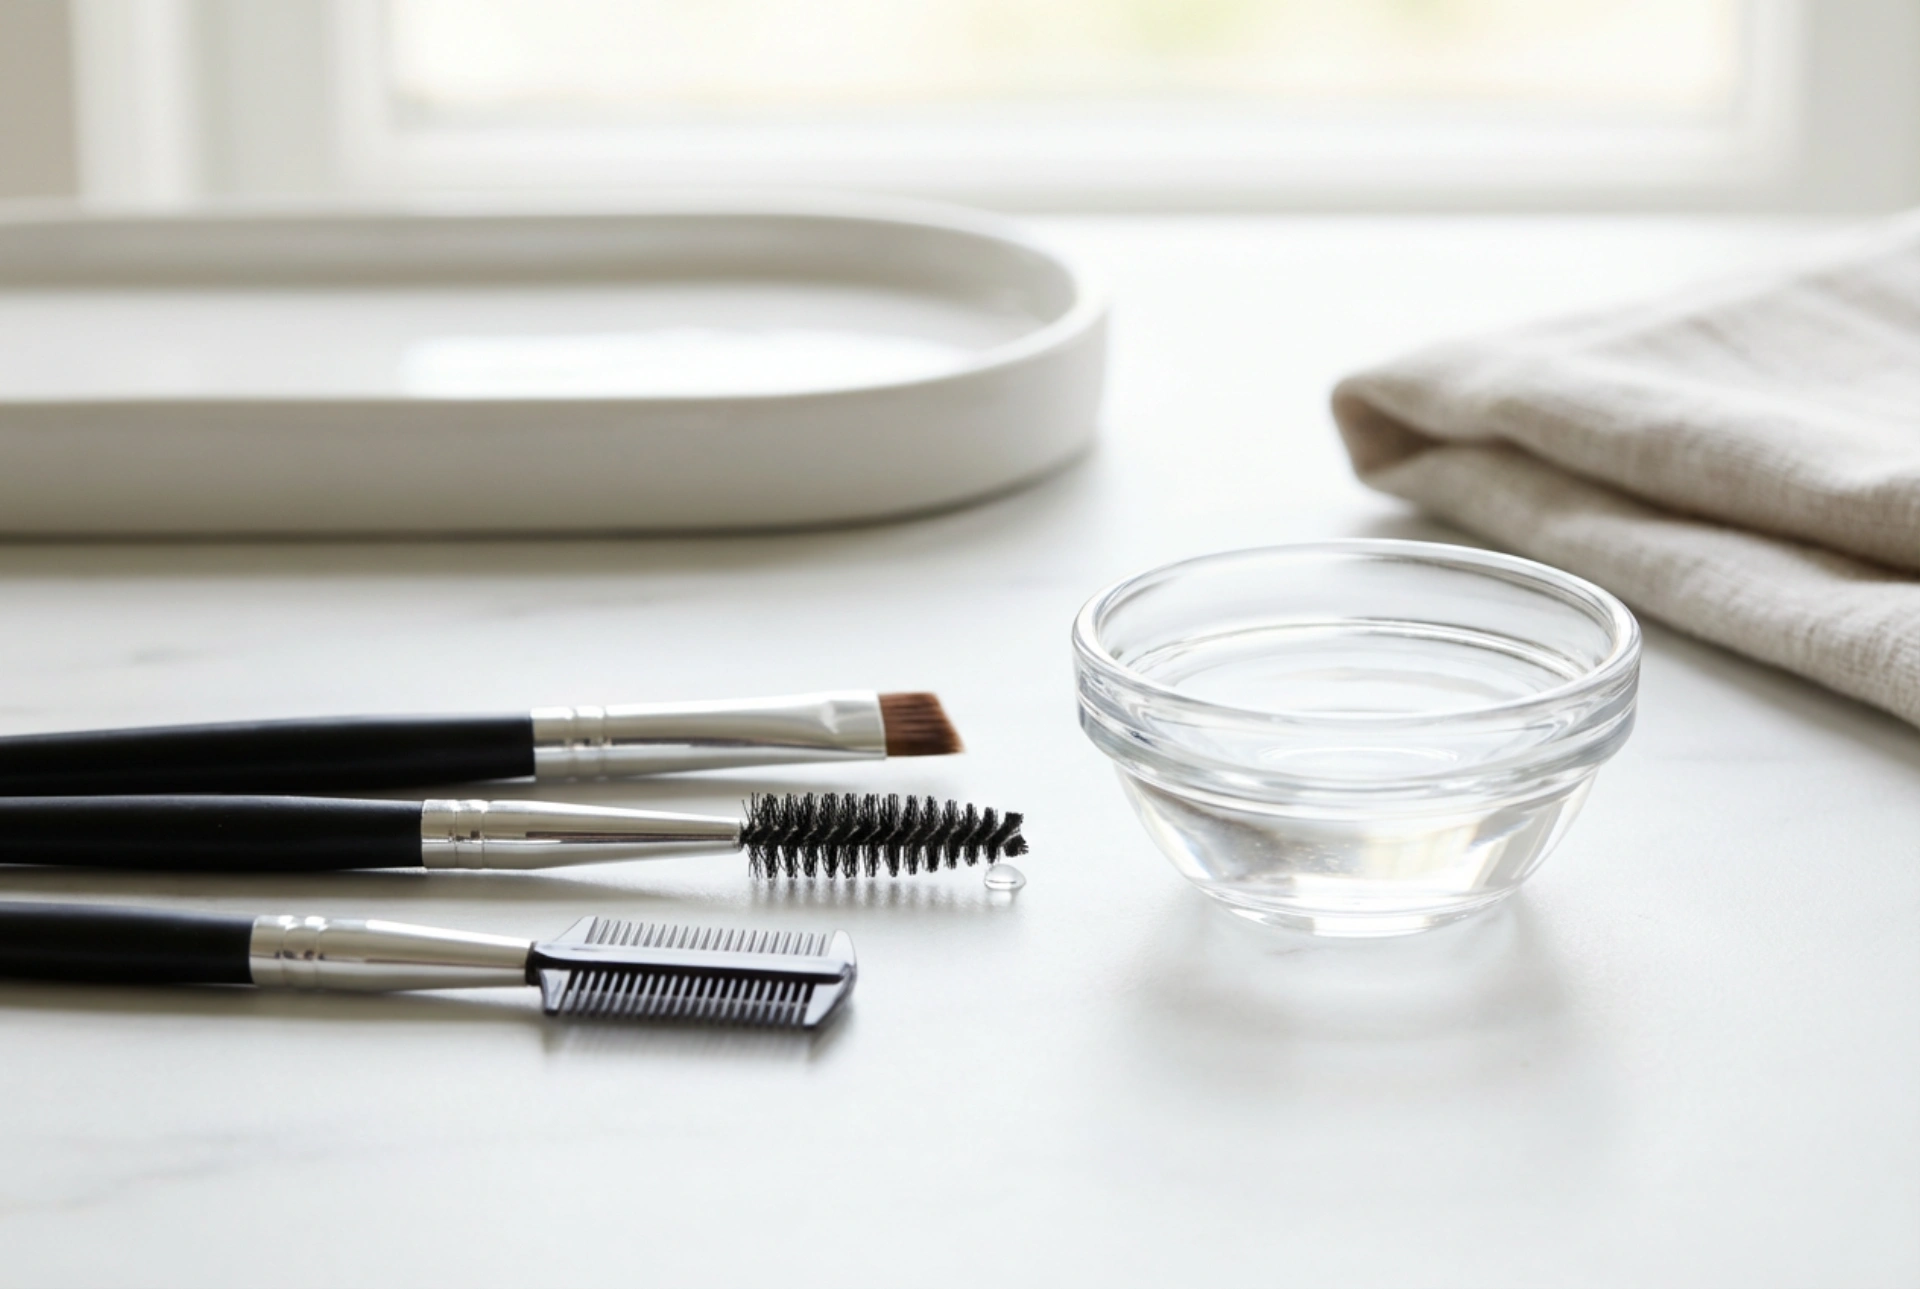
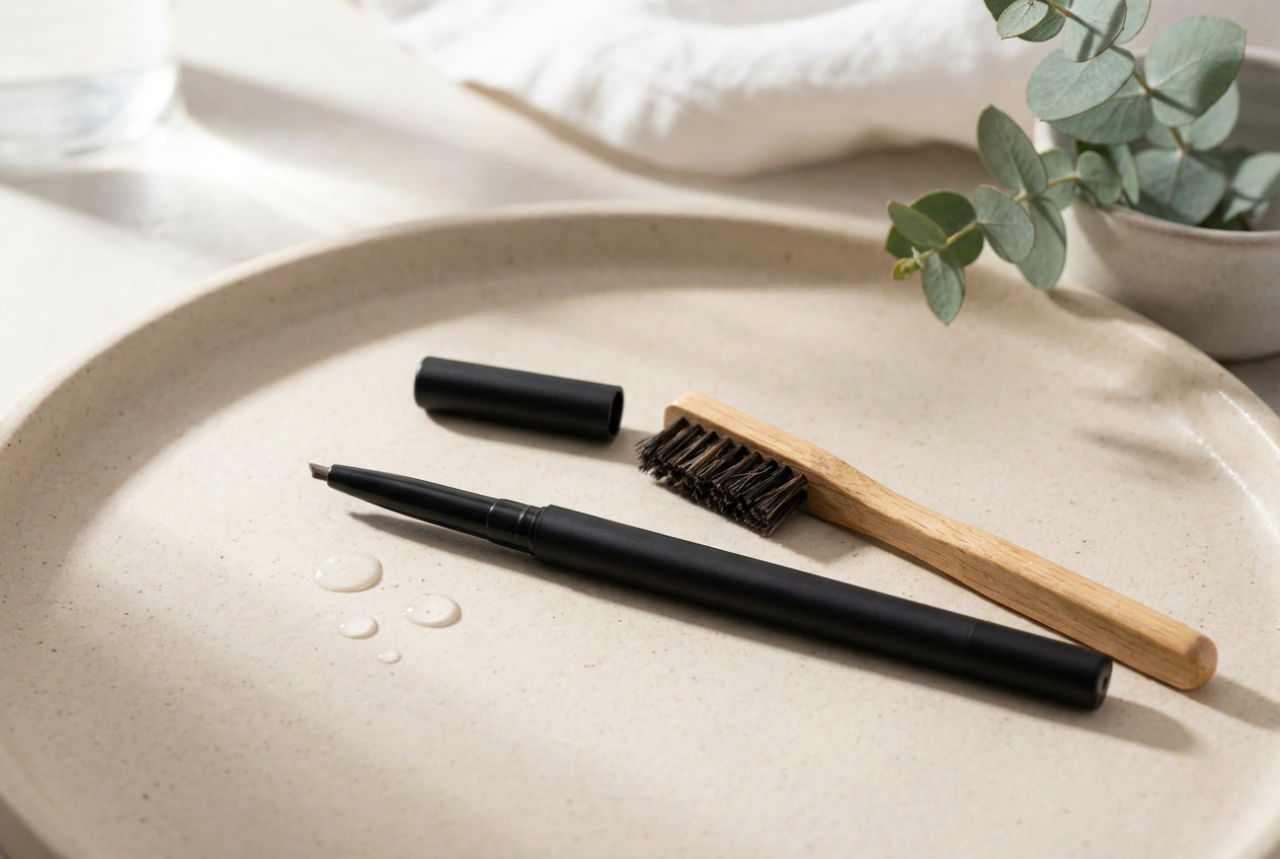
Essential Tools
- Lash Clusters: A multi-length pack is essential.
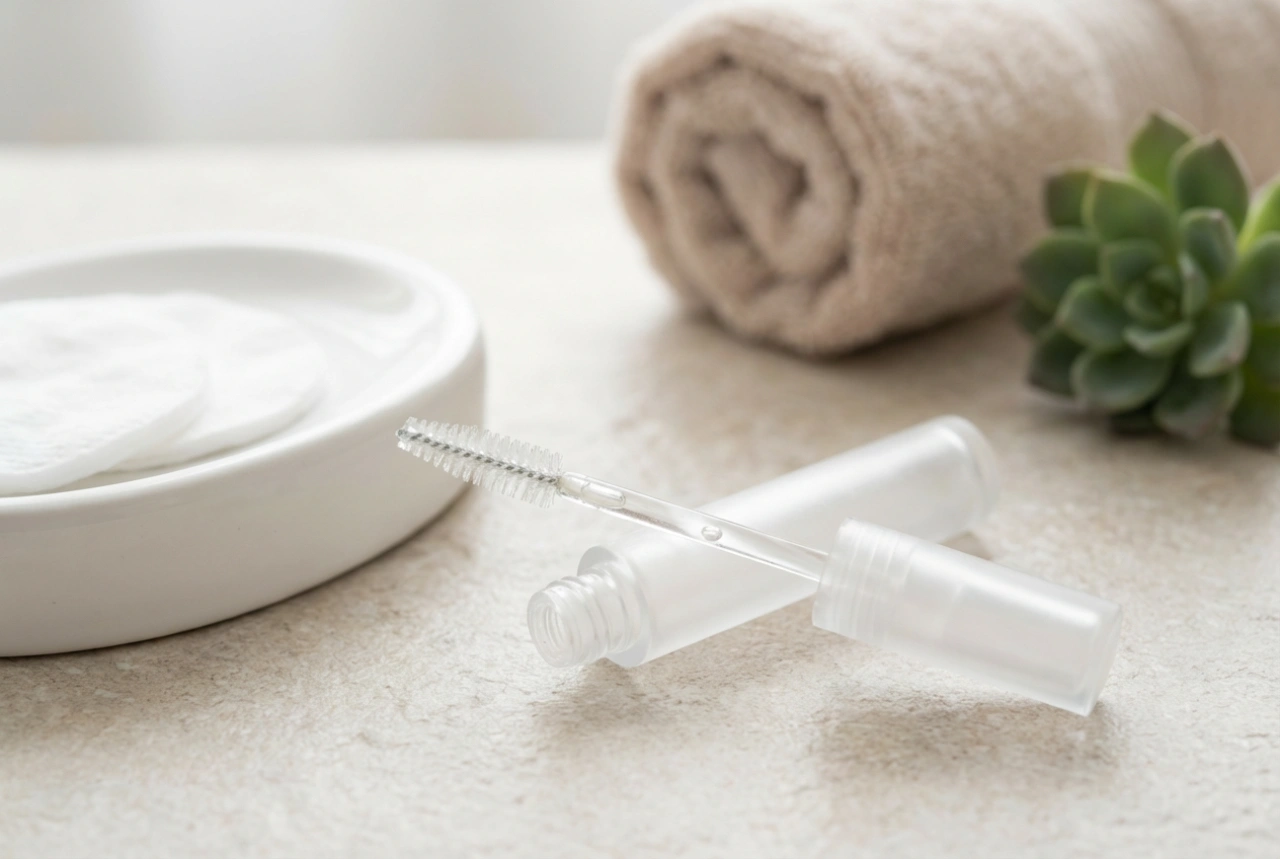
- Lash Adhesive: A 'bond and seal' type adhesive is recommended for multi-day wear. The bond is applied first, and the seal is applied last to set the lashes and remove tackiness.
- Lash Applicator or Tweezers: A dedicated lash applicator with a curved tip can make placement easier.
- A Magnifying Mirror: This helps you see your lash line up close for precise application.
- Lash Spoolie: For brushing through lashes before and after application.
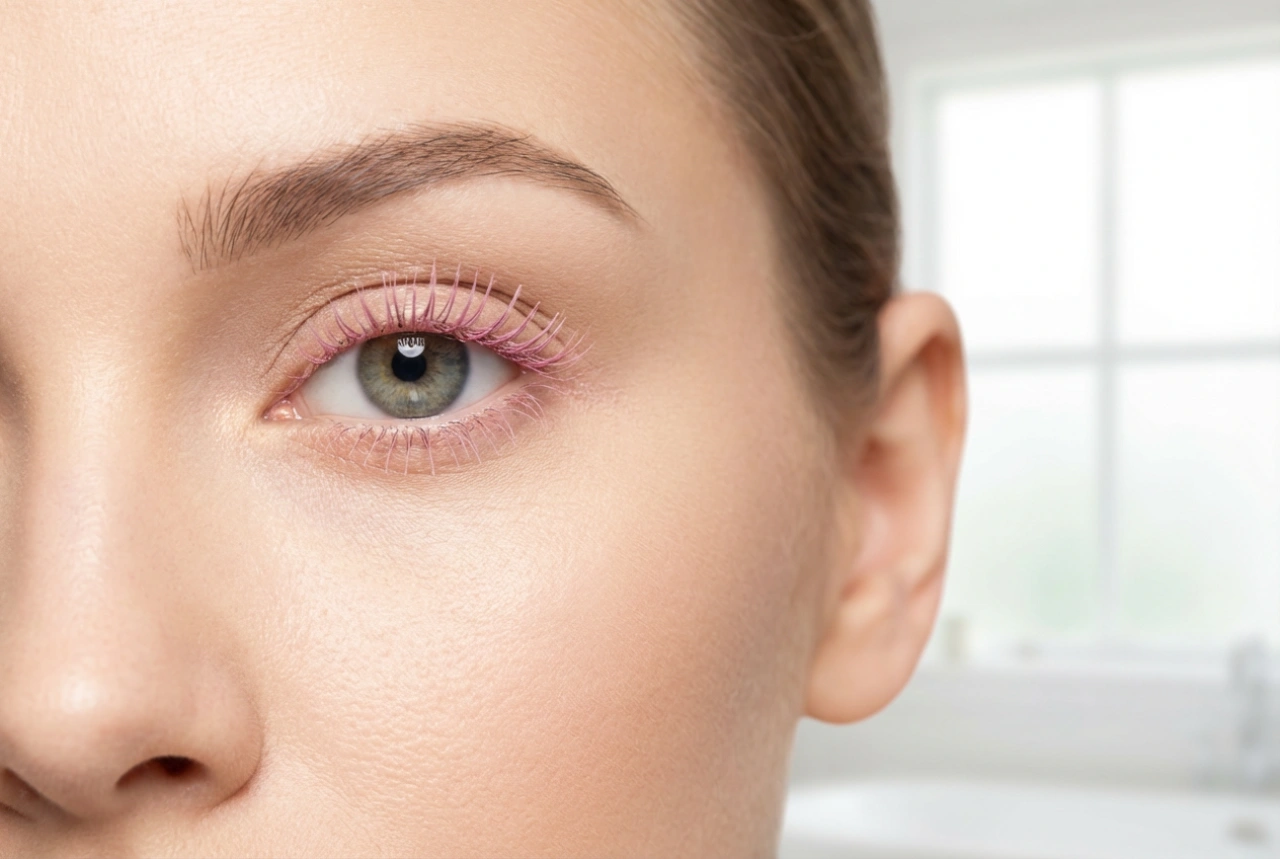
Prepping Your Natural Lashes
Start with a completely clean canvas. Any oil or residue on your natural lashes will prevent the adhesive from working correctly. Use a gentle, oil-free cleanser or micellar water to clean your lashes thoroughly, and ensure they are completely dry before you start. For an extra lift, you can curl your natural lashes with a lash curler before applying the bond.
Step-by-Step Guide to Creating the Look
With your tools ready and your lashes prepped, you can begin the application. The key is to map out your look before you start placing the longer spikes.
Step 1: Apply the Bond
Working on one eye at a time, apply a thin layer of the 'bond' adhesive to the base of your natural lashes, similar to how you would apply mascara. Focus the product on the bottom third of your lashes, near the root. Avoid applying it all the way to the tips.
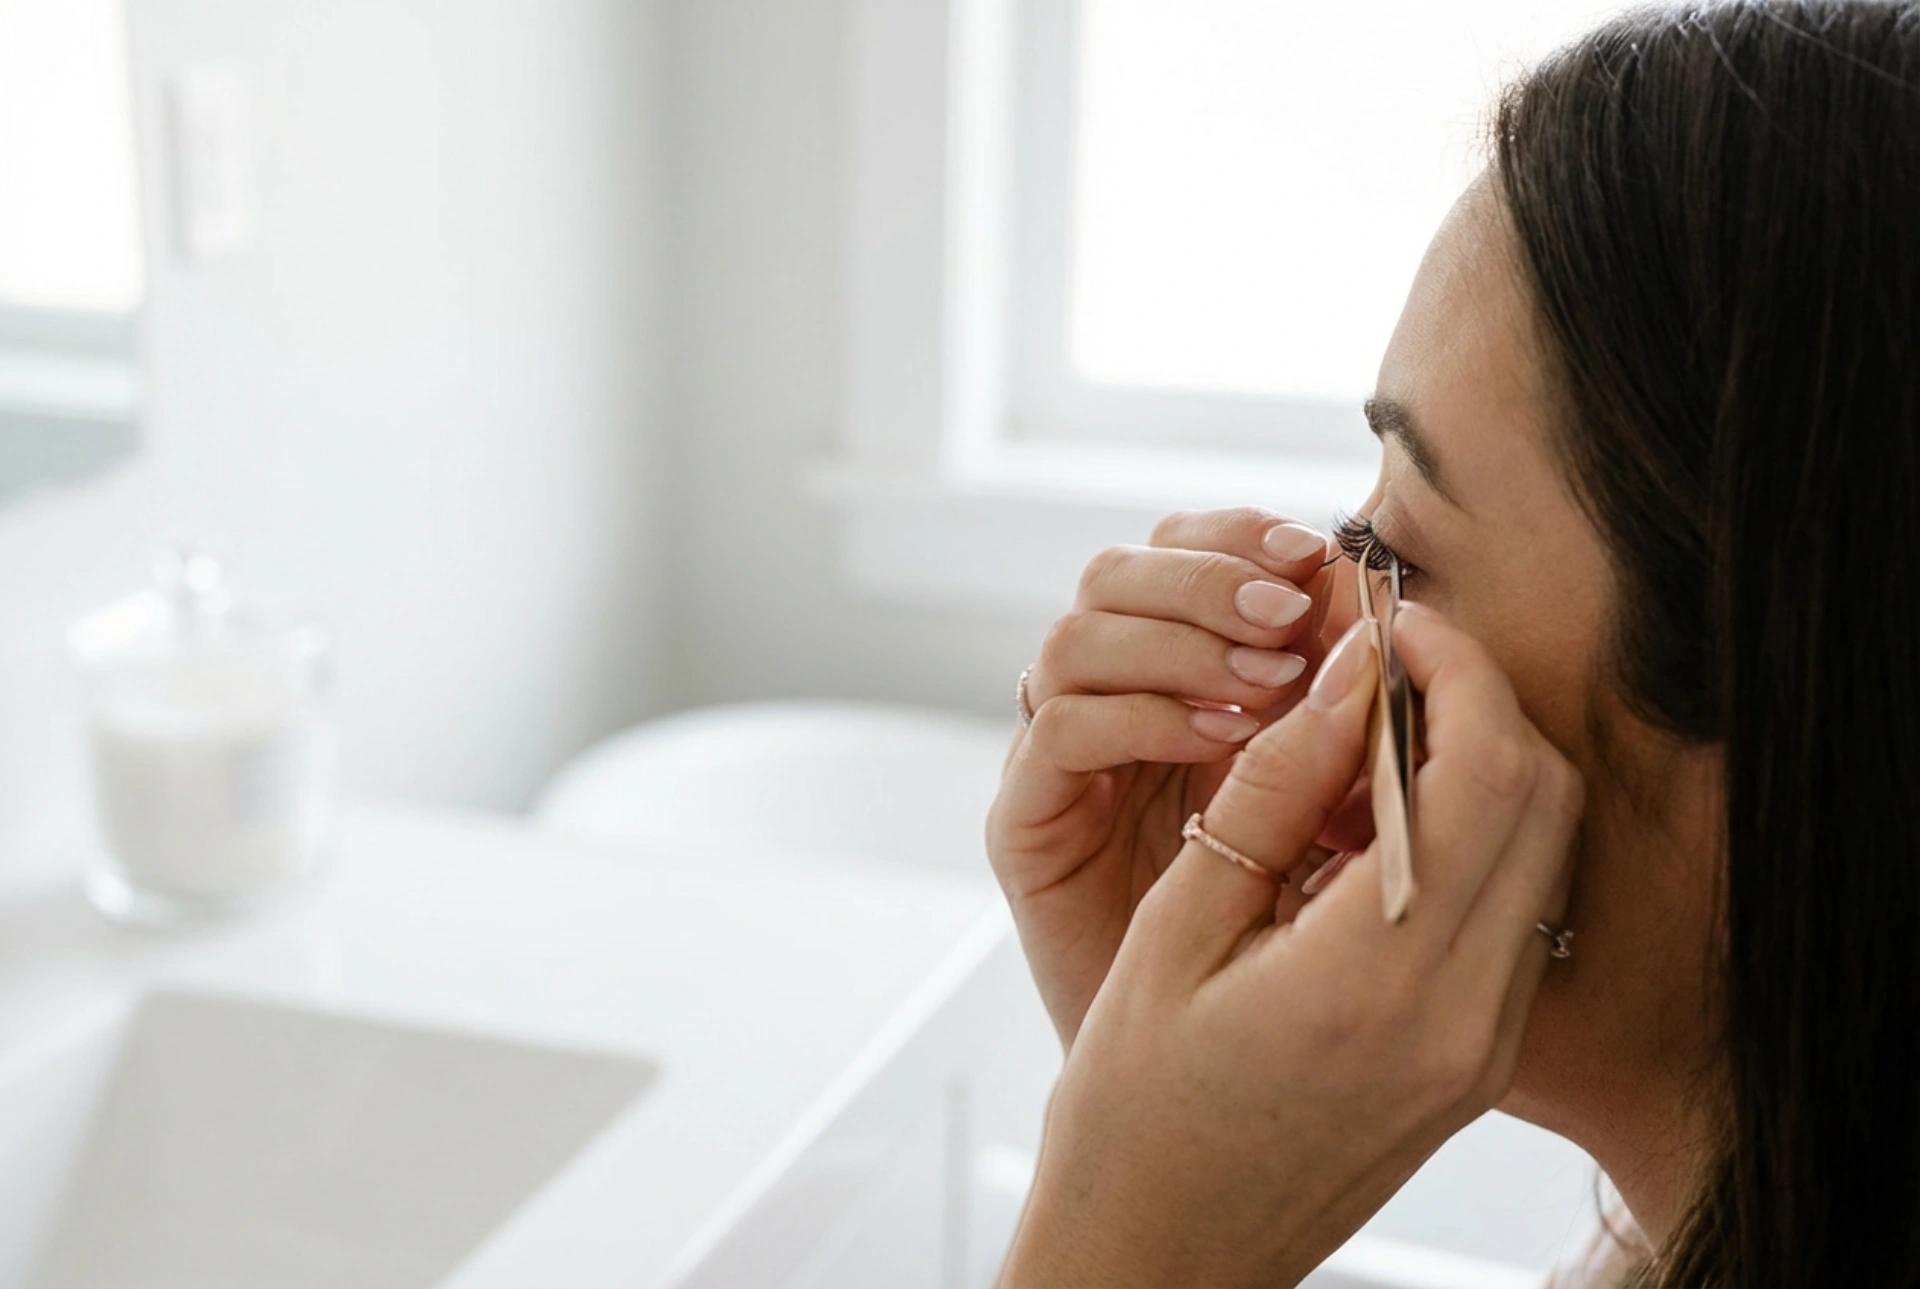
Step 2: Create the Base Layer
Using your shorter and medium-length clusters (e.g., 10mm and 12mm), begin creating the base. Pick up a cluster with your tweezers and place it underneath your natural lash line, starting from either the outer or inner corner. Placing clusters underneath your lashes creates a more seamless, professional look with no visible band. Continue placing these shorter clusters next to each other until you have a full, even base layer across your eye.
Step 3: Map and Place the Spikes
This is where the artistry comes in. Identify where you want your longest points to be. A common map involves placing a long spike (e.g., 16mm) near the centre of your iris to open up the eye, and another one towards the outer third of your eye for a cat-eye effect. You can also add smaller spikes in between. Using your longest clusters, carefully place them at these pre-determined points. These spikes should be noticeably longer than the base layer you have already applied.
Step 4: Blend and Seal
Examine your lashes for any obvious gaps. You can use individual shorter clusters to fill in any sparse areas for a fuller look. Once you are happy with the placement, apply the 'seal' product. Lightly dab it at the base of the clusters where you applied the bond. This removes any sticky residue and locks the lashes in place. Finally, you can gently clamp your natural lashes and the clusters together with your applicator to ensure a secure bond.
Aftercare and Safe Removal
Making Your Lashes Last
To prolong the life of your at-home lash extensions, avoid using oil-based cleansers or makeup removers around the eye area, as oil breaks down the adhesive. Be gentle when washing your face and avoid rubbing your eyes. You can brush through them each morning with a clean spoolie to keep them neat.
The Removal Process
Never pull or pick at the lash clusters. To remove them safely, you need a dedicated lash adhesive remover or an oil-based makeup remover. Saturate a cotton pad with the remover and hold it against your closed eye for 30-60 seconds to allow the product to dissolve the bond. The clusters should then slide off your natural lashes with gentle pressure. If they don't, apply more remover and wait longer. After removal, cleanse your natural lashes to get rid of any residue.