A special event like a wedding is the perfect occasion to adorn yourself with an elegant hairstyle that complements your outfit and makes you feel truly special. Achieving a polished, intricate-looking updo doesn't always require a visit to a professional hairdresser. With a bit of practice and the right techniques, you can create a stunning style in the comfort of your own home, ensuring your hair looks healthy, shiny, and perfectly coiffed for the celebration.
Preparation: The Foundation for a Flawless Hairstyle
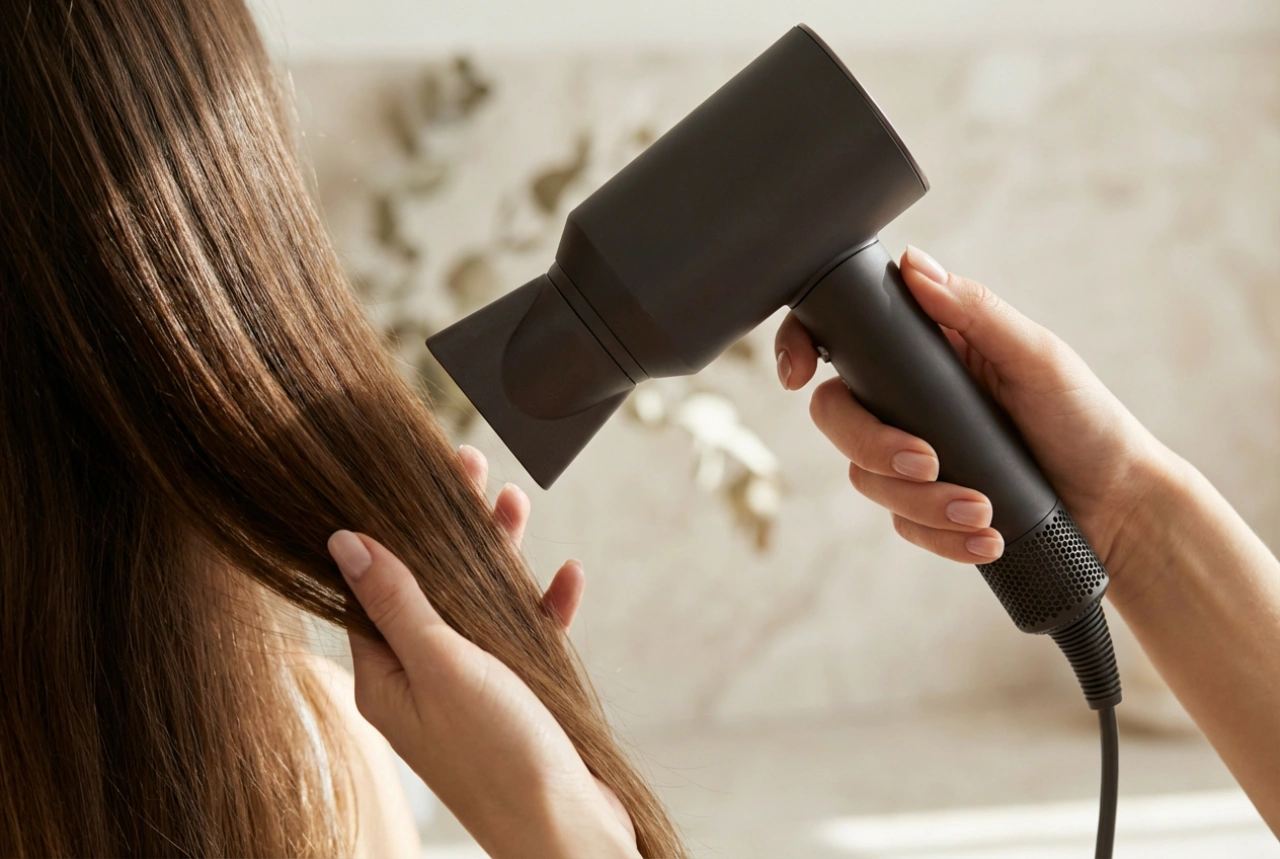
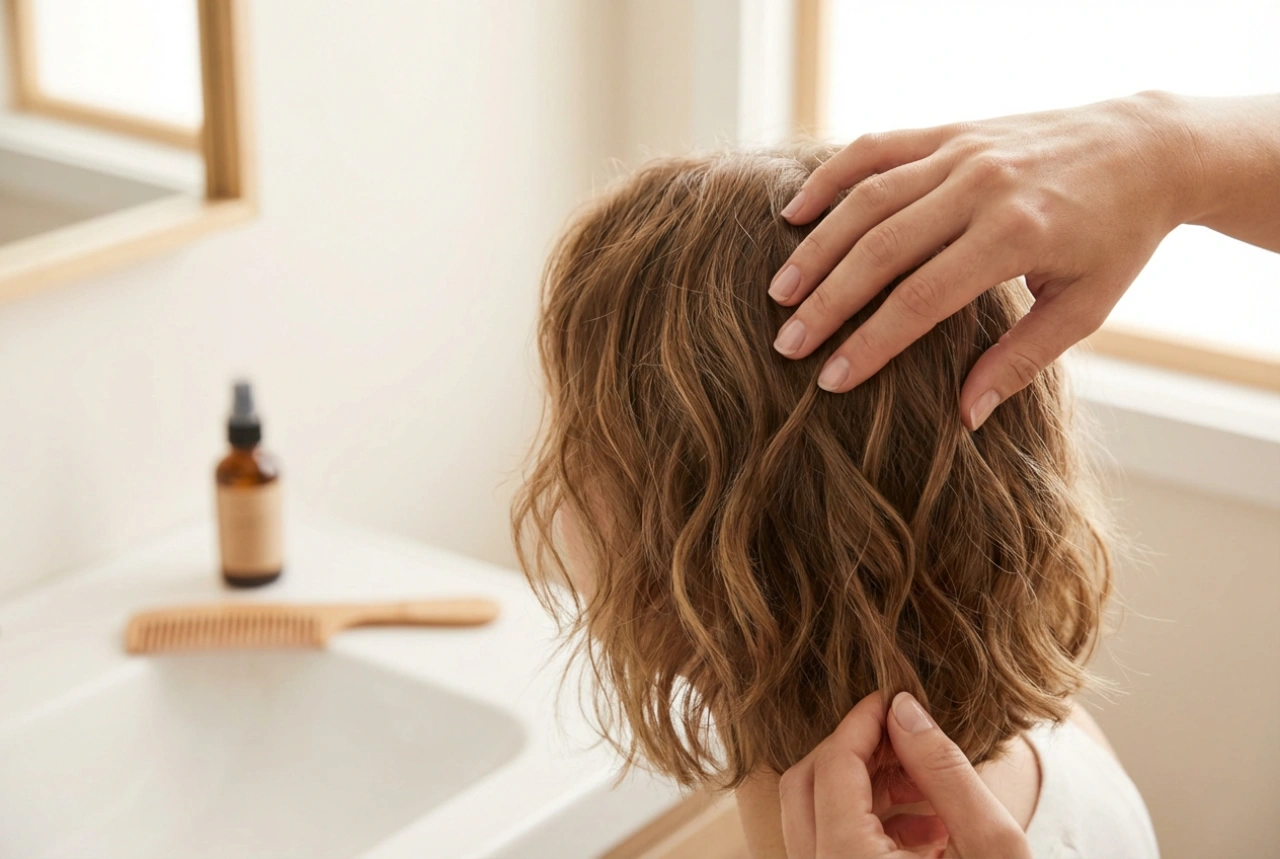
The key to a long-lasting and beautiful updo begins well before you start styling. For best results, wash your hair the day before the event, not on the day itself. Slightly 'lived-in' hair has more grip and texture, making it easier to style and helping it hold its shape. When you do wash it, use a volumising shampoo and a light conditioner, focusing the conditioner on the ends to avoid weighing down the roots. Before blow-drying, apply a texturising mousse or spray throughout your hair to build body and hold. Ensure your hair is completely dry and thoroughly brushed to remove any knots before you begin styling.
Creating a Classic Low Bun: Step-by-Step
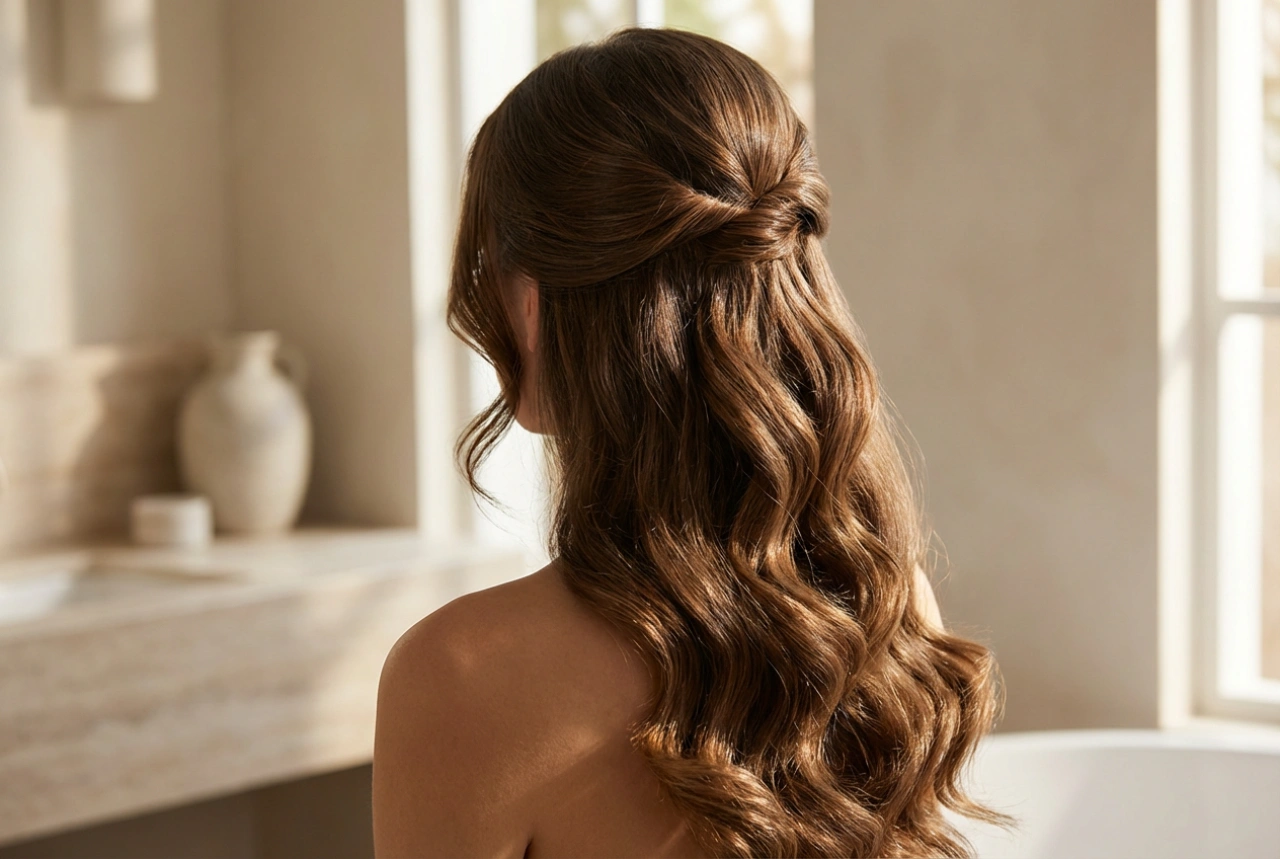
This timeless and sophisticated low bun is surprisingly simple to create but looks effortlessly elegant. It works best on medium to long hair.
Step 1: Create a Low Ponytail
Start by smoothly brushing your hair back. For a sleek look, use a comb to eliminate any bumps. Gather all your hair at the nape of your neck and secure it with a hair elastic. For a softer, more romantic style, you can leave a few small strands out at the front to frame your face.
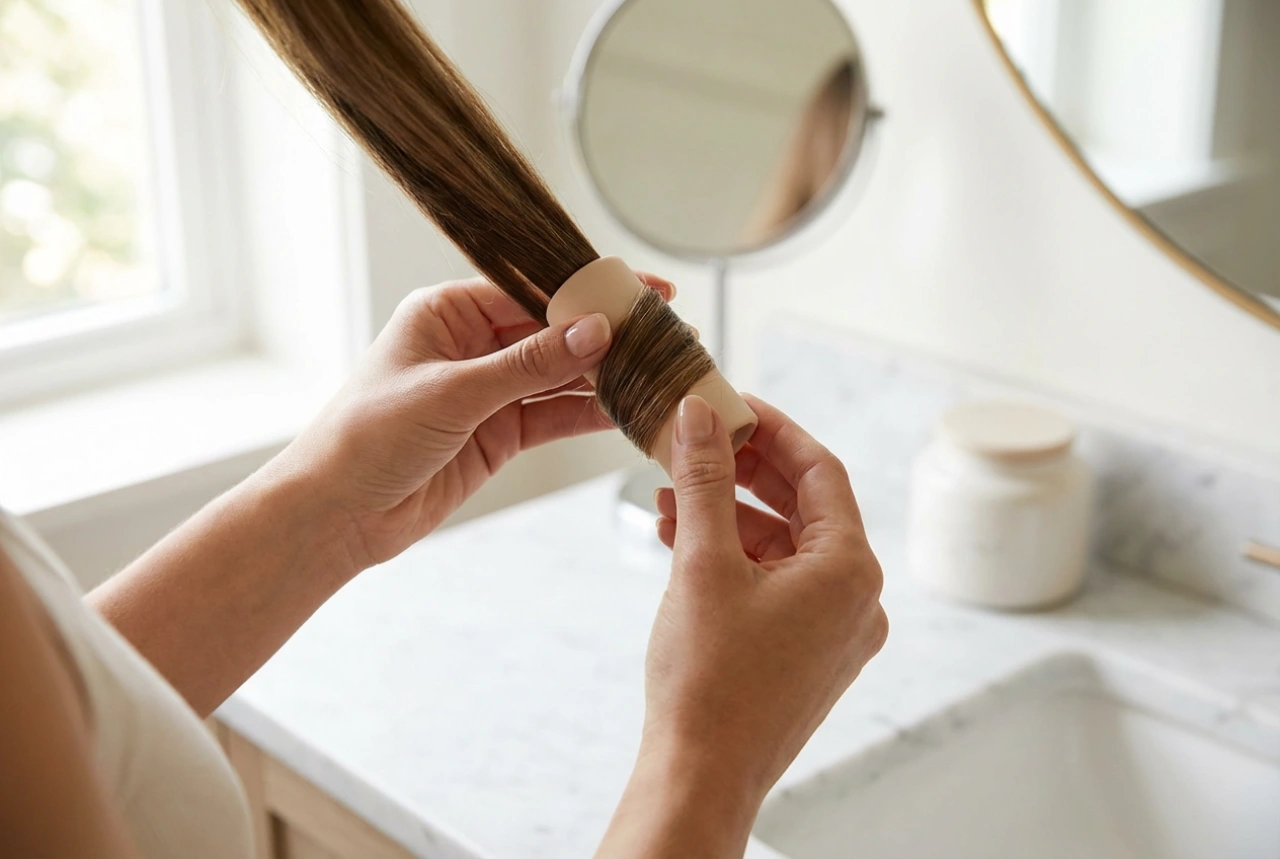
Step 2: Twist and Form the Bun
Divide the ponytail into two equal sections. Twist each section individually in the same direction until they are tightly coiled. Next, wrap the two twisted sections around each other to form a single 'rope'. Gently wrap this twisted rope of hair around the base of the ponytail, creating the bun shape. Tuck the ends underneath the bun to hide them.
Step 3: Secure and Perfect the Shape
Use bobby pins to secure the bun firmly in place. Insert the pins around the edges of the bun, pushing them into the base of the ponytail to anchor it. Don't be afraid to use plenty of pins for extra security. Once the bun is stable, you can gently pull on small sections of the twist and the hair at your crown to add volume and create a softer, slightly 'undone' look. This technique, often called 'pancaking', adds dimension and a modern touch to the classic style.
Essential Tools and Finishing Touches
Having the right tools on hand will make the styling process much smoother. You don't need a professional kit, just a few key items. Make sure you have:
- A good quality hairbrush and a fine-toothed comb
- Hair elastics that match your hair colour
- Bobby pins and U-shaped hairpins
- A strong-hold hairspray
- Optional: A light shine spray for a glossy finish
Once your updo is complete and secure, you can add a final touch of elegance with a delicate hair accessory. A simple, pearled hairpin, a small decorative comb inserted at the side of the bun, or even a subtle, jewelled clip can elevate the entire look. Choose something that complements your jewellery and outfit without overwhelming the hairstyle.
Tips for a Long-Lasting Updo
To ensure your elegant hairstyle lasts from the ceremony through to the last dance, a few final steps are crucial. First, give your entire head a generous misting of strong-hold hairspray, holding the can about 30 centimetres away to ensure an even, non-sticky coating. If you left strands out to frame your face, give them a light curl with a styling wand and a gentle spritz of hairspray. It is highly recommended to do a trial run of the hairstyle a few days before the wedding. This allows you to get comfortable with the steps and make any adjustments, ensuring a stress-free and successful styling session on the big day.