


Perfectly sculpted eyebrows frame the face and complete any look, but achieving that polished finish often comes down to the tools you use. While pencils and powders are essential, the right eyebrow brush is the secret to flawless application, allowing for precision and a natural appearance. Understanding the different types of brushes and how to use them can transform your brow routine from simple filling-in to an art form. This guide will help you navigate the world of eyebrow brushes to achieve beautifully defined brows with ease.
Why the Right Eyebrow Brush Matters
Using a specialised eyebrow brush offers a level of control that fingertips or the applicators included with some products simply cannot match. A high-quality brush allows you to deposit colour exactly where you need it, create realistic hair-like strokes, and blend product seamlessly for a soft, non-powdery finish. The density, stiffness, and shape of the bristles all play a crucial role. A firm, angled brush provides structure and definition, while a softer spoolie is perfect for grooming and blending. Choosing the correct tool is the first step towards mastering your brow look, whether you prefer them bold and dramatic or soft and natural.
Types of Eyebrow Brushes and Their Uses
While there are many variations, two brushes are fundamental for most eyebrow routines. Understanding their specific functions will help you build your perfect toolkit.
The Angled Brush
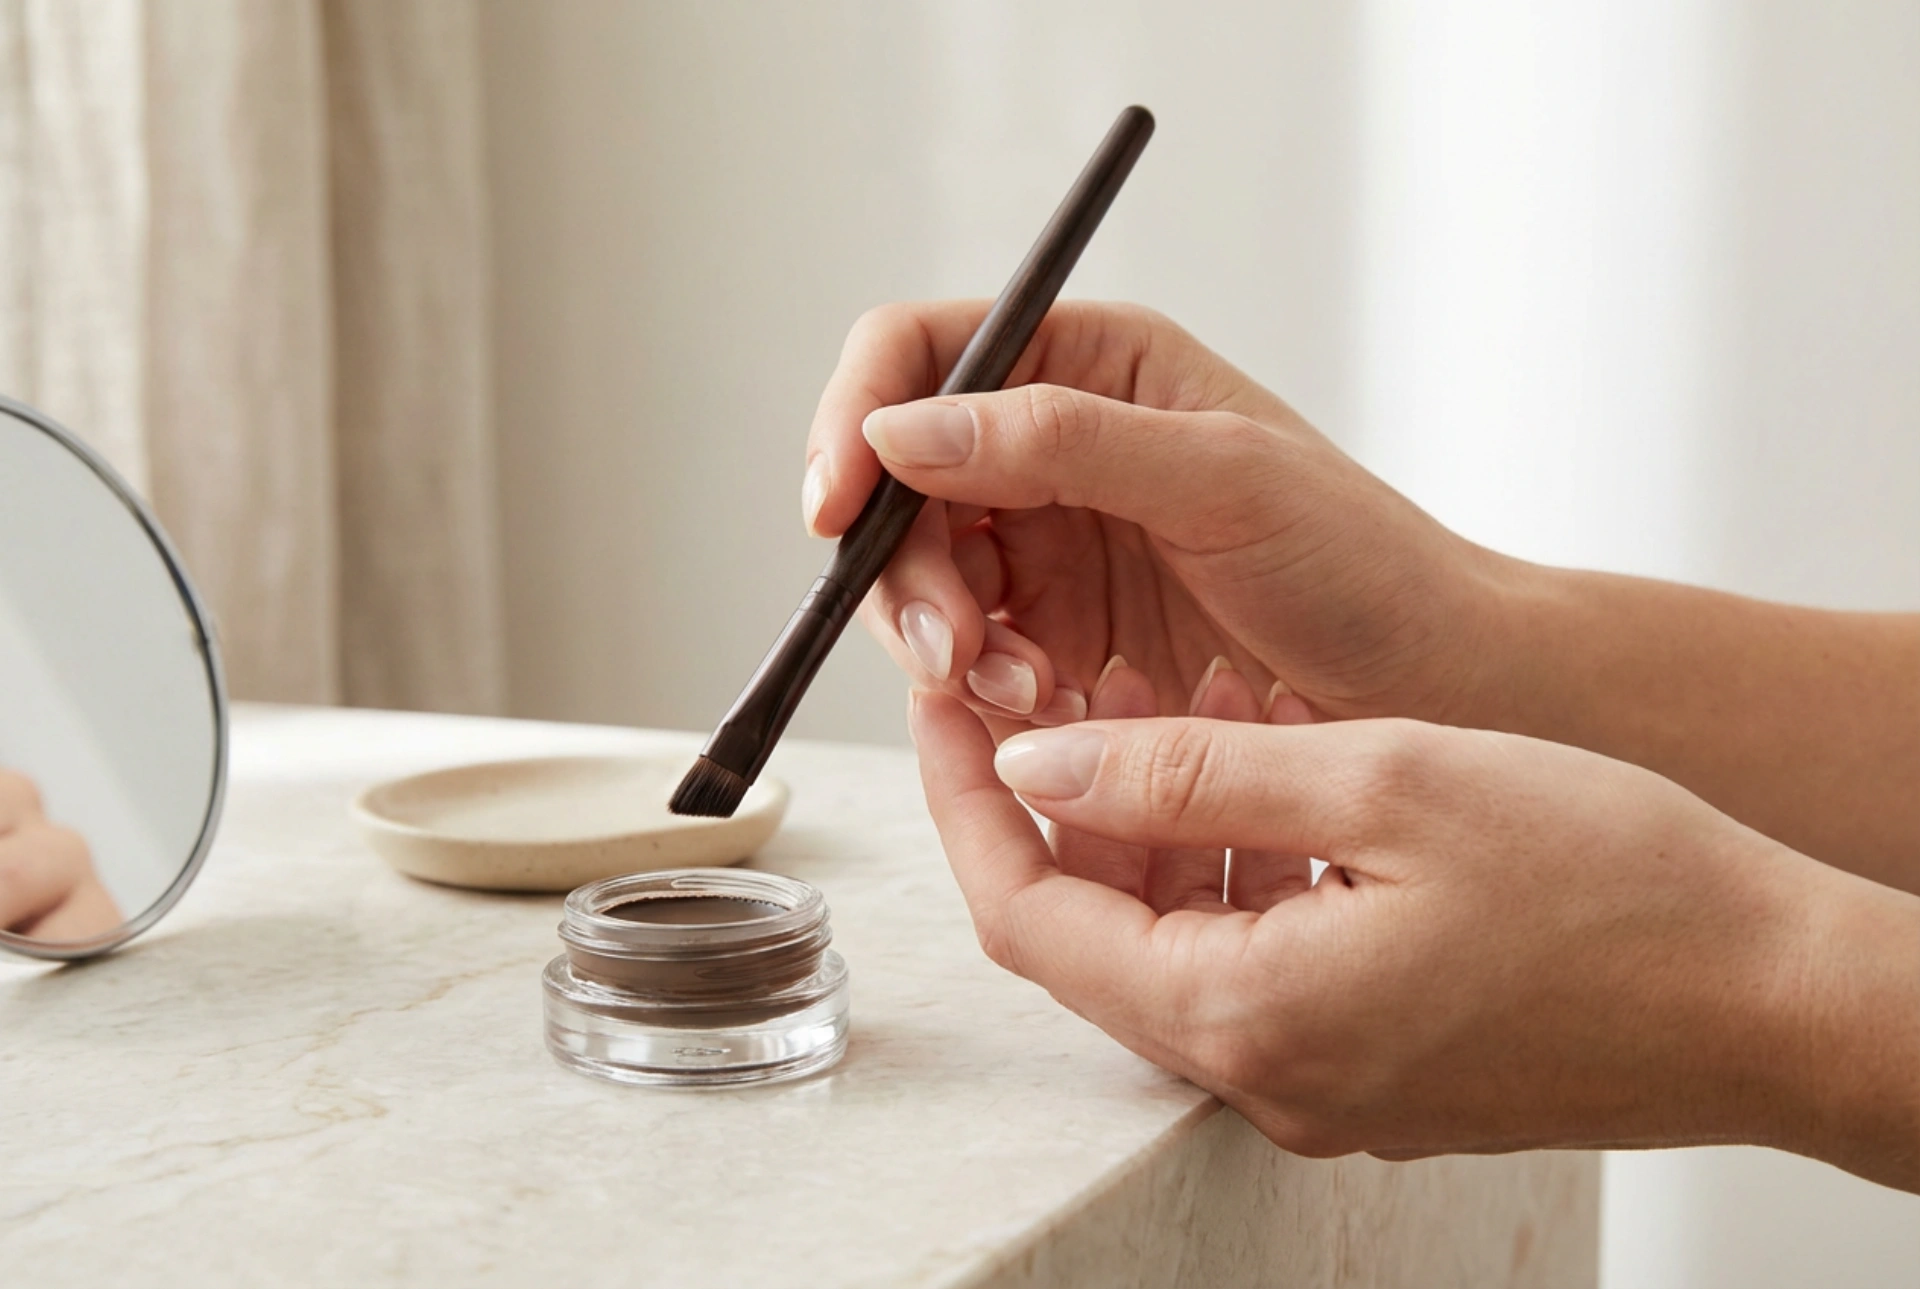
This is arguably the most essential eyebrow brush. It features a short, stiff, and slanted head of bristles that form a sharp angle. This unique shape is incredibly versatile. It's ideal for applying brow powders, creams, and pomades. The fine, sharp edge allows you to create a crisp outline along the bottom of the brow, while the flat side is used to fill in sparse areas. With a light hand, you can use the tip to draw delicate, hair-like strokes for an incredibly natural effect. Look for one that is firm but not scratchy to ensure both precision and comfort.
The Spoolie Brush
Often found on the opposite end of an angled brush or a brow pencil, the spoolie is a non-negotiable tool for grooming. It looks like a clean mascara wand and its primary purpose is to brush brow hairs into place before and after applying product. Before application, it helps you see the natural shape of your brows and identify any gaps. After applying colour, brushing through with a spoolie softens any harsh lines, distributes the product evenly, and blends everything for a seamless finish. It’s the key to avoiding the 'drawn-on' look.
A Step-by-Step Guide to Precise Application
Once you have your tools, follow this simple process for professionally-styled brows at home. This technique works best with a pomade or powder and an angled brush/spoolie duo.
- Step 1: Groom and Prepare
Start with clean, dry brows. Use your spoolie to brush the hairs upwards and outwards. This helps you see your natural brow shape and reveals any areas that need filling. - Step 2: Load Your Brush
Gently dip the tip of your angled brush into your chosen brow product. If using a powder, tap off any excess. If using a pomade, wipe a small amount on the back of your hand or the product lid to ensure you don't apply too much at once. Remember, it's always easier to add more product than to take it away. - Step 3: Define the Shape
Using the sharp edge of the angled brush, start by lightly outlining the bottom of your brow. Follow your natural arch from the inner corner towards the tail. This line will act as your guide and create a clean, defined base. - Step 4: Fill in Sparse Areas
Turn the brush and use light, upward, feathery strokes to fill in any gaps, mimicking the natural direction of your hair growth. Concentrate the most product on the arch and tail of the brow, as these areas are naturally darker. Keep the front of the brow, nearest the nose, lighter and more sparse for a softer, more natural gradient. - Step 5: Blend for a Natural Finish
Take your clean spoolie and gently brush through your entire brow. This will soften and blend the product, removing any harsh lines and ensuring the colour looks integrated with your natural brow hairs. Don't press too hard, as you don't want to remove the product you just applied.
Caring for Your Eyebrow Brushes
To ensure your brushes perform well and remain hygienic, regular cleaning is essential. Product buildup can make bristles stiff and lead to patchy application. Once a week, wash your brushes with a gentle soap or a dedicated brush cleanser. Lather the bristles gently in your palm, rinse thoroughly with lukewarm water until the water runs clear, and carefully squeeze out the excess water. Reshape the brush head and lay it flat on a clean towel to air dry. Proper care will prolong the life of your brushes and ensure a perfect application every time.


