


Neon yellow nails are a bold and beautiful way to express your style. This vibrant, eye-catching colour can brighten any look, but achieving a perfect, streak-free finish requires a bit of technique. From preparing your nails properly to choosing the right base and top coats, a few key steps can transform your home manicure into a professional-looking masterpiece. Let's explore the secrets to getting that flawless neon glow on your fingertips, ensuring your manicure looks as vibrant as the polish in the bottle.
Prepping Your Nails for a Vibrant Look
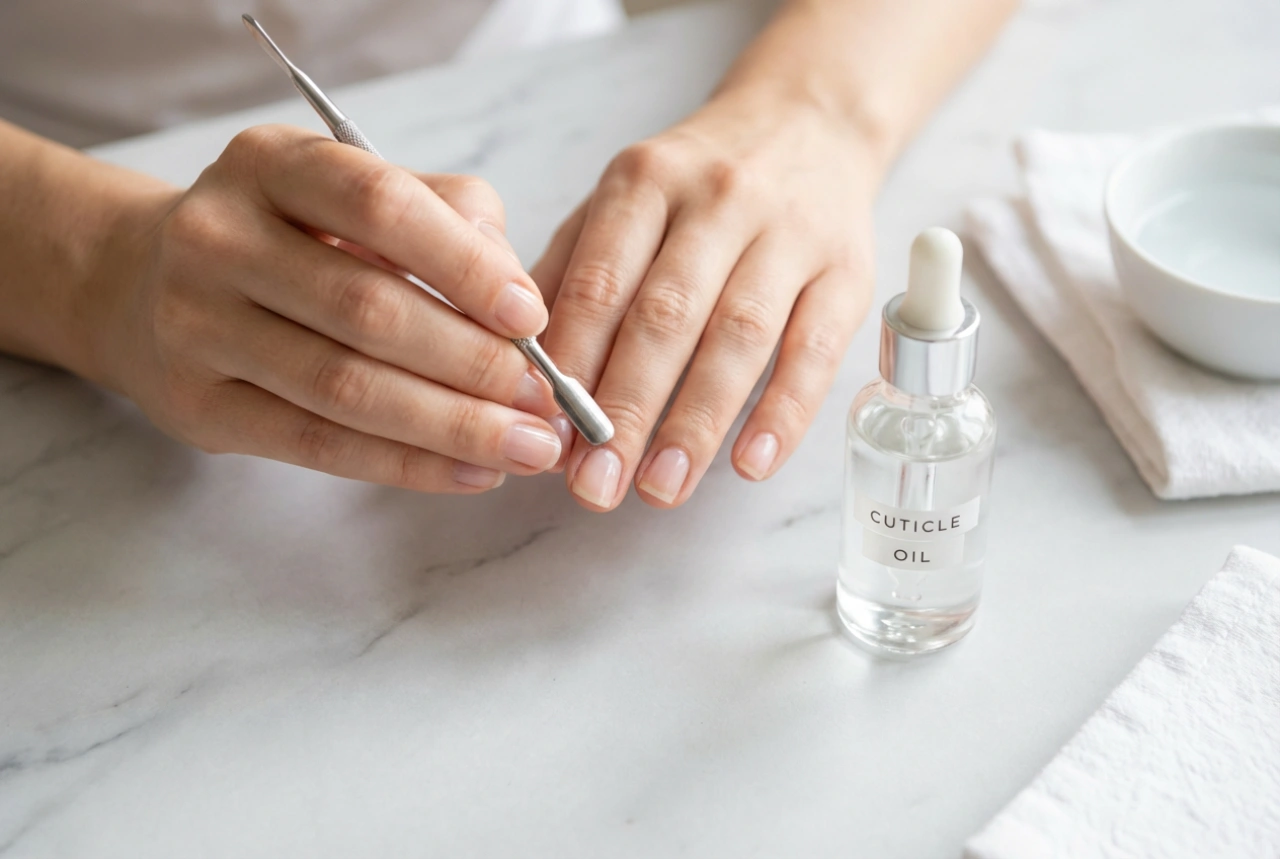
Before you even think about opening that bottle of neon polish, proper nail preparation is essential. A smooth canvas is crucial for a smooth finish, especially with bright colours that can highlight any imperfection. Start by removing any old polish completely. Gently file your nails to your desired shape and length, ensuring they are all even. Next, lightly buff the surface of your nails. This creates a slightly textured surface that helps the polish adhere better. Finally, cleanse each nail with a nail polish remover or rubbing alcohol on a lint-free pad to remove any natural oils or residue that could prevent the polish from sticking properly.
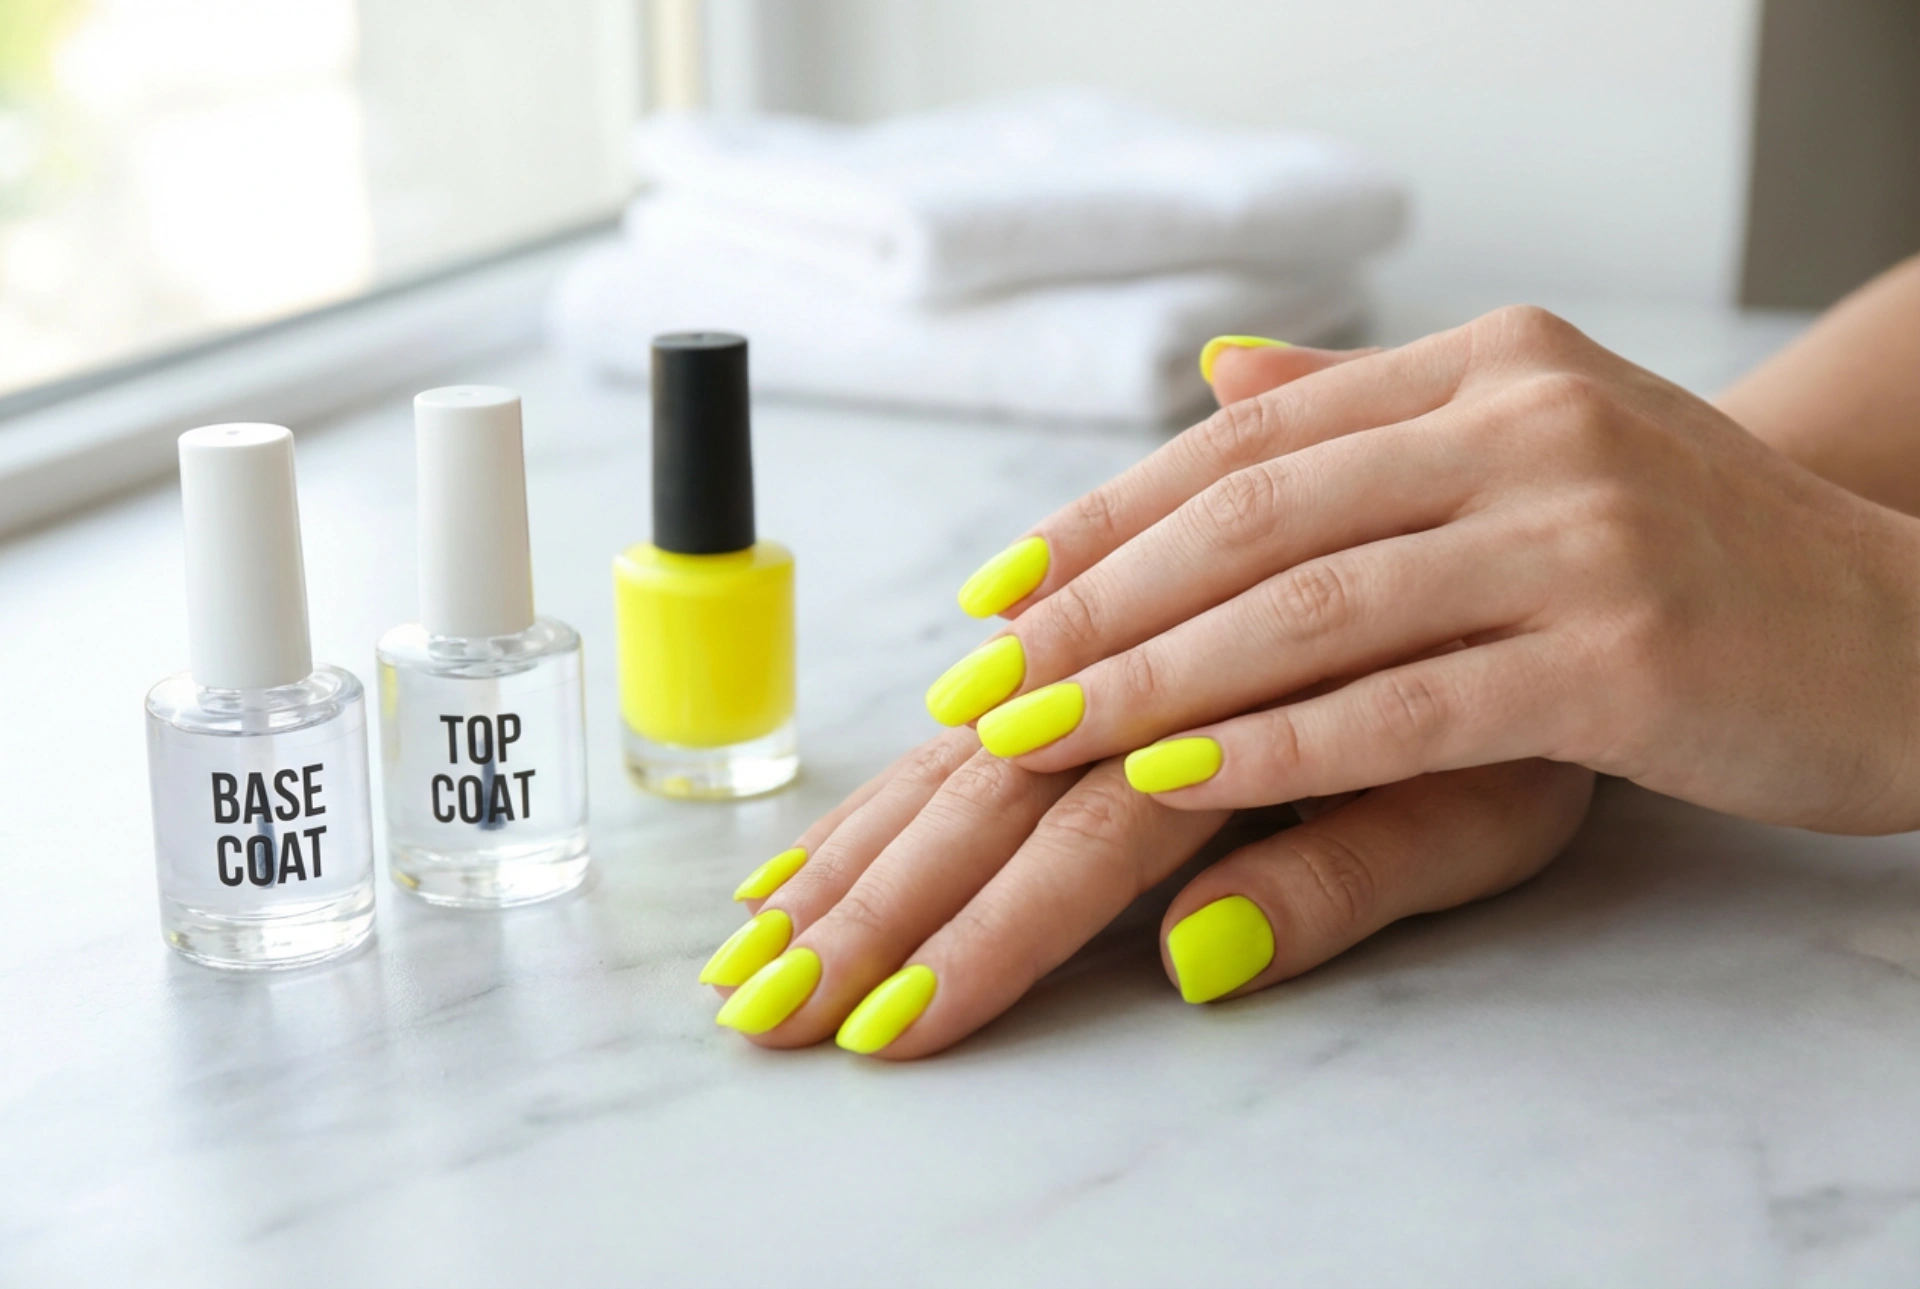
The Foundation of a Flawless Neon Manicure: The Base Coat
A base coat is non-negotiable for any manicure, but it's especially important for bright, demanding colours like neon yellow. It serves two main purposes: it protects your natural nails from staining, which is a common issue with highly pigmented polishes, and it creates a smooth, even surface for the colour to glide onto.
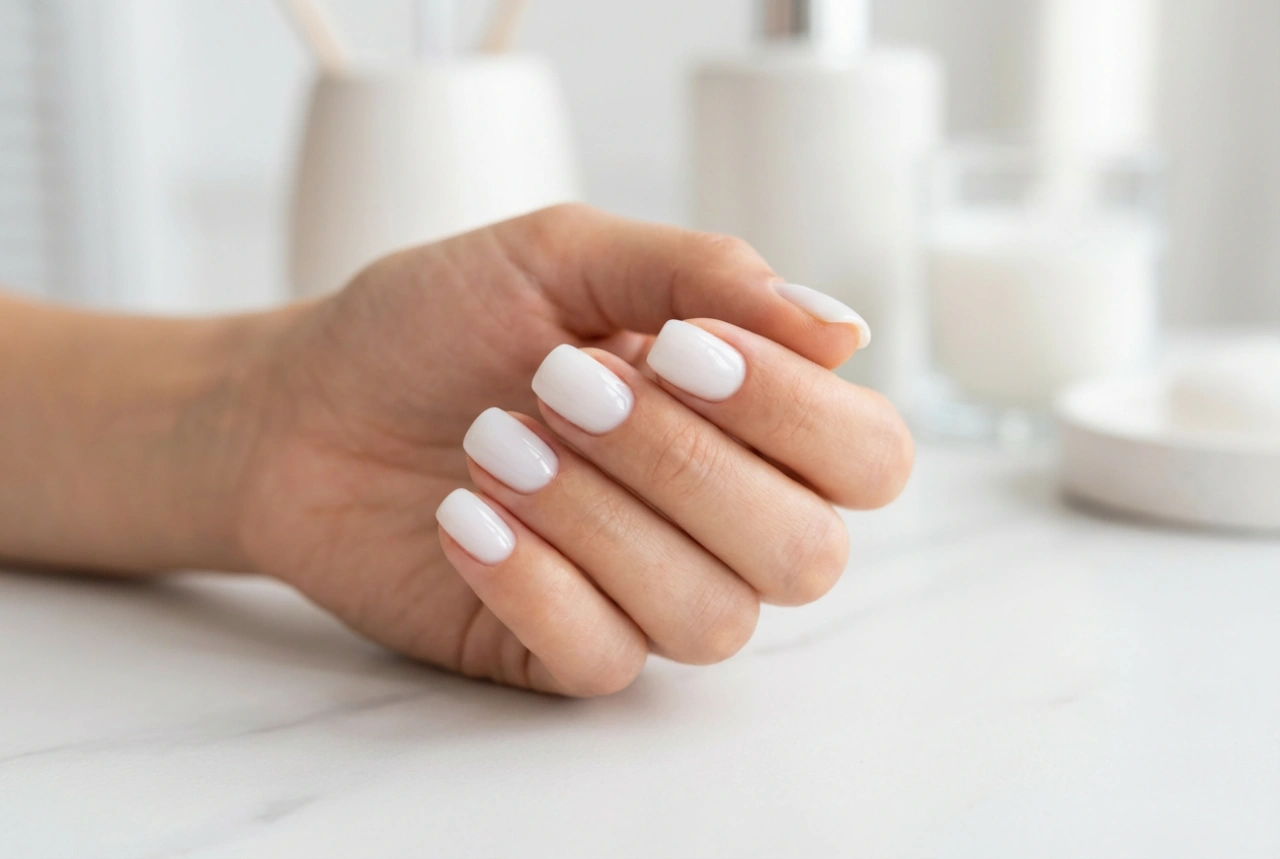
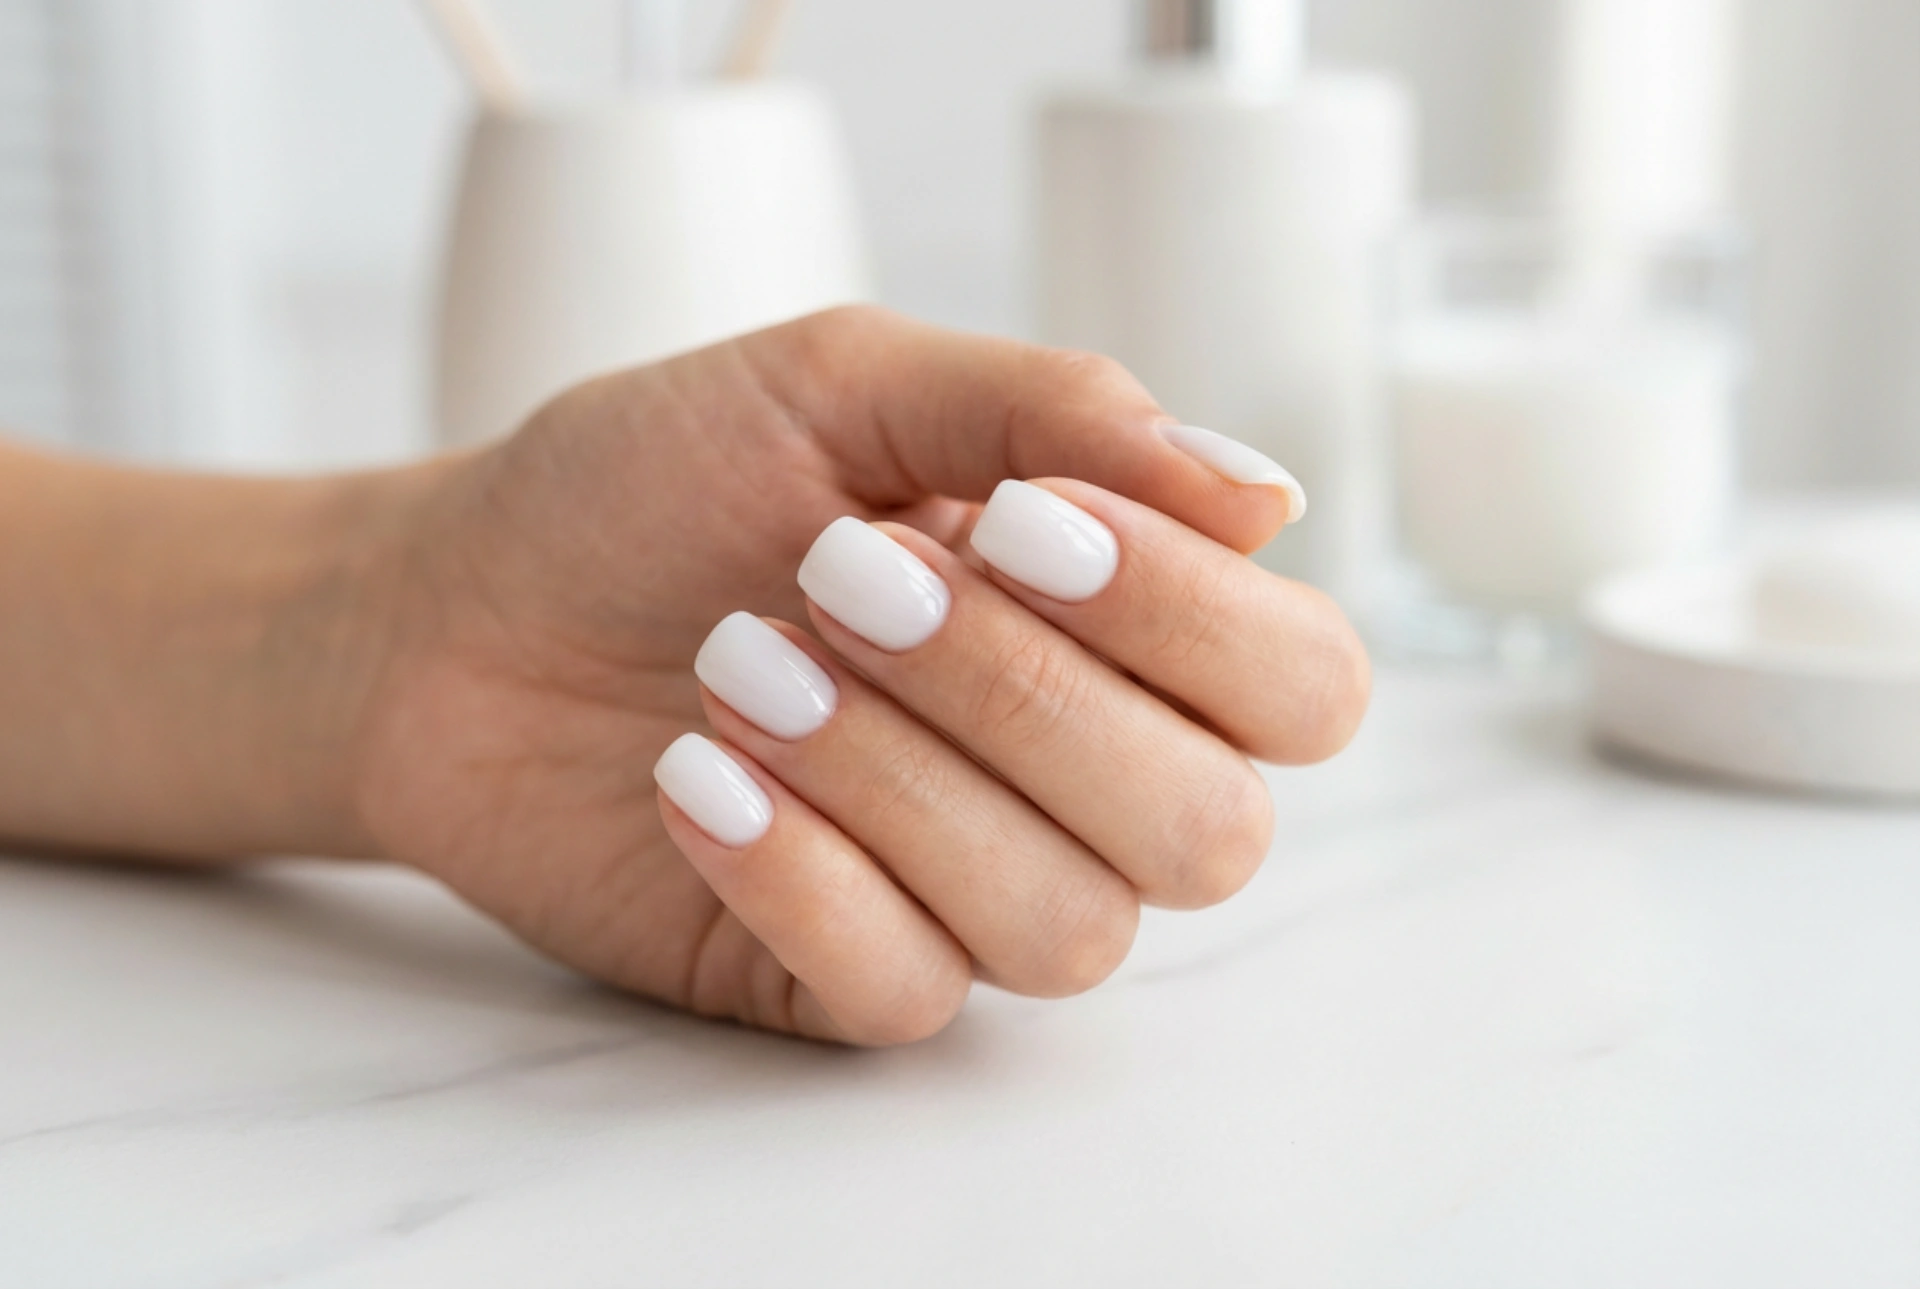
Why a White Base Is Your Best Friend
Here is the ultimate trick for making neon yellow truly pop: use a white, opaque nail polish as your base. After your clear protective base coat has dried, apply one or two thin coats of a solid white polish. This creates a bright, neutral canvas that will make the neon yellow appear much more vibrant and true to its colour in the bottle. It also significantly helps with coverage, meaning you will likely need fewer coats of the neon polish itself. This in turn reduces the risk of a thick, clumpy application and helps achieve a more professional result.
Mastering the Art of Neon Polish Application
Applying neon polish can be tricky as formulations are often sheerer and more prone to streaking than other polishes. Patience and the right technique are key to achieving an even, brilliant finish.
- Work in Thin Coats: The most common mistake is applying the polish too thickly in an attempt to get opaque coverage quickly. This leads to streaks, bubbles, and a very long drying time. Instead, apply a very thin, even coat of your neon yellow polish over your white base.
- Allow for Drying Time: Let each coat dry completely before applying the next. This could take a few minutes per coat. Rushing this step will cause the brush to drag on the lower layers, creating an uneven texture and ruining the finish.
- Build the Colour: You will likely need two to three thin coats of neon yellow to achieve a fully opaque and even finish. The first coat might look patchy or streaky, but do not worry. The second and third coats will build the colour and even everything out beautifully.
- Clean Up the Edges: For a truly professional look, dip a small, clean brush or a cotton bud into nail polish remover and carefully trace around your cuticles and the sides of your nails to clean up any mistakes.
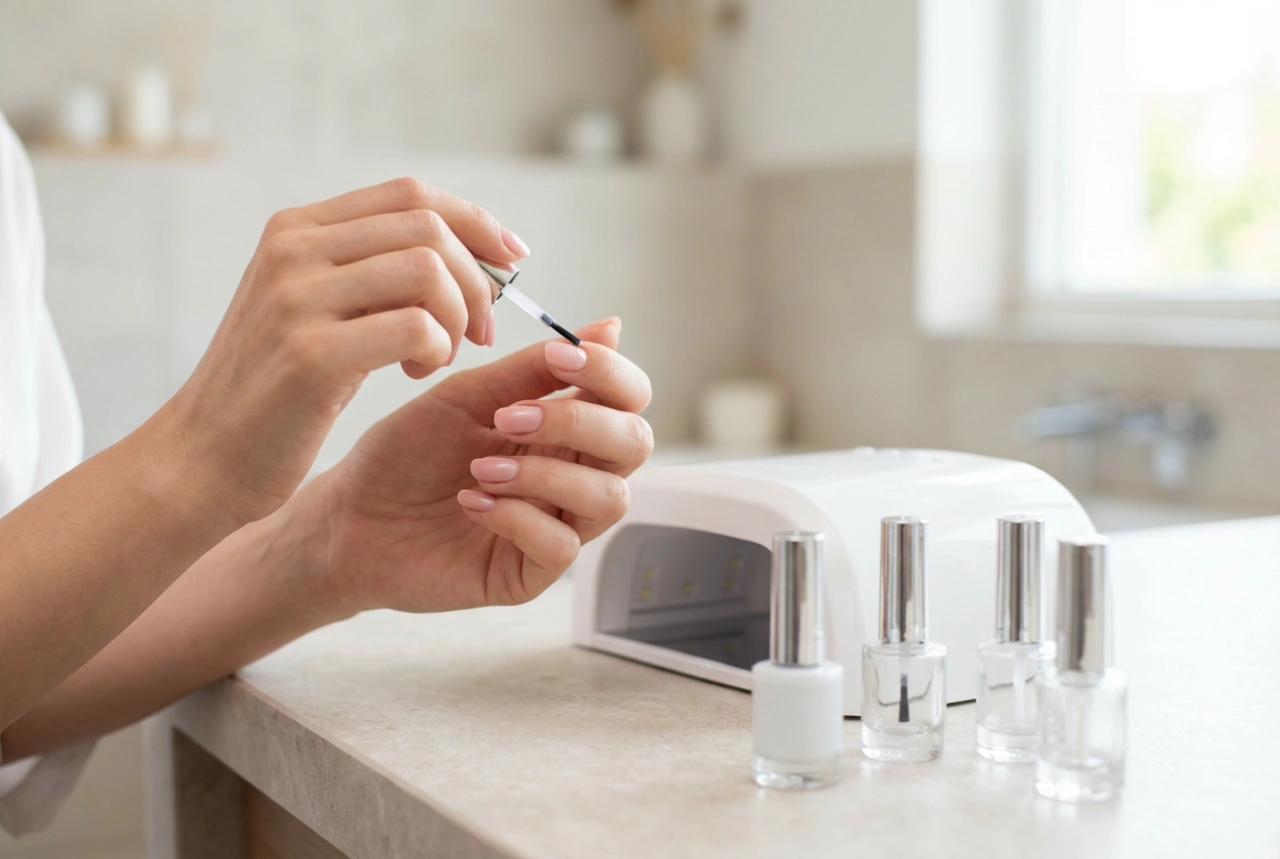
Sealing the Deal with a Protective Top Coat
Once your final colour coat is dry to the touch, it is time to seal your work with a top coat. This step is crucial for several reasons. A good top coat adds a beautiful, high-gloss shine that makes the neon colour look even more brilliant and dimensional. It also provides a durable, protective barrier against chipping, scratching, and dulling, significantly extending the life of your manicure. For an extra layer of protection and to refresh the shine, you can reapply a thin layer of top coat every two to three days. This will keep your nails looking fresh and vibrant for longer.