


A hybrid pedicure is an excellent solution for anyone who dreams of flawless, glossy toenails that last for weeks. The durability and resistance to chipping make it a popular choice, especially during the summer months or for holidays. Achieving a salon-quality result at home is entirely possible, provided you follow the correct steps and pay close attention to detail. Proper preparation of the nail plate, precise application, and uncompromising hygiene are the keys to a beautiful and safe pedicure that you can be proud of.
Preparing Your Feet and Nails for a Hybrid Pedicure
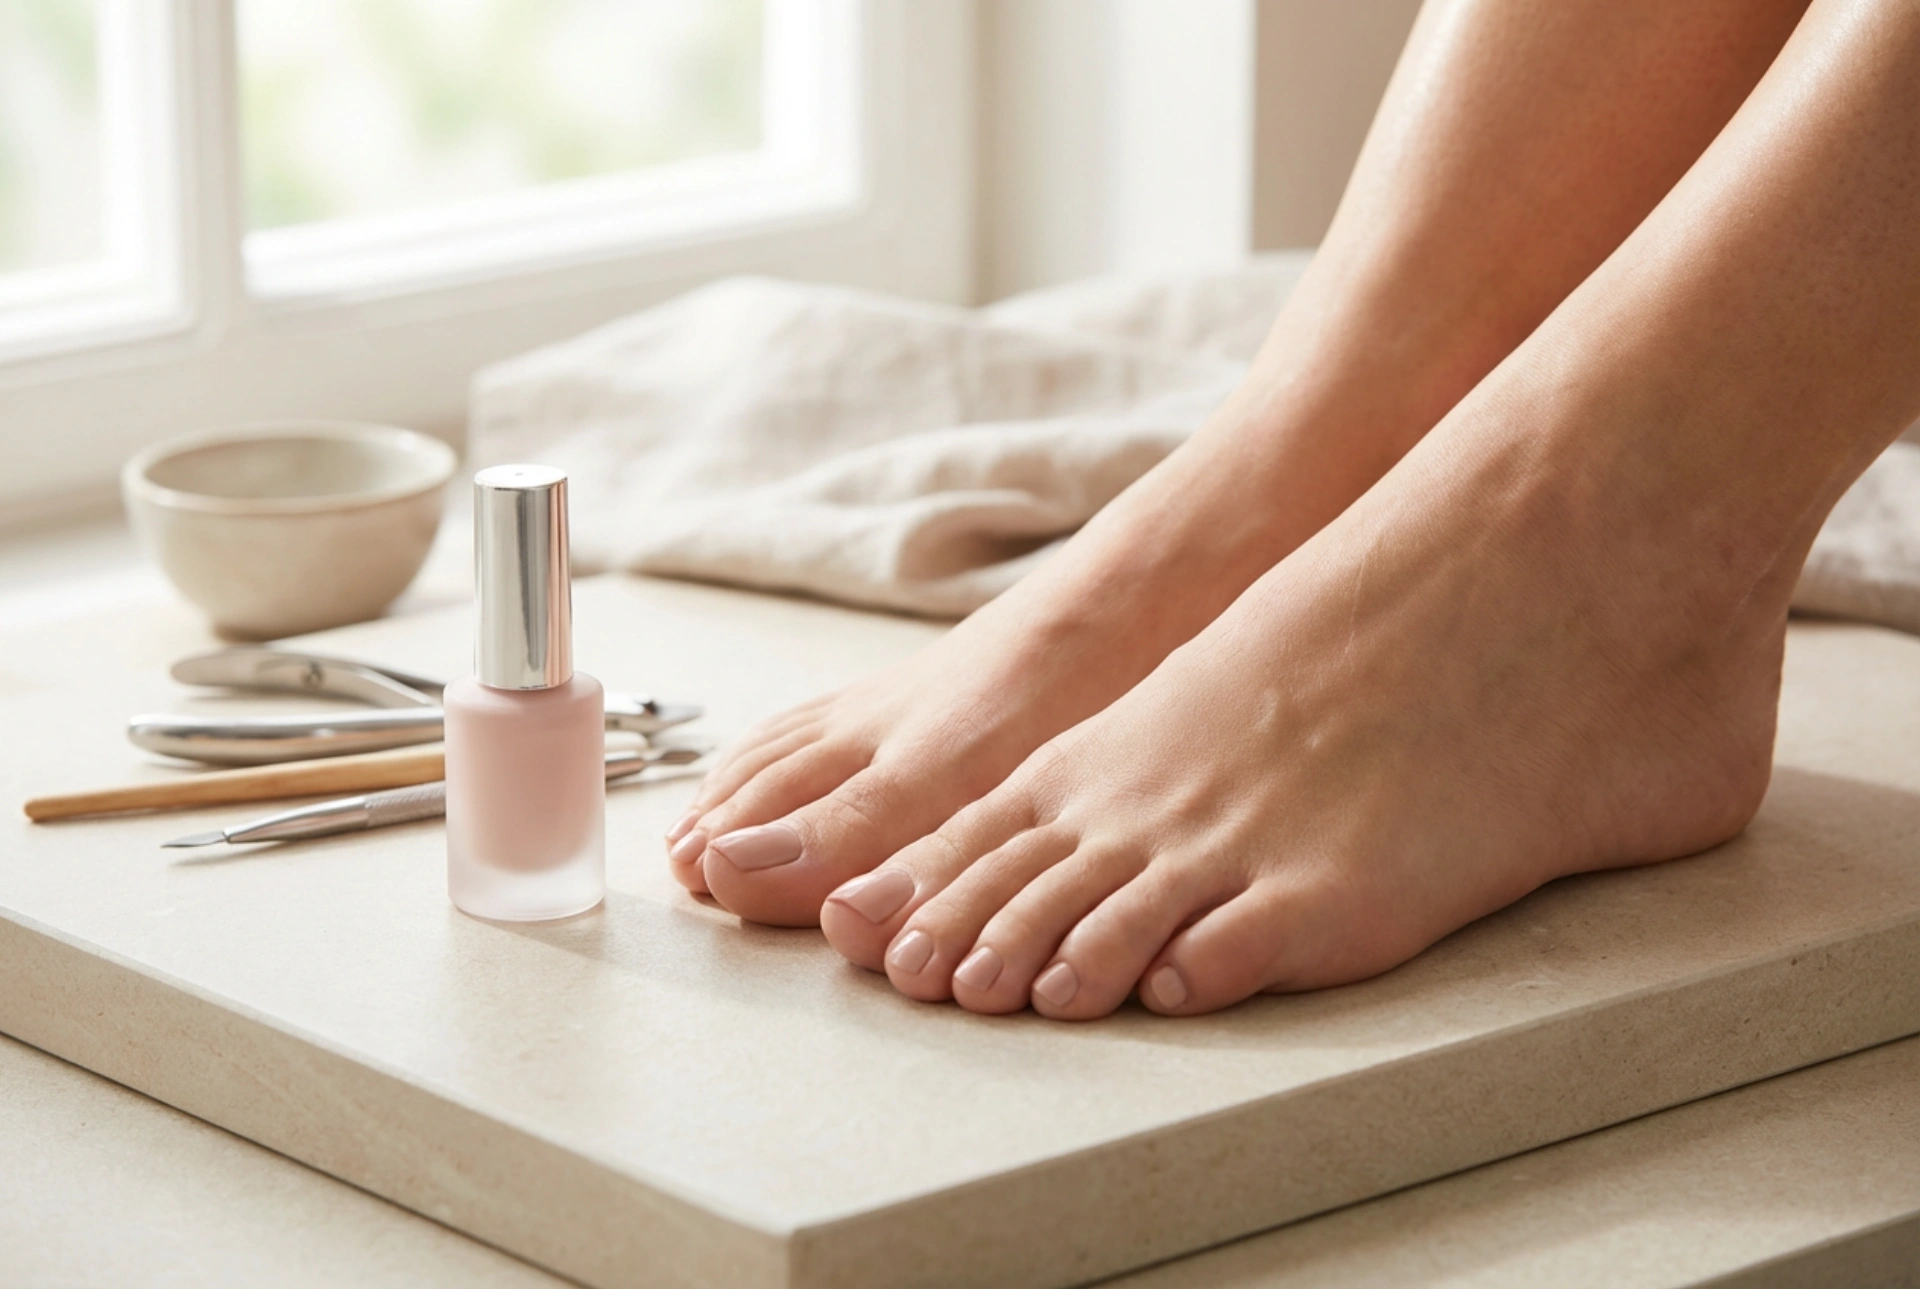
The foundation of a long-lasting hybrid pedicure is meticulous preparation. Skipping this stage can lead to a less durable finish and an untidy appearance. Before you even reach for a bottle of polish, dedicate some time to getting your feet and nails ready. This will not only improve the final look but also contribute to the overall health and condition of your feet.
Foot Soak and Cuticle Care
Begin by treating your feet to a relaxing soak. Fill a basin with warm water and add a gentle foot-soaking cosmetic or a handful of cosmetic salt. Soaking for 10-15 minutes will soften the skin and cuticles, making them easier to work with. After soaking, dry your feet thoroughly with a clean towel. Use a wooden stick or a metal cuticle pusher to gently push back the cuticles from the nail plate. Avoid cutting the cuticles, as they act as a natural barrier against bacteria. If there are any non-living tissue fragments on the nail plate, you can carefully remove them with a pusher or nippers designed for this purpose, ensuring you only remove the dead skin.
Shaping and Buffing the Nails
Once your cuticles are tidy, it's time to shape your toenails. Use a file with a medium grit (around 180) to gently shape the nails. Filing in one direction is often recommended to prevent splitting. A square or 'squoval' shape is usually best for toenails to help avoid potential issues. After shaping, take a soft buffing block and gently go over the entire surface of each nail plate. The goal is not to thin the nail, but to remove the natural shine and create a slightly matte, even surface. This slight texture provides better adhesion for the base coat, which is crucial for the longevity of the hybrid polish. Finally, use a soft, dust-free brush or a cotton pad with a specialised cleaner fluid to remove all the dust from the nail plates.
The Step-by-Step Hybrid Application Process
Applying hybrid polish is a multi-layered process that requires patience and precision. Each layer must be thin and cured correctly under a UV/LED lamp. Rushing this stage or applying thick coats can result in a lumpy finish and improper curing, leading to the polish peeling off prematurely.
- Step 1: Degreasing the Nail Plate. Even after buffing and dusting, the nail plate needs to be thoroughly degreased. Use a lint-free wipe saturated with a nail cleaner or dehydrator solution. Wipe each nail carefully, paying special attention to the areas around the cuticles.
- Step 2: Applying the Base Coat. Apply a very thin layer of hybrid base coat to each nail. Be careful not to let the product touch the surrounding skin or cuticles. 'Capping' the free edge by running the brush along the tip of the nail will help seal the polish and prevent chipping. Cure the base coat under your LED or UV lamp according to the manufacturer's instructions (typically 30-60 seconds for an LED lamp).
- Step 3: Applying the Colour. Apply the first thin coat of your chosen hybrid colour. Again, precision is key – avoid flooding the cuticles. If you get any polish on your skin, clean it off with a wooden stick before curing. Cure this layer under the lamp.
- Step 4: The Second Coat of Colour. Apply a second thin layer of colour to achieve full opacity and depth. This coat will even out any streaks from the first layer. Remember to cap the free edge again. Cure this second layer fully under the lamp.
- Step 5: Applying the Top Coat. The final step is the top coat, which provides shine and a durable protective layer. Apply a thin, even layer over the colour, once again sealing the free edge. Cure it for the recommended time, which may be slightly longer for some top coats to ensure a hard, scratch-resistant finish.
- Step 6: Removing the Inhibition Layer. After the final cure, most hybrid top coats will have a sticky 'inhibition layer'. To reveal the high-gloss shine, saturate a lint-free wipe with a cleaner solution and wipe each nail firmly. Your pedicure is now complete and fully dry.
Tool Hygiene: A Crucial Step for Safety
Proper hygiene is non-negotiable when performing any cosmetic treatment at home, including a pedicure. Using unclean tools can introduce unwanted microorganisms and lead to skin irritations or other complications. You should establish a strict cleaning and disinfecting routine for all your reusable pedicure instruments.
Cleaning and Disinfecting Your Tools
After each use, all reusable tools such as metal cuticle pushers, nippers, and glass or metal files should be thoroughly cleaned. Start by washing them with soap and warm water, using a small brush to scrub away any skin or nail debris. After rinsing and drying them completely, they must be disinfected. Submerge the tools in a professional-grade disinfectant solution designed for cosmetic instruments, following the product's instructions for concentration and immersion time. This step is critical for ensuring your tools are safe for the next use.
Proper Storage
Once your tools are clean and disinfected, proper storage is essential to keep them that way. Store them in a clean, dry, and dedicated container or pouch. Avoid leaving them out on a bathroom counter where they can be exposed to moisture and airborne particles. Single-use items, like wooden sticks or disposable files, should be discarded immediately after use.


