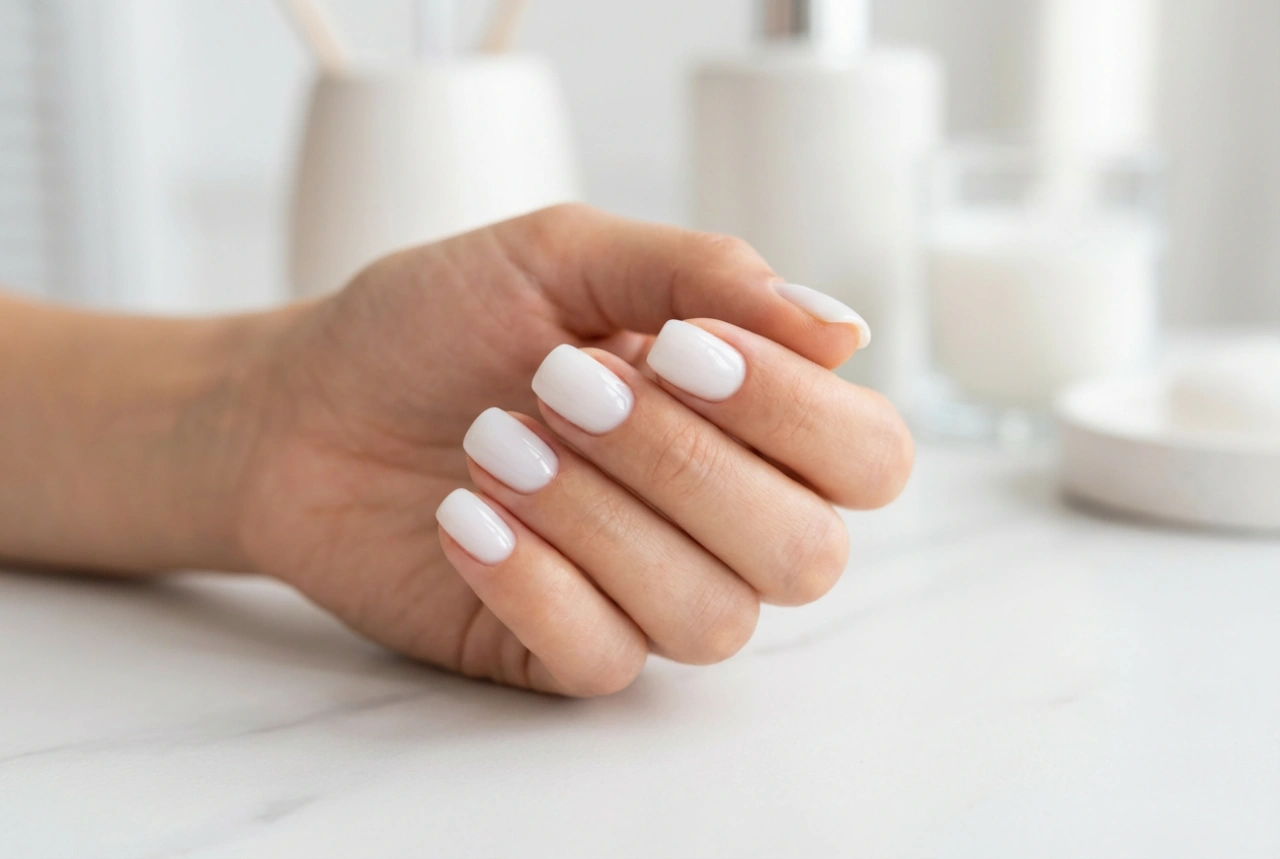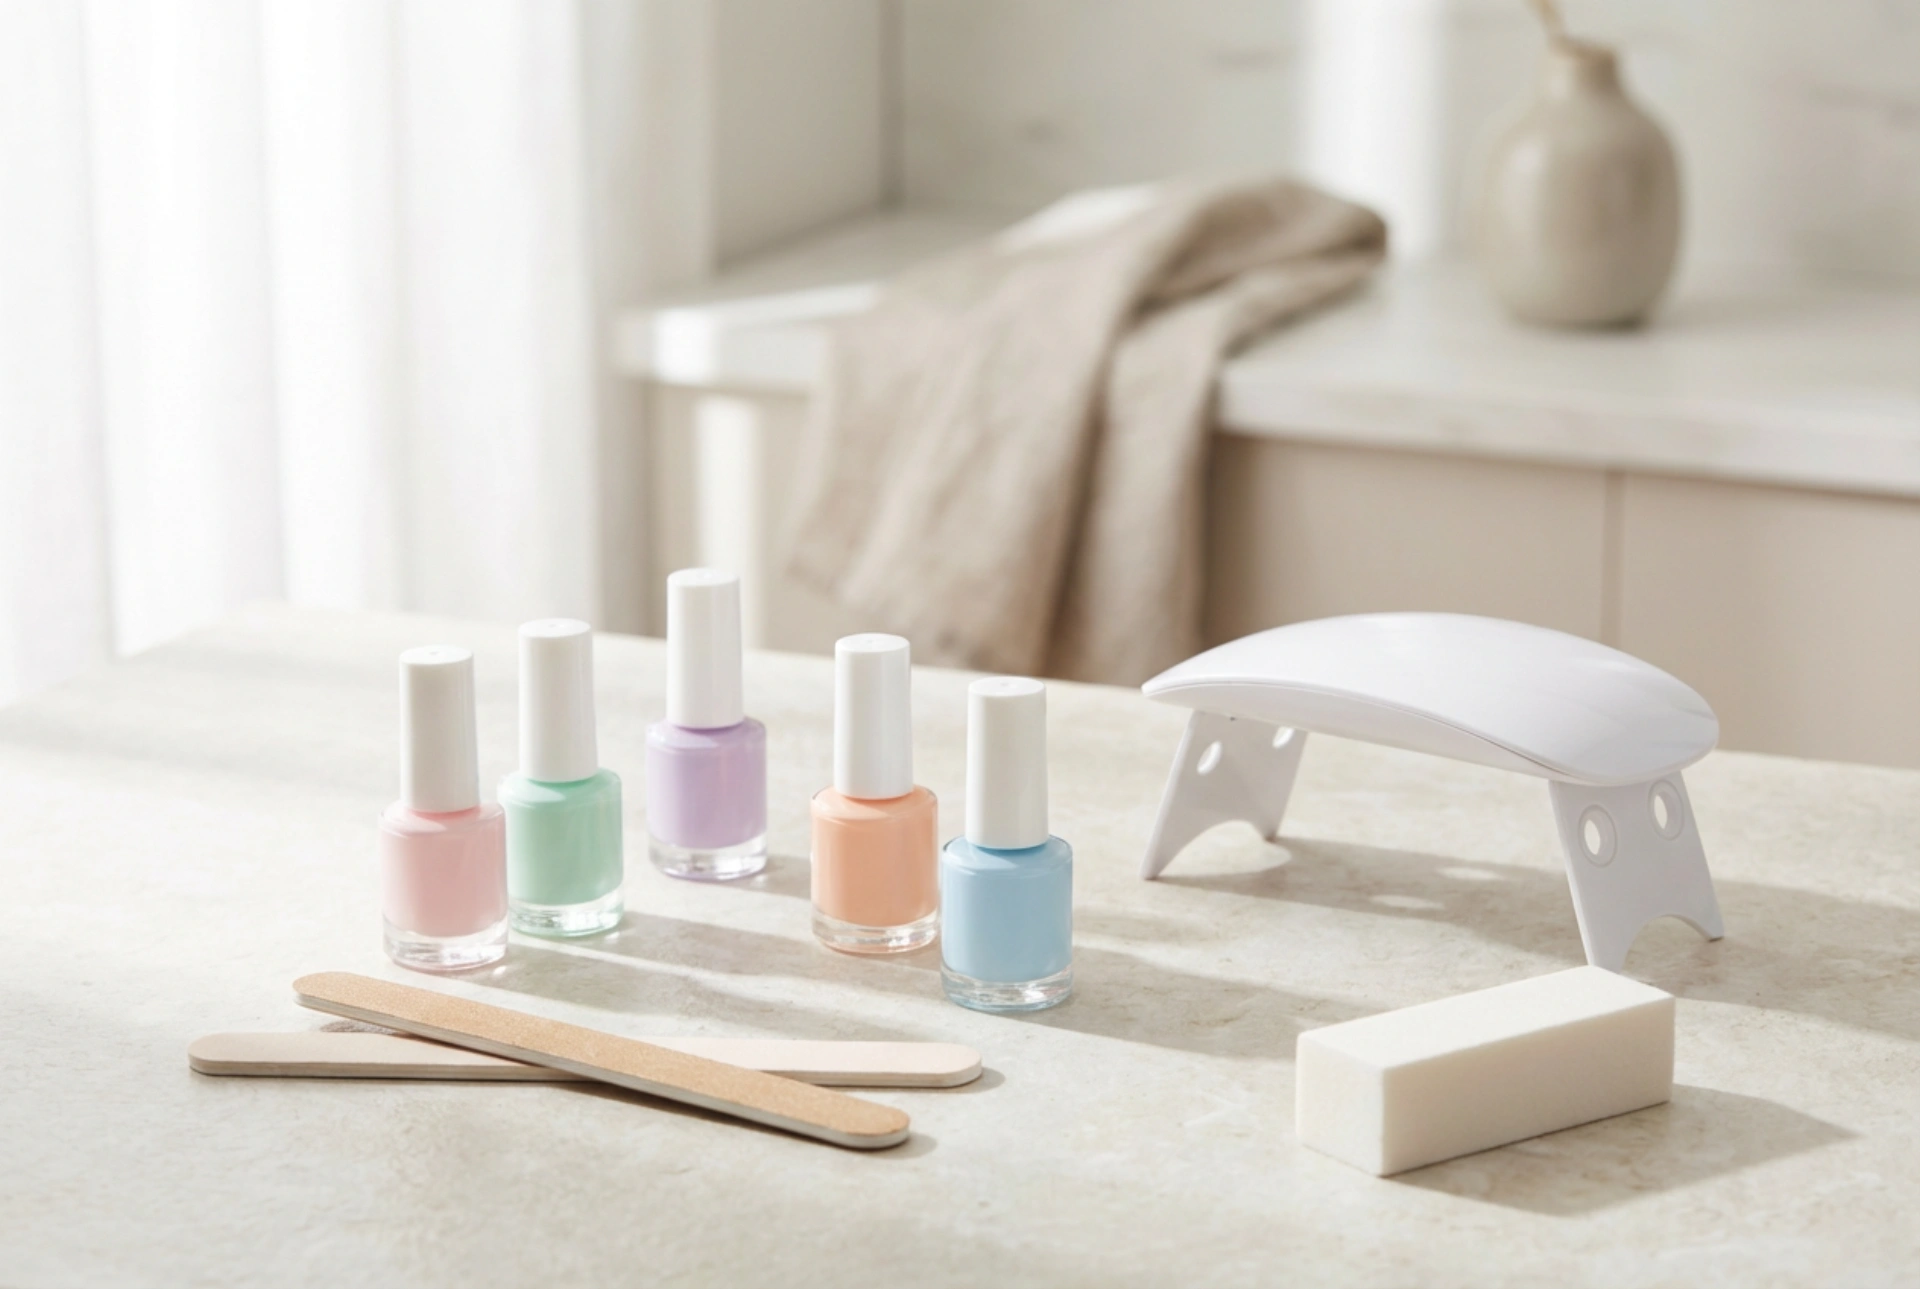


The allure of a perfect, glossy manicure that lasts for weeks is undeniable. Achieving this look at home is more accessible than ever, thanks to hybrid manicure starter kits. As the serene image of neatly arranged polishes and tools suggests, starting your journey with hybrid nails can be a simple and rewarding experience. This guide will walk you through the essential components of a beginner's kit and the fundamental steps to creating your first beautiful and durable manicure.
What Should a Beginner's Hybrid Kit Contain?
A comprehensive starter kit removes the guesswork and provides you with everything needed for application and removal. While contents may vary slightly, a good beginner's set should include two main categories of items: essential equipment and the necessary liquids and polishes.
Essential Equipment
- UV/LED Lamp: This is the most crucial piece of equipment. It cures (hardens) the gel polish. LED lamps cure faster than traditional UV lamps, but both are effective. For home use, a low-wattage lamp is perfectly sufficient.
- Nail File and Buffer: A file (around 180 grit) is used to shape the nails, while a gentler buffer block (180-240 grit) is used to mattify the nail plate, which helps the polish adhere better.
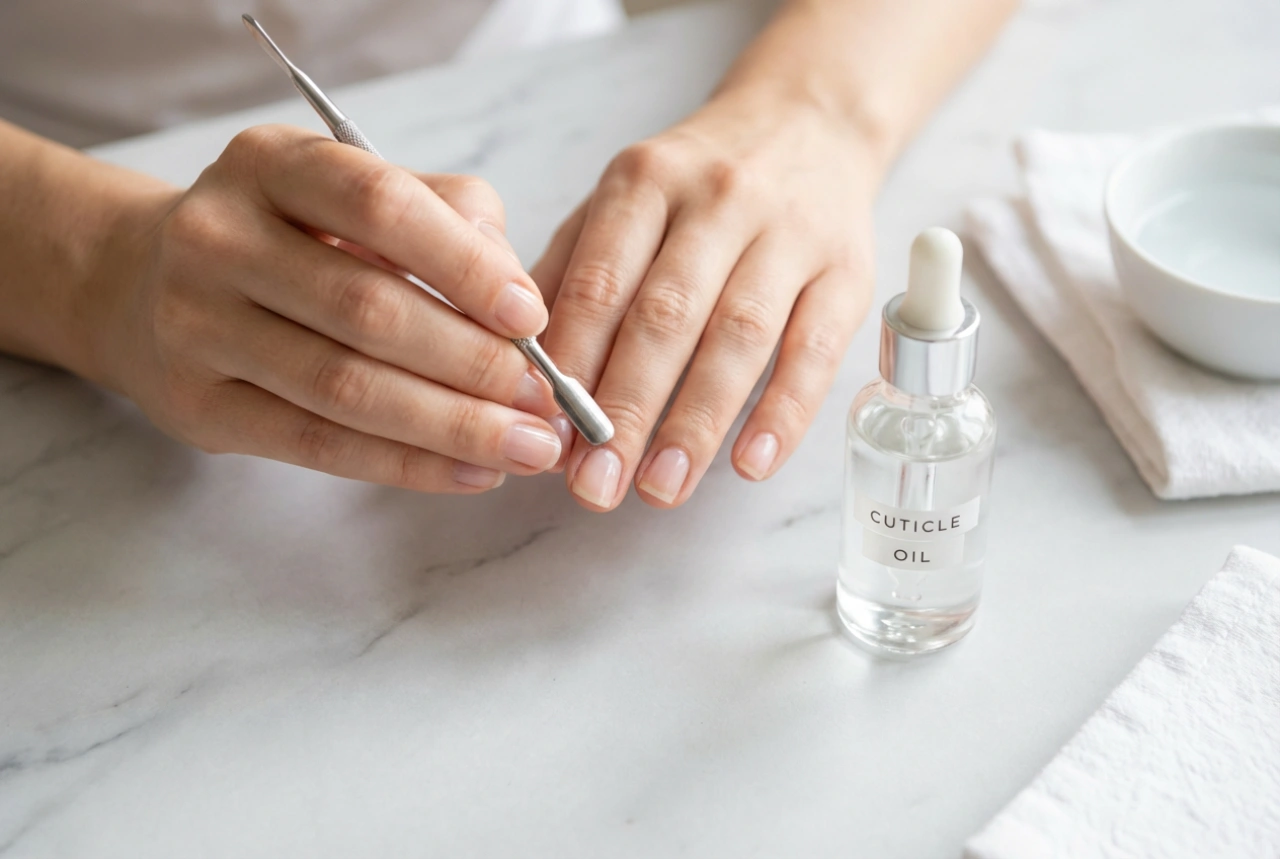
- Cuticle Pusher or Wooden Sticks: These are used to gently push back the cuticles from the nail plate. This creates a clean canvas and prevents the polish from lifting.
- Lint-Free Wipes: Standard cotton pads can leave behind fibres that get trapped in the polish. Lint-free wipes are essential for cleaning the nail plate and removing the sticky layer without leaving any residue.
Essential Liquids and Polishes
- Nail Cleaner/Degreaser: An alcohol-based solution used to cleanse the nail plate of oils and dust before application, and to remove the sticky inhibition layer after curing the top coat.
- Primer: While sometimes considered optional, a primer significantly improves adhesion, especially for those with oily nail plates. For beginners, the gentler acid-free type is recommended.
- Hybrid Base Coat: This is the foundation of your manicure. It protects the natural nail and creates a bonding surface for the colour.
- Coloured Hybrid Polish: The star of the show! Start with one or two versatile colours you love. Remember that the consistency is thicker than regular nail polish.
- Hybrid Top Coat: This seals in the colour, provides a high-gloss shine, and protects the manicure from chipping. You can find 'no-wipe' versions that don't leave a sticky layer after curing.
- Remover Liquid: A special acetone-based solution designed to dissolve hybrid polish for safe removal.
Preparing Your Nails for a Hybrid Manicure
Proper preparation is the secret to a long-lasting manicure. Rushing this stage can lead to lifting and chipping within days. Take your time and follow these steps carefully.
- Shape the Nails: Use a nail file to shape your nails to your desired length and form. Always file in one direction to prevent splitting.
- Manage the Cuticles: Gently push back your cuticles using a wooden stick or a metal pusher. Avoid cutting them if you're not experienced, as this can lead to issues.
- Mattify the Nail Plate: Lightly and evenly buff the entire surface of each nail with a buffer block. The goal is to remove the natural shine, not to thin the nail.
- Cleanse the Nail: Thoroughly wipe each nail with a lint-free wipe soaked in nail cleaner. This removes all dust and natural oils, ensuring a perfectly prepped surface. From this point on, avoid touching your nails with your fingers.
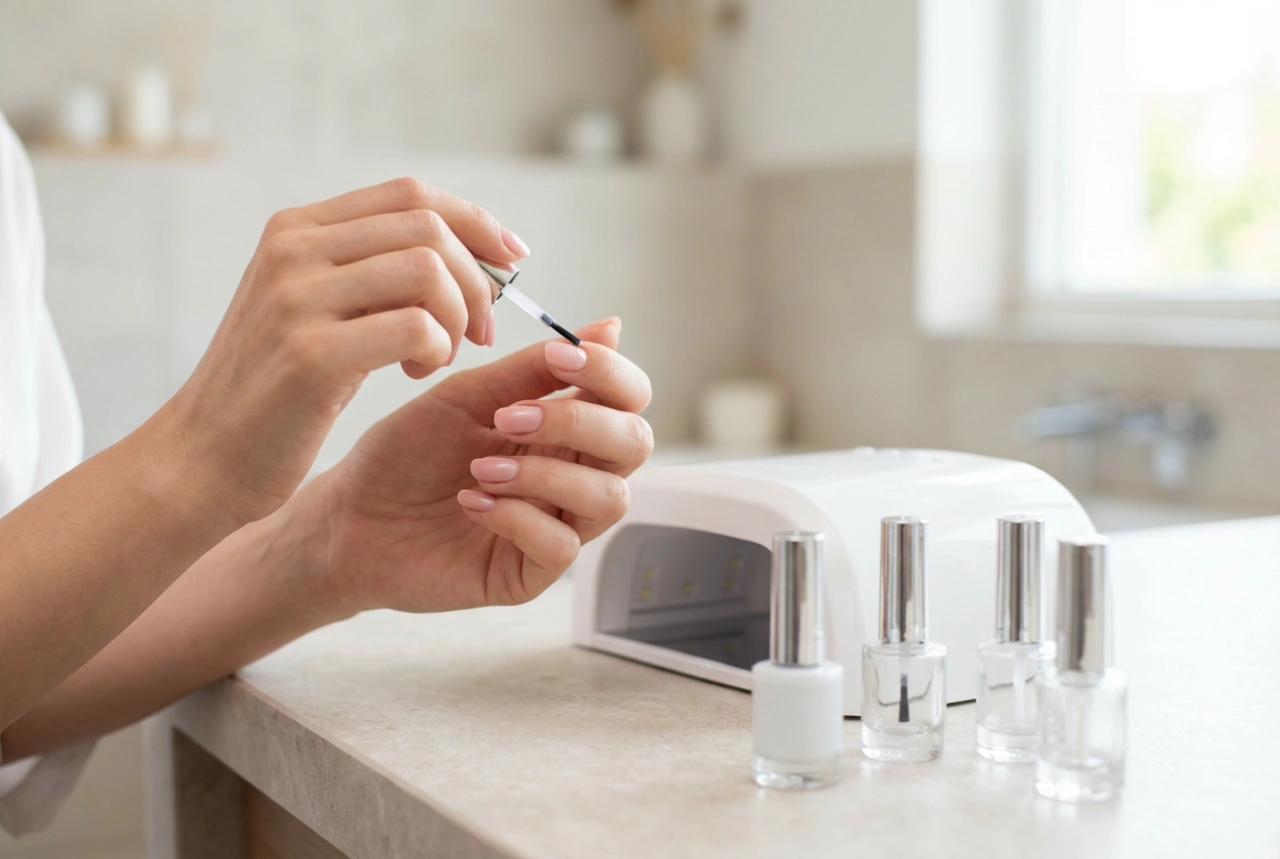
Step-by-Step: Your First Hybrid Application
The key to a flawless application is applying thin, even layers. Thick layers will not cure properly and will look bulky.
- Apply Primer (Optional): If you are using a primer, apply a very small amount to the nail plate. Allow it to air-dry completely.
- Apply the Base Coat: Paint a thin layer of the base coat onto the nail, being careful to avoid your skin and cuticles. 'Cap' the free edge of the nail by running the brush along the tip. Cure under your lamp for the time specified by the product's instructions (usually 30-60 seconds for LED).
- Apply the Colour: Apply a very thin layer of your chosen coloured polish. Again, avoid the surrounding skin. Cure under the lamp. The first layer may look streaky; this is normal.
- Apply the Second Coat of Colour: Apply a second thin layer of colour to achieve full opacity. Cap the free edge again. Cure under the lamp as before.
- Apply the Top Coat: Apply a thin layer of the top coat, making sure to cover the entire coloured area and cap the free edge. This final seal is vital for durability. Cure for the recommended time.
- Final Wipe (If Needed): If you used a standard top coat, it will have a sticky residue. Soak a fresh lint-free wipe in nail cleaner and firmly wipe each nail to reveal the high-gloss shine. If you used a 'no-wipe' top coat, your manicure is complete after curing.
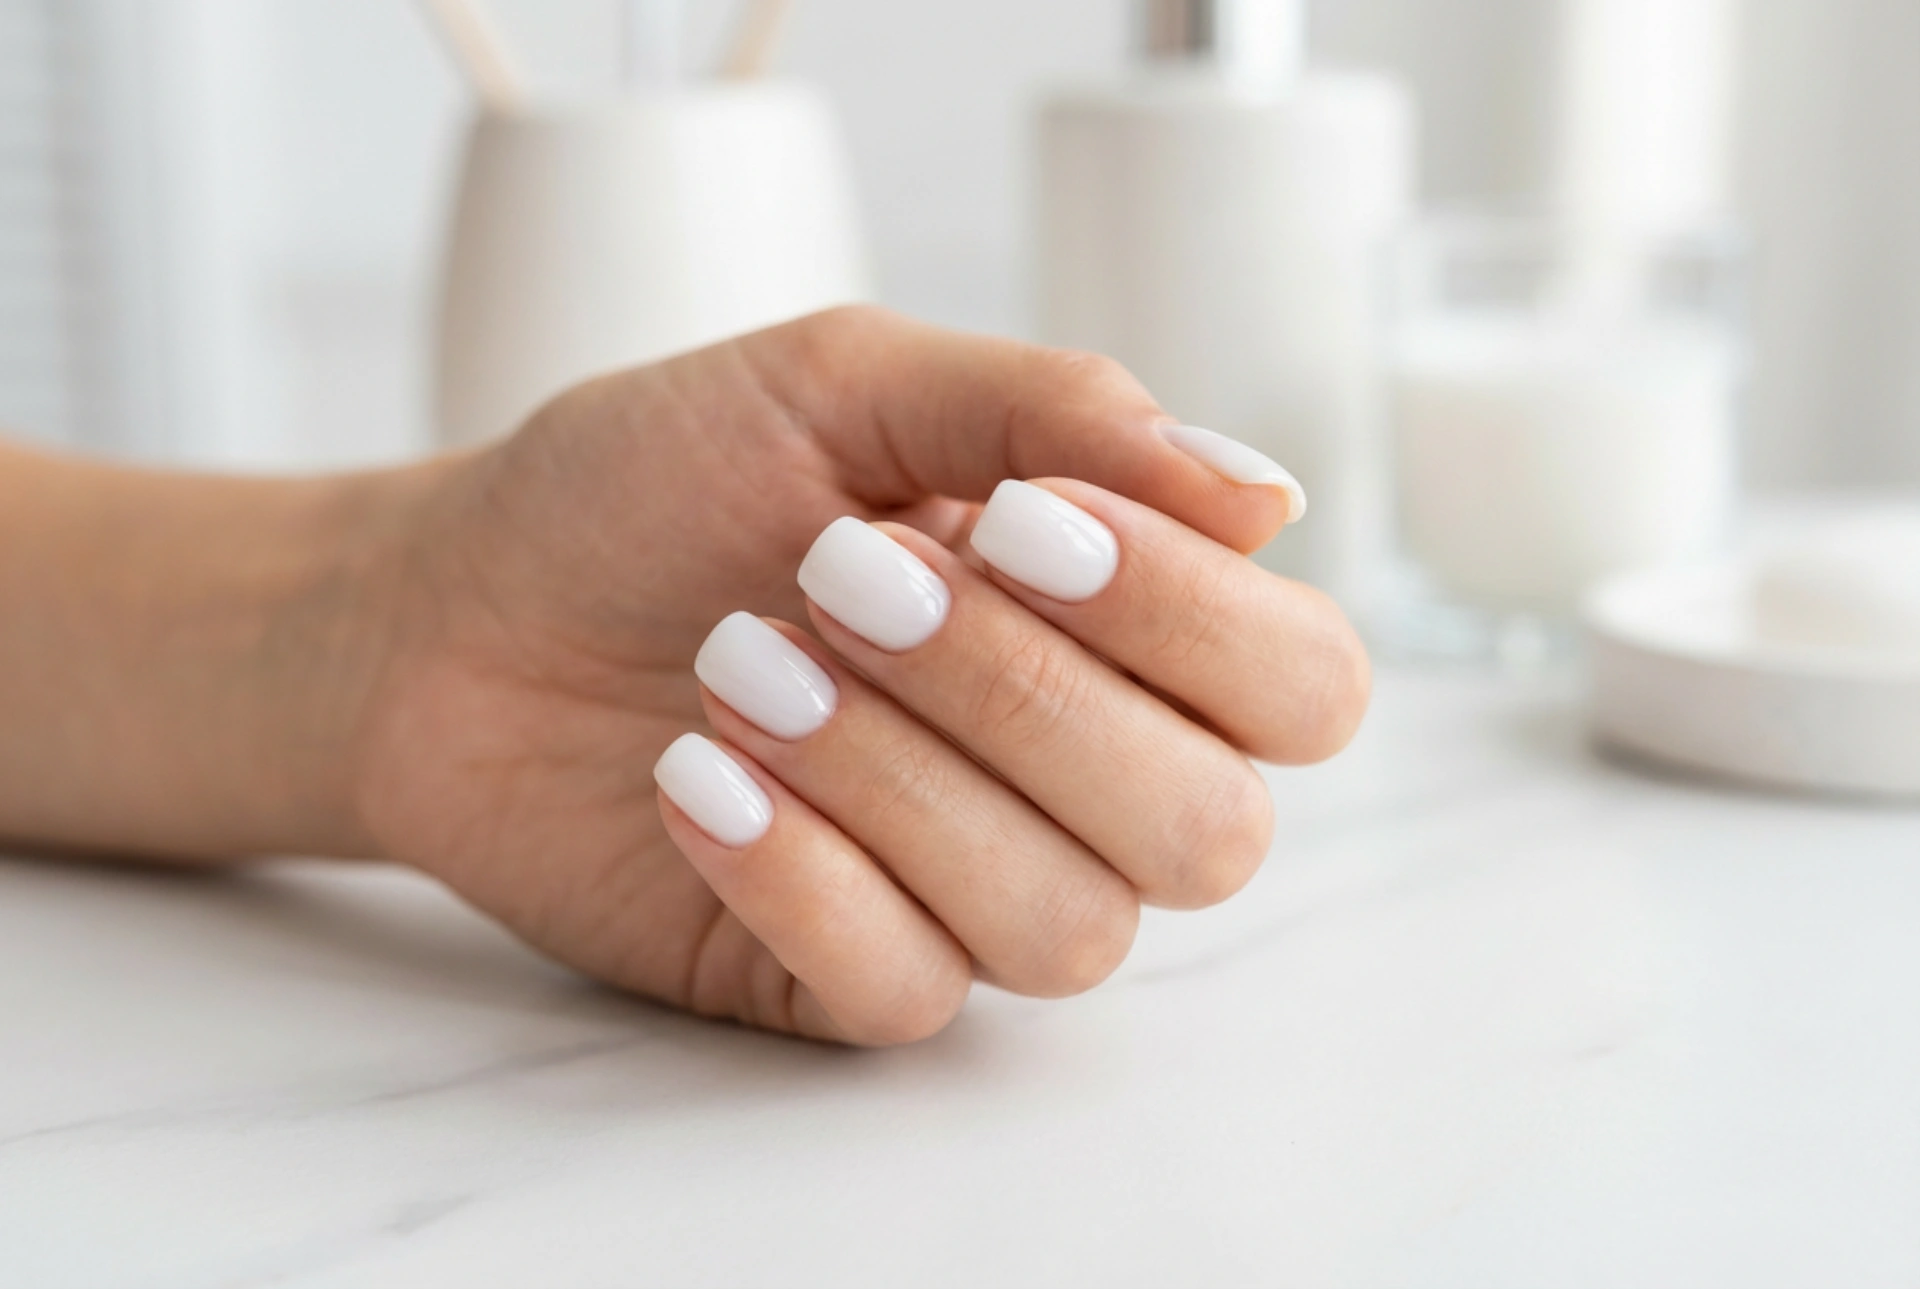
Tips for Longevity and Safe Removal
With a little care, your hybrid manicure can last two to three weeks. Removing it correctly is just as important as applying it to keep your natural nails healthy.
Making Your Manicure Last
- Thin Layers: This cannot be stressed enough. Thin layers cure properly and are more flexible.
- Avoid Flooding Cuticles: Polish on the skin will cause lifting. Clean up any mistakes with a wooden stick dipped in cleaner before curing.
- Protect Your Nails: Wear gloves when doing household chores, especially when using cleaning chemicals or washing up for long periods.
How to Safely Remove Hybrid Polish
- Break the Seal: Use a file to gently buff the shiny surface of the top coat. This allows the remover to penetrate the polish.
- Soak the Nails: Soak a small piece of a lint-free wipe in hybrid remover, place it directly on the nail, and wrap your fingertip tightly in a small piece of aluminium foil or use a special nail clip.
- Wait Patiently: Leave the wraps on for about 10-15 minutes.
- Gently Remove: Unwrap one finger. The polish should look softened and lifted. Use a wooden stick or a cuticle pusher to gently scrape the polish off. Never force it. If it doesn't come off easily, re-wrap and wait a few more minutes.
- Nourish: Once all the polish is removed, gently buff your nails, wash your hands, and apply a nourishing cuticle oil and hand cream.