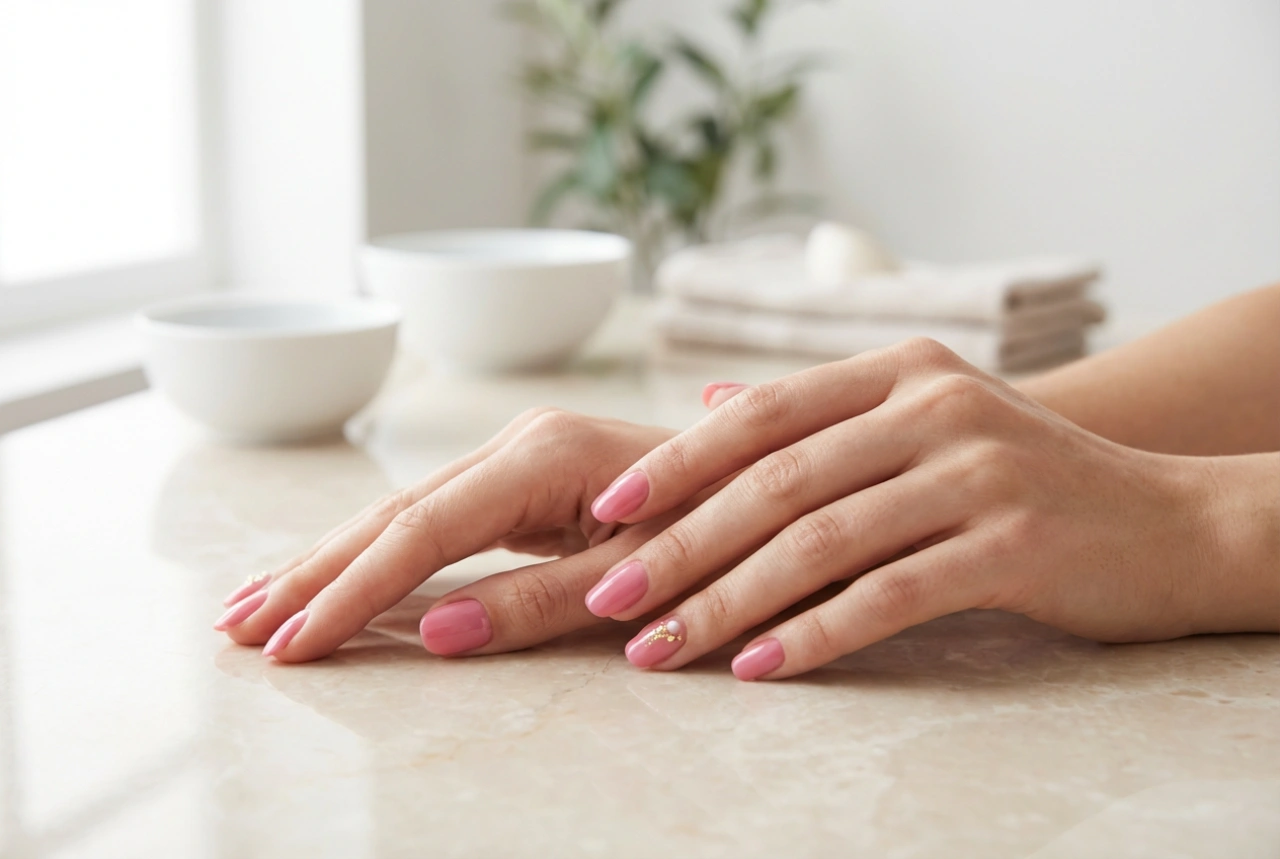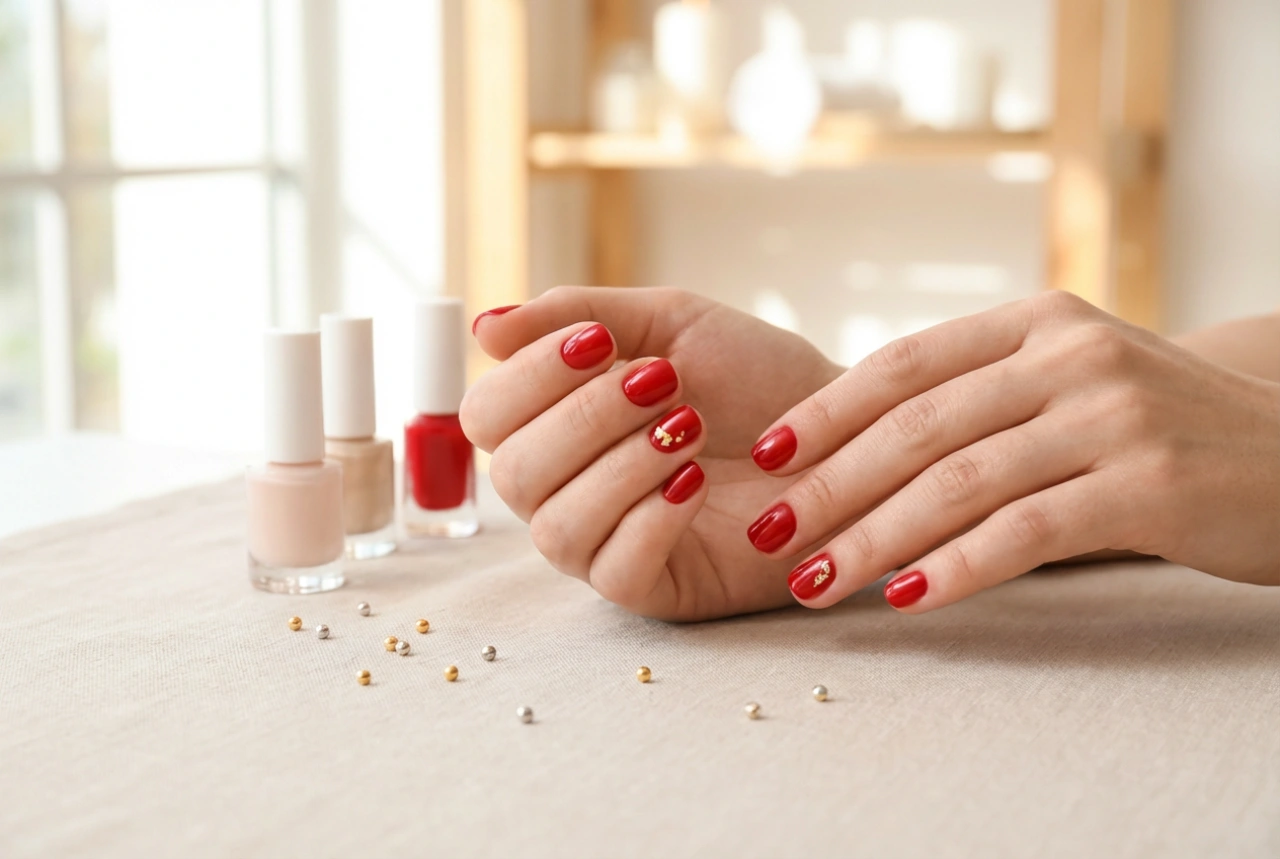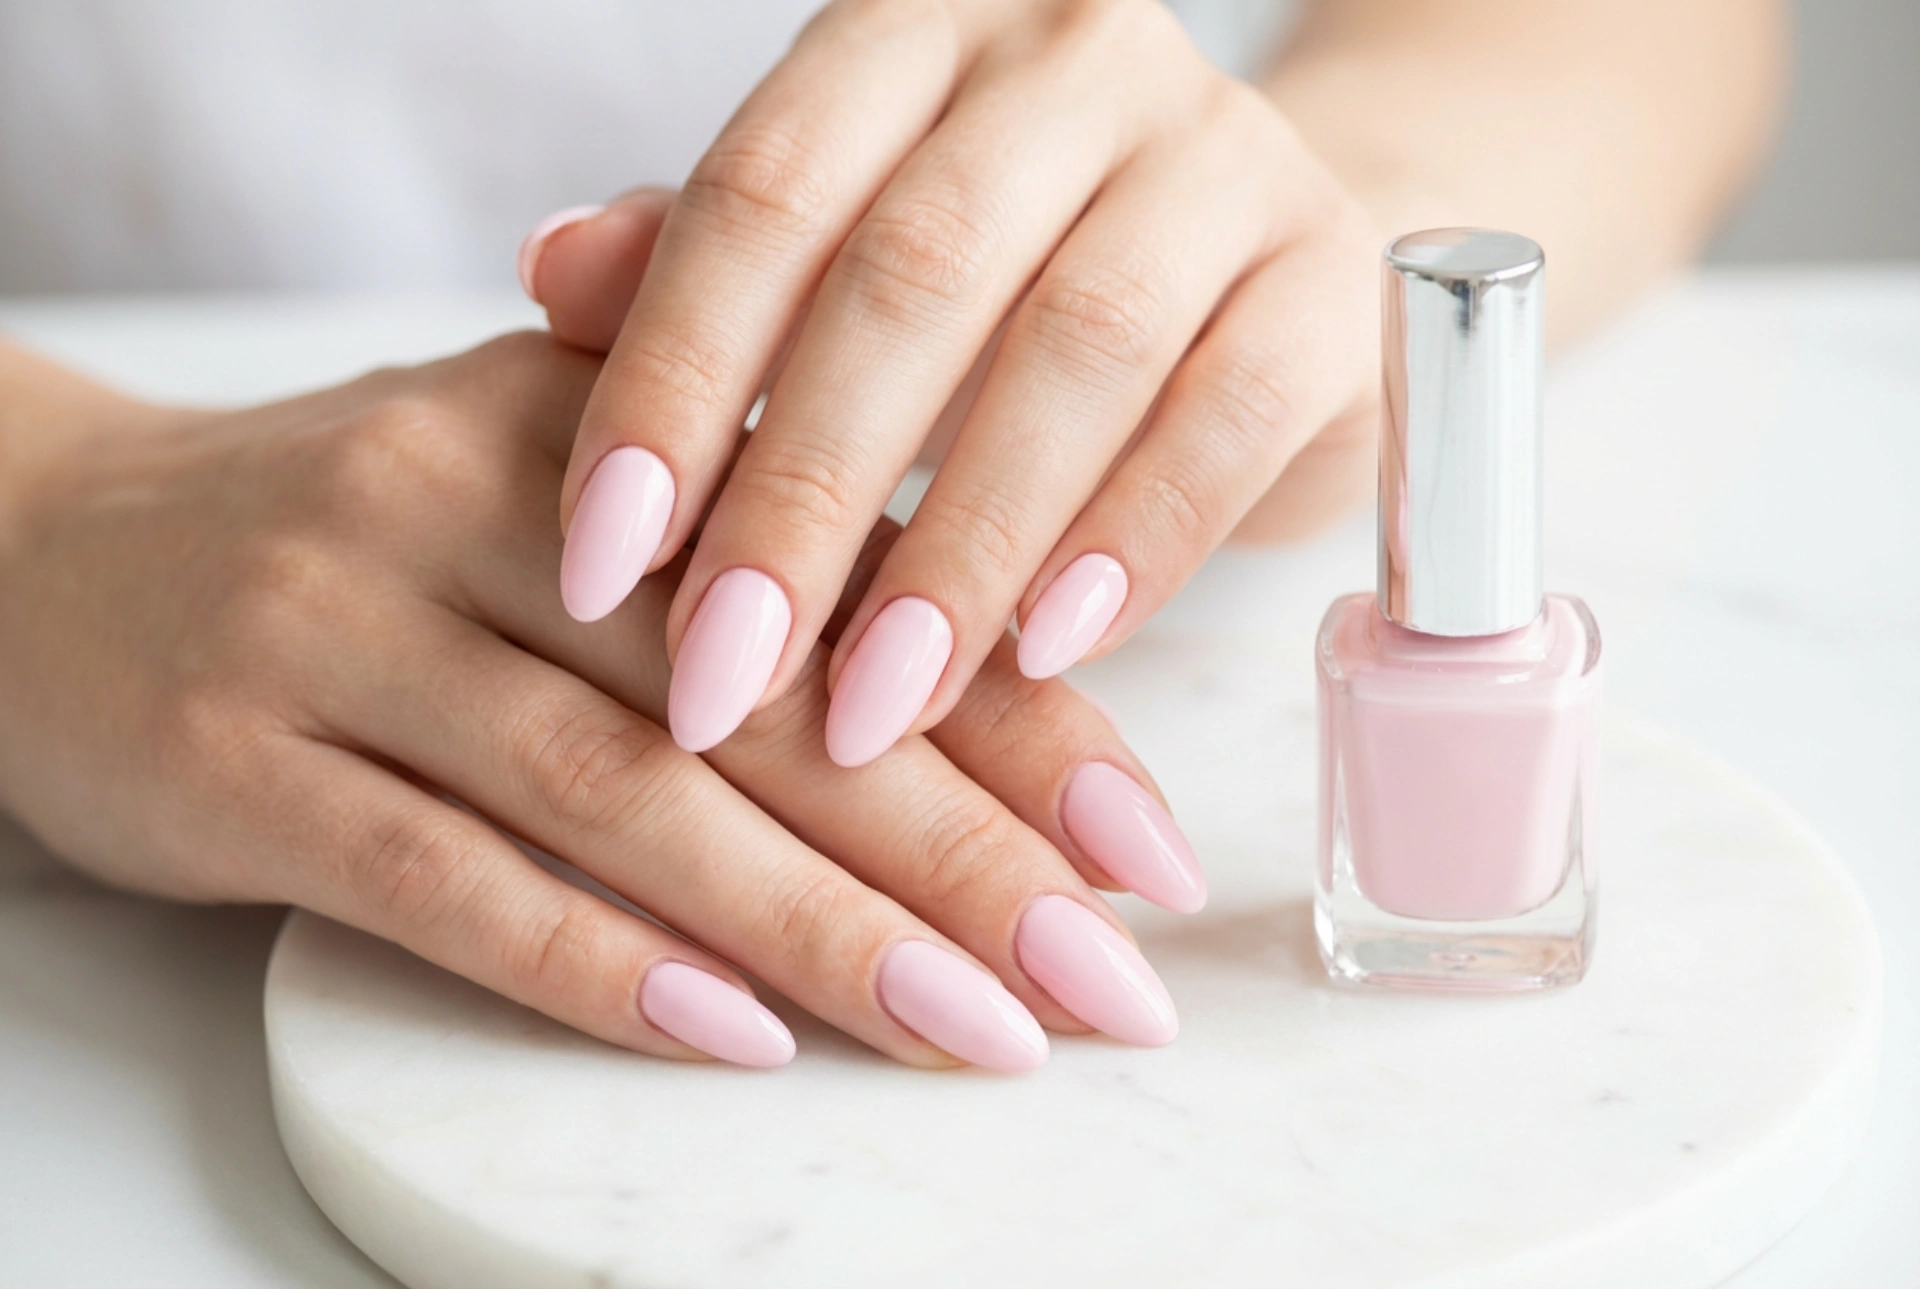


Light, pastel hybrid nails are the epitome of elegance and subtlety. They complement any style and are perfect for any occasion. However, anyone who has tried to apply a light-coloured hybrid polish at home knows the main challenge: achieving a perfectly even colour without unsightly streaks or patches. Unlike dark, heavily pigmented polishes, light shades are less forgiving and require a specific technique. Fortunately, with a little knowledge and patience, you can achieve a salon-quality, flawless finish. This guide will walk you through the essential steps for a perfect light hybrid manicure.
The Foundation: Flawless Nail Preparation
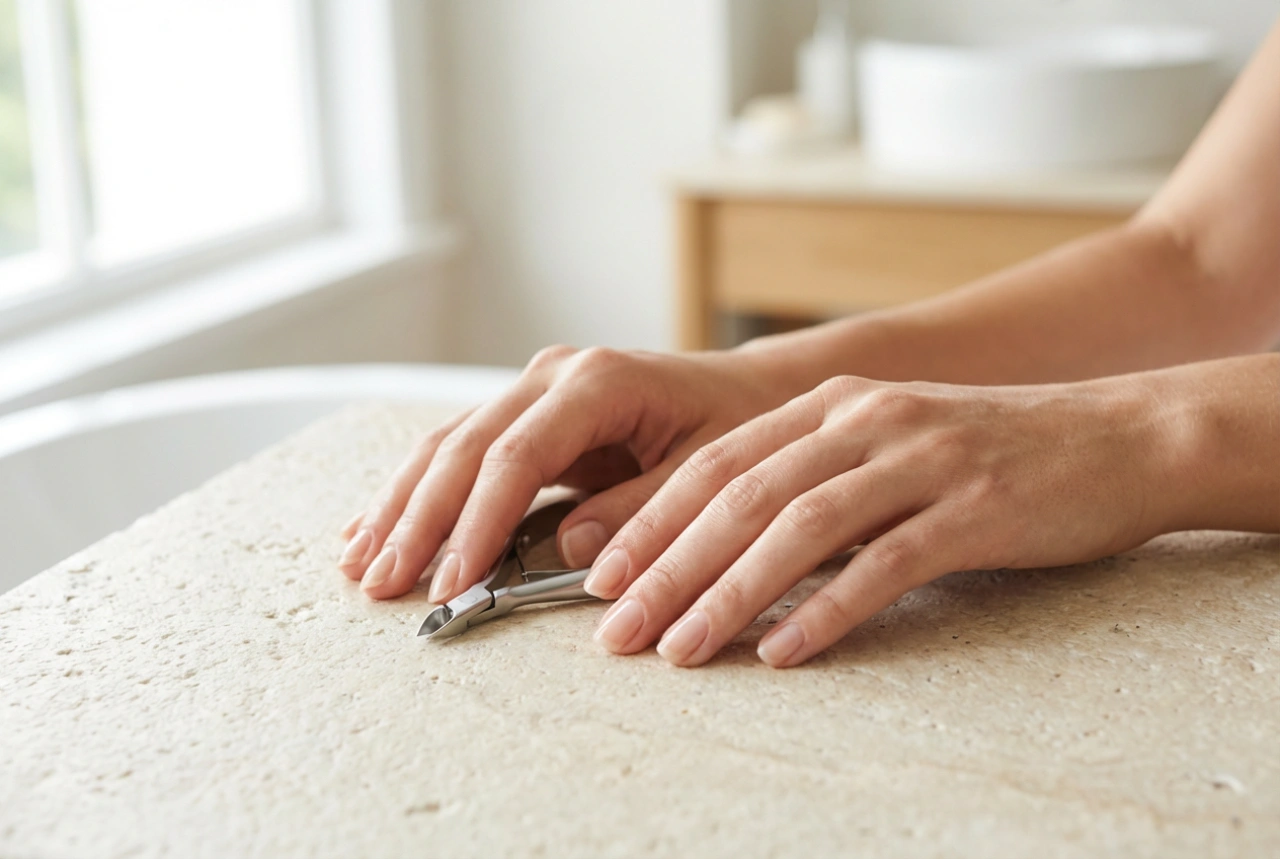
The secret to a perfect manicure begins long before you open the coloured polish. Proper preparation of the nail plate is crucial, especially with demanding light colours. Any unevenness on the nail will be more visible under a pastel shade. Start by gently shaping your nails and pushing back the cuticles. Then, using a fine-grit buffer, gently mattify the entire surface of the nail plate. This step removes the natural shine and creates a slightly rougher surface for the base coat to adhere to. After buffing, it is essential to thoroughly cleanse each nail with a lint-free wipe soaked in a dedicated cleaner to remove any dust and natural oils. A clean, oil-free surface ensures maximum adhesion and longevity for your manicure.
The Art of Thin Layers
This is the most critical rule when working with light hybrid polishes. The temptation to apply a thick layer to get full coverage quickly is a common mistake that leads to problems. Thick layers do not cure evenly, which can cause the polish to wrinkle, bubble, or remain semi-liquid underneath, leading to a non-durable manicure. Instead, embrace the philosophy of thin layers.
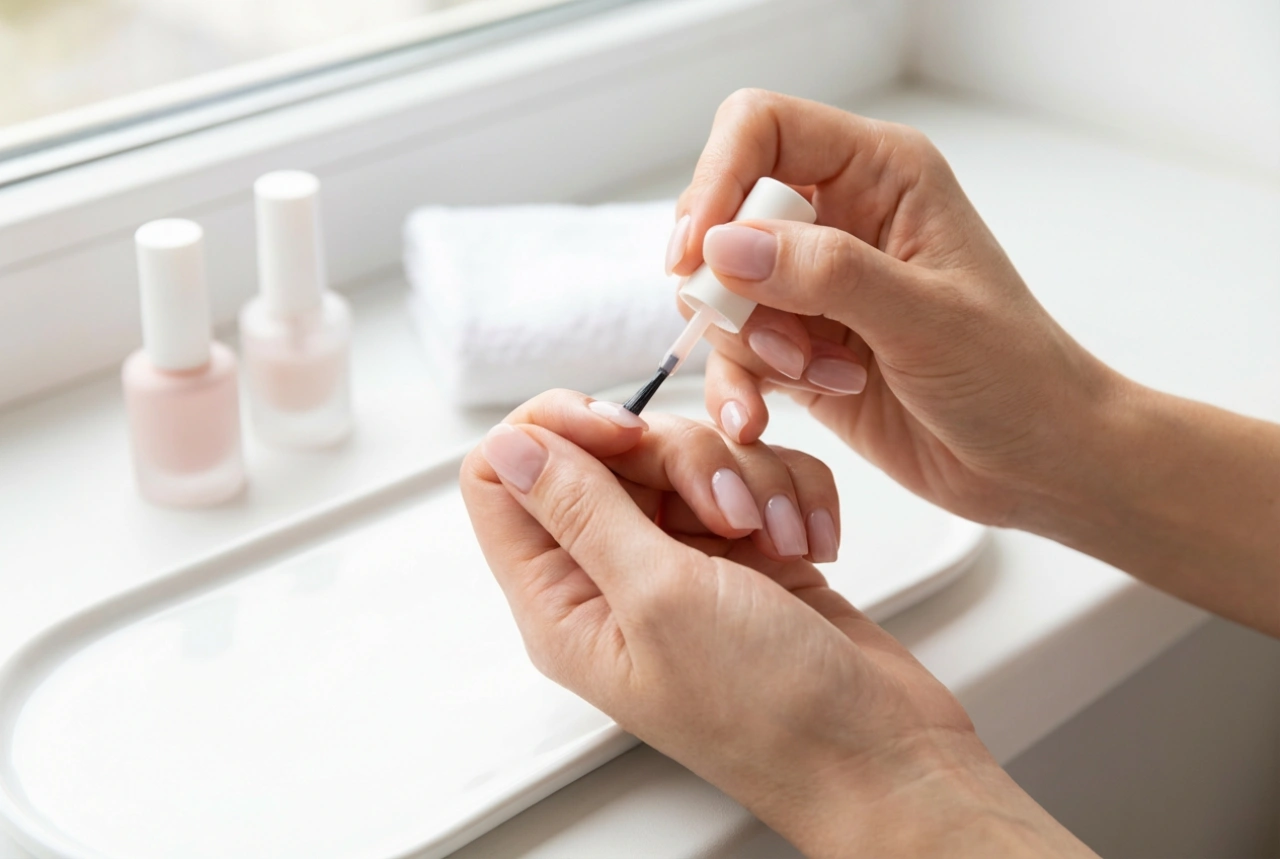
The First Coat: A Sheer Foundation
Your first coat of colour should be extremely thin, almost translucent. Do not worry if it looks patchy or streaky; this is completely normal. The goal of this layer is not to achieve full opacity, but to create a foundational, even-coloured base for the next coats to adhere to. Apply the polish with gentle, smooth strokes from the cuticle to the free edge. Be sure to 'cap' the free edge of the nail by running the brush along the tip. This seals the colour and helps prevent chipping. Cure this thin layer for the full time recommended by the manufacturer in your UV/LED lamp.
Building Opacity: Subsequent Coats
The second layer is where the magic begins to happen. Apply it just as thinly as the first. You will notice that the colour now goes on much more smoothly and evenly, as it is adhering to the cured base of colour rather than the slippery base coat. Use a light hand and 'float' the brush over the nail rather than pressing it down. This prevents the bristles from creating grooves in the polish. If, after curing the second layer, you still see some minor sheerness or unevenness, you can apply a third, equally thin coat. For most high-quality light polishes, two to three thin coats are sufficient to achieve beautiful, full coverage without any bulkiness.
Curing and Finishing for a Flawless Effect
Proper curing is just as important as the application itself. Ensure you are using a lamp with adequate power for hybrid polishes and that you cure each layer for the specified duration. Under-curing is a primary cause of wrinkling and premature peeling. Once you are satisfied with the opacity and evenness of your colour, it's time for the final step: the top coat. A high-quality top coat not only protects the manicure and gives it a spectacular shine but can also help to optically smooth out any minor surface imperfections. Apply a slightly more generous, yet still even, layer of top coat, making sure to cap the free edge once more. After the final cure and wiping off the sticky inhibition layer (if your top coat requires it), you will be left with a durable, smooth, and professional-looking light hybrid manicure.