


The satisfaction of a perfect manicure can be a wonderful part of any self-care routine. Creating your own custom nail painting kit at home is not only cost-effective but also allows you to tailor your tools and colours to your personal style. It’s a simple way to bring a touch of salon elegance into your own space. This guide will walk you through the essentials you need to build your kit and achieve beautiful results from the comfort of your home.
Assembling Your Core Nail Care Toolkit
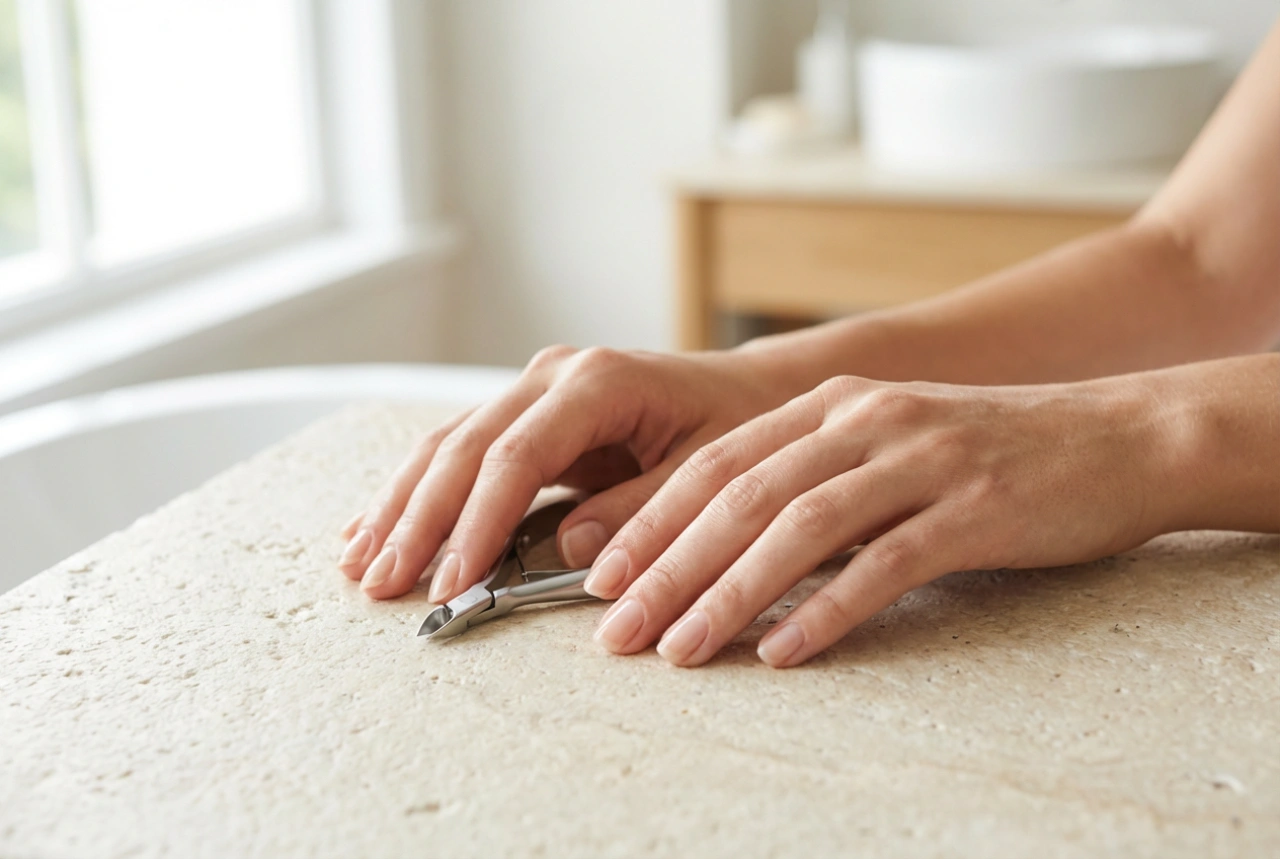
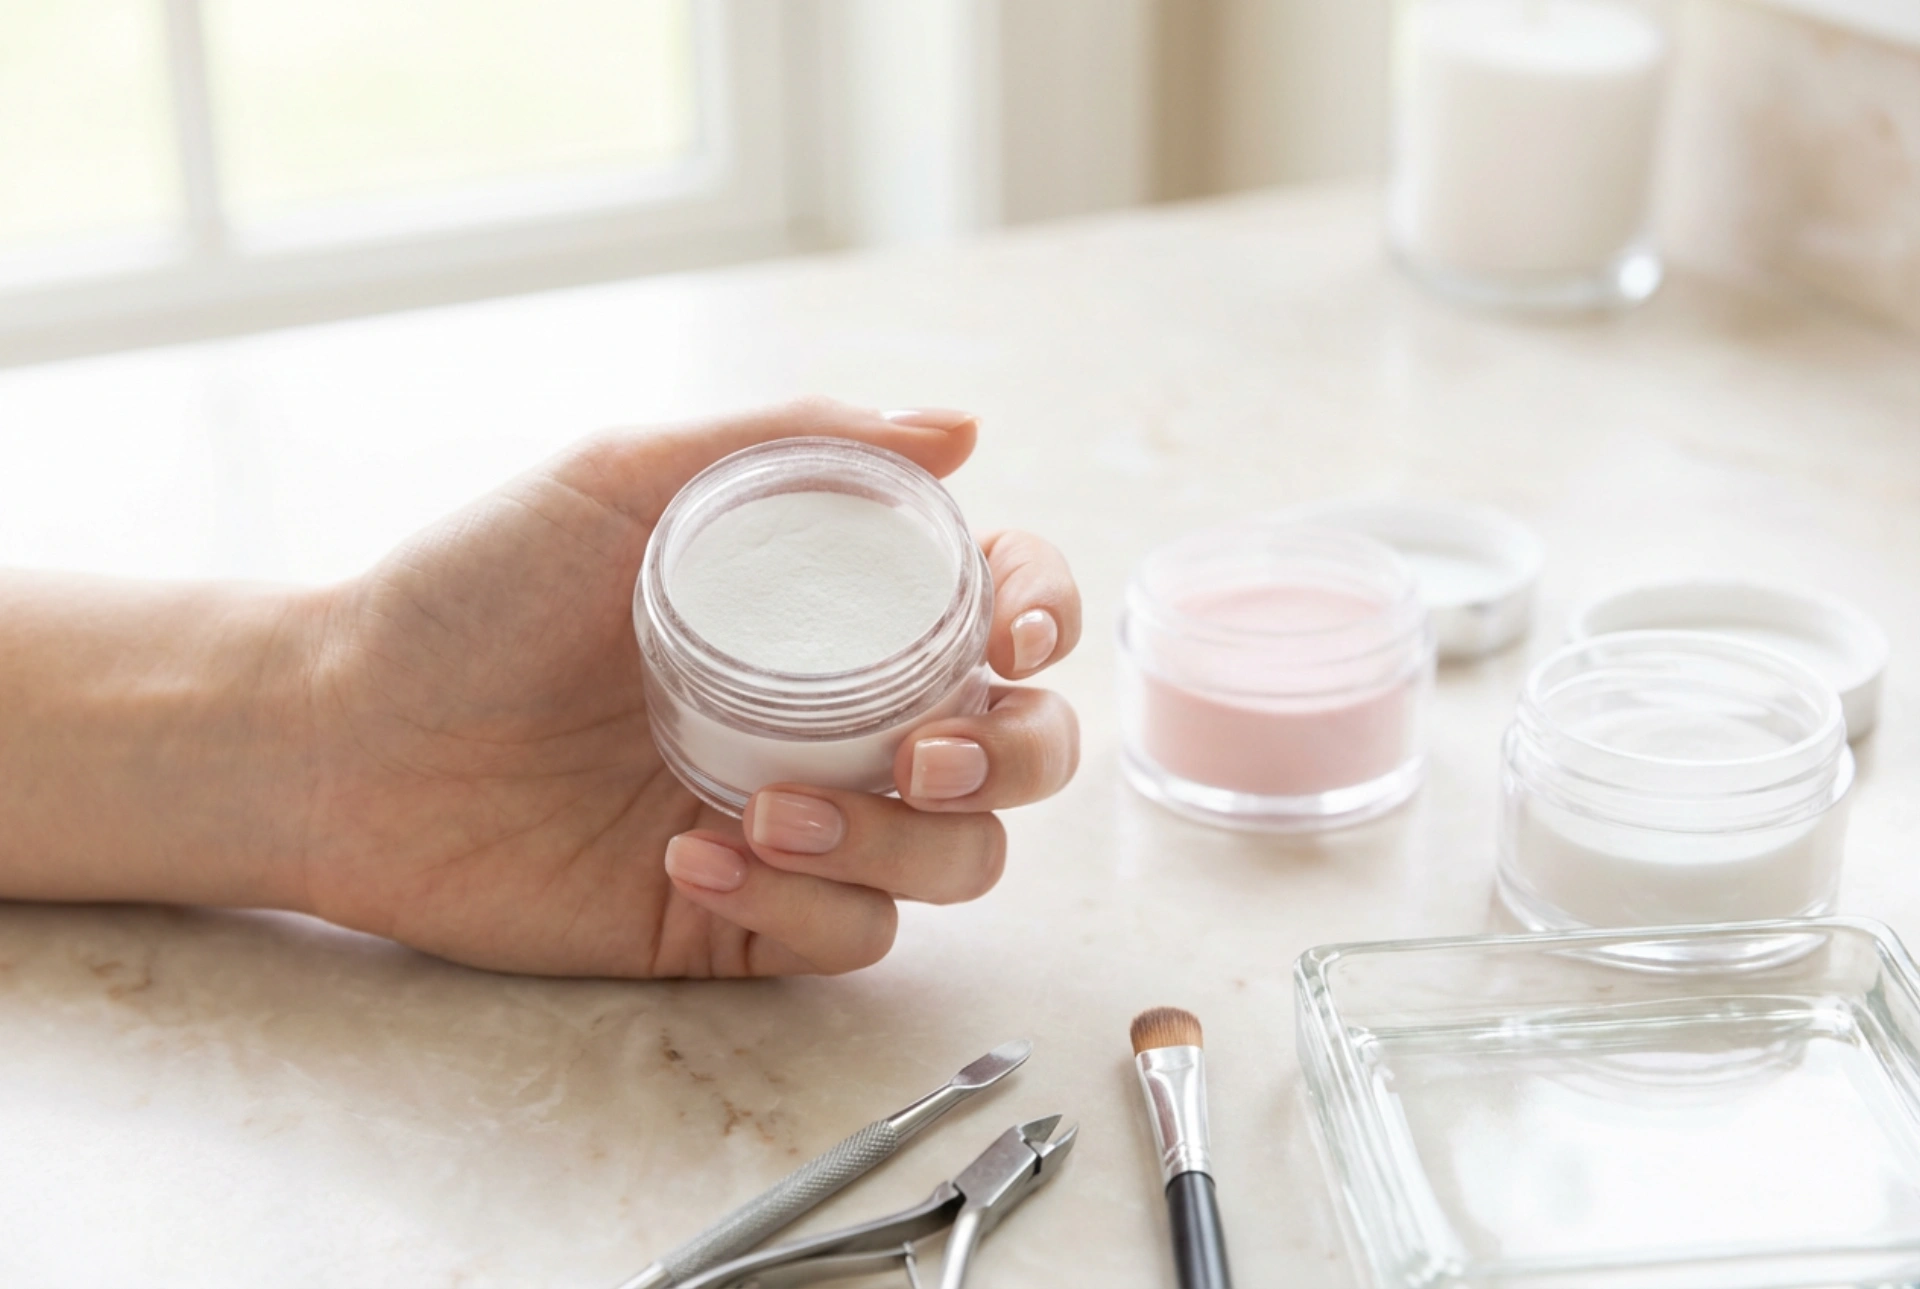
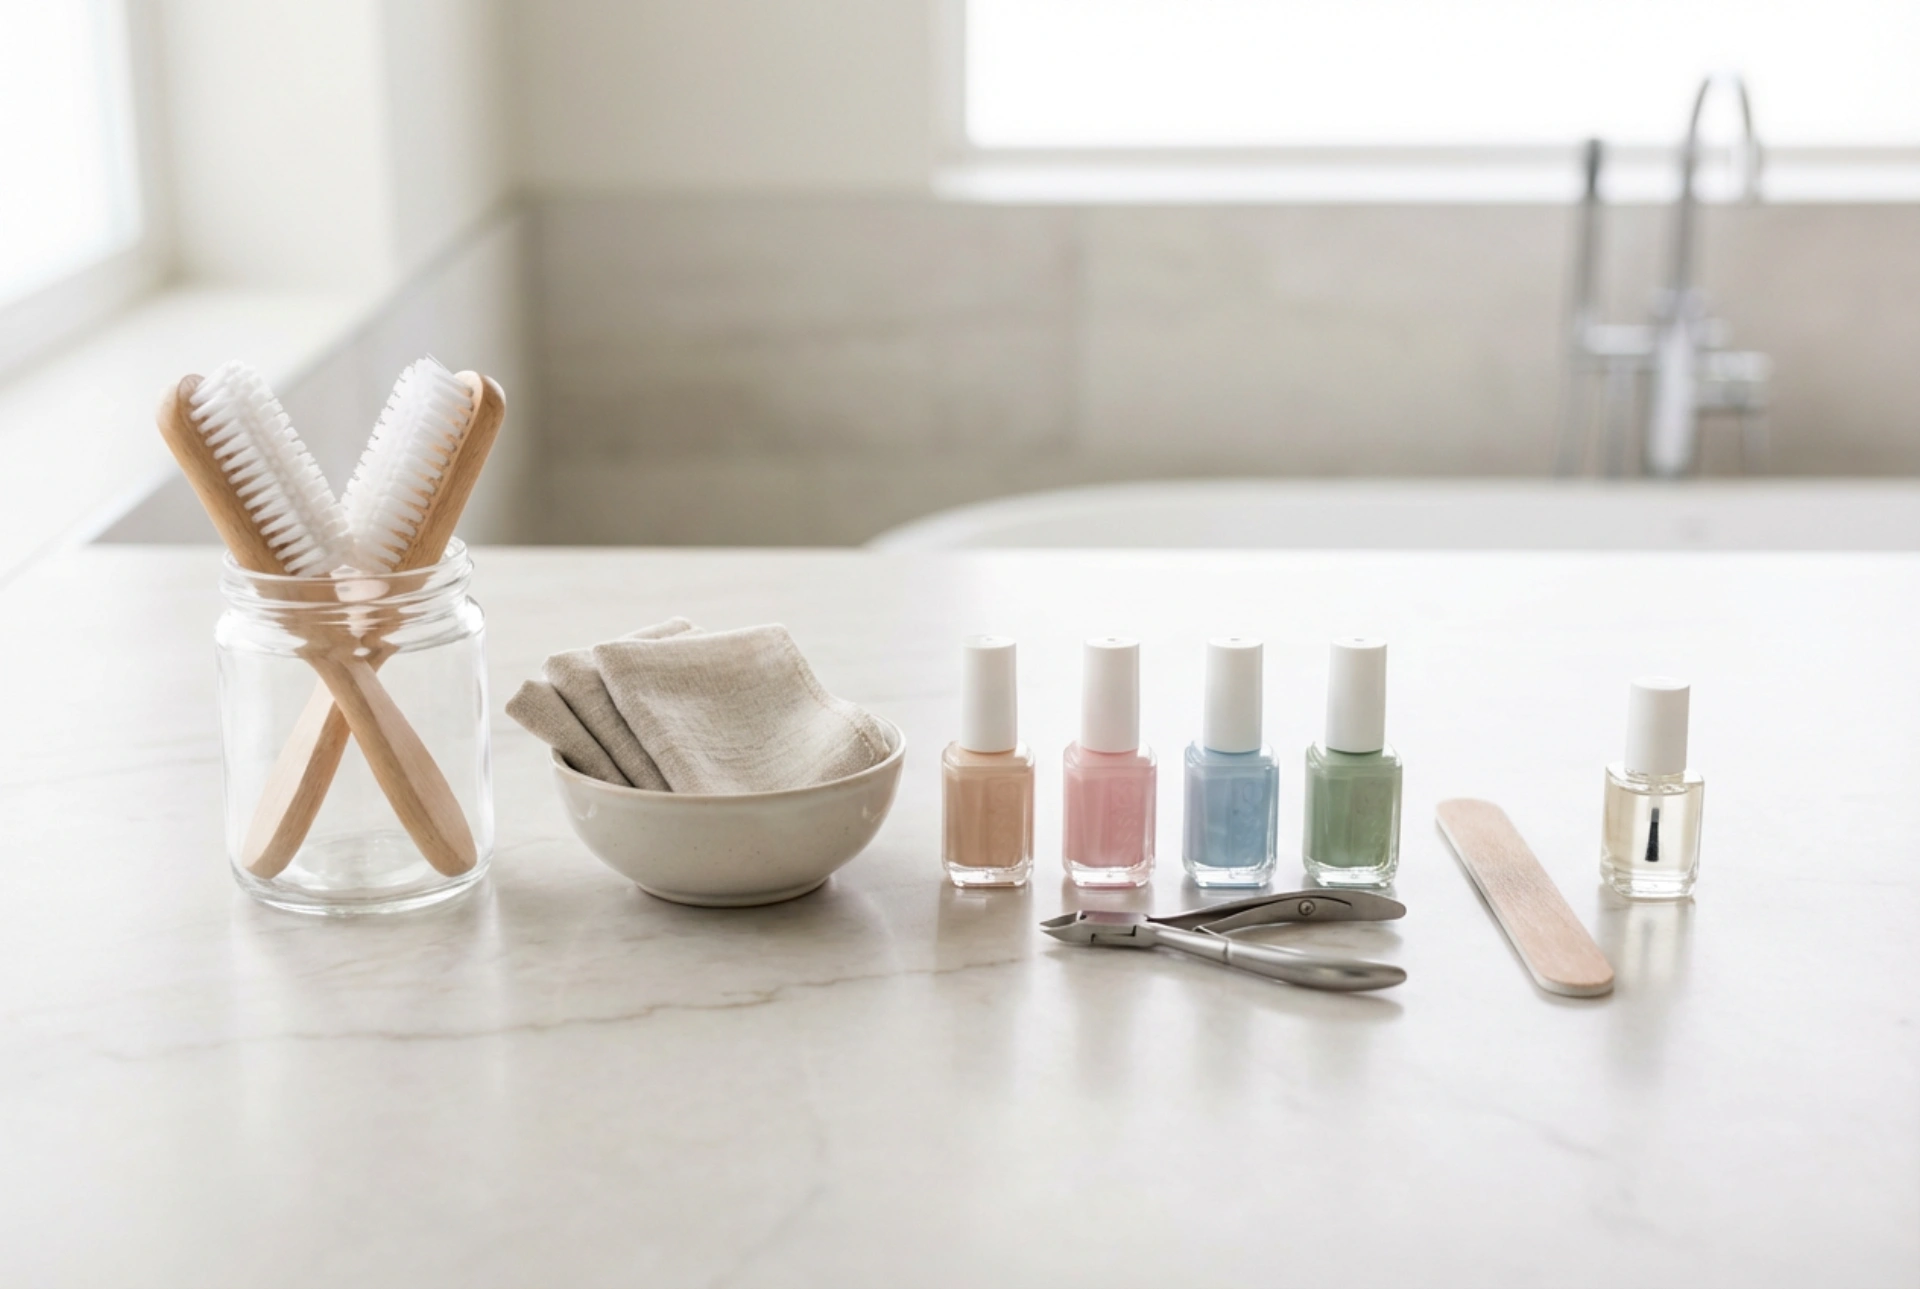
Before you even think about colour, proper nail preparation is key. A well-prepared nail is the perfect canvas for a long-lasting manicure. Your basic toolkit should focus on shaping, smoothing, and tidying the nail area. Having the right instruments on hand makes the whole process smoother and more enjoyable.
- Nail Clippers or Scissors: For trimming your nails to your desired length. Choose the tool that you feel most comfortable controlling for a clean, precise cut.
- Nail File: A glass or crystal file is gentle on the nails and durable. Use it to shape the edges and smooth any roughness after trimming, always filing in one direction to prevent breakage.
- Buffer Block: This multi-sided tool is used to gently smooth the nail surface, creating a flawless base for polish application and adding a natural shine.
- Cuticle Pusher: A wooden or soft-tipped pusher is used to gently push back the cuticles. This creates a cleaner look and a larger nail surface to paint.
- Cuticle Oil: An essential for nail health, applying cuticle oil helps to moisturise the skin around the nails, keeping it soft and preventing uncomfortable hangnails.
The Essentials of Polish Application
The secret to a manicure that lasts is not just in the application technique, but in the layers you use. Each layer has a specific job to do, working together to protect your nails and extend the life of your colour. Understanding their purpose is fundamental to achieving a professional-looking finish.
The Foundational Layers
Think of these as the primer and sealant for your nail colour. Never skip them if you want your manicure to last more than a day or two and wish to protect your nail health.
- Base Coat: This is the first layer of polish you should apply. It creates a barrier that protects your natural nails from staining from pigmented polishes and helps the colour polish adhere better for a longer wear time.
- Top Coat: The final layer of your manicure. A good top coat adds a high-gloss shine, protects the colour from chipping and fading, and helps your manicure dry faster.
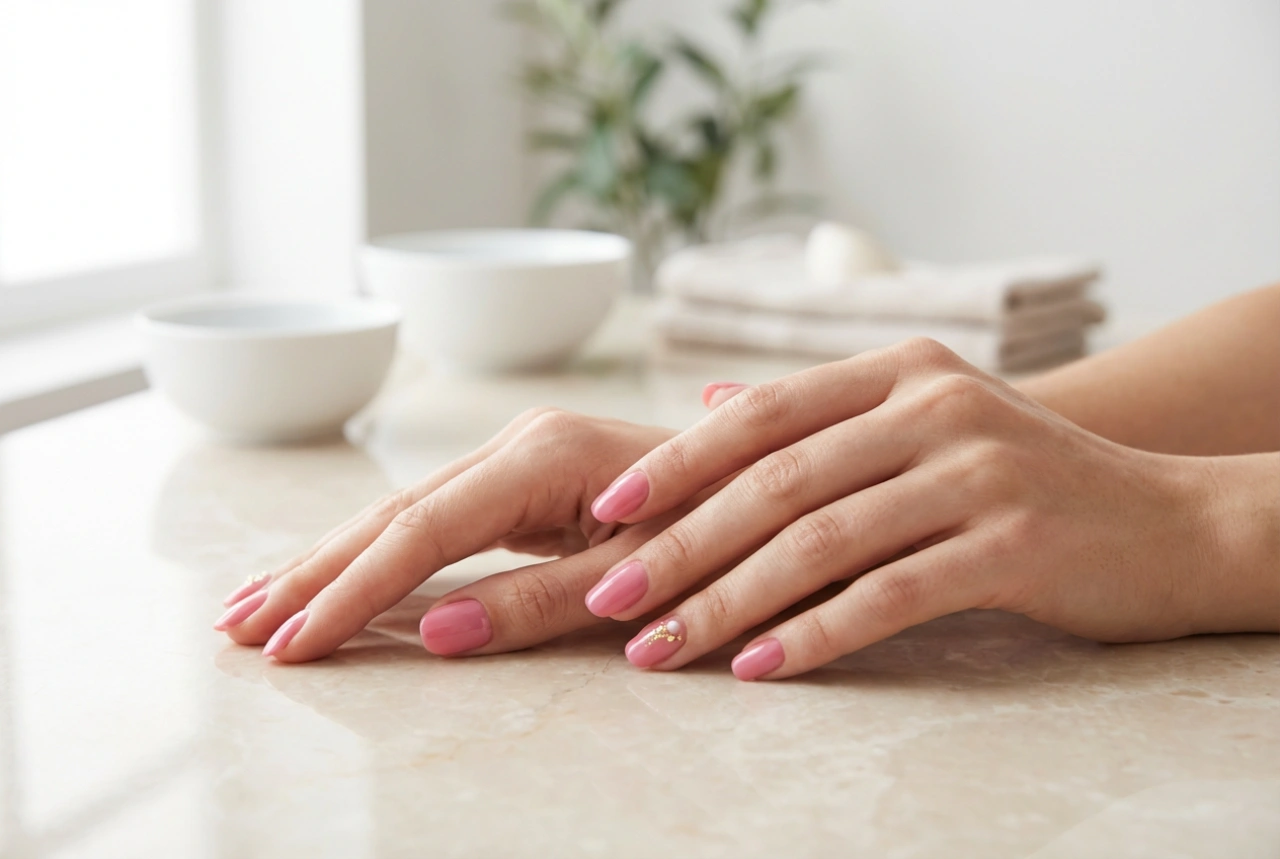
Choosing Your Colours
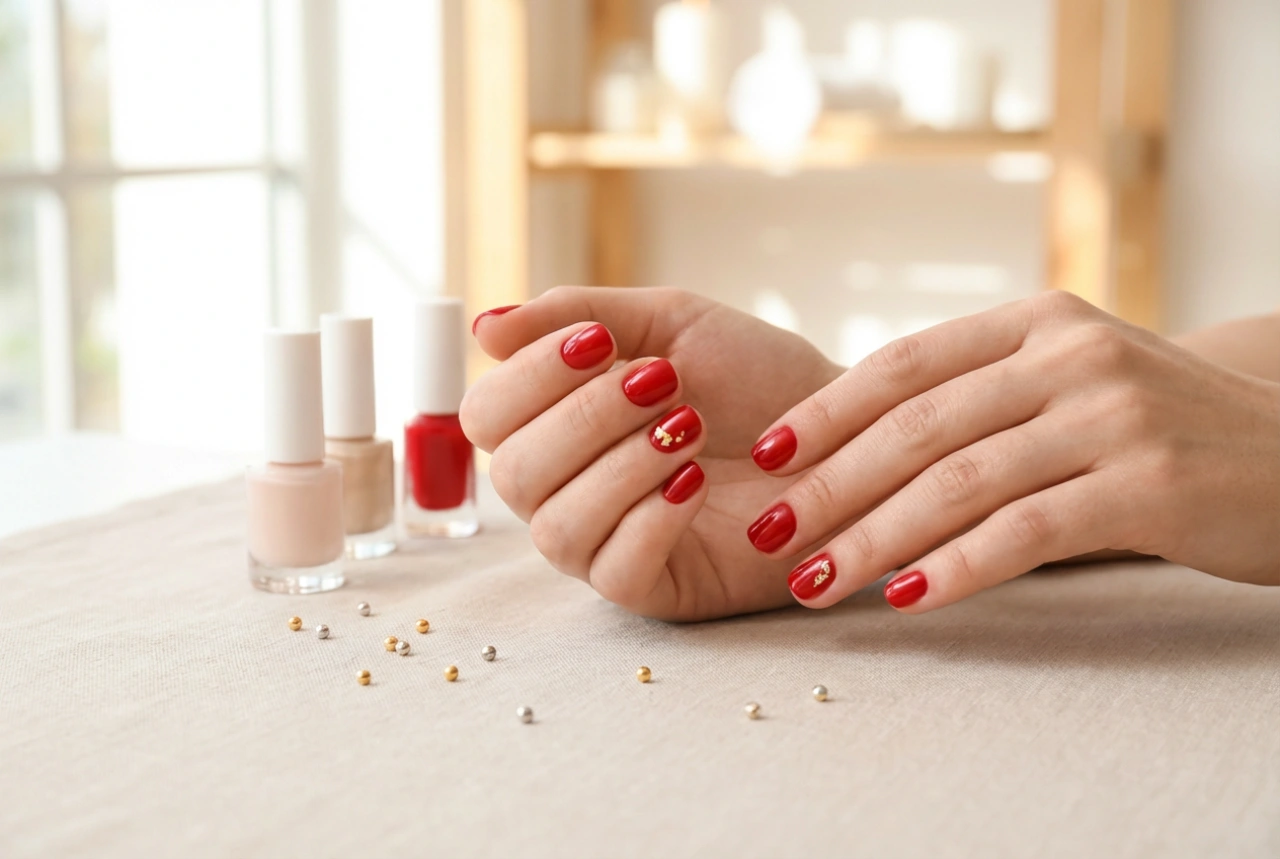
Building a collection of nail colours is a fun and personal journey. To start, consider a few versatile shades: a classic red, a neutral nude that complements your skin tone, a deep dark shade for an elegant look, and perhaps a fun, bright colour for special occasions. Over time, you can expand your collection based on seasons and trends.
The Step-by-Step Home Manicure Process
With your kit assembled, you're ready to start. Patience is the most important tool here, so set aside some uninterrupted time for a relaxing experience.
Preparation is Everything
Begin with clean, dry hands. Remove any old polish completely using a non-acetone remover if possible, as it's gentler on your nails. Trim and file your nails into your preferred shape. Gently push back your cuticles, but avoid cutting them at home to prevent irritation. Finally, wipe each nail plate with a cotton pad soaked in nail polish remover to get rid of any natural oils or residues that could prevent the polish from adhering.
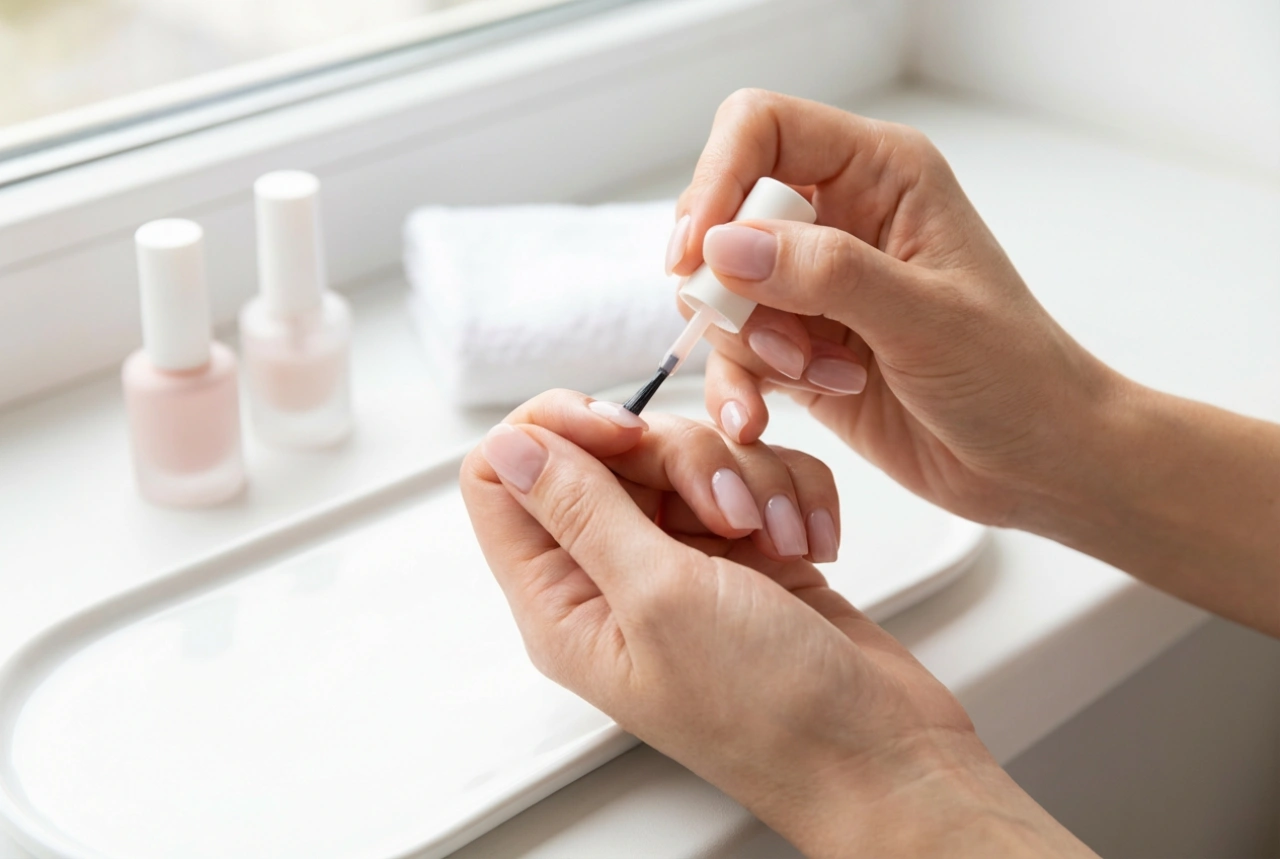
The Art of Application
Start with a single, thin layer of base coat and allow it to dry for about two minutes. Next, apply your chosen nail colour. The key is to use thin coats. Apply the first coat, wait for it to dry, and then apply a second. Two thin coats will provide much better coverage and longevity than one thick coat. Once the colour is touch-dry, apply a layer of top coat, making sure to brush it over the free edge of the nail to seal it. To fix any smudges around the nail, dip a small, clean brush into nail polish remover and carefully trace around your cuticle line. Let your nails dry thoroughly before applying a drop of cuticle oil for a professional-looking finish.
Maintaining Your Kit
To ensure your tools and polishes last, proper storage and hygiene are important. Clean your metal tools with rubbing alcohol after each use to keep them hygienic. Store your nail polishes upright in a cool, dark place to prevent them from thickening or separating. A well-maintained kit will be ready for you whenever you feel like a fresh manicure, making at-home nail care a simple and rewarding ritual.