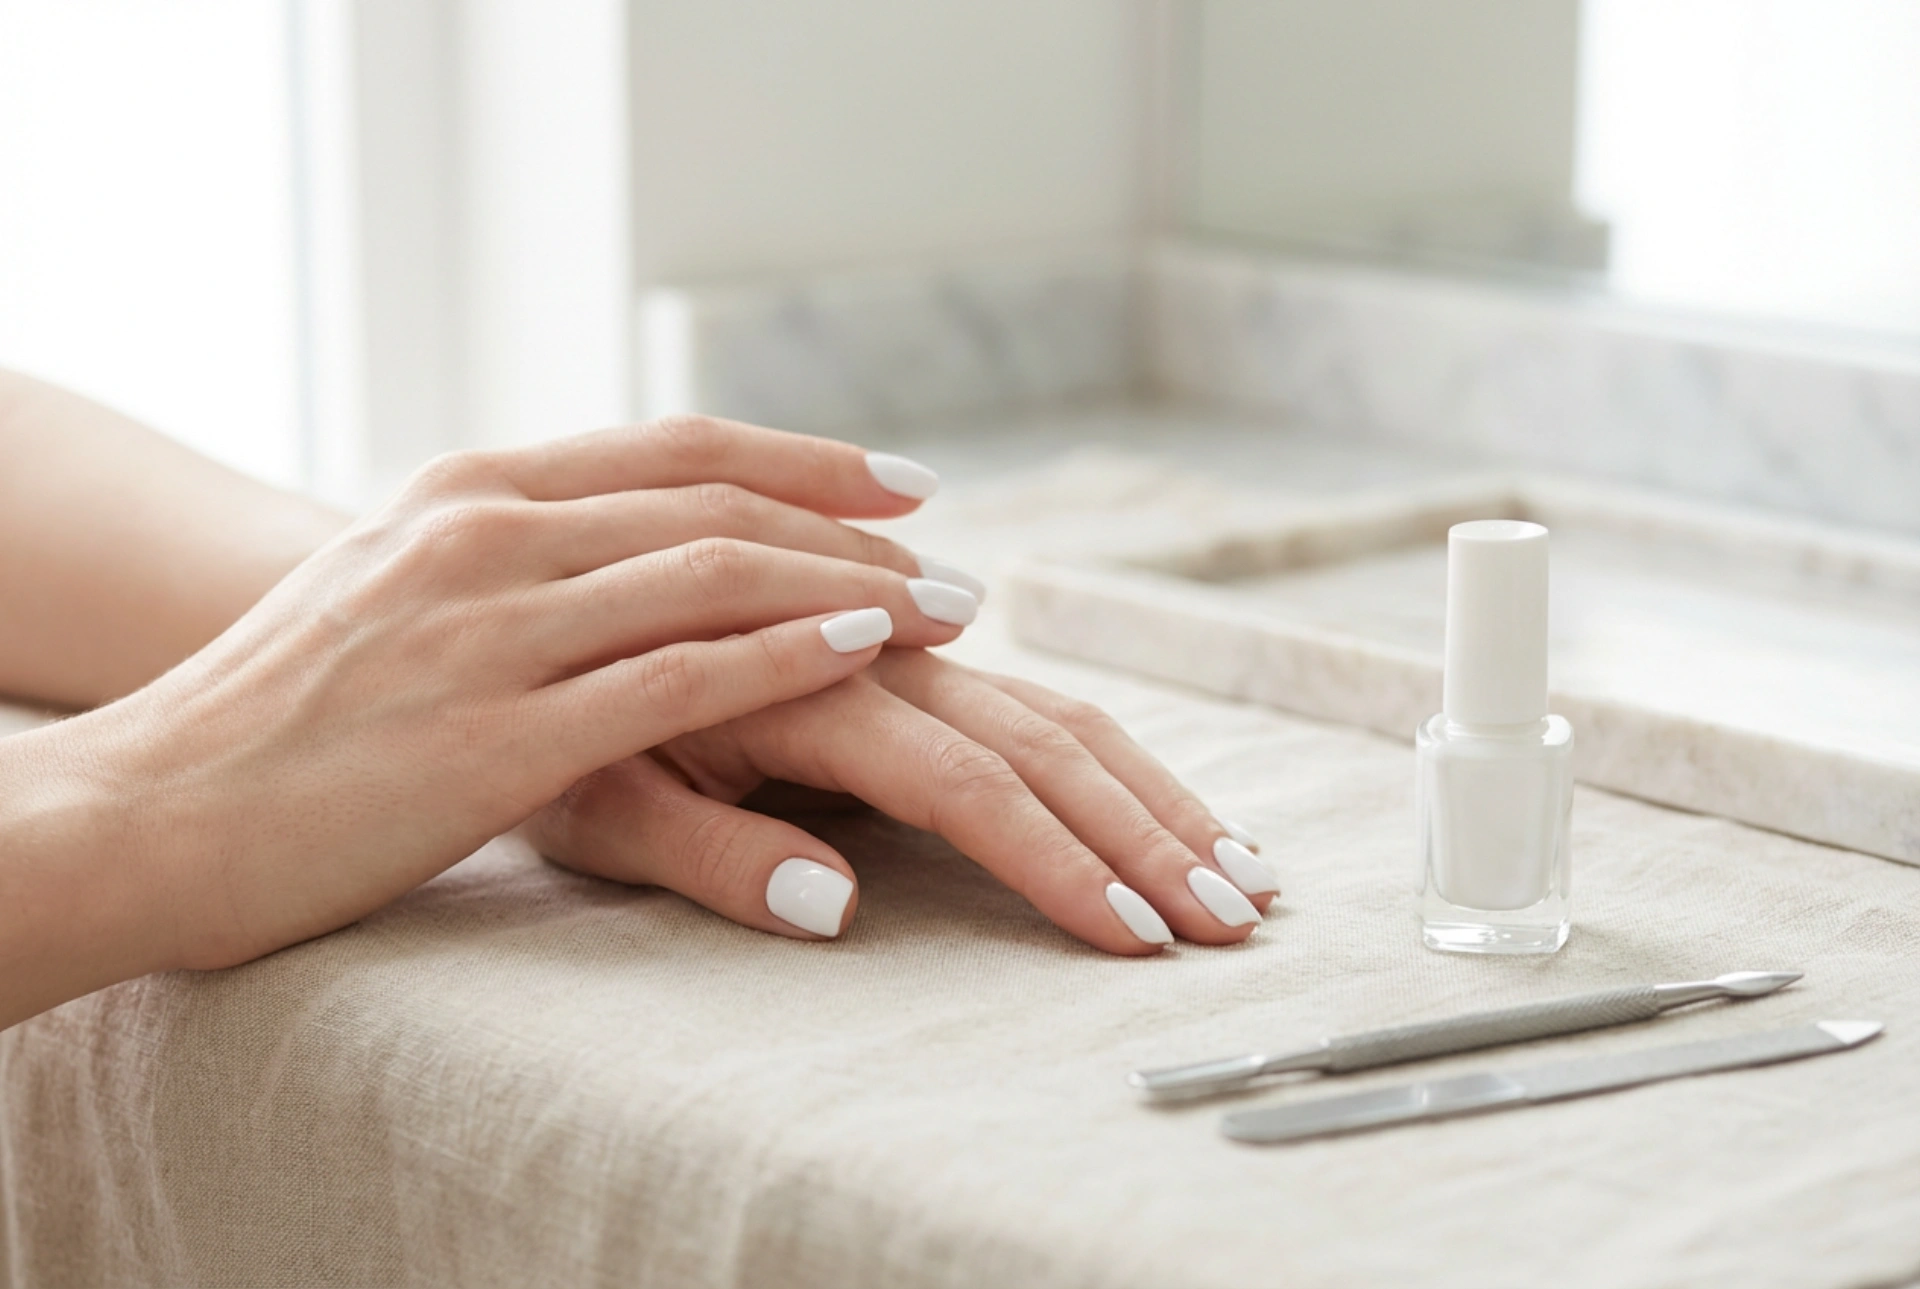


A white manicure is a symbol of elegance and timeless style. It’s a versatile choice that suits any occasion, from everyday wear to special events, creating a clean and polished look. Achieving that perfect, streak-free white finish at home can seem challenging, but with the right preparation and technique, it's entirely possible. This guide will walk you through the steps to paint, care for, and even add a creative touch to your white nails.
Preparing Your Nails for a Flawless White Manicure
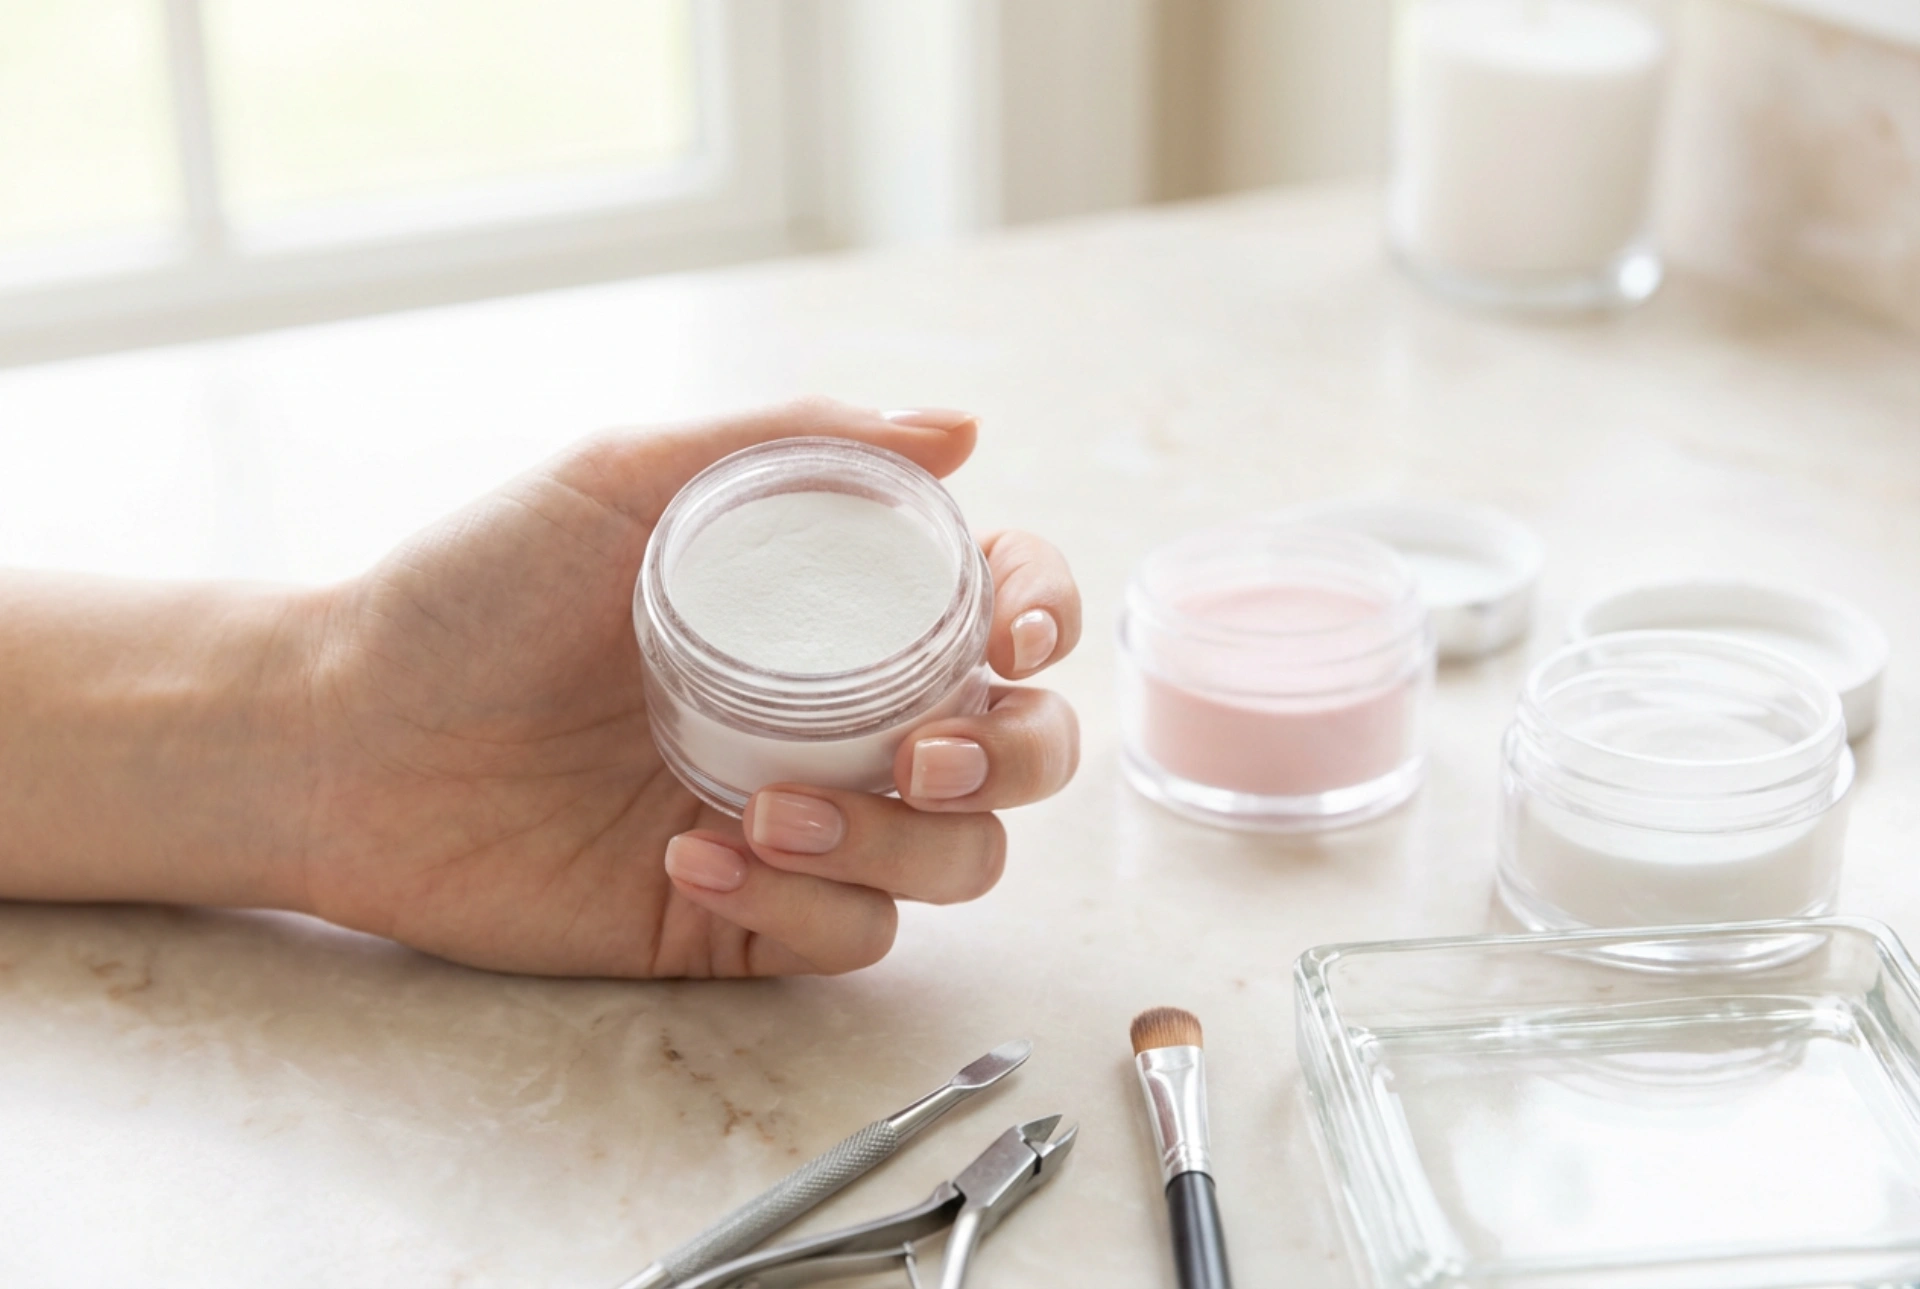
Proper preparation is the foundation of any long-lasting manicure. Before you even reach for the white polish, take the time to get your nails ready. This will ensure a smooth application and a more durable result.
- Clean and Shape: Start by removing any old polish. Wash your hands and gently scrub your nails. File your nails to your desired shape, whether it's square, oval, or almond. Always file in one direction to prevent splitting.
- Buff the Surface: Lightly buff the surface of your nails. This creates a slightly rough texture that helps the polish adhere better, but be gentle to avoid thinning your nails.
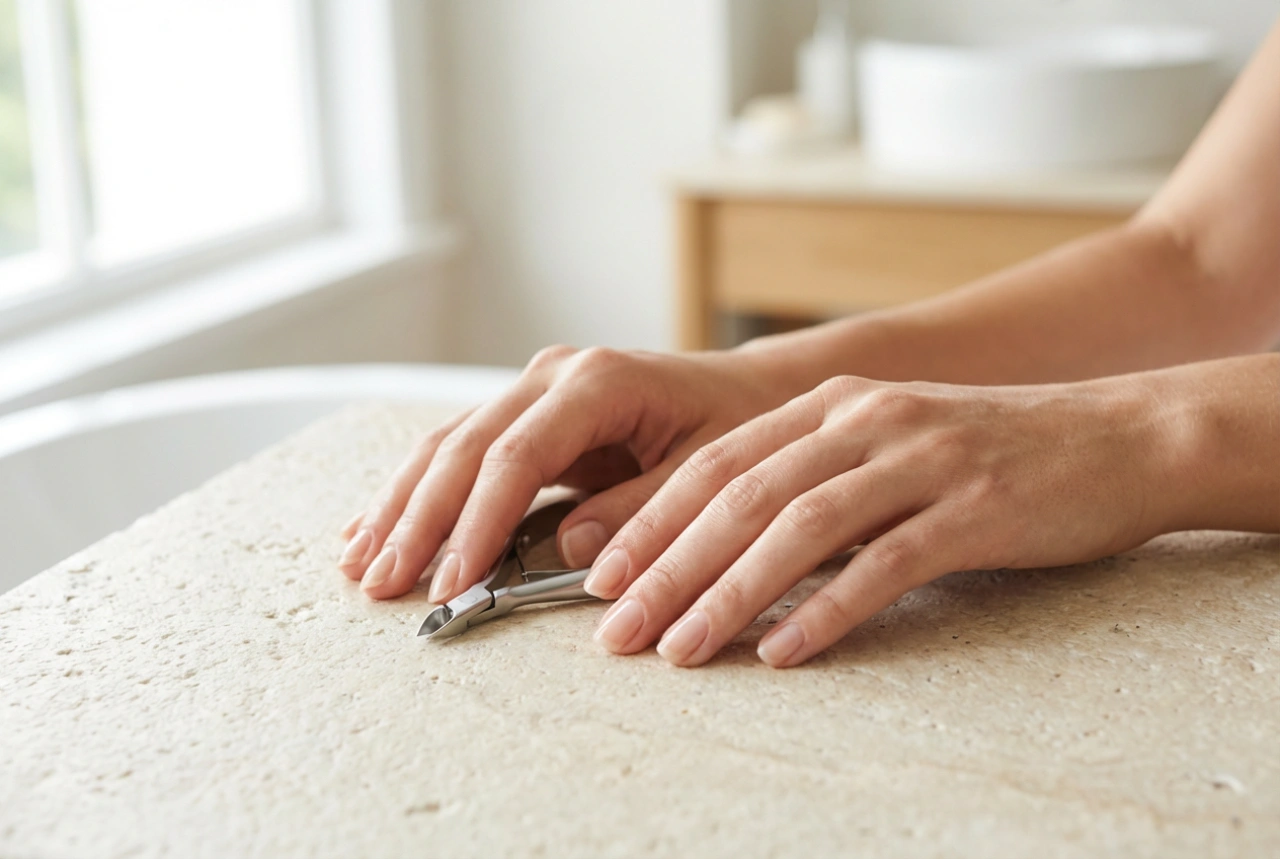
- Cuticle Care: Gently push back your cuticles using a wooden or rubber-tipped cuticle pusher. Avoid cutting them, as this can lead to irritation. Moisturising your cuticles is key to healthy-looking hands.
Mastering the Application of White Polish
White polish is notorious for being streaky, but a patient and methodical approach can yield perfect results. The secret lies in thin, even layers.
Step-by-Step Application
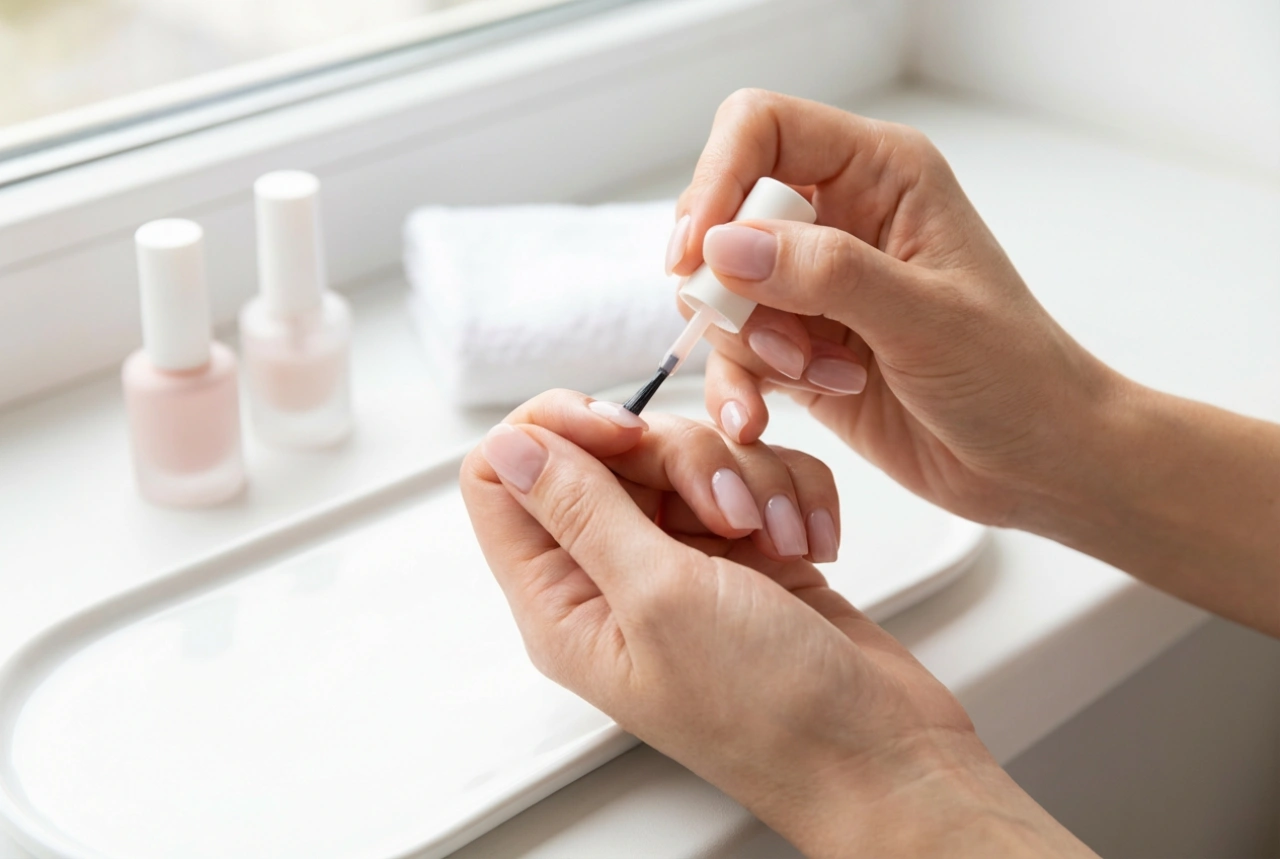
1. Apply a Base Coat: Never skip the base coat. It protects your natural nails from staining and provides a smooth canvas for your colour. A good base coat also helps the polish grip the nail, extending the life of your manicure.
2. The First Thin Coat: Apply your first coat of white polish. The key is to make it very thin. It will likely look streaky and uneven, but don't worry. This is normal. Let it dry completely before moving on.
3. The Second (and Third) Coat: Apply a second thin coat of white polish. This should even out the colour and provide more opacity. For some polishes, a third thin coat may be necessary to achieve a fully opaque, flawless finish. Ensure each layer is dry before applying the next.
4. Seal with a Top Coat: Once your colour coats are dry, apply a high-shine top coat. This seals in the colour, protects it from chipping, and adds a beautiful, glossy finish. Be sure to 'cap' the free edge of your nail with the top coat to prevent premature wear.
Maintaining Your Pristine White Manicure
White nails can be prone to showing dirt and may yellow over time. With a little care, you can keep them looking fresh for longer.
- Reapply Top Coat: To maintain the shine and protect against chips, apply a fresh layer of top coat every two to three days.
- Protect Your Hands: Wear gloves when doing household chores, especially when using cleaning products or washing dishes. Harsh chemicals can cause the polish to break down or discolour.
- Moisturise Daily: Keep your hands and cuticles hydrated by applying hand cream and cuticle oil daily. This not only keeps your skin soft but also helps maintain the health and flexibility of your nails.
Simple Ideas for Decorating White Nails
A plain white manicure is beautiful on its own, but it also serves as the perfect canvas for simple nail art.
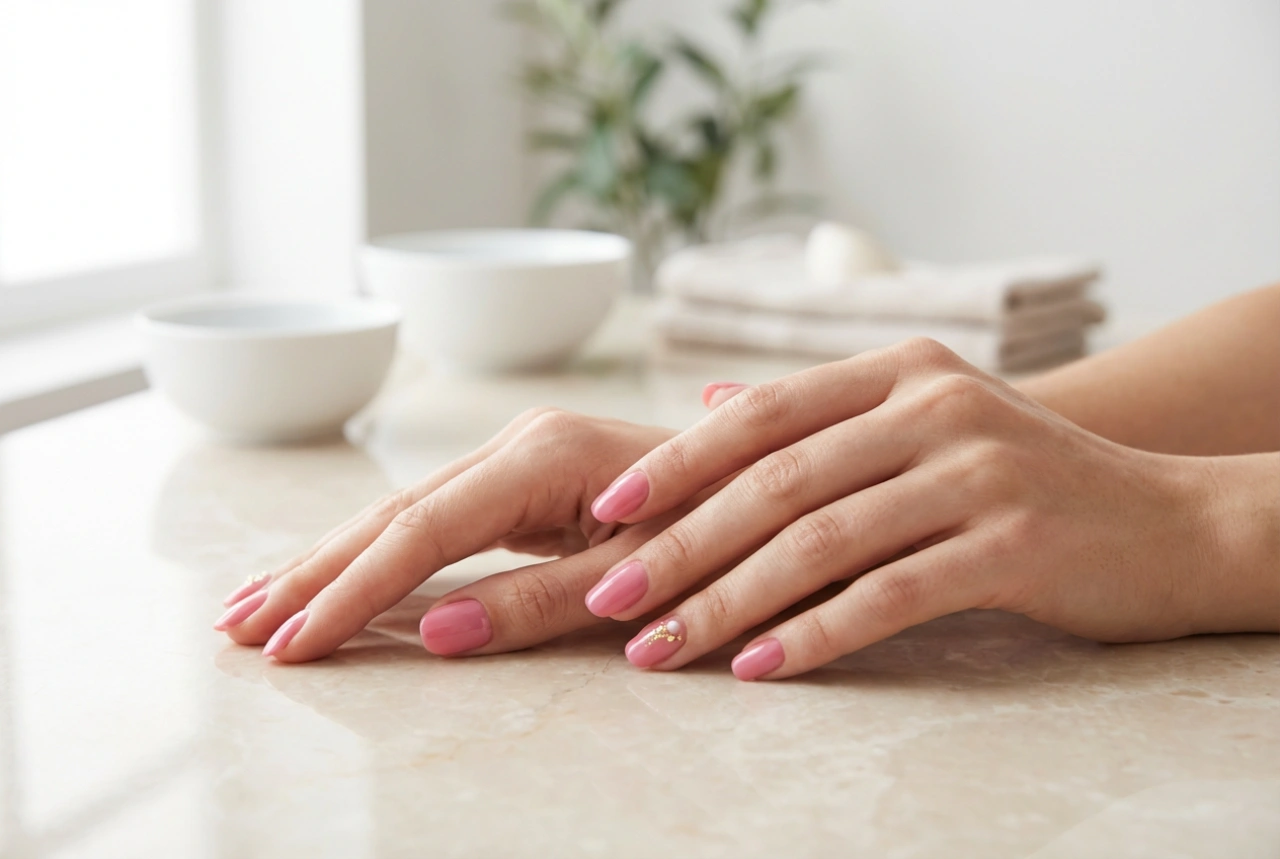
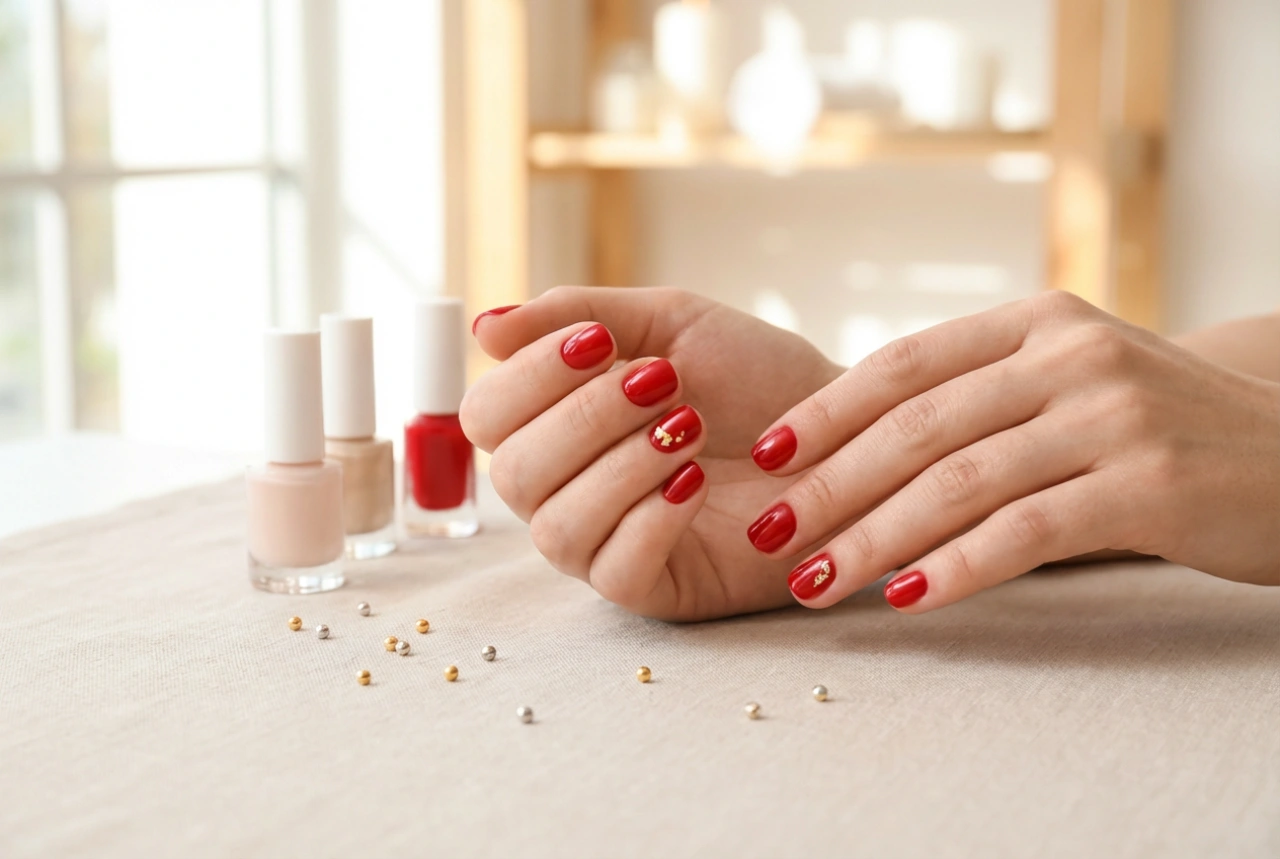
- Accent Nail: Paint one nail on each hand (often the ring finger) with a glittery or contrasting colour polish for a simple yet stylish look.
- Minimalist Dots: Use a dotting tool or the end of a bobby pin to add small, simple dots near the cuticle or tip of the nail. Black or metallic dots look particularly chic against a white background.
- Subtle Stripes: Use thin nail art tape or a fine brush to create a single, elegant stripe down the centre or across the tip of each nail.