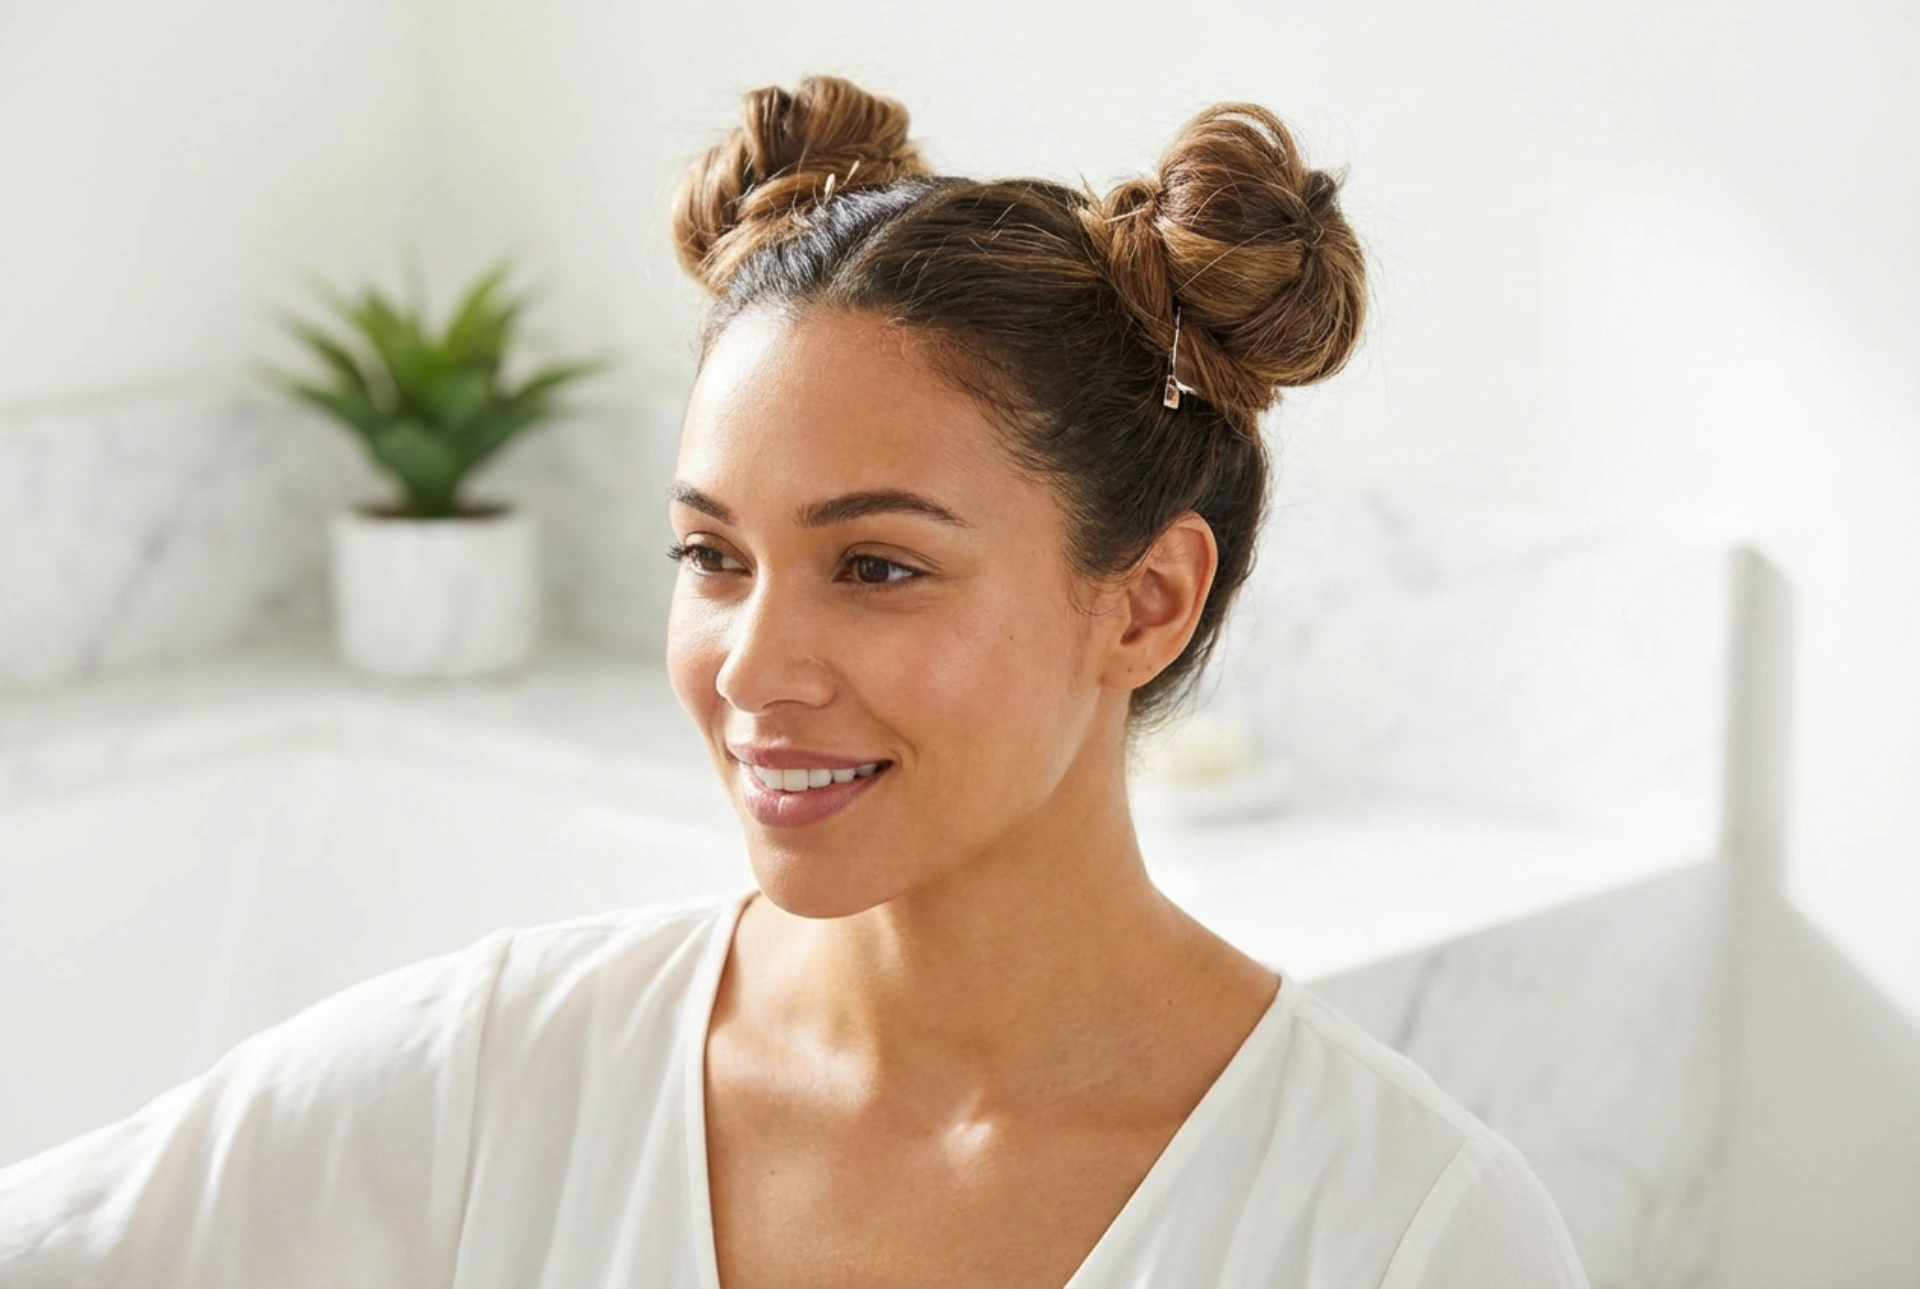


The double bun hairstyle, often known as space buns, is a wonderfully versatile and playful look that has captured the hearts of beauty enthusiasts. As seen on a radiant woman showcasing its chic appeal, this style can be adapted for a casual day out, a high-energy workout, or even a glamorous evening event. It’s a fun way to express your personality while keeping your hair neatly and stylishly managed. This step-by-step guide will help you master the art of creating perfect double buns, regardless of your hair type or skill level.
Preparing Your Hair and Tools
Before you begin creating your double buns, a little preparation will ensure the process is smooth and the final result is polished and long-lasting. The key is to start with a good base and have the right tools on hand.
What You Will Need:
- A hairbrush or comb
- Two hair elastics (choose ones that match your hair colour for a seamless look)
- Several bobby pins
- Optional: a fine-toothed comb for creating a precise parting
- Optional: a light-hold hairspray or styling mousse for extra grip and to tame flyaways
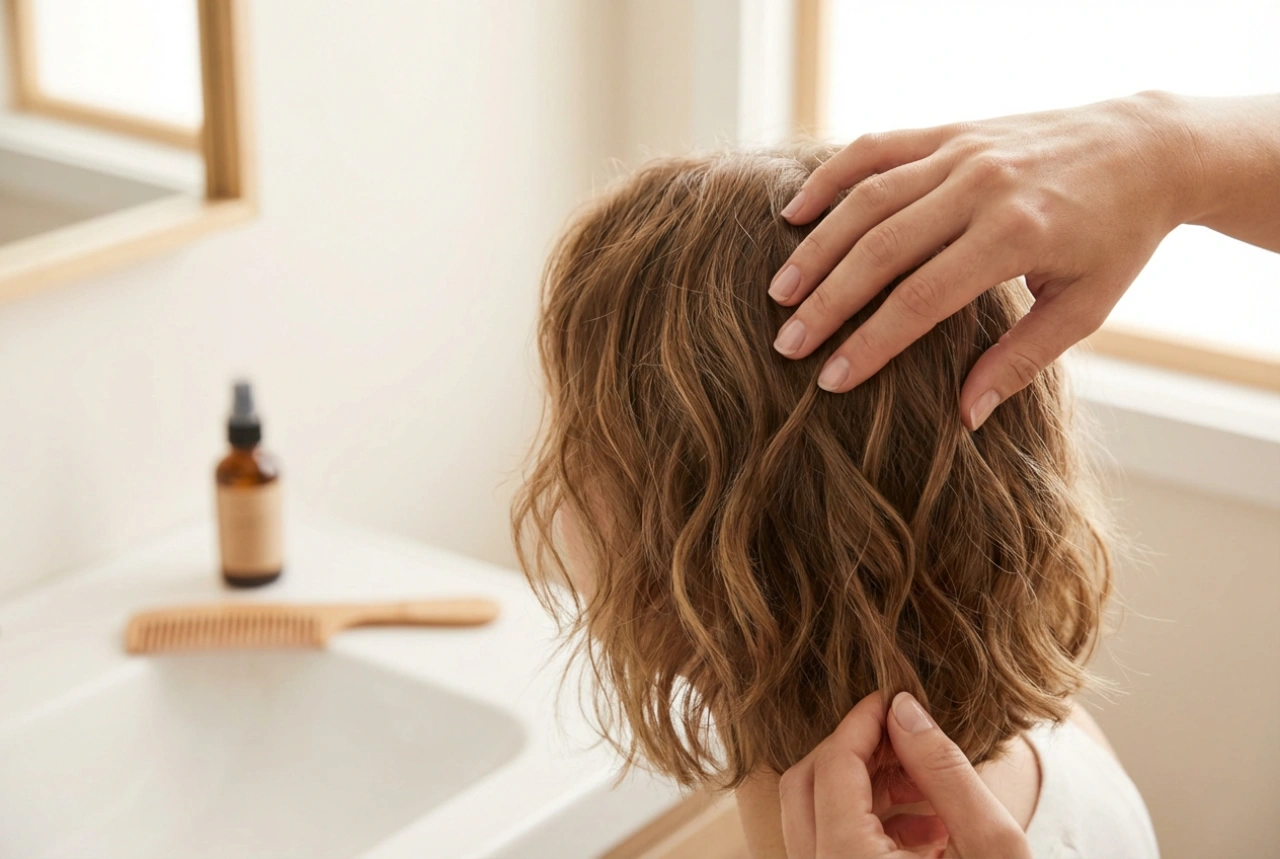
Start by brushing your hair thoroughly to remove any knots or tangles. If your hair is freshly washed and very soft, you might find it helpful to apply a small amount of styling mousse or a texturising spray. This will give your hair a little more grip, making it easier to style and helping the buns stay in place all day.
Creating Classic Double Buns: A Step-by-Step Guide
This classic method is the foundation for all double bun variations. Follow these simple steps to achieve a symmetrical and secure hairstyle.
Step 1: Part Your Hair
Decide where you want your parting. A centre parting will give you a classic, symmetrical look. Use the end of a fine-toothed comb or your fingers to draw a straight line from your forehead to the nape of your neck, dividing your hair into two equal sections. For a slightly different, asymmetrical look, you could also opt for a side parting.
Step 2: Create Two Pigtails
Gather one section of hair and secure it into a pigtail using a hair elastic. The placement of the pigtail will determine the final position of your bun. For a high, classic space bun look, position the pigtail on the top of your head. For a more subtle and sophisticated style, you could place it lower, towards the back of your head or just above your ears. Repeat the process on the other side, ensuring the two pigtails are symmetrical in height and position.
Step 3: Twist and Wrap the Buns
Take one pigtail and twist it firmly from the base to the ends. The tighter you twist, the neater and more compact your bun will be. Once the entire length of the pigtail is twisted, begin to wrap it around the base of the elastic. Continue wrapping the twisted hair around itself, creating a coiled bun shape.
Step 4: Secure Your Buns
Once the bun is formed, tuck the ends of the hair underneath it. Use bobby pins to secure the bun in place. Insert the pins around the base of the bun, pushing them into the centre to catch both the bun and the base hair on your scalp. Use as many pins as you need to feel secure. A good tip is to insert the pins with the ridged side facing down for better grip. Repeat steps 3 and 4 for the second pigtail.
Fun Variations on the Double Bun
Once you have mastered the classic double bun, you can start experimenting with different variations to suit your mood and occasion.
- Messy Buns: For a more relaxed, bohemian vibe, don't twist the hair as tightly. Loosen the coil as you wrap it and pull out a few strands around your face and from the buns themselves after securing them.
- Half-Up Double Buns: This is a great option for showing off the length of your hair. Simply part the top section of your hair, from your temples to the crown, and create two mini buns with that section, leaving the rest of your hair down.
- Braided Buns: Instead of twisting your pigtails, braid them first. A simple three-strand braid works well, but a fishtail or Dutch braid can add even more intricate detail. Once braided, wrap the braids around their base to form the buns and secure with pins.
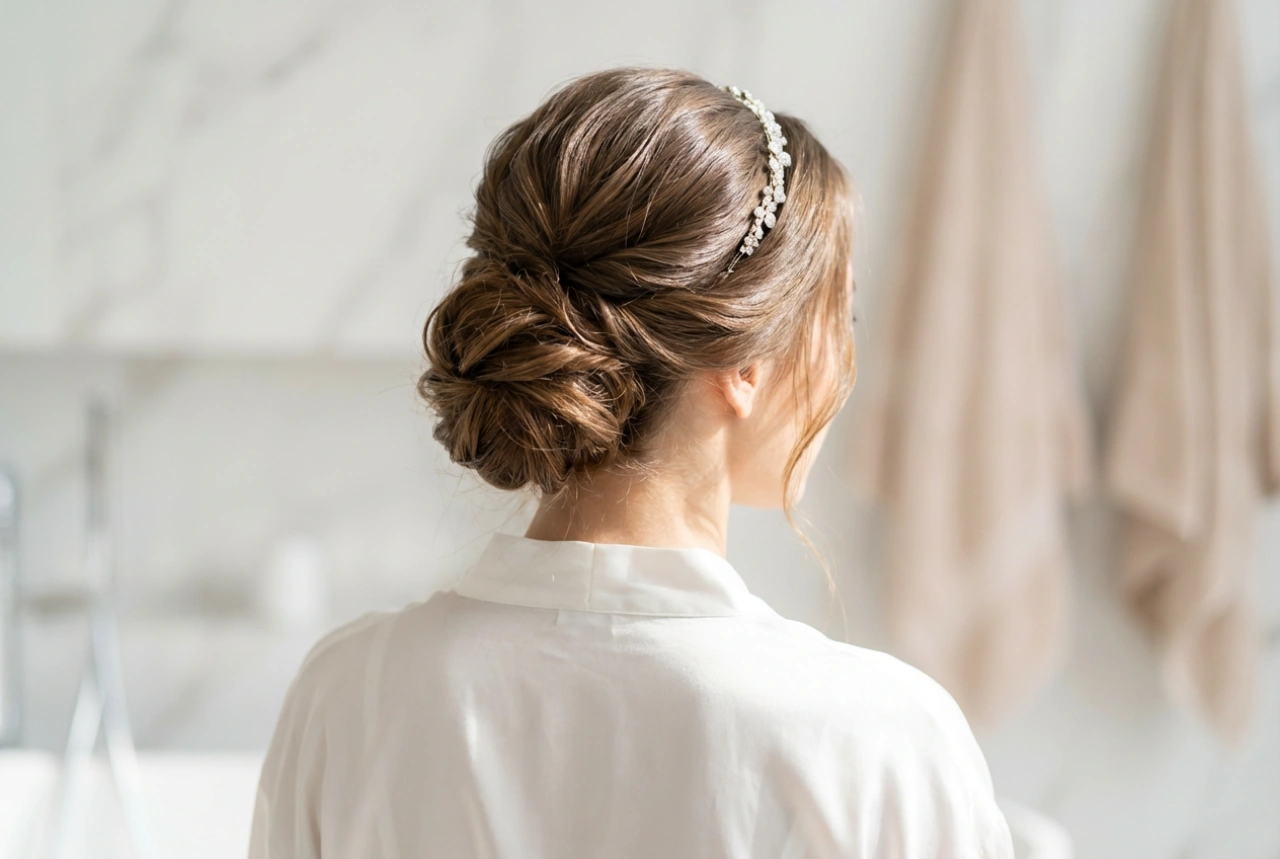
- Low Buns: For a more elegant and mature take on the style, create two low buns at the nape of your neck. This is a chic alternative that works beautifully for formal events.
Tips for a Flawless Finish
To give your hairstyle a professional touch, finish by lightly spritzing with a flexible-hold hairspray to tame any flyaways and add longevity. You can also accessorise your buns with glitter, decorative clips, ribbons, or scrunchies to match your outfit or the occasion. A little attention to detail can elevate this simple style into something truly special, ensuring you look and feel fantastic all day long.