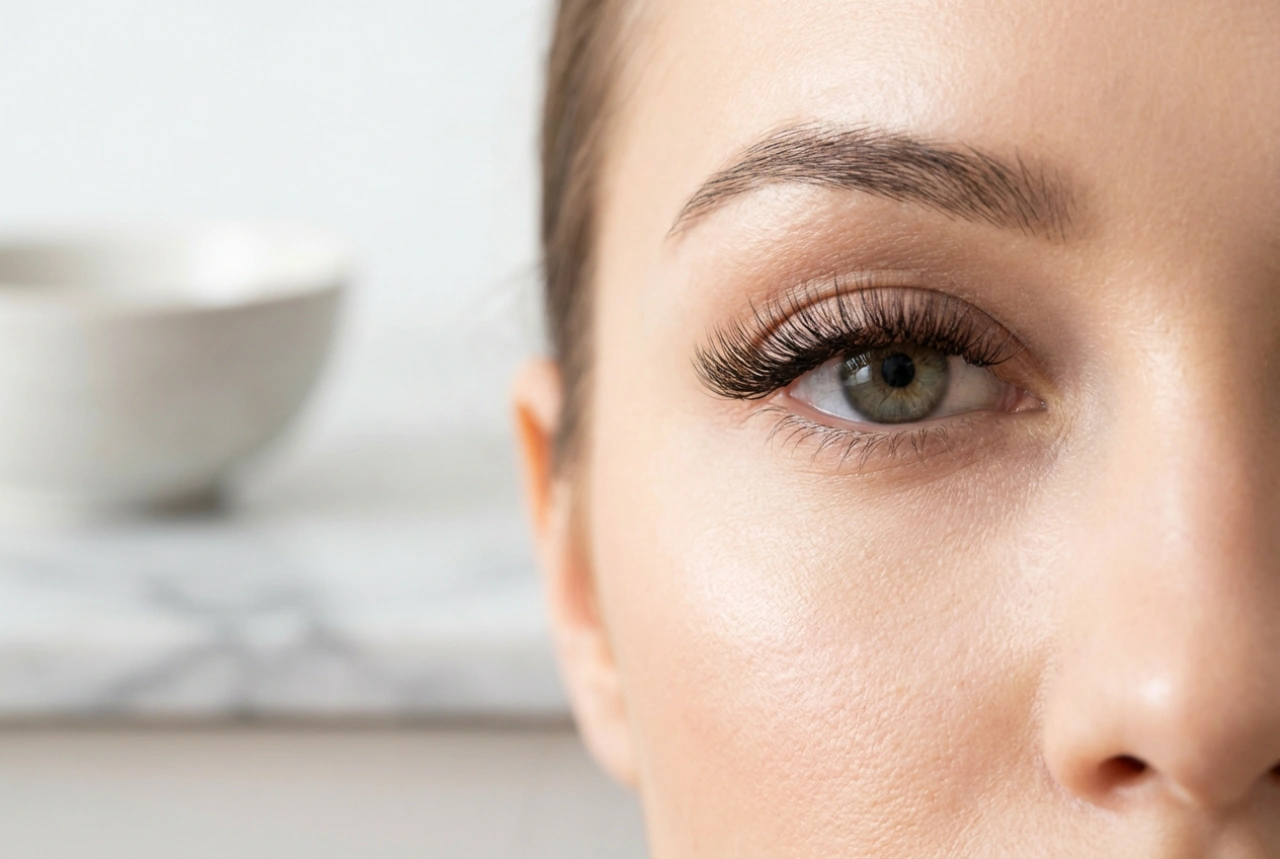


Achieving a sharp, elegant eyeliner look, like the one suggested by a steady hand holding an applicator, is a skill many aspire to master. While it may seem challenging, with the right technique, tools, and a bit of practice, anyone can create a flawless line. This guide will walk you through the essential steps, from choosing your product to perfecting your application, helping you gain the confidence to make eyeliner a staple in your beauty routine.
Choosing Your Eyeliner
The first step is selecting the right type of eyeliner for your skill level and desired look. Each type offers a different finish and level of control.
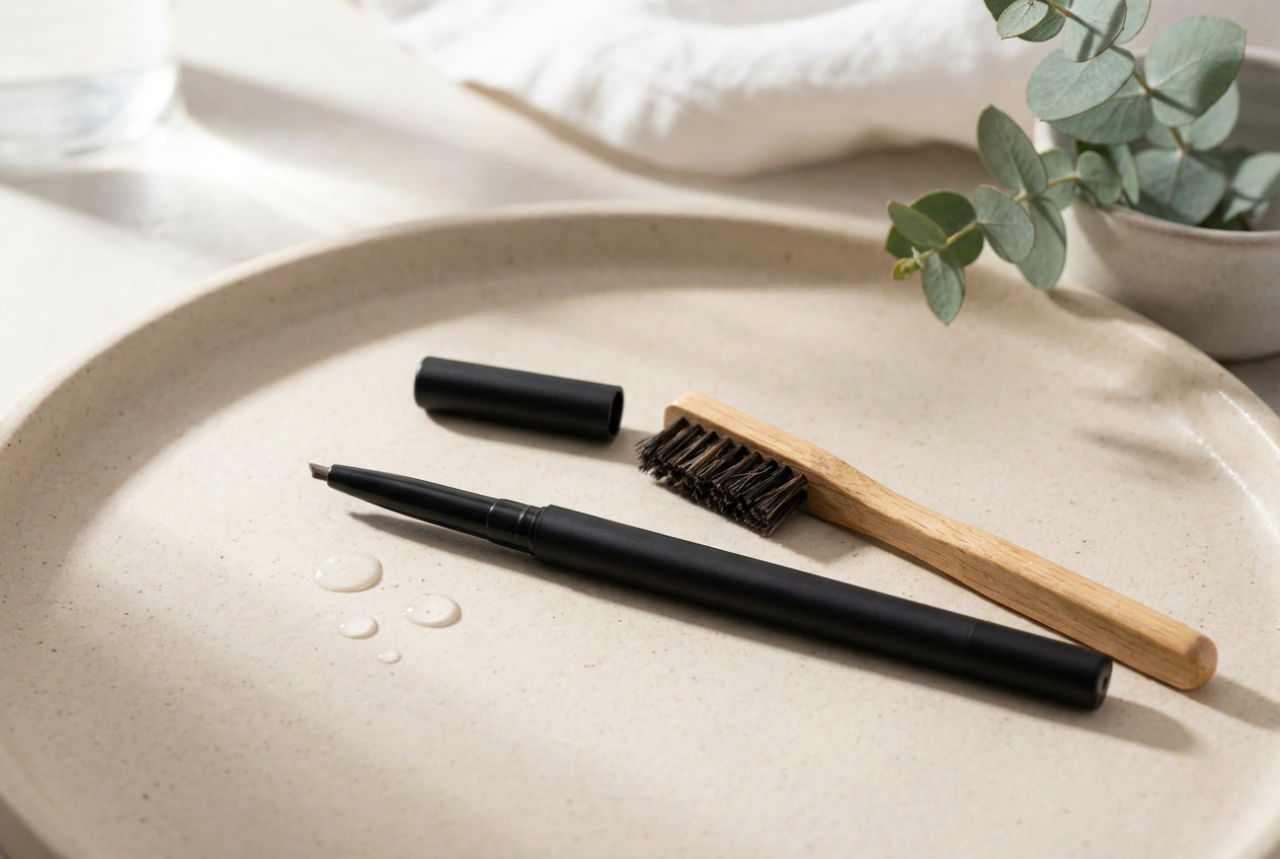
Liquid Eyeliner
Often available in a pen or a pot with a fine brush, liquid eyeliner provides a sharp, defined, and often glossy or matte finish. Pen-style applicators are generally considered more beginner-friendly as they offer a feel similar to a felt-tip pen. Pot-and-brush versions provide more product control but require a steadier hand.
Gel Eyeliner
Gel eyeliners come in a small pot and are applied with a separate, angled brush. They offer a rich, pigmented look and are quite versatile. You can create a sharp wing or smudge it slightly before it sets. Gels glide on smoothly and give you a bit more playtime than liquid liners before they dry completely.
Pencil Eyeliner
The classic pencil is perhaps the easiest to start with. It's forgiving and ideal for creating a softer, smudged look. You can apply it directly to the lash line and waterline (a technique called tightlining) to create the illusion of thicker lashes. For a sharper line, ensure your pencil is well-sharpened.
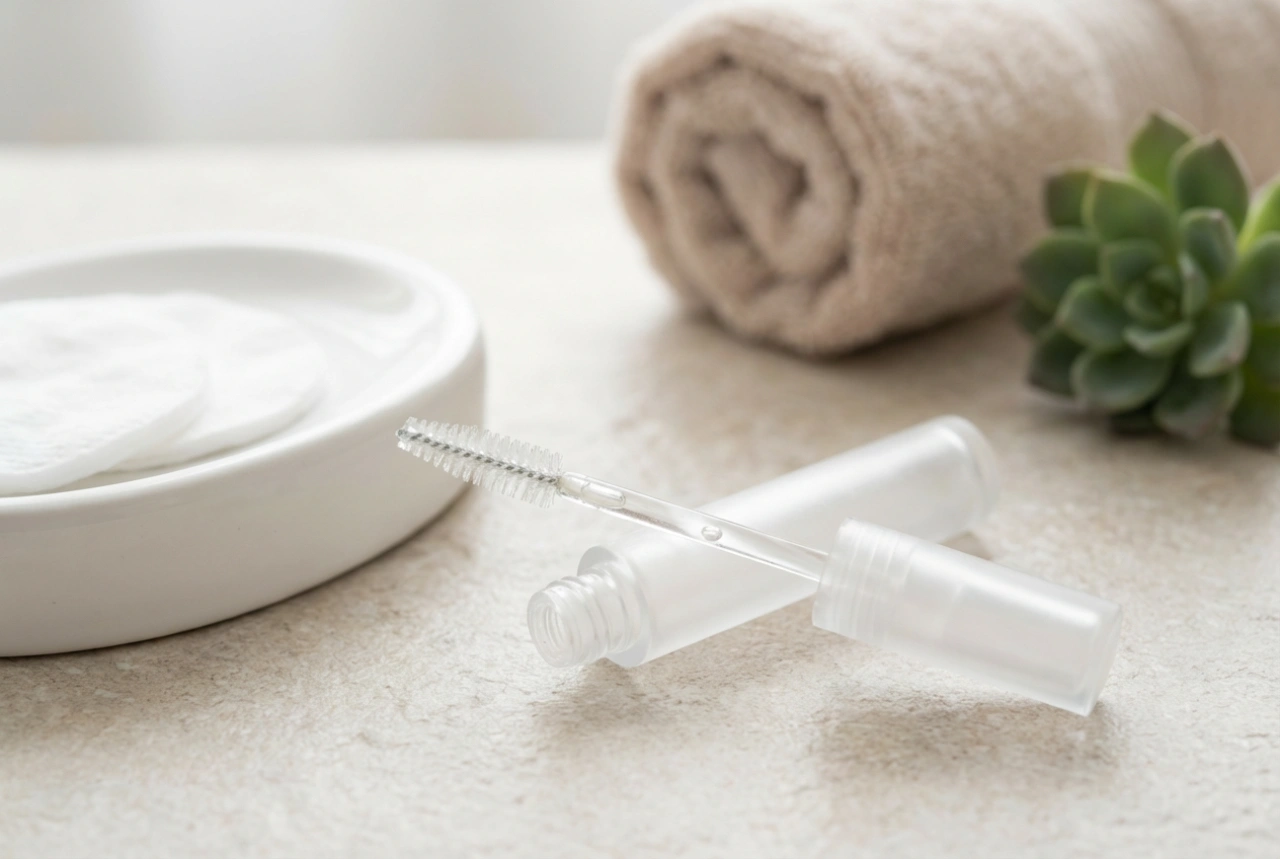
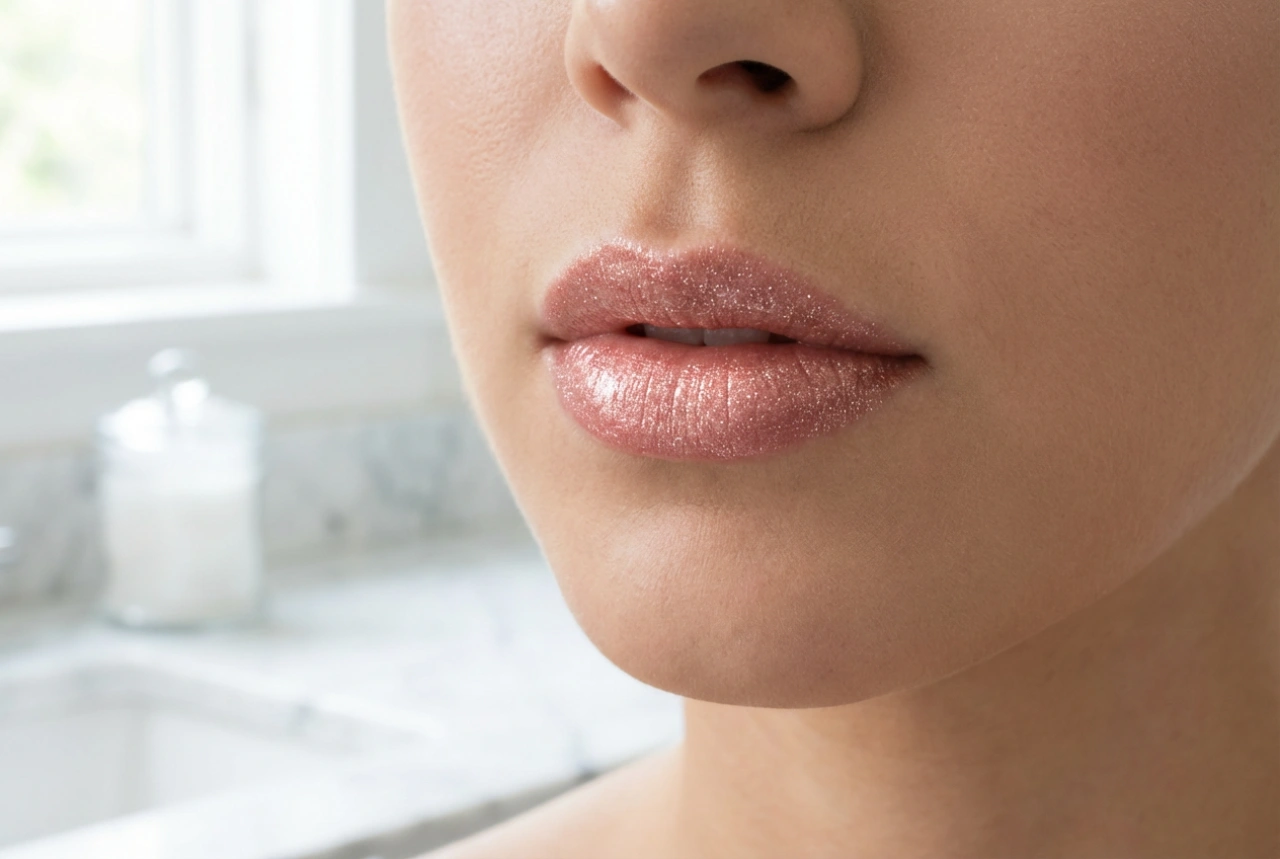
Preparation for a Flawless Application
Proper preparation creates the perfect canvas for your eyeliner, ensuring it applies smoothly and lasts all day.
- Create a Smooth Base: Apply an eye primer or a touch of concealer over your eyelid. This helps to even out the skin tone and gives the eyeliner something to grip onto, preventing it from smudging or fading. Setting it with a translucent powder can further enhance longevity.
- Find a Stable Position: Never try to apply eyeliner in a hurry or while standing unstably. Sit down at a table or vanity, and rest your elbow on the surface to steady your arm. This simple step dramatically reduces shaking and improves precision.
- Good Lighting is Key: Ensure you have bright, even lighting. Natural daylight is ideal, but a well-lit mirror will also work perfectly. This allows you to see your lash line clearly and avoid any gaps in the application.
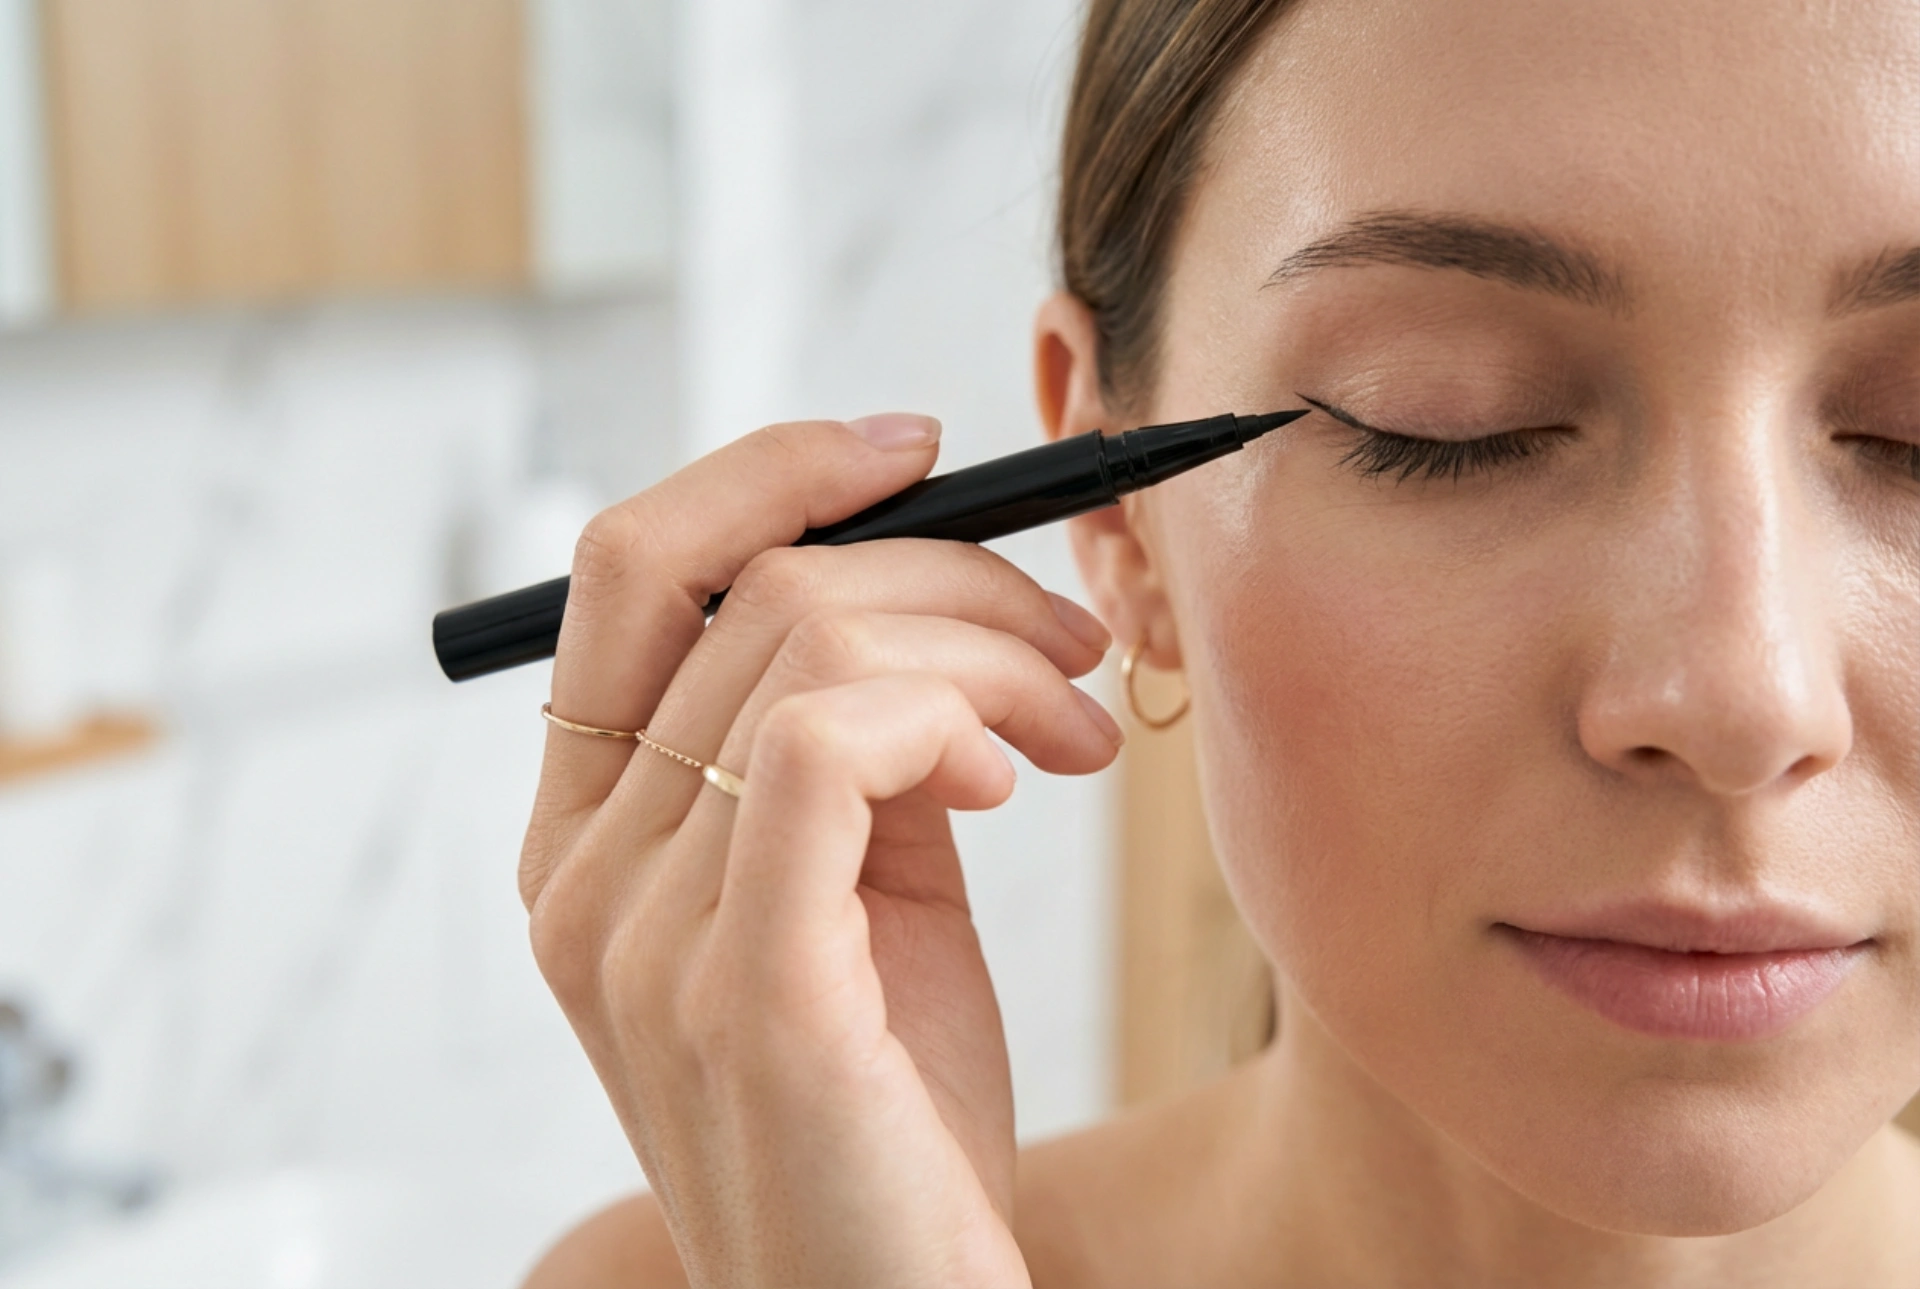
Mastering the Grip and Angle
The way you hold your applicator and the angle at which you apply the liner are crucial for creating a symmetrical and flattering look. This is where precision begins.
The Correct Grip
Hold your eyeliner pen or brush as you would a regular pen, but choke up on it slightly for better control. Instead of holding it at the very end, grip it closer to the tip. For ultimate stability, try resting your pinky finger on your cheek as you draw. This acts as a pivot point and anchors your hand, preventing jitters.
Finding Your Angle
The perfect wing angle is unique to your eye shape. A general rule is to imagine a line extending from your lower lash line up towards the tail of your eyebrow. This is the path your wing should follow. Before committing with a dark liner, you can lightly map out the angle with a light-coloured eyeshadow or even hold the barrel of your eyeliner brush up to your eye to visualise the line.
Step-by-Step Eyeliner Application
Follow these steps to create a classic winged look that enhances your eye shape.
- Draw the Wing: Looking straight into the mirror, place a small dot where you want your wing to end. Then, draw a thin line from the outer corner of your eye up to that dot, following the natural angle of your lower lash line.
- Connect the Line: From the tip of the wing, draw a second line back towards the centre of your lash line. This will create an empty triangle shape.
- Fill It In: Carefully colour in the triangle with your eyeliner. Use small, controlled strokes to ensure an even and opaque finish.
- Line the Lash Line: Starting from the inner corner of your eye, draw a very thin line along your upper lash line, keeping it as close to your lashes as possible. Connect this line seamlessly with the wing you've already created. The line should be thinnest at the inner corner and gradually thicken as it moves outward.
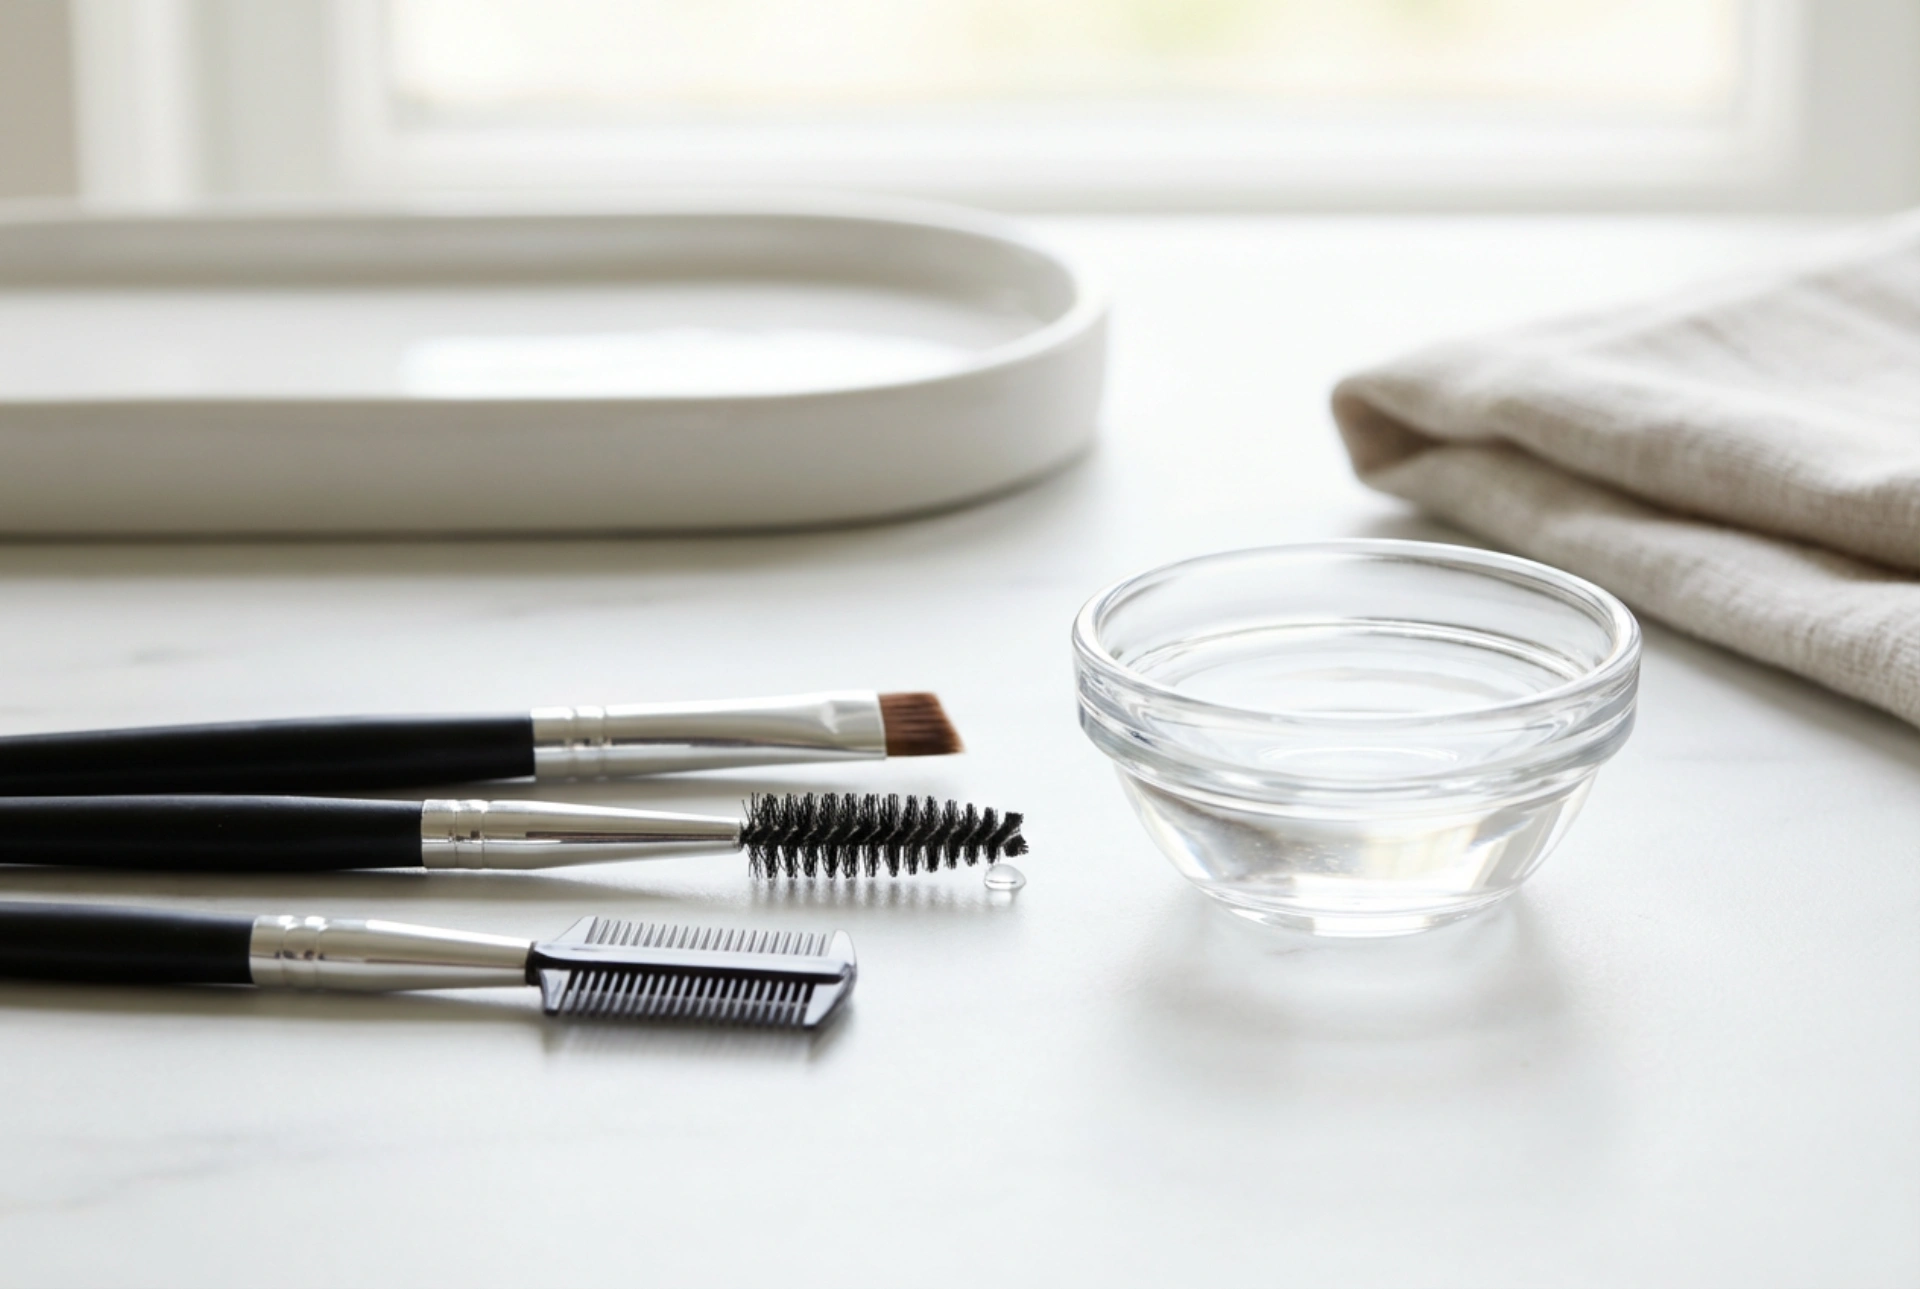
- Tidy Up: Perfection is rarely achieved on the first try. Use a cotton bud dipped in a small amount of makeup remover or a small, flat brush with some concealer to clean up the edges and sharpen the point of your wing.