


Hybrid manicures have become a staple in modern beauty, offering a durable, glossy finish that can last for weeks. The ability to achieve a professional-looking result at home is highly appealing, but success lies in the right technique and understanding the process. From choosing the perfect shade to flawless application, mastering the art of the hybrid manicure is a rewarding skill for any beauty enthusiast. This guide will walk you through the entire process, ensuring your next at-home manicure is your best one yet.
Choosing Your Ideal Hybrid Polish
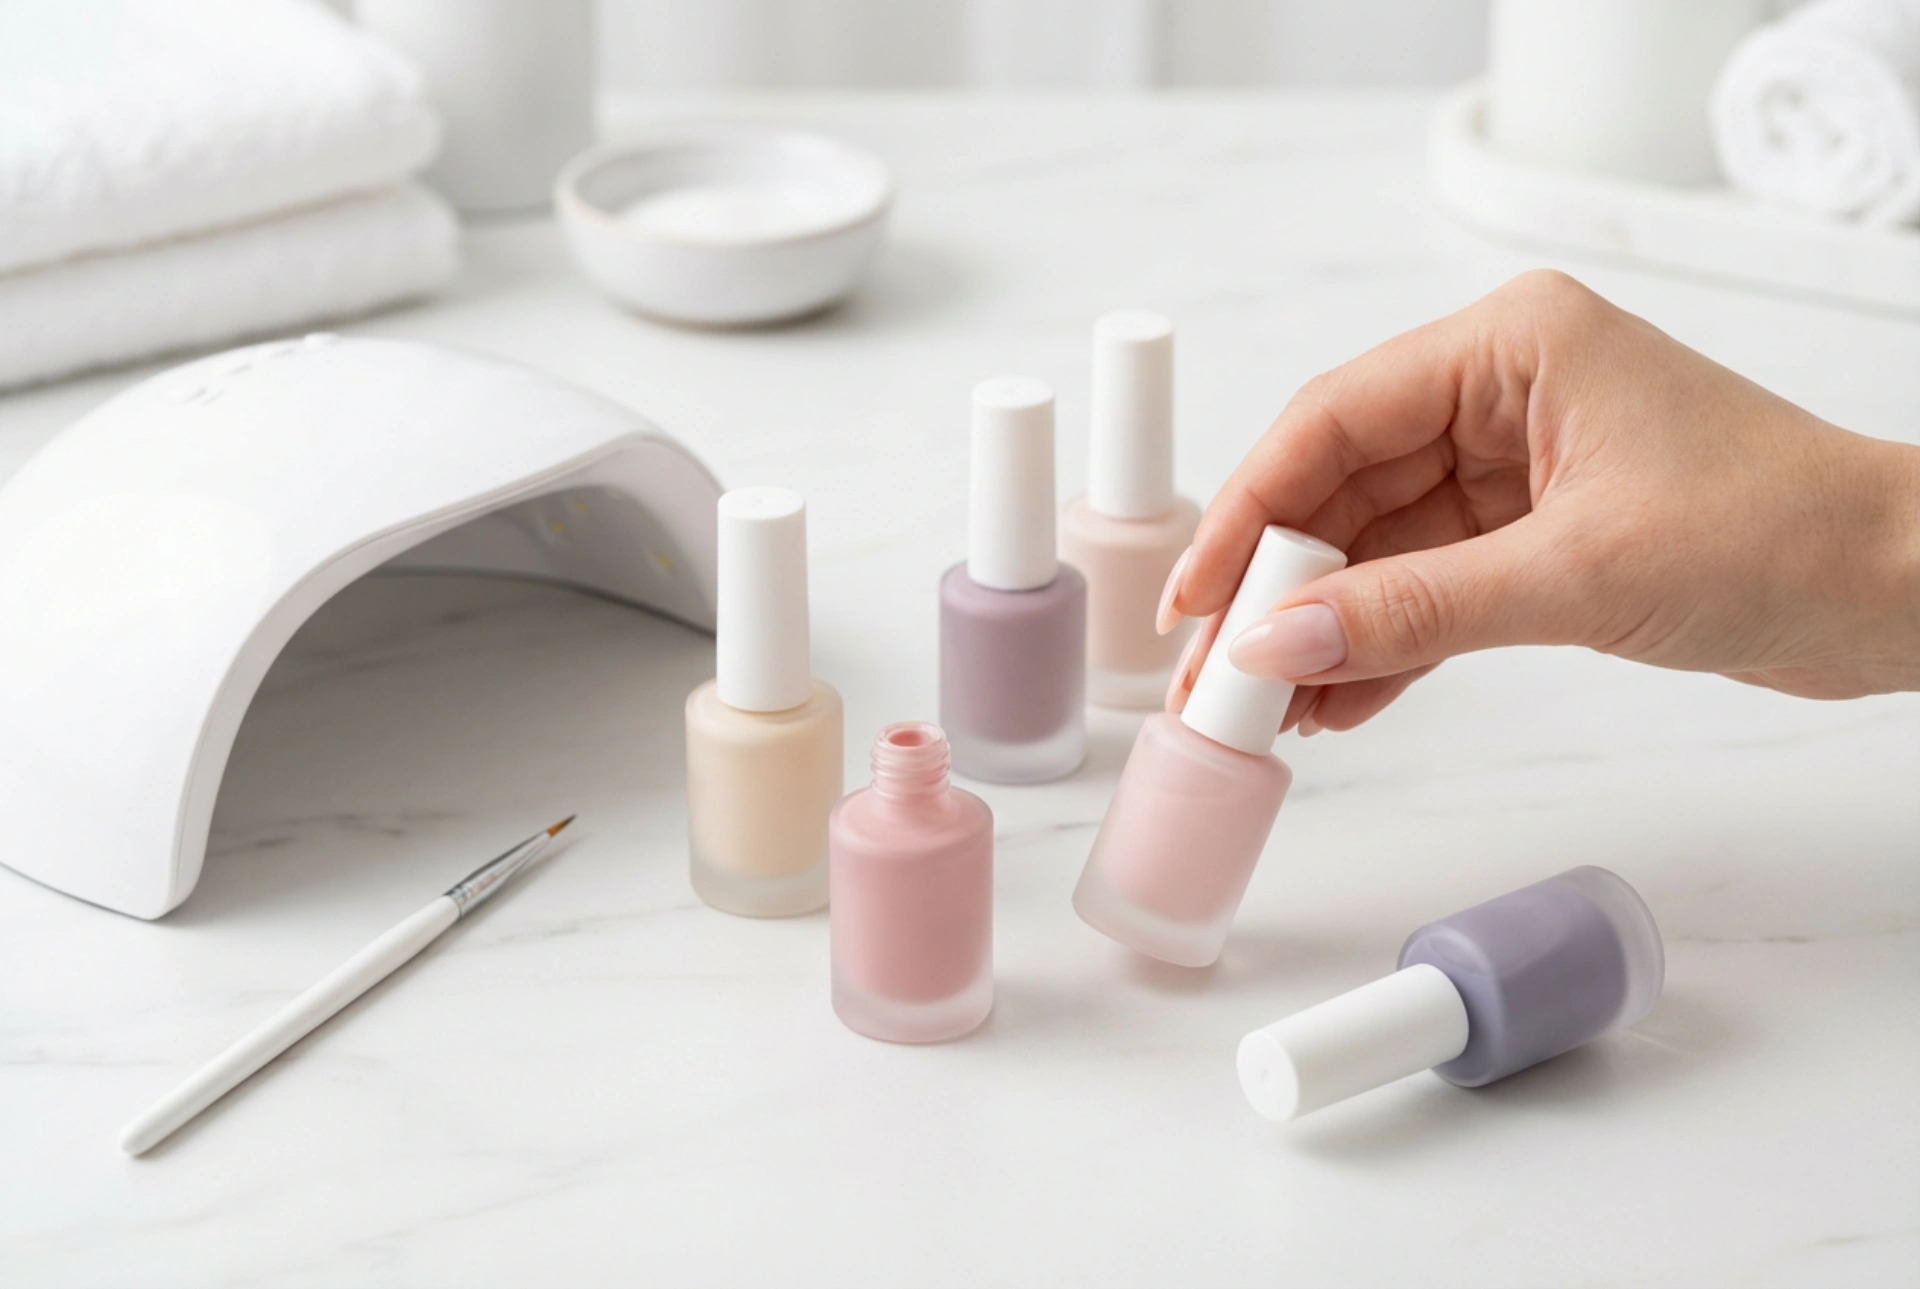
The vast array of hybrid polishes available can be overwhelming. Making the right choice is the first step towards a beautiful manicure. Consider not just the colour, but also the formula and finish to find the perfect match for your style and needs.
Selecting Colours and Finishes
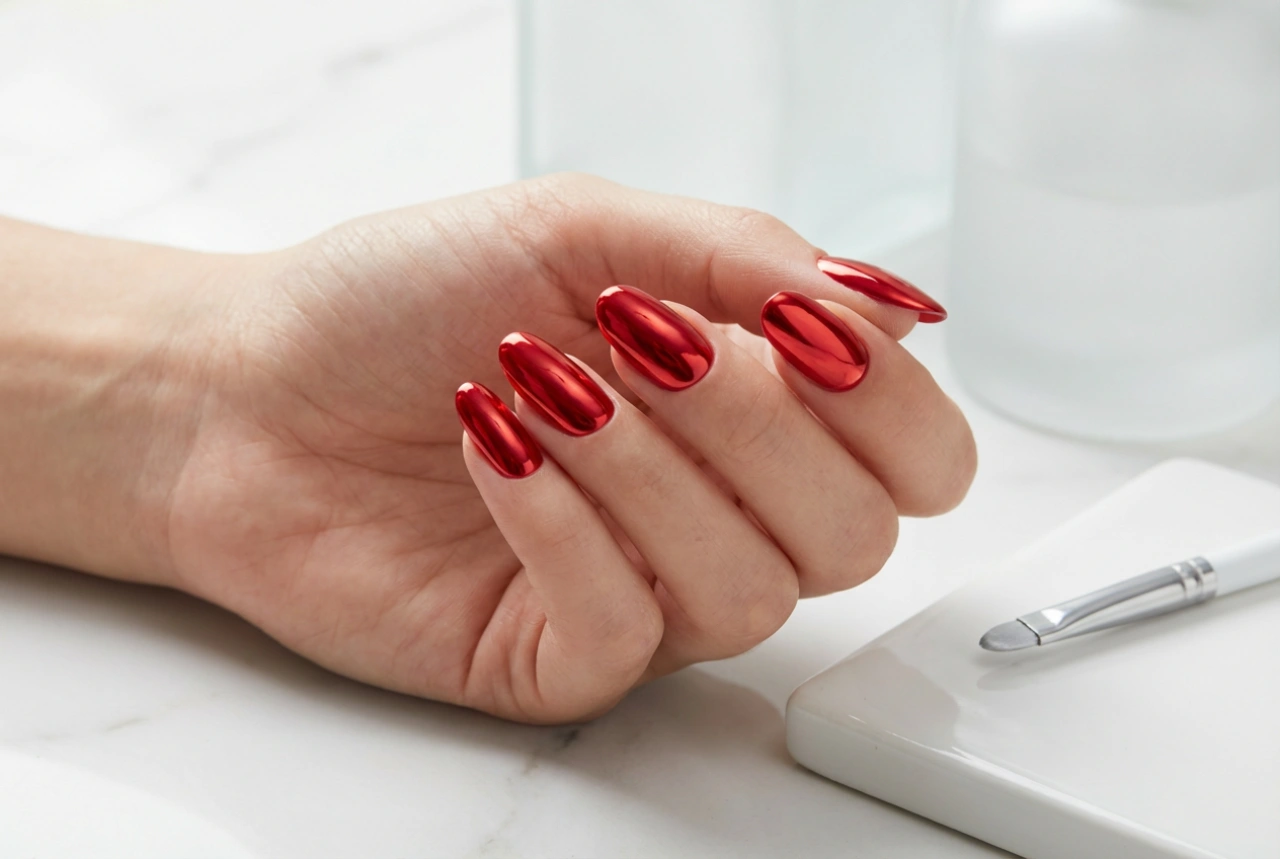
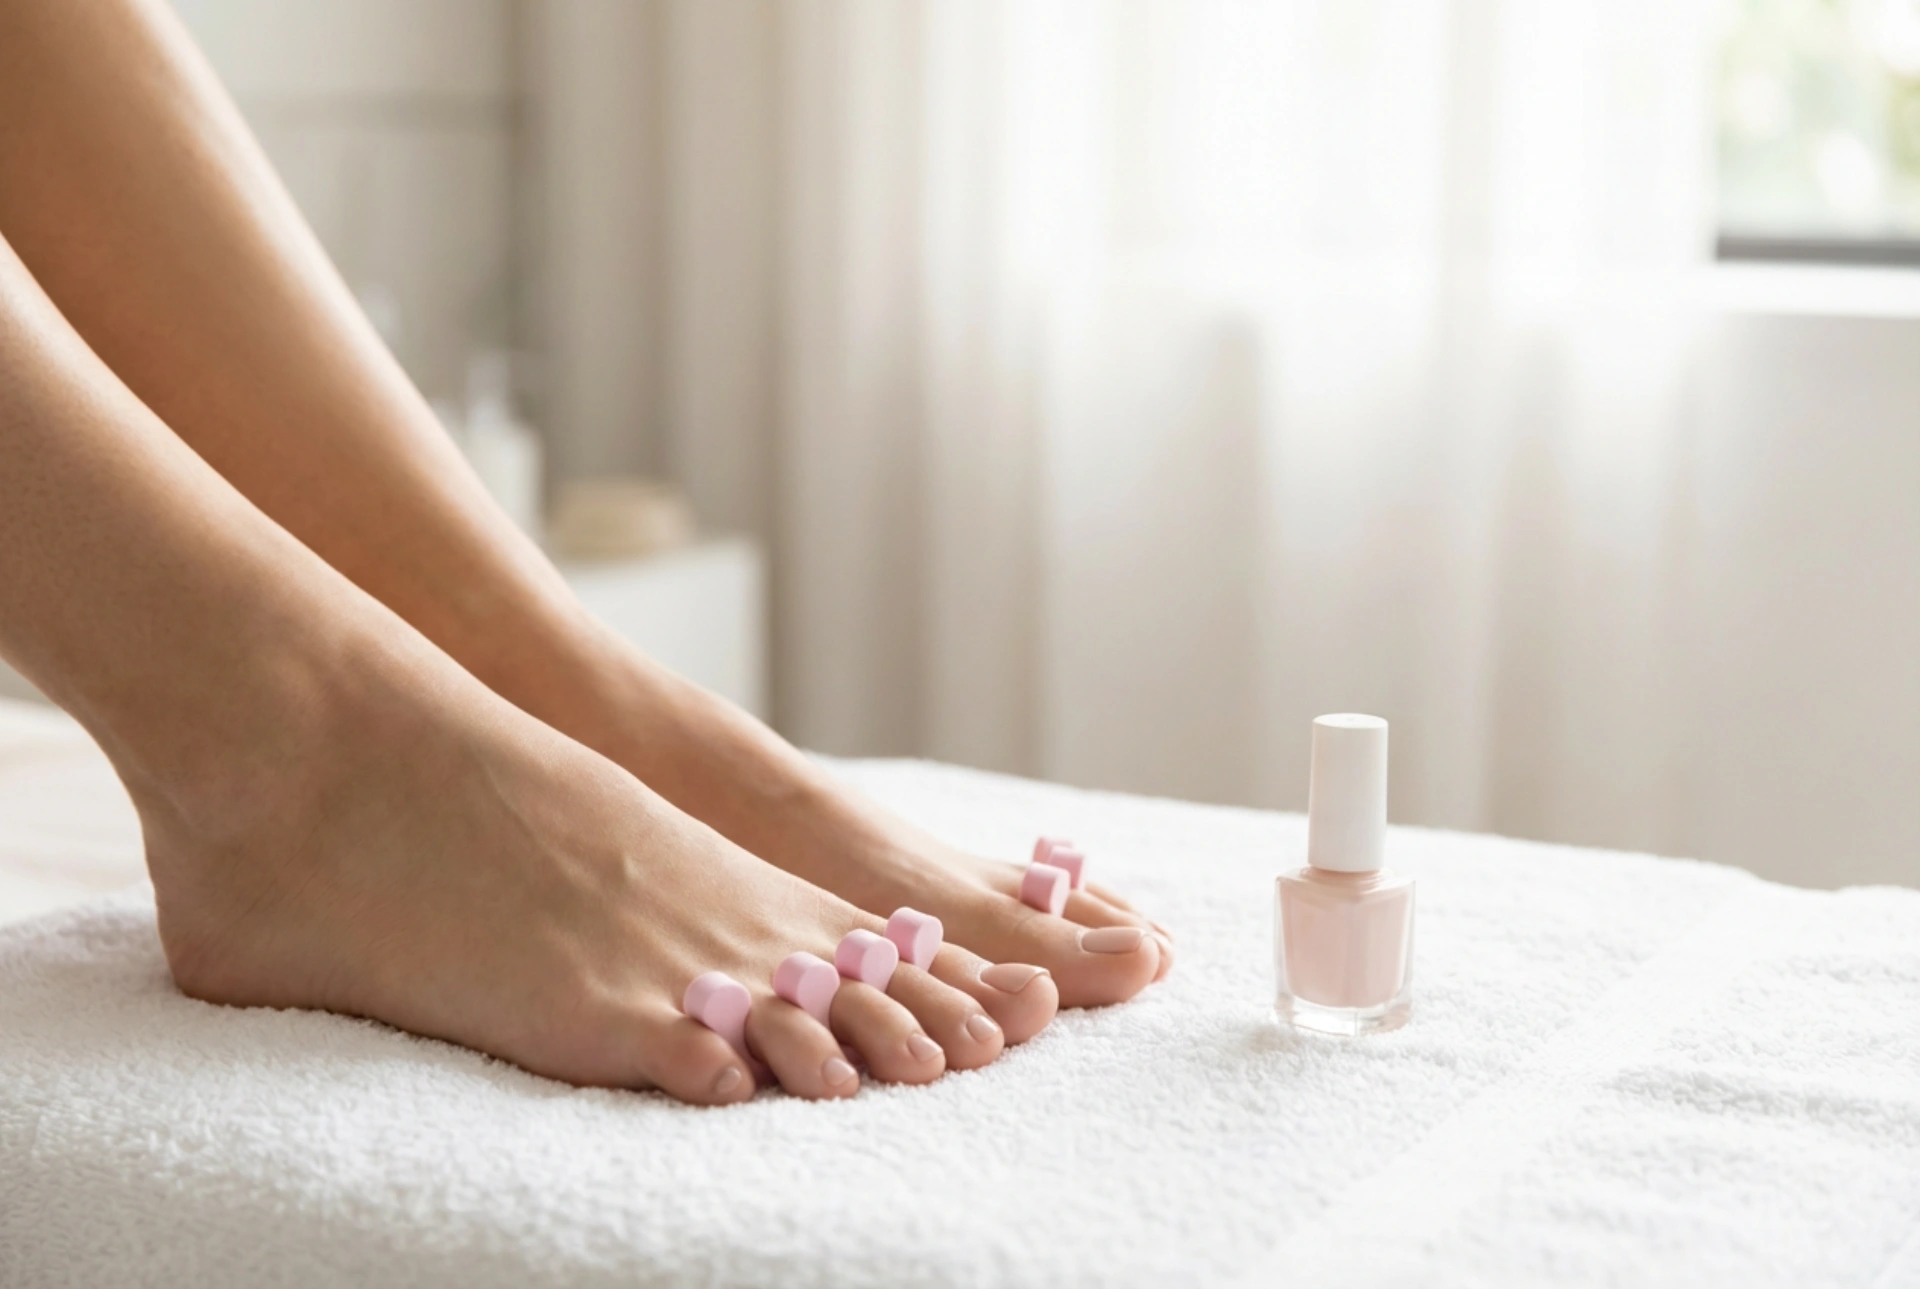
When choosing a colour, think about your skin's undertones. If you have cool undertones, shades with blue or purple hints like berry, blue-reds, and pastel pinks will be flattering. For warm undertones, colours with a yellow or golden base such as coral, olive, and warm reds work beautifully. Of course, personal preference is key, so feel free to experiment! Also consider the occasion and season. Bright, vibrant shades are perfect for summer, while deep, rich tones are ideal for autumn and winter. Beyond colour, you can choose from various finishes: a classic high-gloss for a timeless look, a modern matte finish for a sophisticated edge, or a glitter or shimmer polish for a touch of glamour.
Understanding Formula and Consistency
The quality of the application often depends on the polish's formula. A good hybrid polish should have a consistency that is neither too thick nor too thin. A very thick polish is difficult to apply in thin layers, while a runny one can easily flood your cuticles. Look for formulas described as 'self-levelling,' which means they smooth themselves out on the nail, helping to hide minor imperfections and creating a flawless surface. Pigmentation is also important; a highly pigmented polish will provide full coverage in two thin coats.
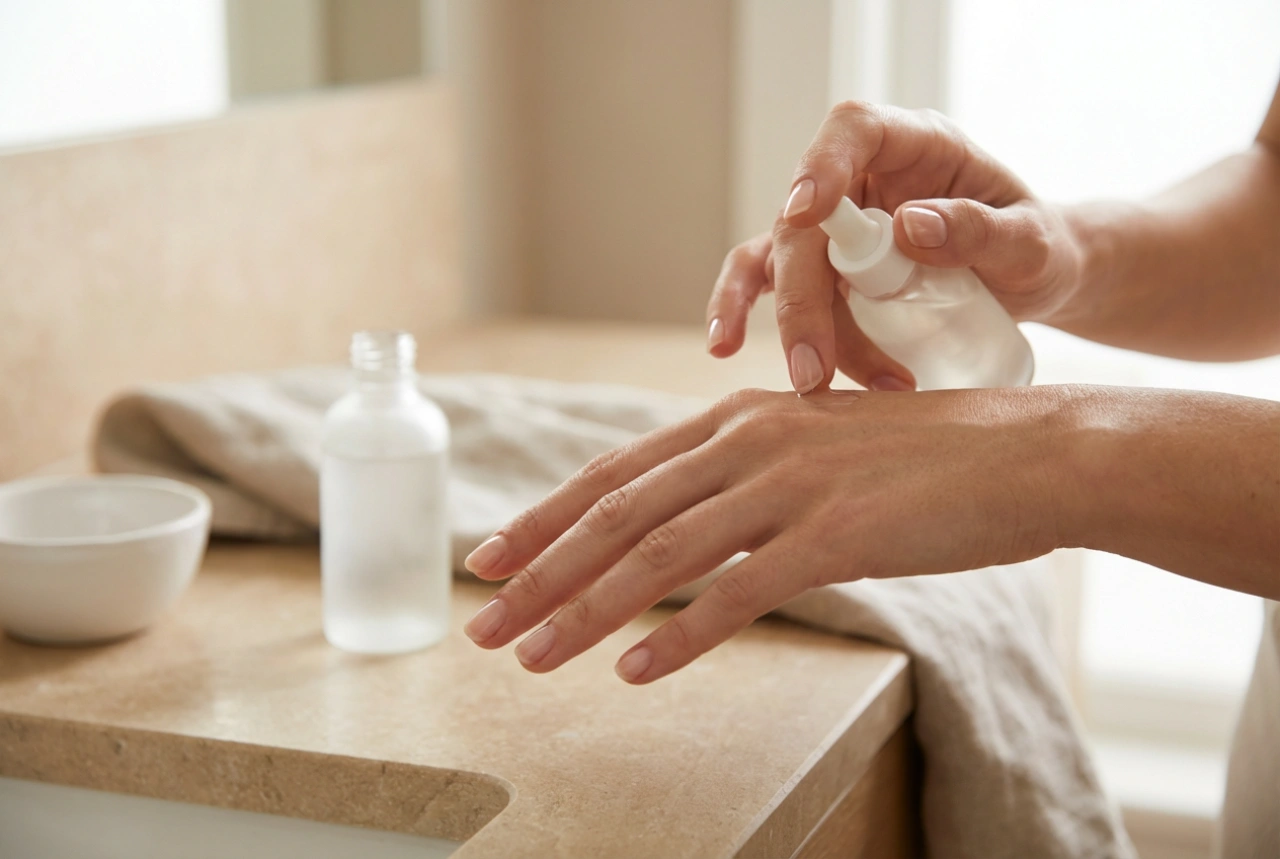
Essential Nail Preparation for Longevity
Proper preparation is arguably the most critical step for a long-lasting hybrid manicure. Skipping or rushing this stage is the primary reason for lifting and chipping. Taking the time to prepare your nails correctly creates the perfect canvas for the polish to adhere to.
- Shape and File: Start with clean, dry nails. Gently file your nails to your desired shape. To prevent splitting, file in one direction rather than using a back-and-forth sawing motion.
- Cuticle Care: Soften your cuticles and gently push them back using a wooden stick or a rubber-tipped cuticle pusher. Avoid the temptation to cut your cuticles at home, as this can lead to damage and potential issues.
- Buff the Nail Plate: Using a fine-grit buffer block, lightly and gently buff the entire surface of each nail. The goal is to remove the natural shine, not to thin the nail. This creates a slightly rough texture for the base coat to grip onto.
- Cleanse and Dehydrate: After buffing, wipe each nail thoroughly with a lint-free pad soaked in a specialised nail cleaner or isopropyl alcohol. This crucial step removes all dust, oils, and residue, ensuring maximum adhesion. Do not touch the nail surface after this step.
The Step-by-Step Application Process
With your nails prepped, you are ready for the application. Work on one hand at a time, and remember that thin, even coats are the secret to a professional-looking and durable result.
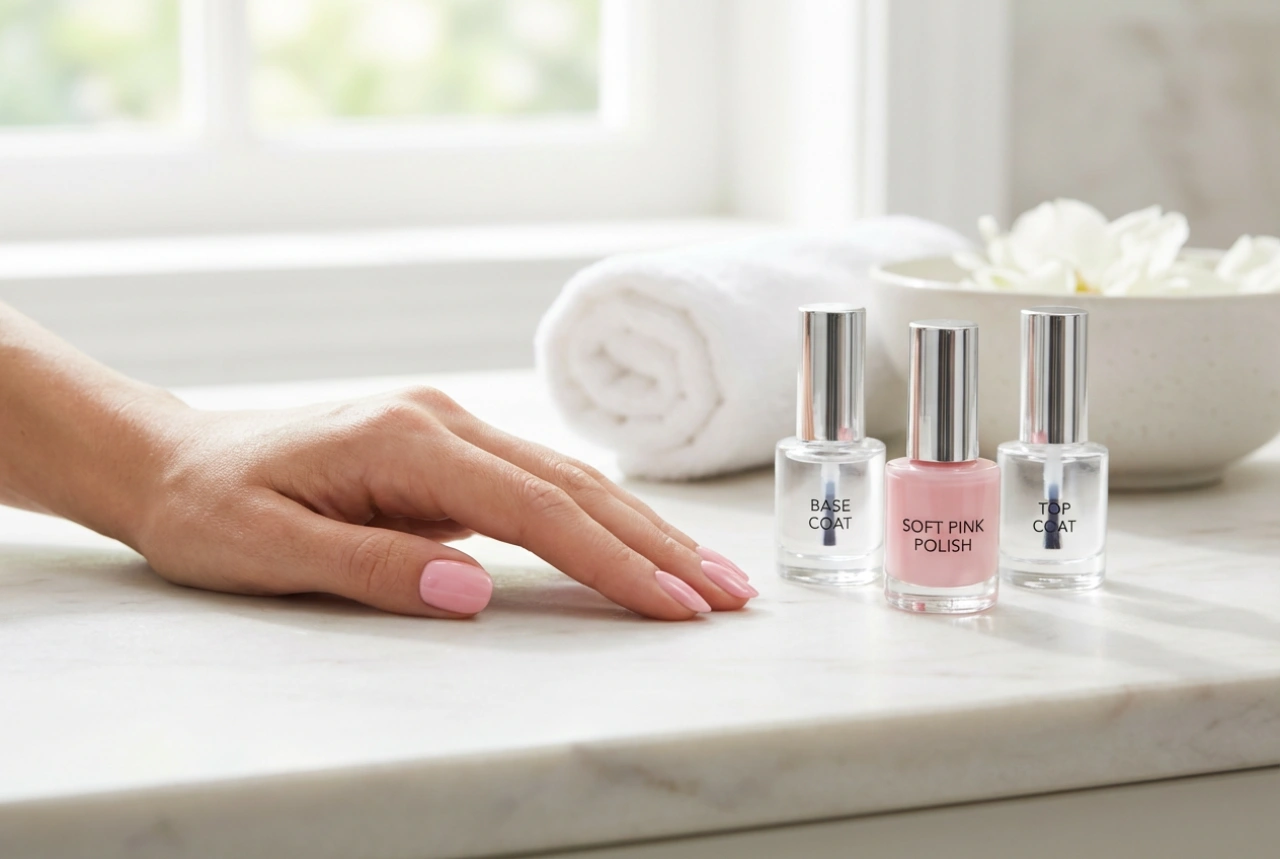
- Apply the Base Coat: The base coat acts as a foundation for your manicure, protecting your natural nail and providing a sticky surface for the colour to adhere to. Apply a very thin layer, ensuring you cover the entire nail without touching the surrounding skin. 'Cap' the free edge by running the brush along the tip of the nail. Cure under your LED/UV lamp according to the product's instructions.
- Apply the First Colour Coat: Apply your chosen colour in a thin, even layer. Don't worry if the coverage isn't perfect on the first go. The second coat will fix that. Focus on getting a neat line near the cuticle. Be sure to cap the free edge. Cure the layer completely.
- Apply the Second Colour Coat: Apply a second thin coat of colour. This will provide full opacity and a rich, even hue. Again, cap the free edge and cure under the lamp. For very sheer or pastel colours, a third thin coat may be necessary.
- Apply the Top Coat: The top coat is the protective shield for your manicure. It provides the signature high-gloss shine (or matte effect) and protects the colour from chipping and fading. Apply an even layer over the entire nail, cap the free edge, and perform the final cure.
- Final Cleanse: After the final cure, most top coats will have a sticky or tacky residue known as the inhibition layer. Use a lint-free pad with a cleaner solution to wipe this layer off each nail, revealing the hard, perfectly shiny finish beneath.
Common Pitfalls and How to Avoid Them
Even with careful application, certain mistakes can compromise your manicure. Being aware of these common errors can help you achieve flawless results every time.
- Flooding the Cuticles: If the polish touches the skin or cuticles, it can cause the entire manicure to lift prematurely. Work carefully, leaving a tiny gap between the polish and the skin. If you do get polish on your skin, clean it up with a small brush dipped in cleaner before you cure.
- Applying Layers Too Thickly: This is a frequent mistake that leads to improper curing. Thick layers may wrinkle under the lamp or feel hard on top while remaining soft underneath, drastically reducing durability. Always apply multiple thin coats instead of one thick one.
- Skipping the Free Edge Cap: The tip of the nail is where chipping usually begins. Capping the free edge with each layer (base, colour, and top) creates a seal that significantly improves the longevity of your manicure.
- Incorrect Curing Times: Every hybrid polish and lamp system has recommended curing times. Under-curing will leave the polish weak and prone to damage, while significant over-curing can sometimes dull the top coat's shine. Adhere to the manufacturer's guidelines for best results.