


Achieving beautifully long and perfectly shaped nails is no longer exclusively reserved for salon visits. With a comprehensive nail extension kit, you can explore the art of nail enhancement from the comfort of your own home. The sophisticated array of gels, forms, and tools can seem intimidating at first, but understanding the purpose of each component is the first step towards creating durable and elegant nail extensions. This guide will walk you through the essentials, helping you navigate your kit with confidence.
Understanding the Core Components of a Nail Extension Kit
A typical at-home nail extension kit is a curated collection of products and tools designed to work together to build and shape an artificial nail. While contents may vary slightly, they generally centre around a building medium (like gel) and a structure to build upon (forms or tips). Let's break down the most crucial elements.
Building the Foundation: Gels and Primers
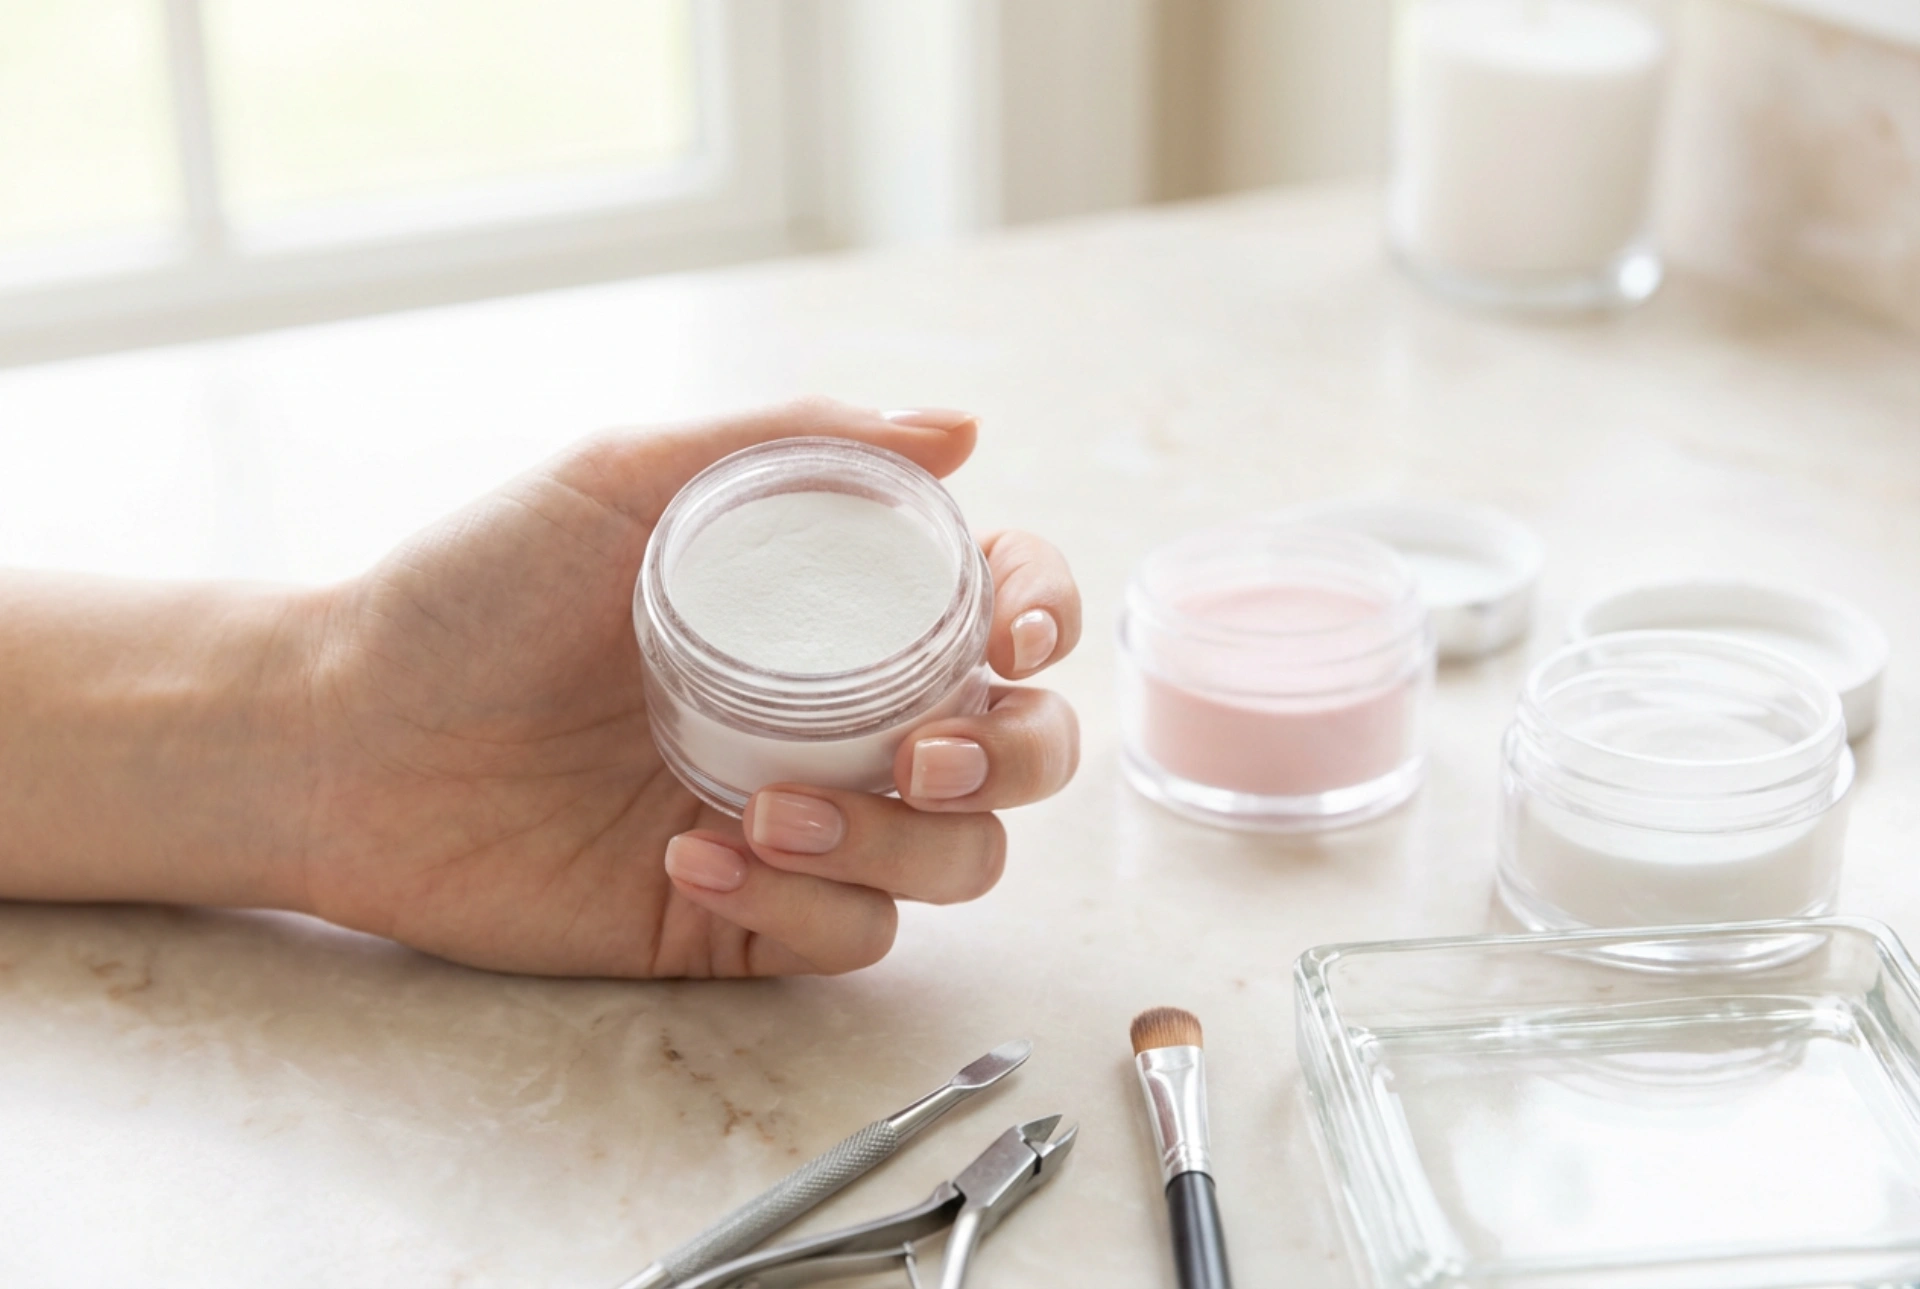
The gel is the star of the show in most modern extension kits. It's a viscous, light-sensitive substance that hardens, or cures, under a specific wavelength of light. A kit will usually include several types:
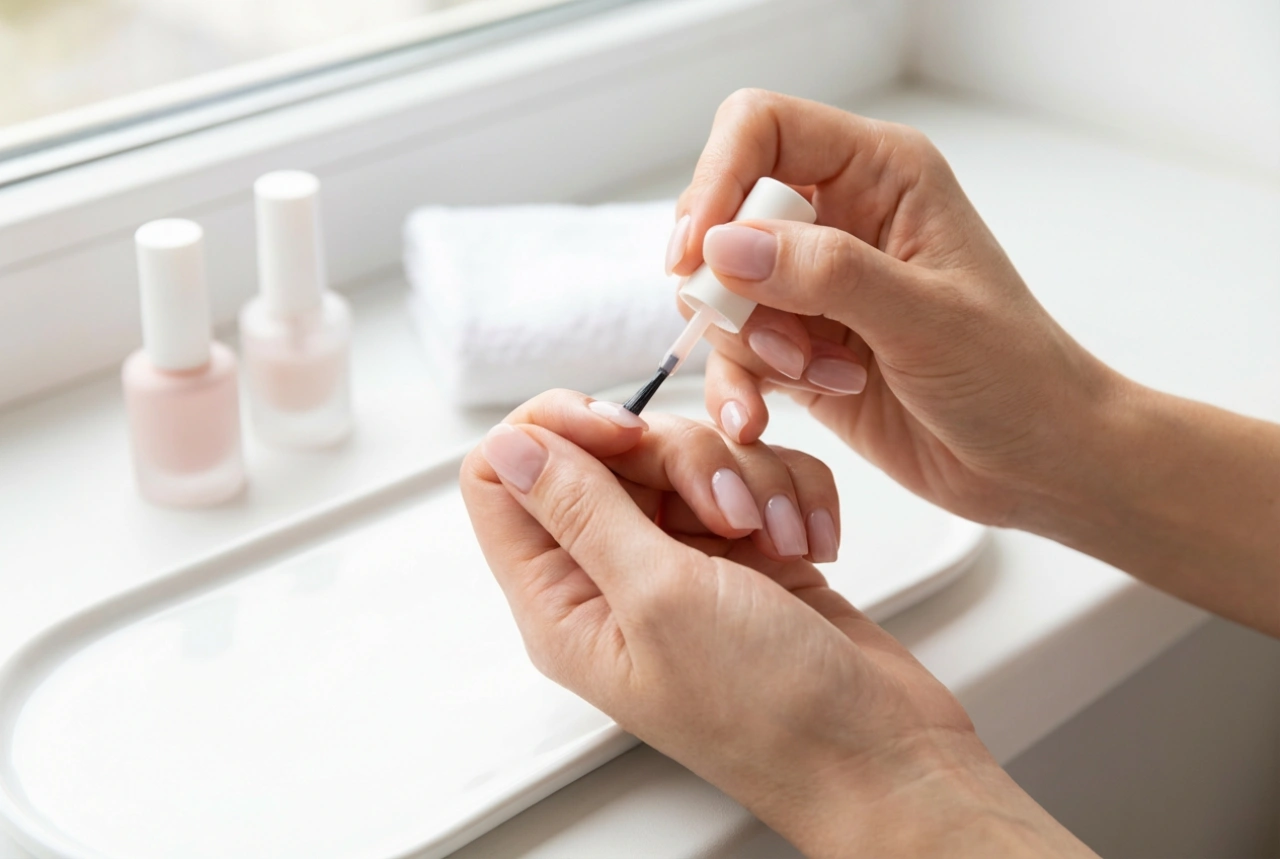
- Base Gel/Coat: This is a thin layer of gel applied first to the natural nail. Its primary function is to create a strong adhesive bond between your nail plate and the subsequent layers of builder gel, preventing lifting.
- Builder Gel: This is a thicker gel used to create the length and shape of the extension. It has a self-levelling quality, which helps in creating a smooth, even surface. It's strong and durable, forming the main structure of the artificial nail.
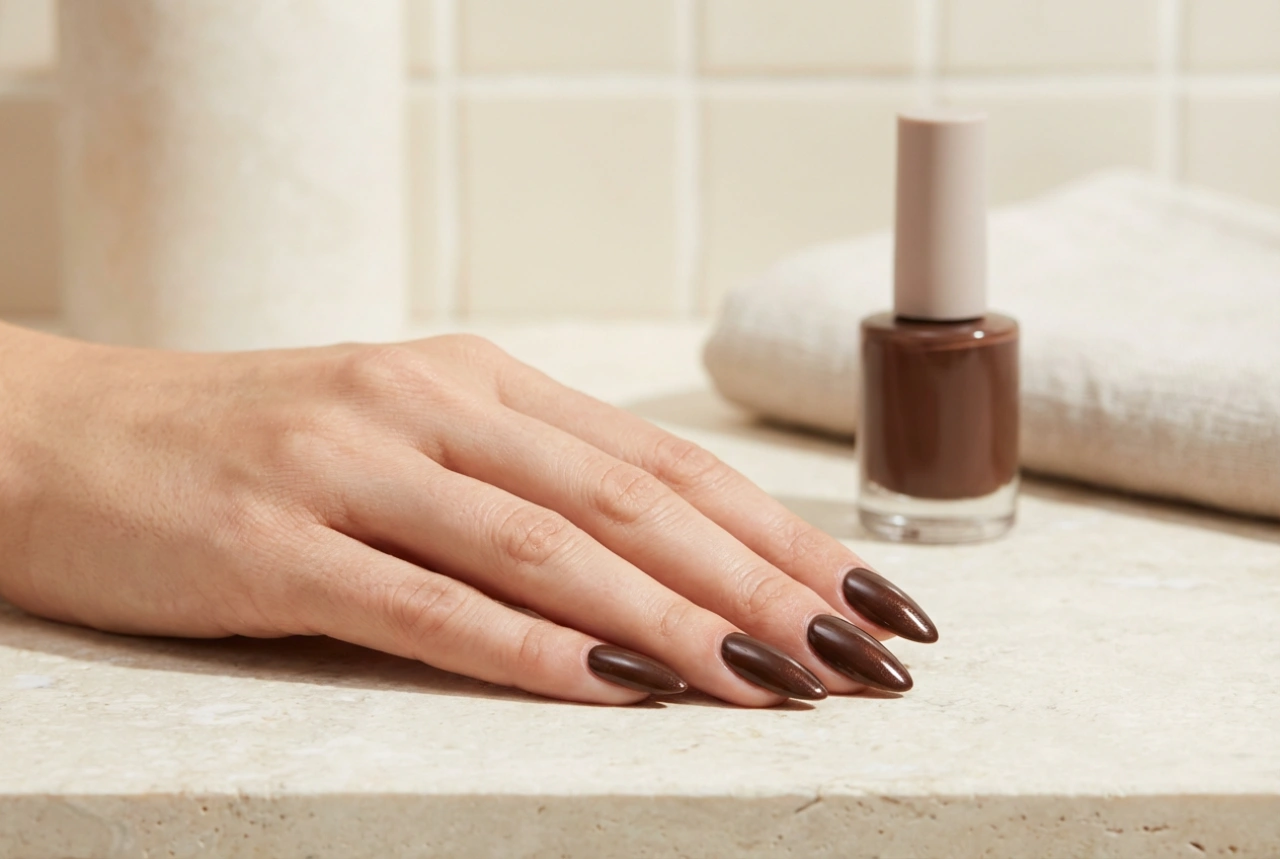
- Top Gel/Coat: Applied as the final layer, a top coat seals the extension, protecting it from scratches and chipping. It provides a high-gloss, long-lasting shine or a modern matte finish, depending on the type.
- Primer: Often included is a nail primer. This liquid is applied sparingly to the natural nail before any gel. It dehydrates the nail plate and changes its pH to promote better adhesion of the gel products, making it an essential step for longevity.
Creating the Shape: Forms vs. Tips
To create length beyond your natural nail, you need a guide. Kits typically provide one of two options: disposable paper forms or plastic tips.
- Nail Forms: These are flexible, sticker-like templates that are placed under the free edge of your natural nail. The grid lines on the form help you sculpt the builder gel to your desired length and shape (e.g., square, almond, stiletto). They offer complete control over the final look and are ideal for creating highly customised shapes. They require a bit more practice to apply correctly but result in a seamless extension.
- Nail Tips: These are pre-shaped plastic pieces that are glued onto the end of the natural nail using a strong nail adhesive. Once attached, they are trimmed to the desired length and blended into the natural nail. Builder gel is then applied over the entire nail, including the tip, to add strength and structure. Tips are often considered more beginner-friendly as they provide an instant, uniform base to work on.
Essential Tools and Accessories for Flawless Application
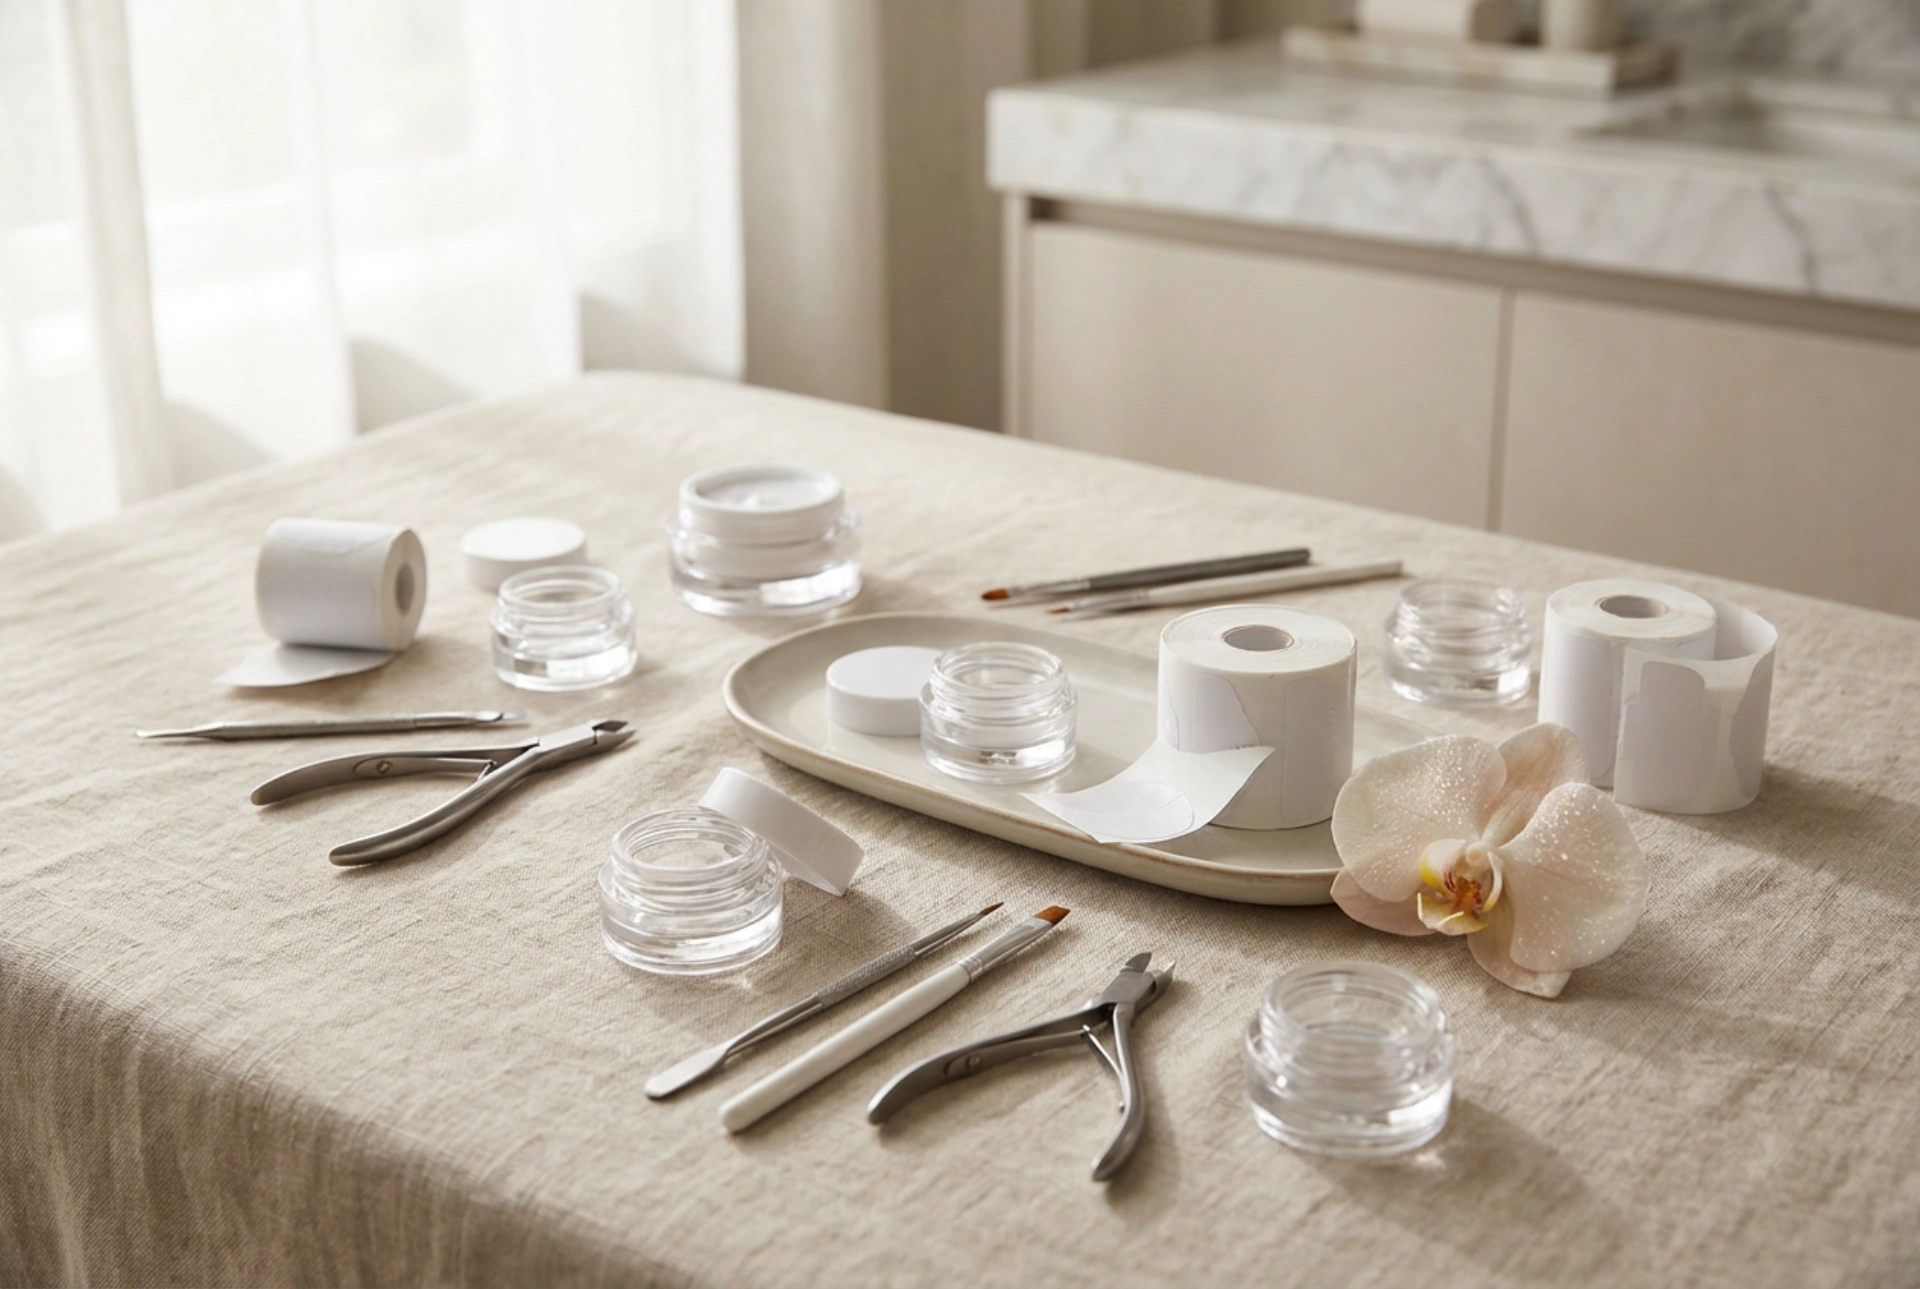
Beyond the gels and forms, a set of specific tools is necessary for preparation, application, and finishing. These accessories ensure a clean, professional, and safe process.
Preparation and Application Tools
- Nail File and Buffer: You'll need files of different grits. A coarser grit file is used for shaping the extension, while a finer grit file or buffer is used to smooth the surface and prepare the natural nail plate without causing damage.
- Cuticle Pusher: This tool, often made of metal or wood, is used to gently push back the cuticles. A clean cuticle area is vital for preventing the gel from lifting.
- Application Brushes: A high-quality synthetic brush, typically flat or oval-shaped, is essential for picking up and applying the gel smoothly and evenly. Keeping your brush clean is crucial for a good application.
- Cleanser Solution: After curing, builder gels leave behind a sticky or tacky residue known as the inhibition layer. A special cleanser, usually an alcohol-based solution, applied with a lint-free wipe is used to remove this layer before filing or applying the top coat.
The Curing Process: The Role of the Lamp
Gel products will not harden on their own. They require exposure to ultraviolet (UV) or light-emitting diode (LED) light to cure. A UV/LED lamp is therefore a non-negotiable part of any gel extension kit. LED lamps generally cure the gel much faster than traditional UV lamps and their bulbs have a longer lifespan. The lamp ensures that each layer of gel is fully hardened, providing the strength and durability the extensions are known for.
A General Guide to Using Your Nail Extension Kit
While every kit has its nuances, the fundamental process for applying gel extensions follows a universal sequence of steps. Patience and precision are your best friends here.
Step 1: Nail Preparation
Start with clean, dry hands. Gently push back your cuticles and remove any non-living tissue from the nail plate. Lightly buff the entire surface of the natural nail with a fine-grit buffer to remove the shine. This creates a slightly rough texture for the products to adhere to. Cleanse the nail with a lint-free wipe and the cleanser solution to remove all dust and oils. Finally, apply a thin layer of primer to the natural nail only.
Step 2: Applying the Form or Tip
If using forms, carefully peel one from its backing and fit it snugly under the free edge of your nail, ensuring there are no gaps between the form and the nail. If using tips, select the correct size for each finger, apply a small amount of nail glue, and press it firmly onto the natural nail for a few seconds. Trim and file the tip to the desired length and shape.
Step 3: Building the Nail with Gel
Apply a thin layer of base coat and cure it under the lamp according to the product's instructions. Next, take a small bead of builder gel on your brush and place it in the centre of the nail. Gently 'float' the gel to cover the entire nail and extend it over the form or tip to create your desired length and shape. Work in thin layers, curing each one fully. Build an 'apex'—the highest, thickest point of the extension—for strength. This is usually in the stress area where the natural nail and extension meet.
Step 4: Finishing Touches
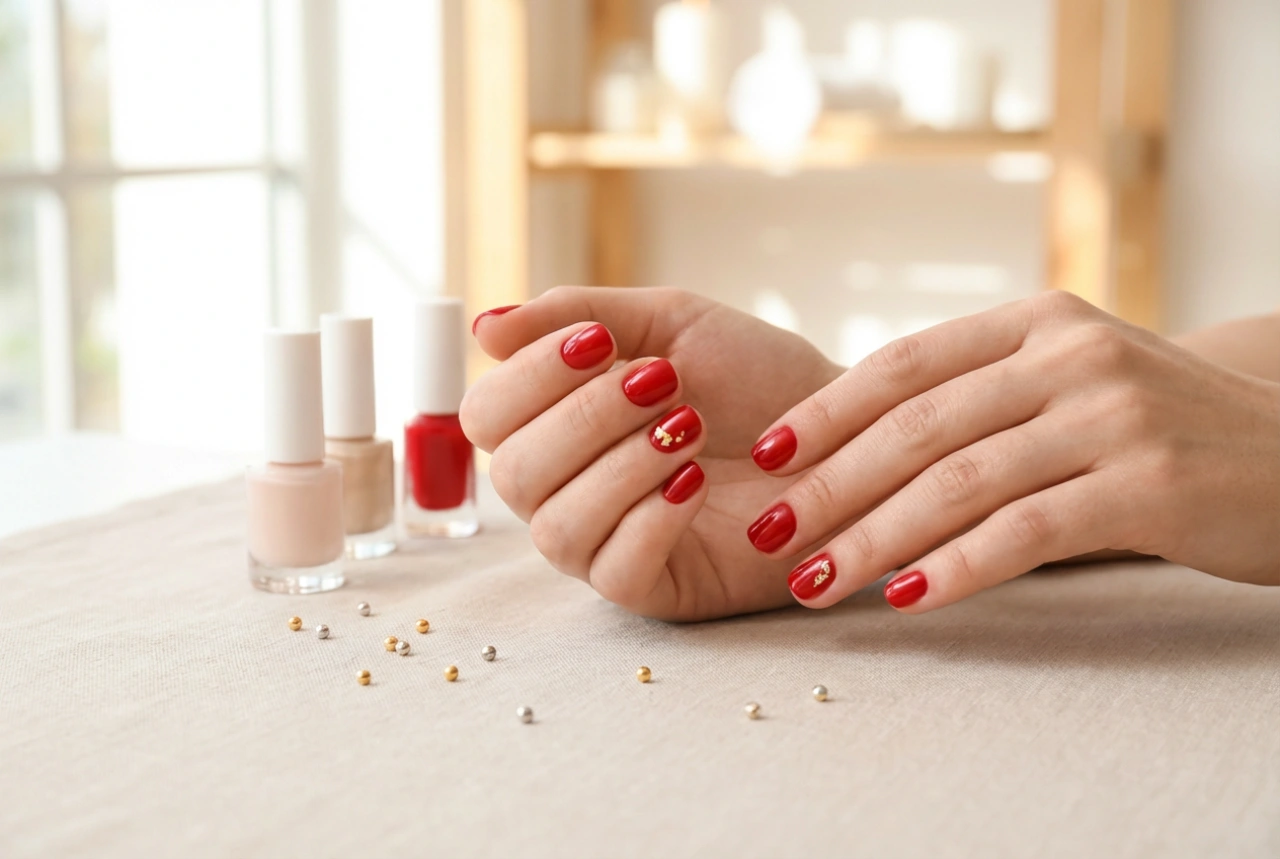
Once you're happy with the shape and thickness, perform the final cure. If you used forms, gently remove them. Wipe off the sticky inhibition layer with the cleanser. Now, refine the shape with your nail file, smoothing the side walls and evening out the surface. Remove any dust, then apply a thin, even layer of top coat, making sure to cap the free edge. Cure one last time, and your beautiful nail extension is complete. Finish by applying some nourishing cuticle oil.
Tips for Longevity and Safe Removal
To enjoy your extensions for as long as possible and keep your natural nails healthy, proper aftercare and removal are just as important as the application.
Aftercare Advice
- Treat your nails as jewels, not tools. Avoid using them to open cans, scrape things, or type aggressively.
- Wear gloves when doing household chores, especially those involving water and cleaning chemicals.
- Apply cuticle oil daily to keep the skin around your nails hydrated and healthy. This also helps maintain the flexibility of the natural nail underneath.
Safe Removal Process
Never pry or pull off your extensions, as this can rip off layers of your natural nail. The safest way to remove them at home is to file them down. Use a coarse file to remove the bulk of the product, being careful to stop before you reach your natural nail. You can then either soak the remaining thin layer in an appropriate remover or gently buff it smooth. It is always better to leave a very thin layer of product on the nail than to risk over-filing the natural nail plate.